Christmas Present Oreo Truffles
*This post may contain affiliate links. See our affiliate policy here.
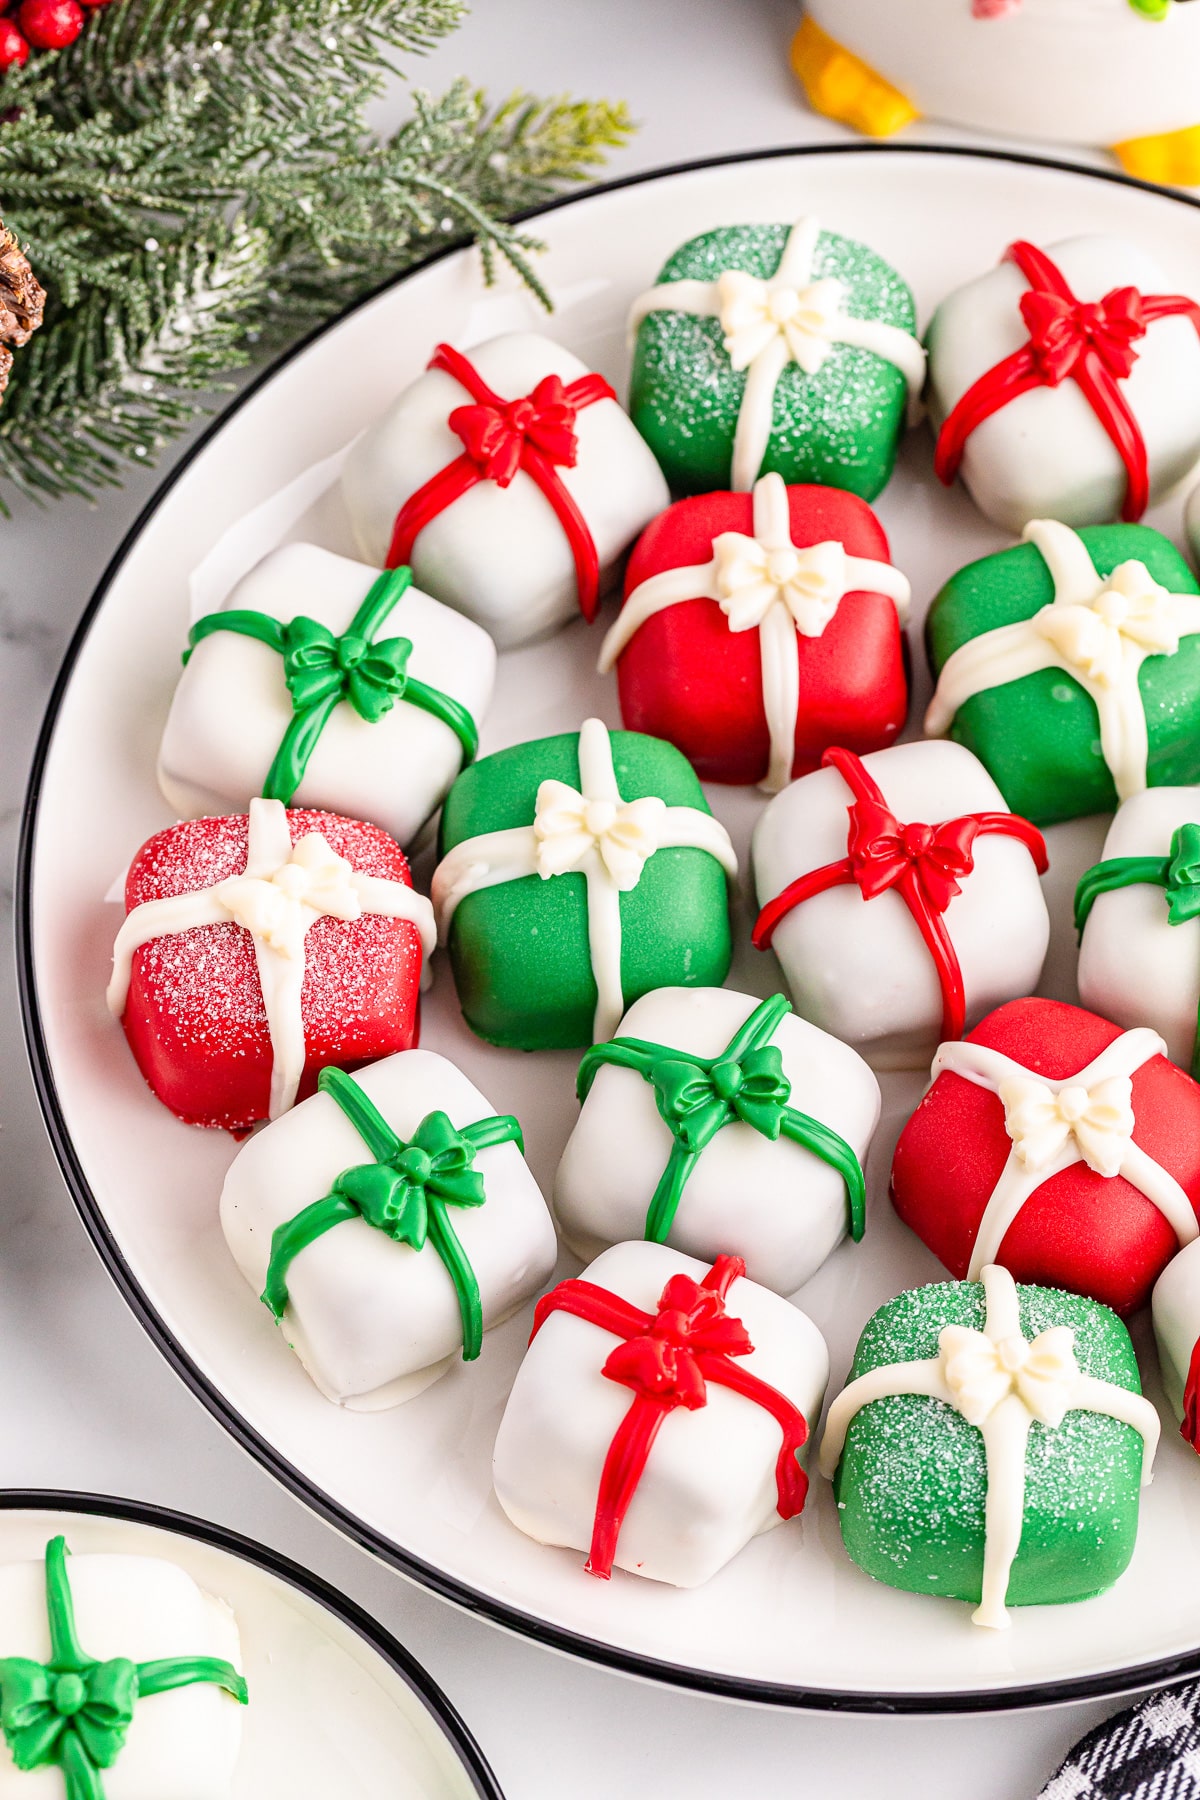
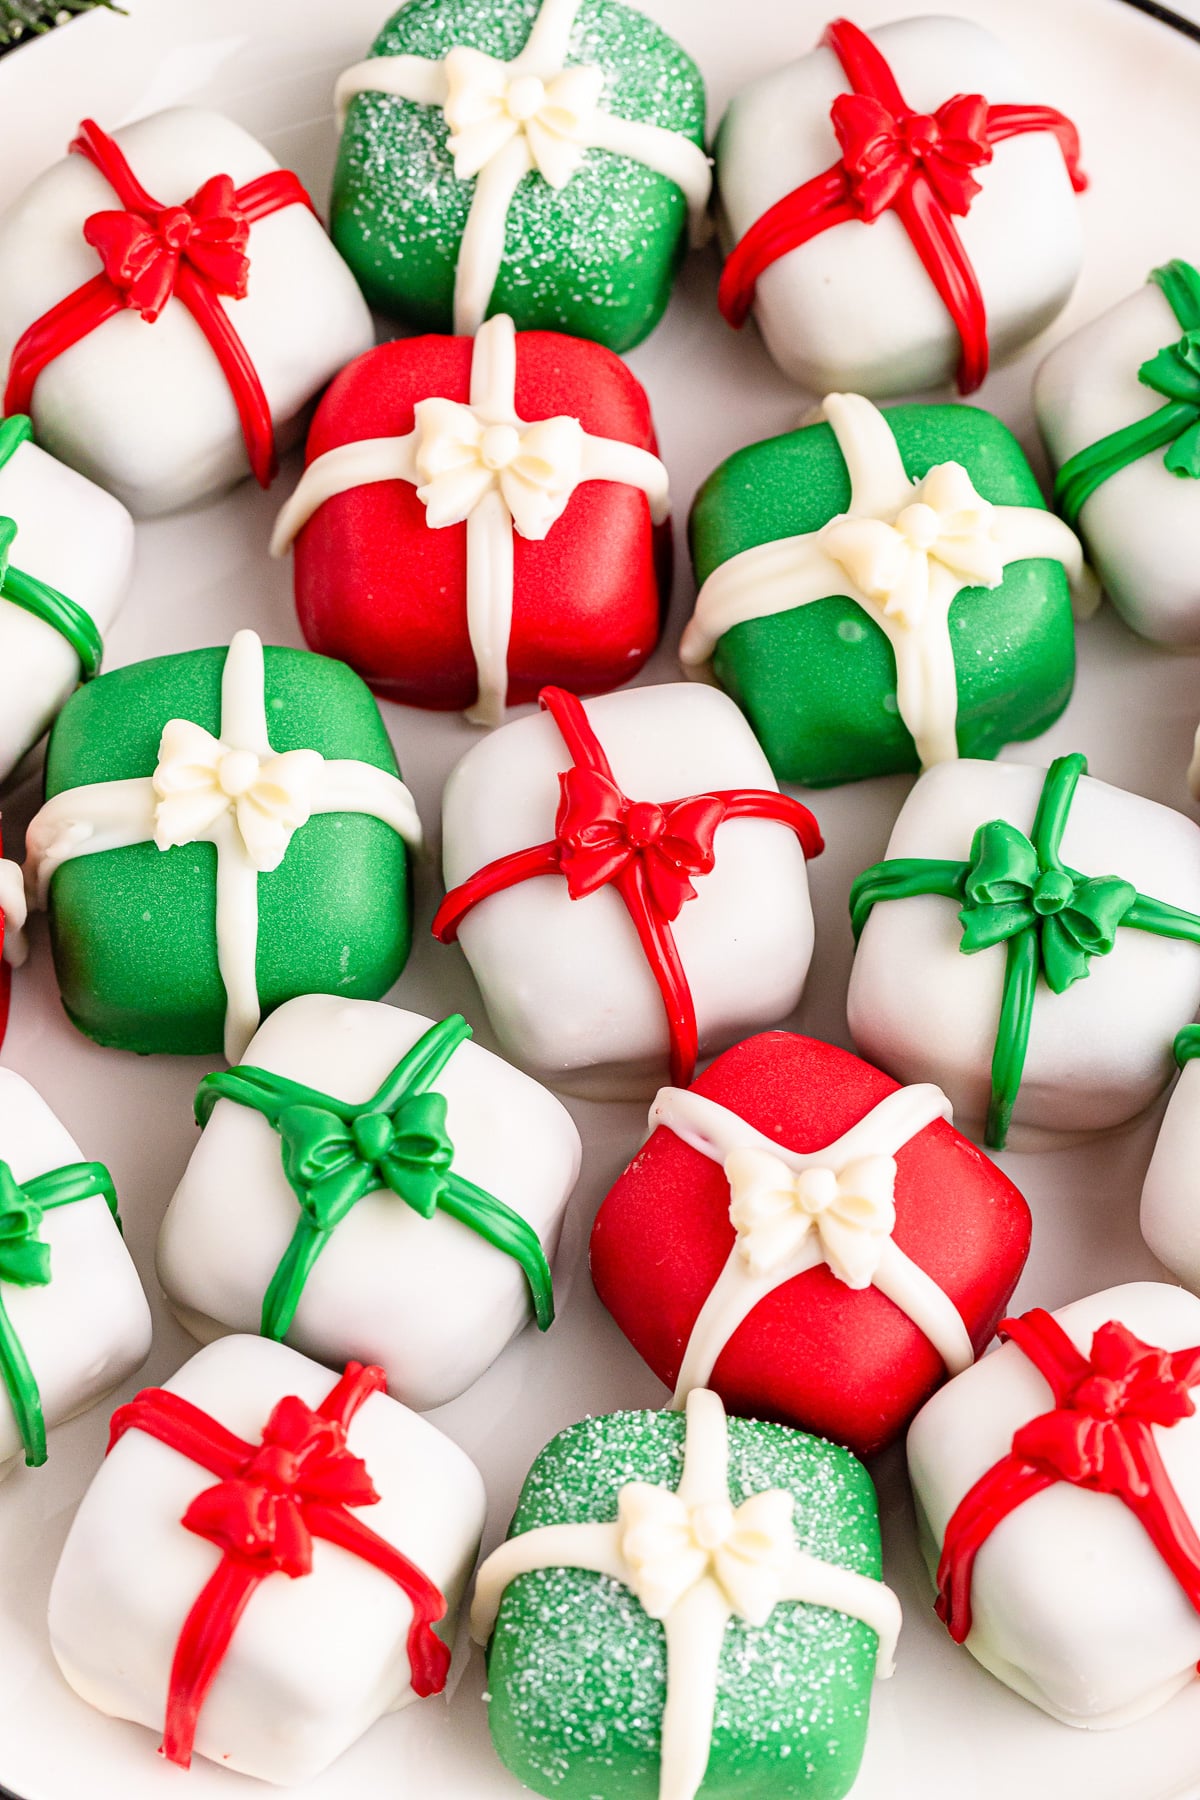
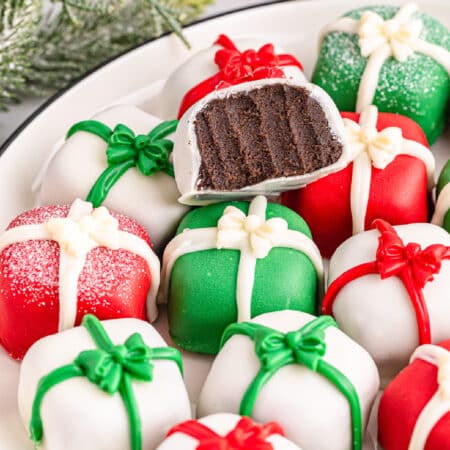
These Christmas present Oreo truffles are fun to make and look like the most adorable little presents! Best of all they are full of a creamy chocolate center and will be the cutest addition to any cookie tray or treat platter!
Why We Love Christmas Present Oreo Truffles
- Makes Adorable Holiday Presents – These holiday truffles are simply adorable, and a fun way to celebrate the Christmas season or any holiday! They look great in a little gift box as a present.
- Easy To Customize – I’ve made these truffles for Christmas, but you could customize the colors and decorations for any holiday just by switching the color of the candy melts.
- Sweet Treats For Cookie Trays – Whether you’re having a party, a potluck or just making up cookie trays, these Christmas truffle treats are so fun on a tray!
Ingredients For Christmas Present Oreo Truffles
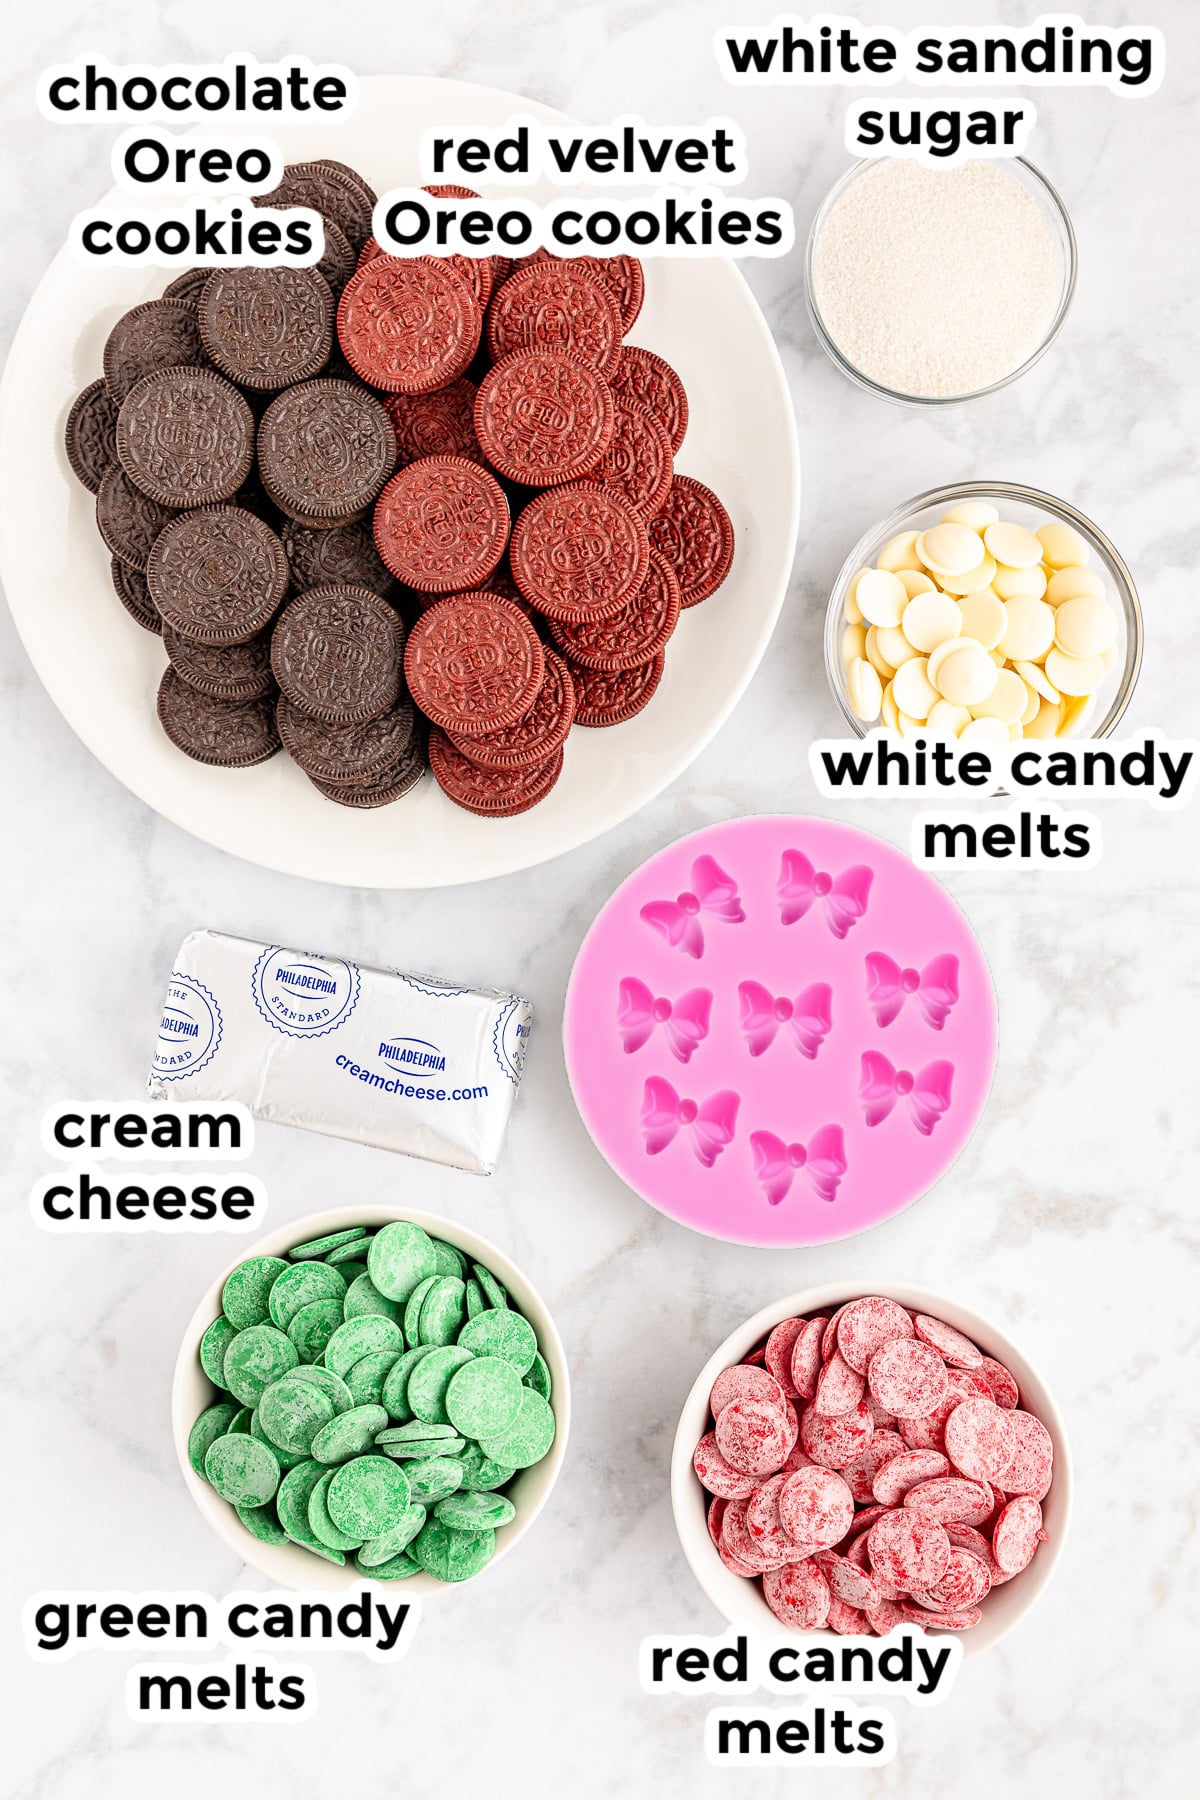
Find the full printable recipe with specific measurements and directions below in the recipe card.
- chocolate Oreo cookies – you can use all regular chocolate Oreos or all red velvet Oreos
- cookies red velvet Oreo cookies
- cream cheese softened to room temperature
- red candy melts divided
- green candy melts divided
- white candy melts divided
- White sparkly sanding sugar optional
How To Make Christmas Present Oreo Truffles
- Line two rimmed baking sheet with parchment paper. You can also use a waxed paper-lined pan or cover a pan in aluminum foil sprayed lightly with spray oil.
- Place chocolate Oreo cookies in food processor and mix until cookies turn into Oreo crumbs, then set to the side. In the same food processor, blend the red velvet Oreo cookies into fine crumbs and set aside. See notes if you don’t have a food processor.
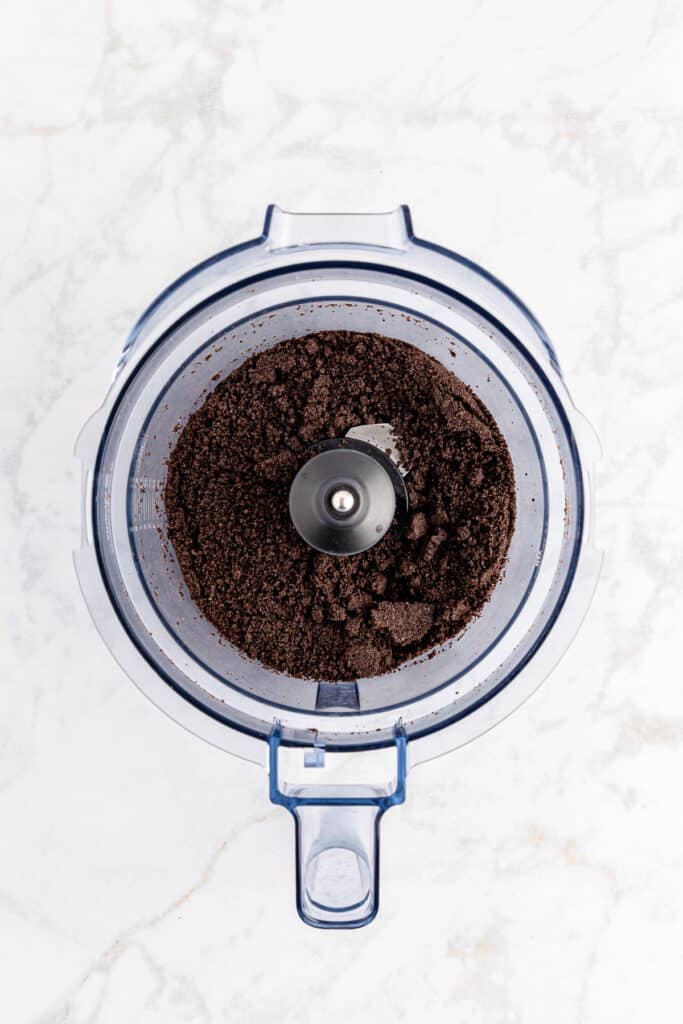
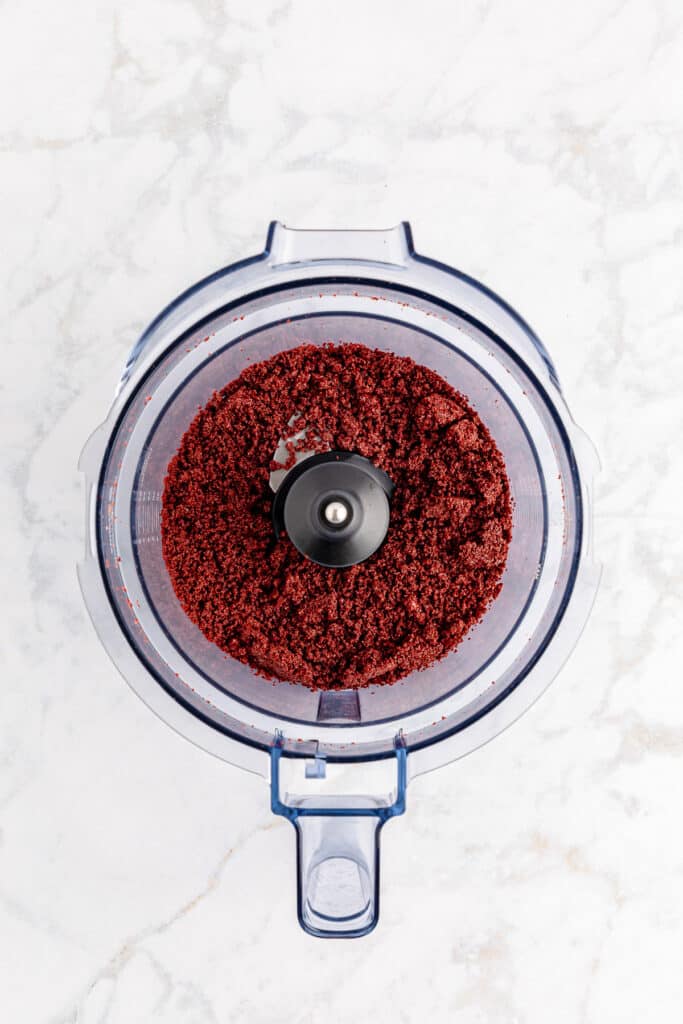
- Add half of the cream cheese to the chocolate Oreo crumbs and the other half of the cream cheese to the red velvet Oreo crumbs. Mix each bowl of cookie crumbs with the cream cheese and a clean silicone spatula until smooth.
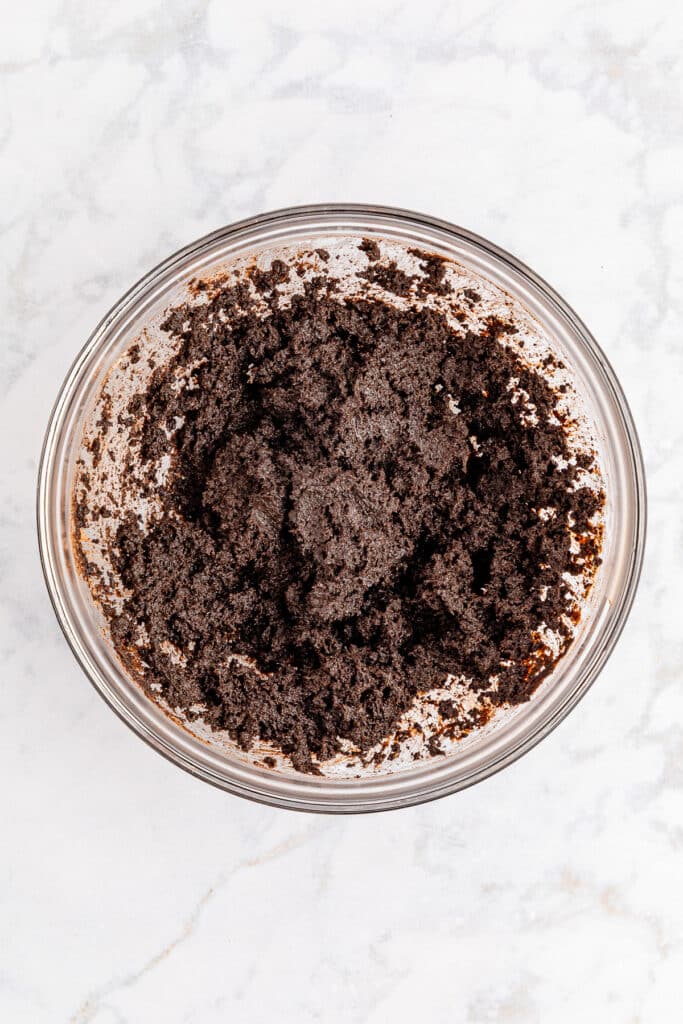
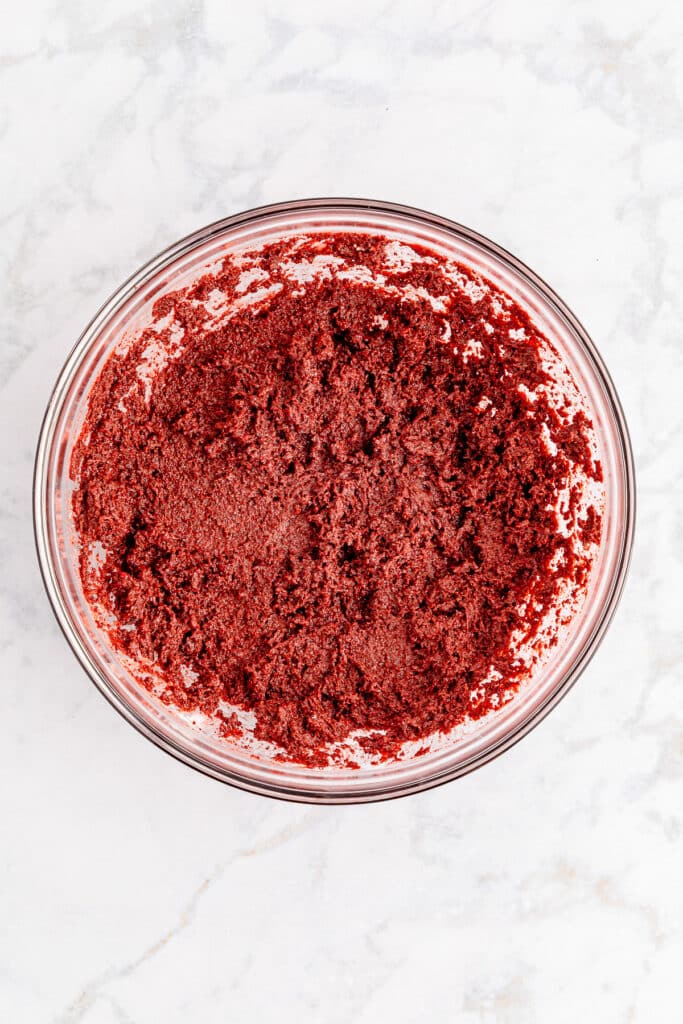
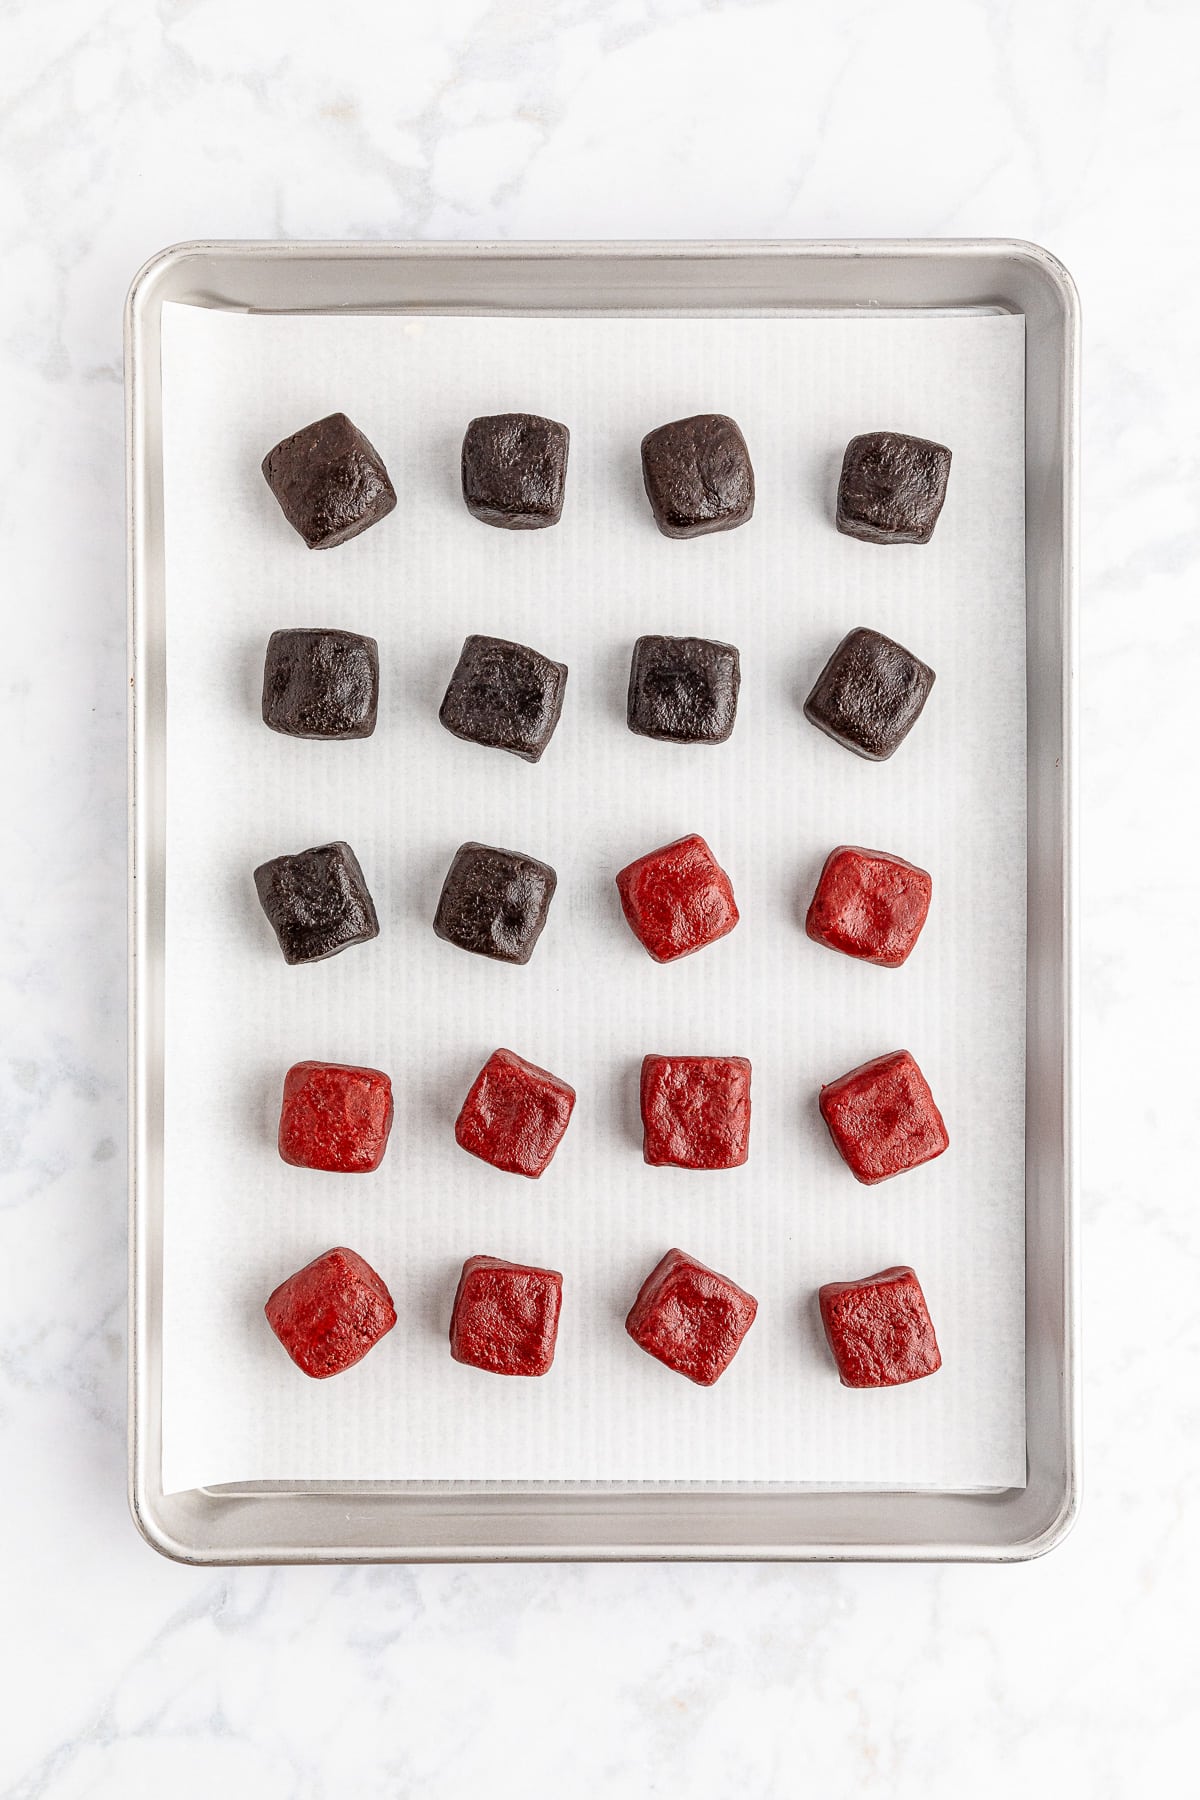
- Using a 2 tablespoon cookie scoop, scoop dough from the bowl and form into cubes. Place on the prepared baking sheet so the truffles aren’t touching each other and place in the freezer to chill for 30 minutes.
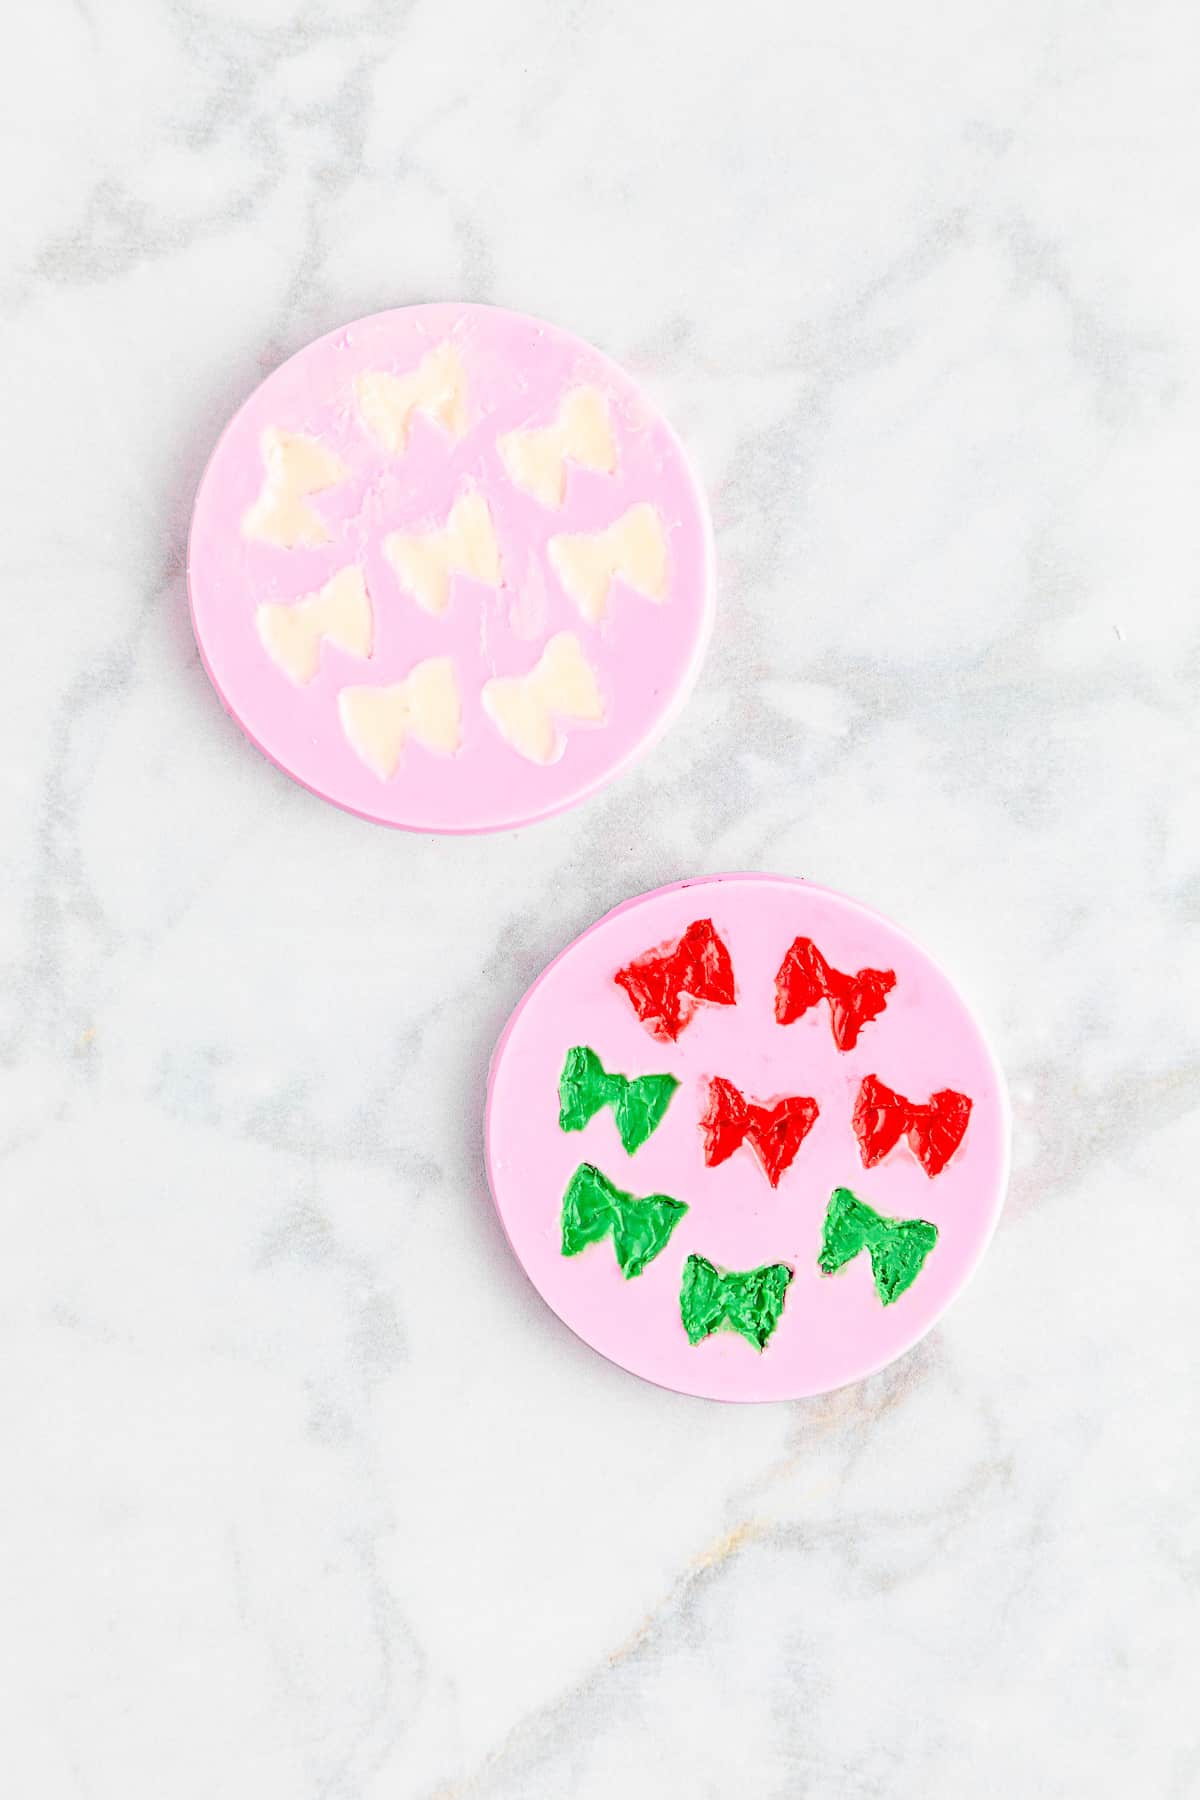
- Place the red white and green candy melts each in a heatproof bowl, saving about 1/4 of each color of chocolate for the ribbons. Place the bowls in the microwave and heat for a minute at half power, then stir each with it’s own clean and dry spoon. Continue heating the candy melts in thirty-second increments until each forms a smooth chocolate sauce.
- Make the bows by spooning some of each colored chocolate into the silicone molds, working in batches as needed. Be sure to wipe the edges so each bow come out clean. Refrigerate until the chocolate is set.
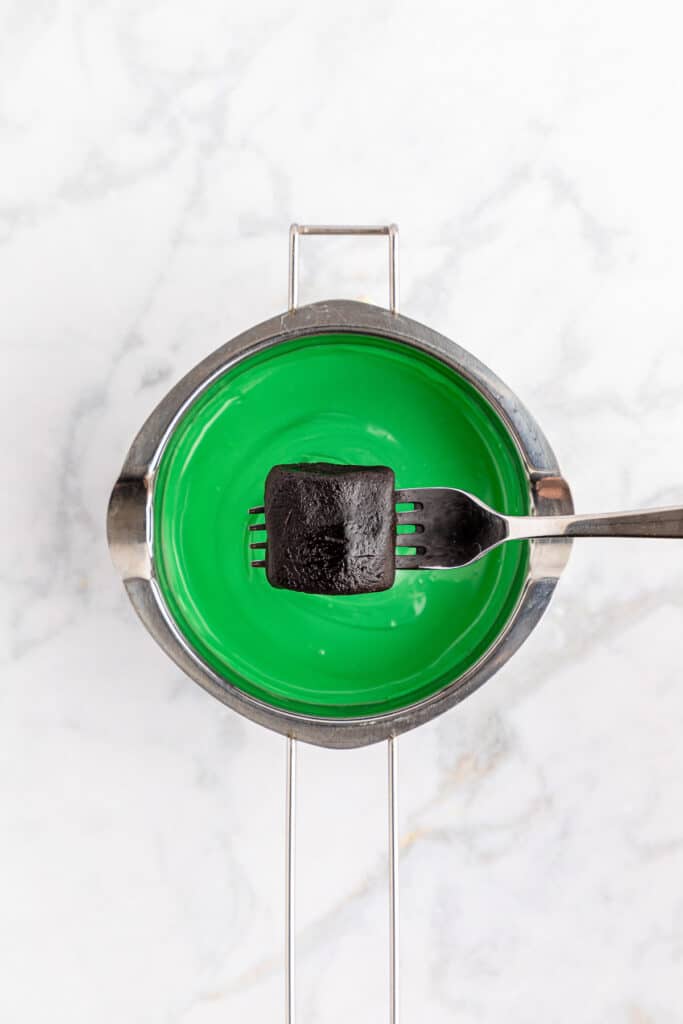
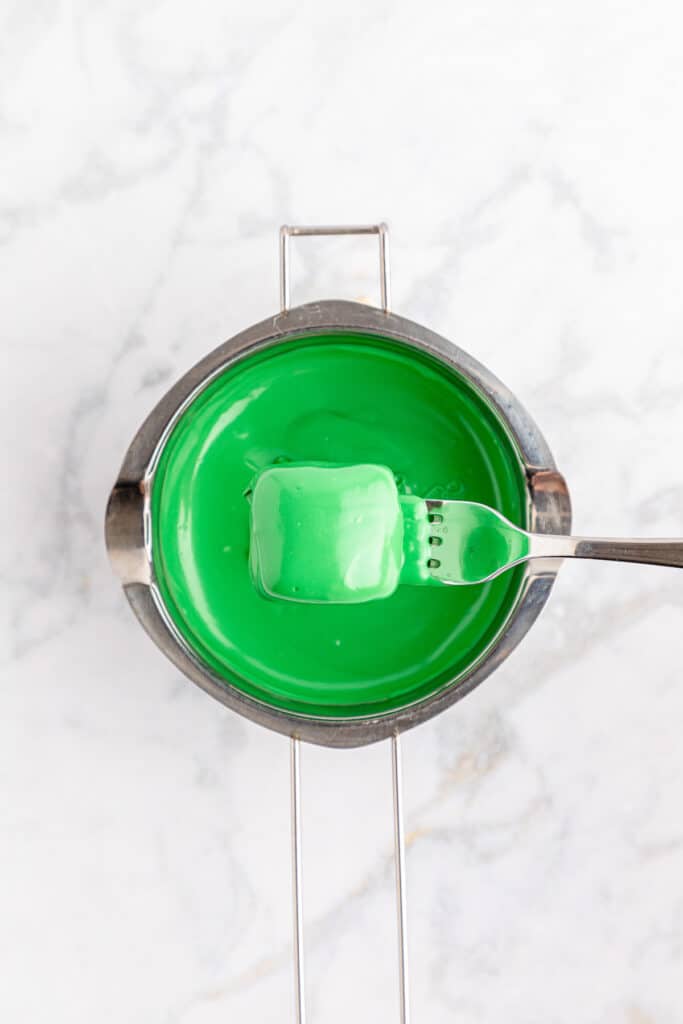
- Remove half the truffles from the freezer. Working in batches, dip each truffle one at a time into the melted candy melts with a fork. Tap the fork to remove any excess chocolate then place on the prepared baking sheet.
- Immediately top with sanding sugar or sprinkles if desired. Repeat until all the truffles both chocolate and red velvet flavored are covered in chocolate.
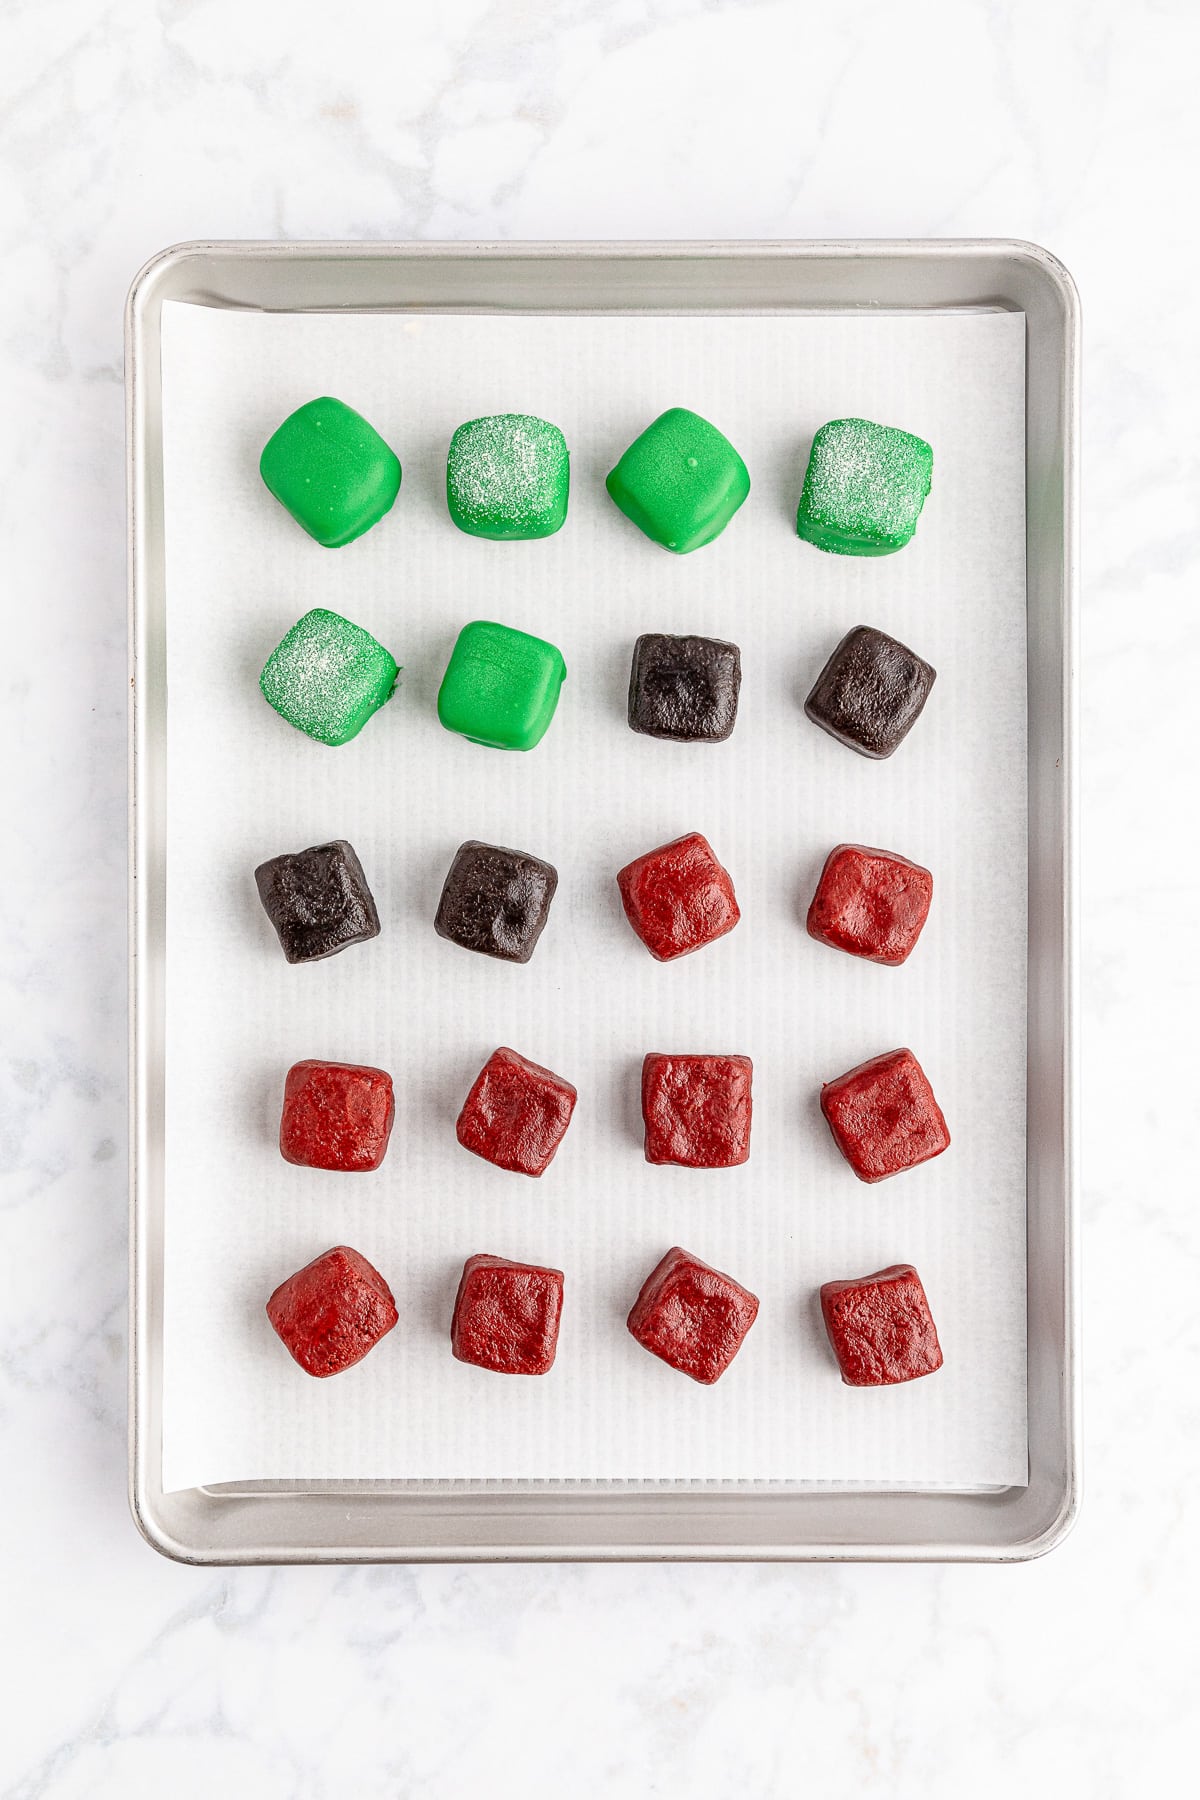
- Place the truffles back in the freezer to chill for 20-30 minutes or until the chocolate is fully set.
- Once the truffles have set, place each of the remaining colors of candy melts into their own microwave-safe piping bags or freezer zip-top bag. Microwave on half power for 30 seconds, then squeeze the chocolate in each bag to make sure the chocolate melts evenly. Repeat in 30 second increments or until all the candy melts are melted.
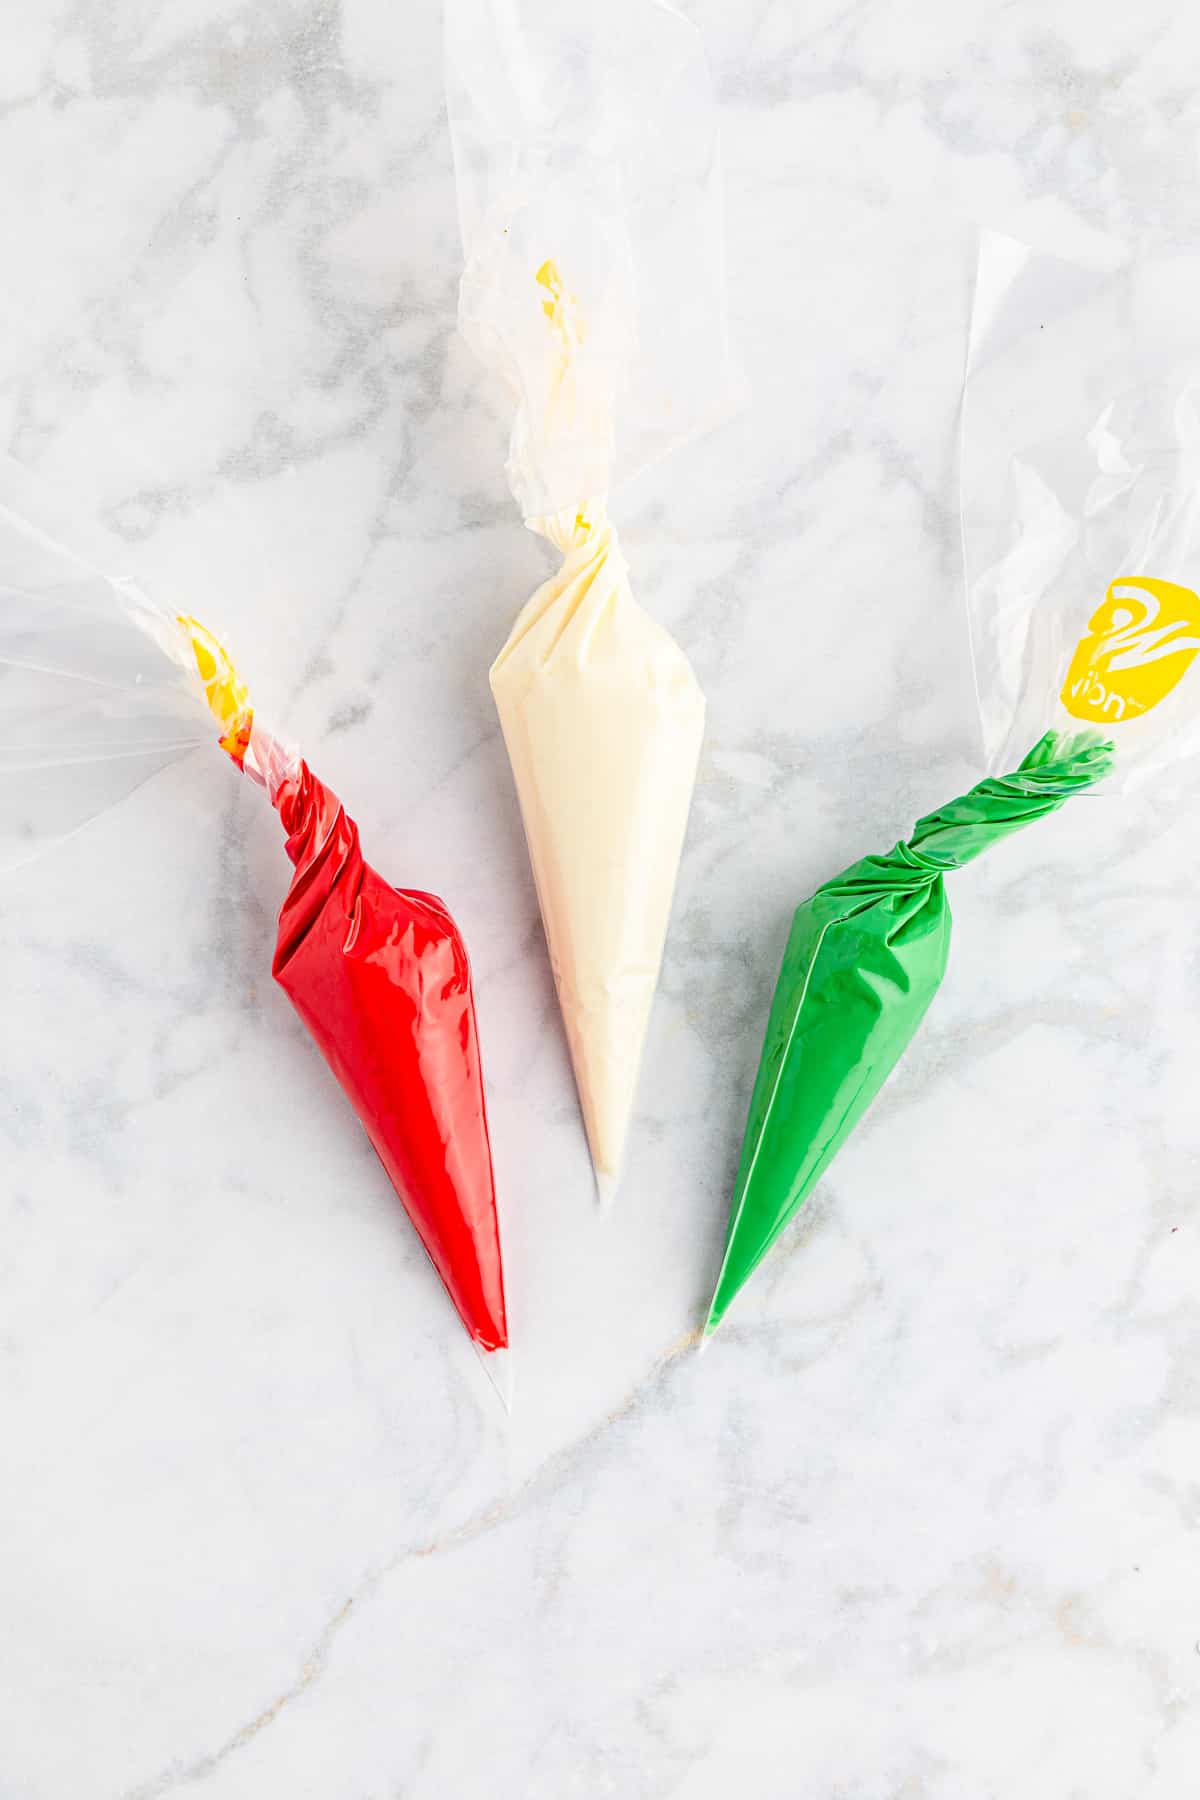
- Remove all of the bows from the mold and set to the side. Snip a small piece of the tips off of each bag. Drizzle the chocolate over the present to make each ribbon, then immediately top with a chocolate bow. Repeat for each chocolate present truffle.
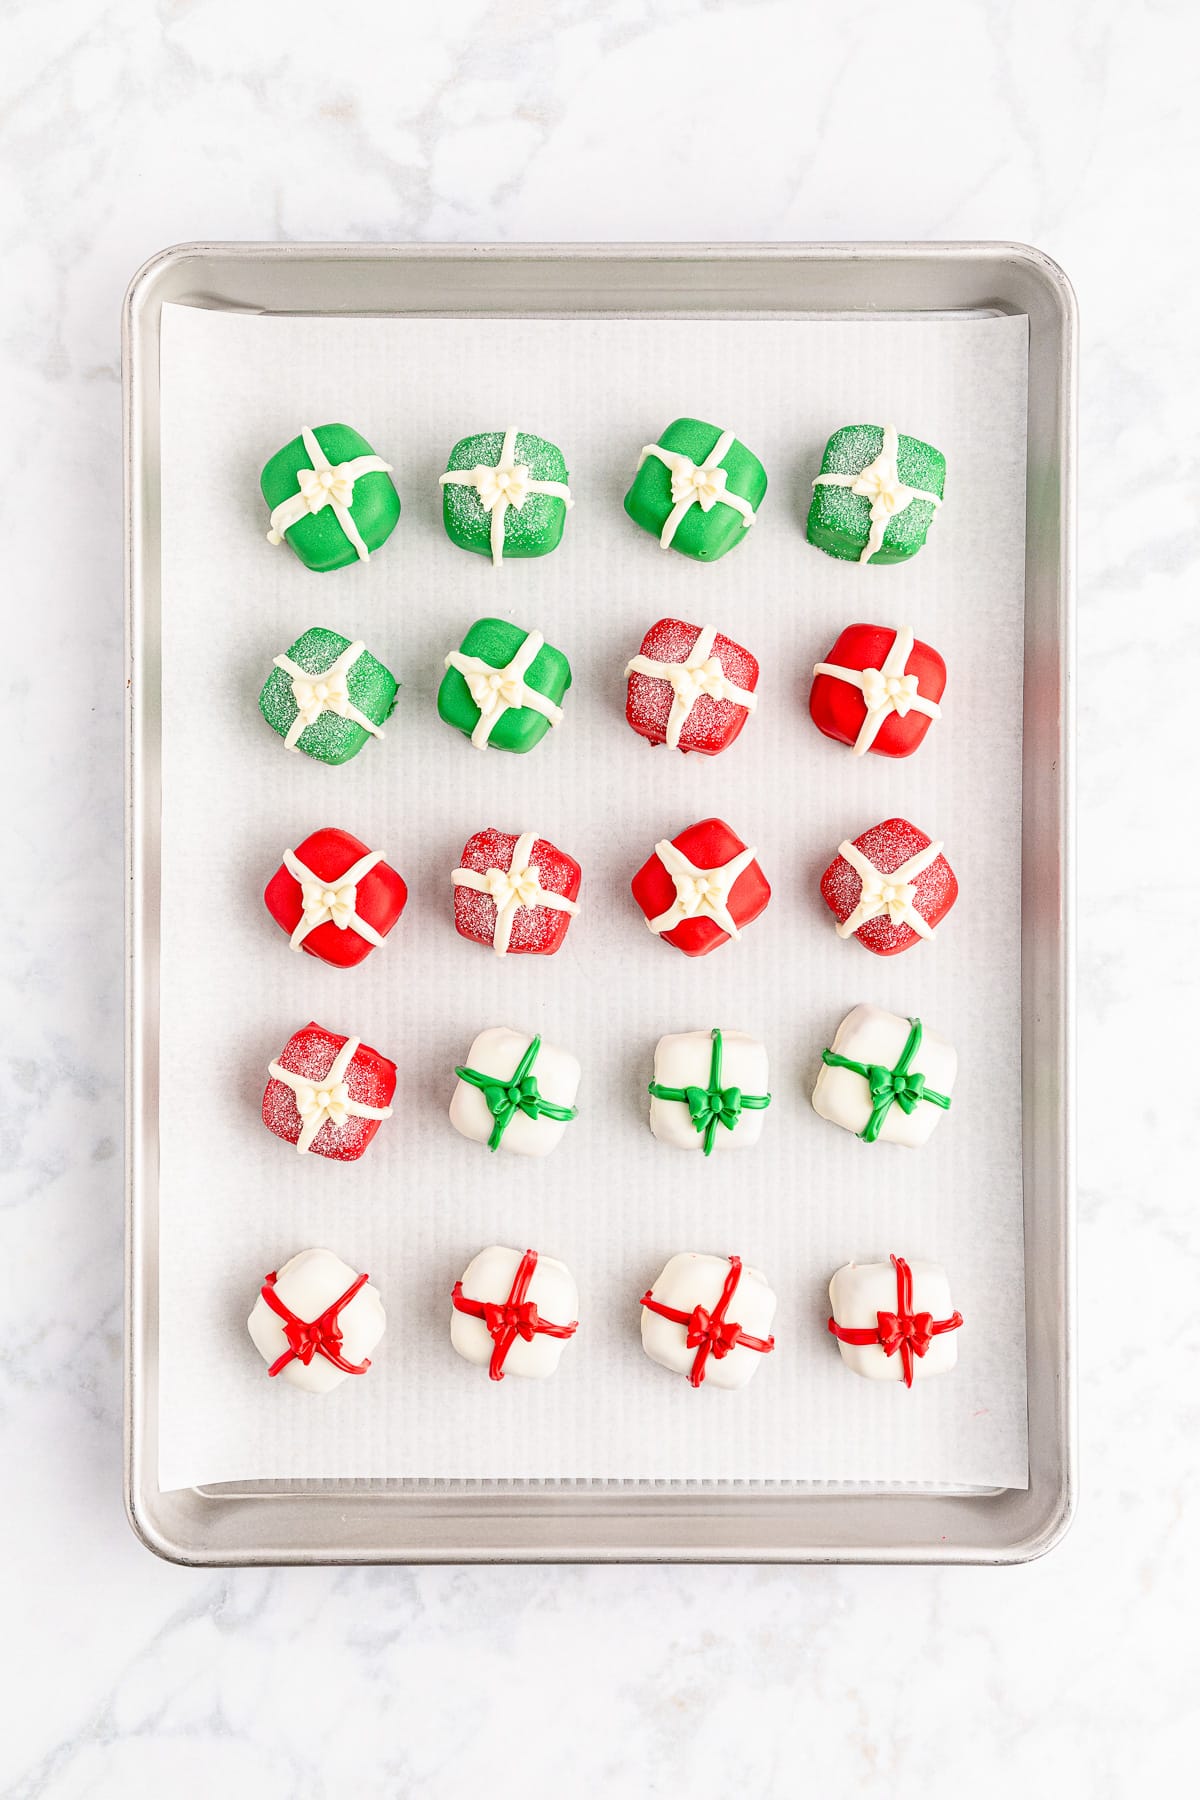
- Serve once the chocolate has set, or chill in the refrigerator until ready to serve. Enjoy!
How Long Will Christmas Present Oreo Truffles Last?
Expect these Christmas present Oreo balls to last for about 7 days when stored in a covered airtight container in the refrigerator. Store in a single layer.
These presents can be frozen and will taste best if eaten within two months.
More Christmas Desserts To Make
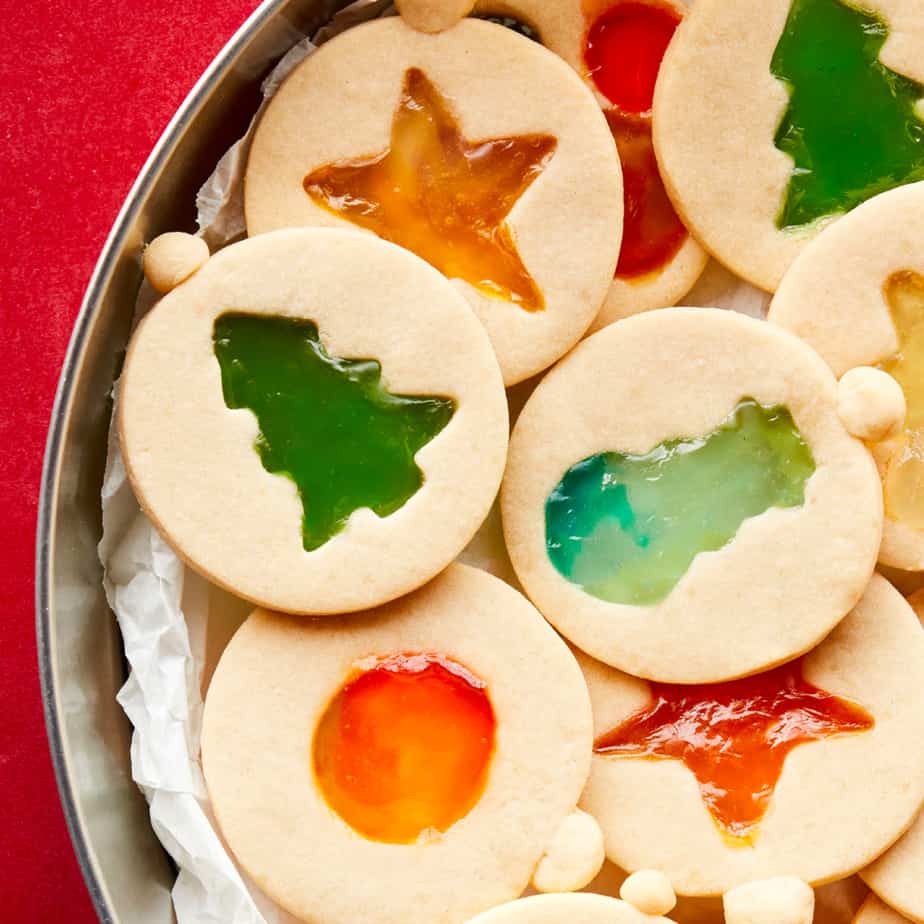
How To Make Easy Stained Glass Cookies
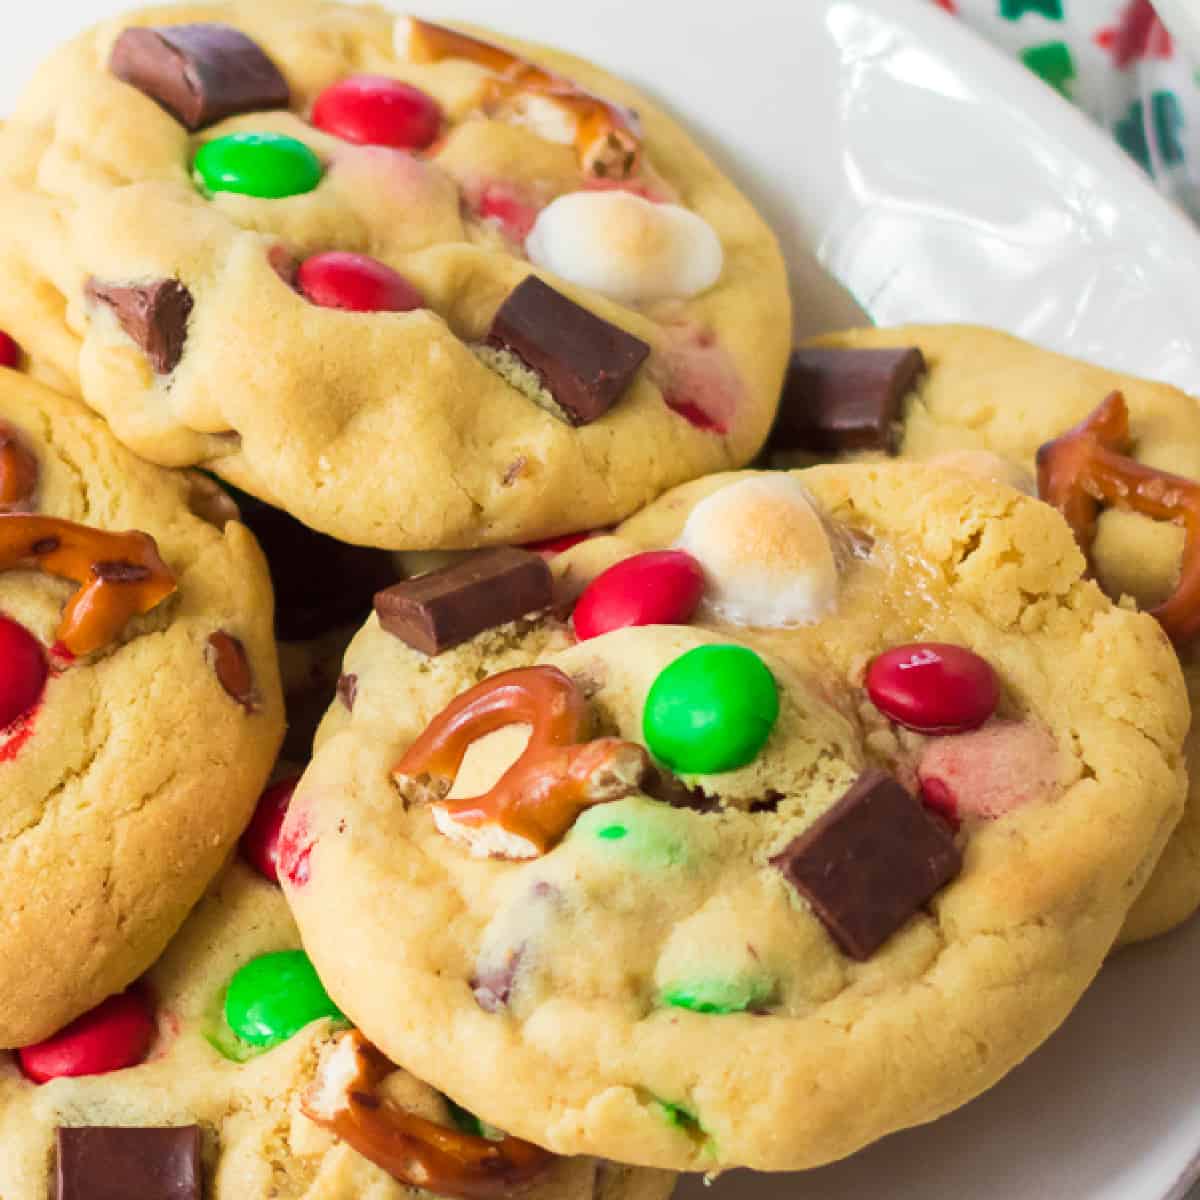
Santa’s Favorite Cookies (M&M Pudding Cookies)
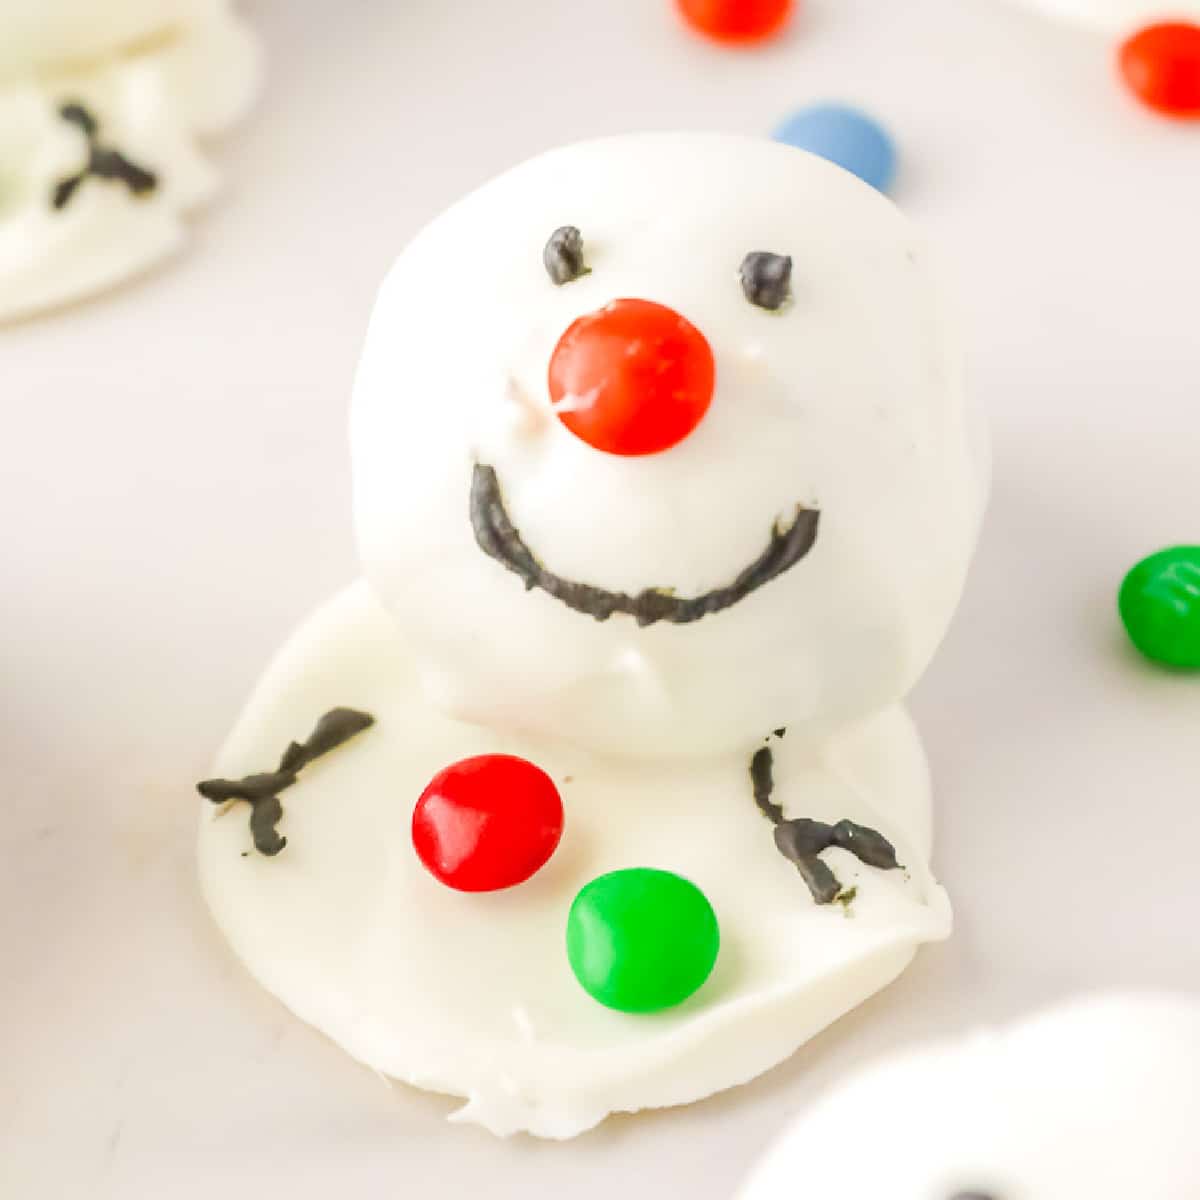
Snowman Oreo Balls

Christmas Present Oreo Balls
Equipment
Ingredients
- 22 cookies chocolate Oreo cookies
- 22 cookies red velvet Oreo cookies
- 8 ounces cream cheese softened to room temperature
- 10 ounce red candy melts divided
- 10 ounce green candy melts divided
- 10 ounce white candy melts divided
- White sparkly sanding sugar optional
Instructions
- Line two rimmed baking sheet with parchment paper. You can also use a waxed paper-lined pan or cover a pan in aluminum foil sprayed lightly with spray oil.
- Place chocolate Oreo cookies in food processor and mix until cookies turn into Oreo crumbs, then set to the side. In the same food processor, blend the red velvet Oreo cookies into fine crumbs and set aside. See notes if you don’t have a food processor.
- Add half of the cream cheese to the chocolate Oreo crumbs and the other half of the cream cheese to the red velvet Oreo crumbs. Mix each bowl of cookie crumbs with the cream cheese and a clean silicone spatula until smooth.
- Using a 2 tablespoon cookie scoop, scoop dough from the bowl and form into cubes. Place on the prepared baking sheet so the truffles aren’t touching each other and place in the freezer to chill for 30 minutes.
- Place the red white and green candy melts each in a heatproof bowl, saving about 1/4 of each color of chocolate for the ribbons. Place the bowls in the microwave and heat for a minute at half power, then stir each with it's own clean and dry spoon. Continue heating the candy melts in thirty-second increments until each forms a smooth chocolate sauce.
- Make the bows by spooning some of each colored chocolate into the silicone molds, working in batches as needed. Be sure to wipe the edges so each bow come out clean. Refrigerate until the chocolate is set.
- Remove half the truffles from the freezer. Working in batches, dip each truffle one at a time into the melted candy melts with a fork. Tap the fork to remove any excess chocolate then place on the prepared baking sheet.
- Immediately top with sanding sugar or sprinkles if desired. Repeat until all the truffles both chocolate and red velvet flavored are covered in chocolate.
- Place the truffles back in the freezer to chill for 20-30 minutes or until the chocolate is fully set.
- Once the truffles have set, place each of the remaining colors of candy melts into their own microwave-safe piping bags or freezer zip-top bag. Microwave on half power for 30 seconds, then squeeze the chocolate in each bag to make sure the chocolate melts evenly. Repeat in 30 second increments or until all the candy melts are melted.
- Remove all of the bows from the mold and set to the side. Snip a small piece of the tips off of each bag. Drizzle the chocolate over the present to make each ribbon, then immediately top with a chocolate bow. Repeat for each chocolate present truffle.
- Serve once the chocolate has set, or chill in the refrigerator until ready to serve. Enjoy!
Notes
Making Cookie Crumbs Without a Food Processor
If you don’t have a food processor, you can place the cookies in a gallon size strong zip-top bag. Use a rolling pin or even a full canned good to crush the cookies into crumbs inside the bag. After the cookies have become crumbs, you can mix in the rest of the ingredients with the cookie crumbs with an electric mixer. If you don’t have an electric mixer you can mix them together by hand but it may take a little longer and the cream cheese needs to be well softened.Using Oil In The Chocolate
Adding a little bit of oil to the chocolate will help create a smooth chocolate coating. The oil also makes the chocolate a little thinner and cane give it an even nicer coating.Nutrition
Did You Make This?
I would love to see it! Share your thoughts with me in the comments below!

