Red White And Blue Popsicles (Three Ingredients!)
*This post may contain affiliate links. See our affiliate policy here.
Red white and blue popsicles are sweet, creamy and perfect for summer holidays. Make these colorful no drip pudding popsicles for the 4th of July, Memorial Day, Labor Day or any time you want sweet frozen treats.
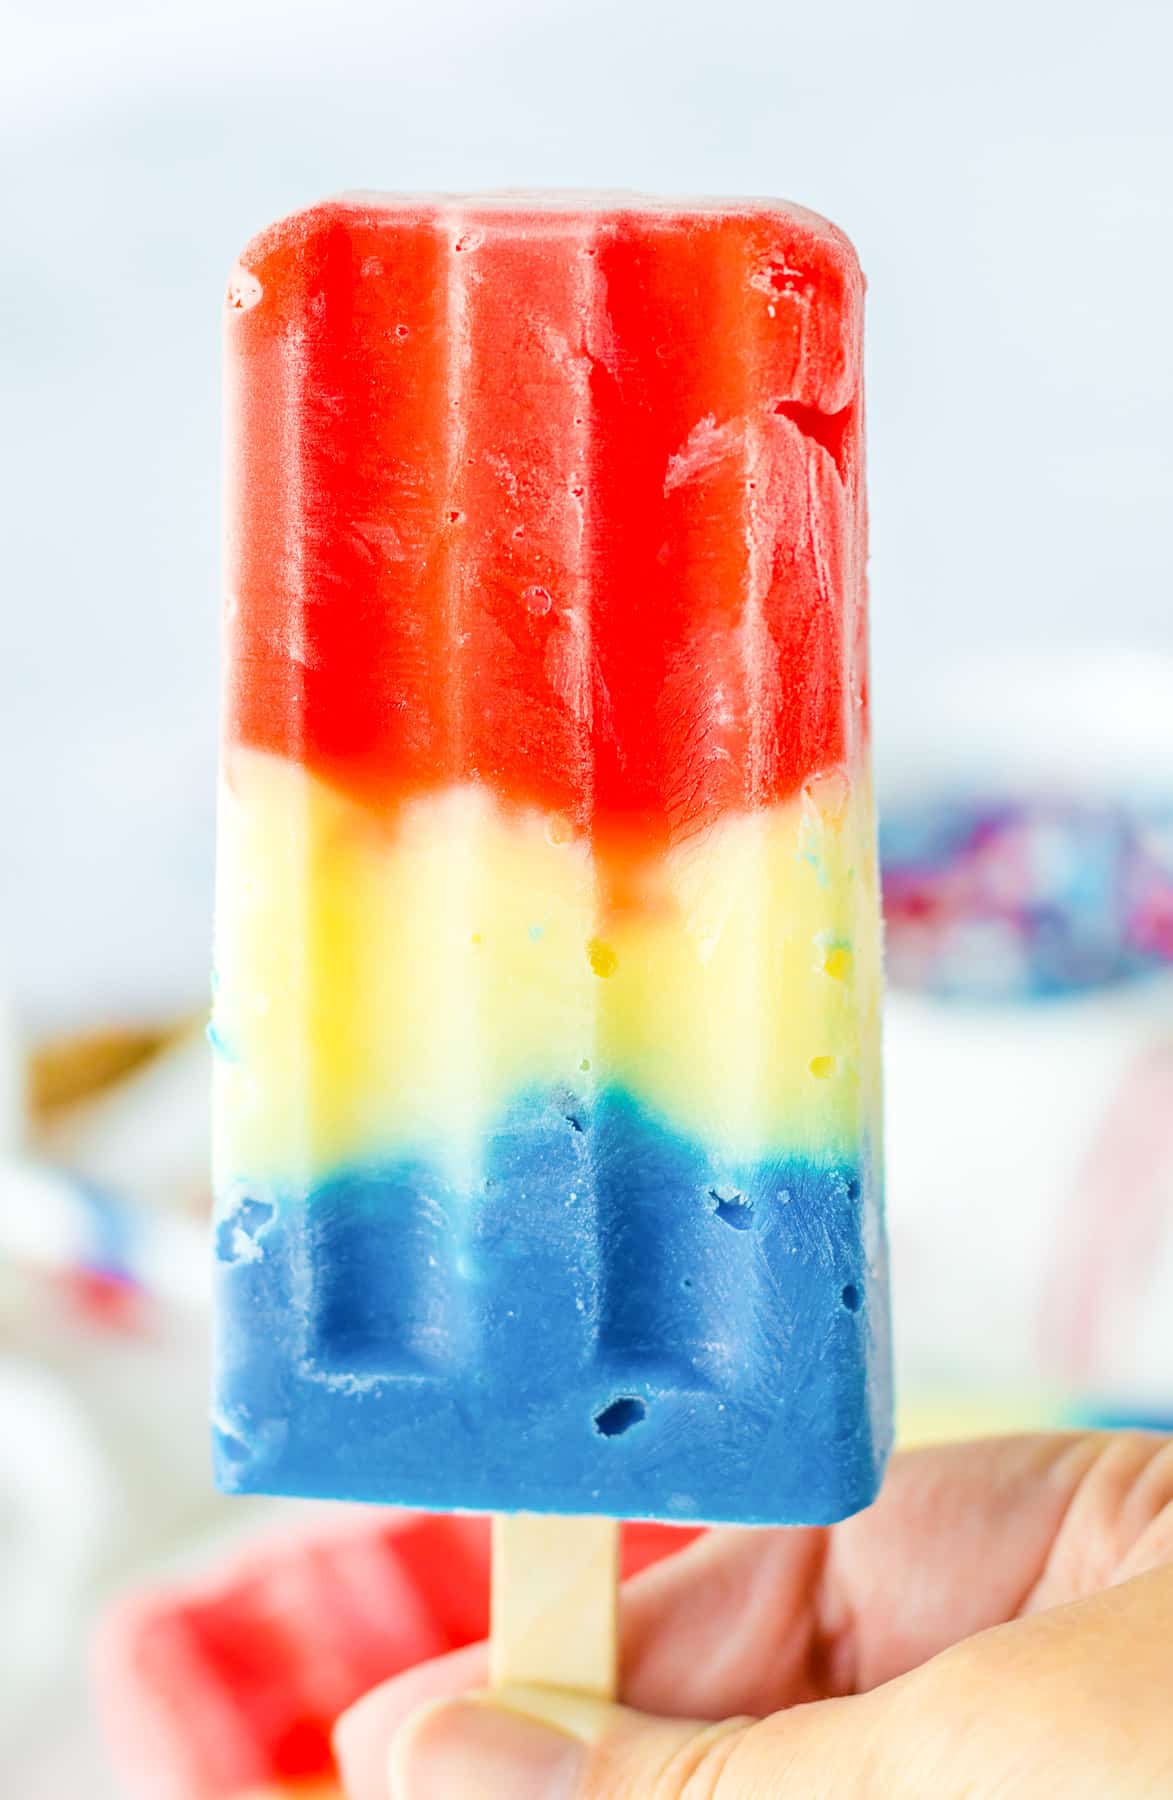
Table of Contents
Why We Love Red White And Blue Popsicles
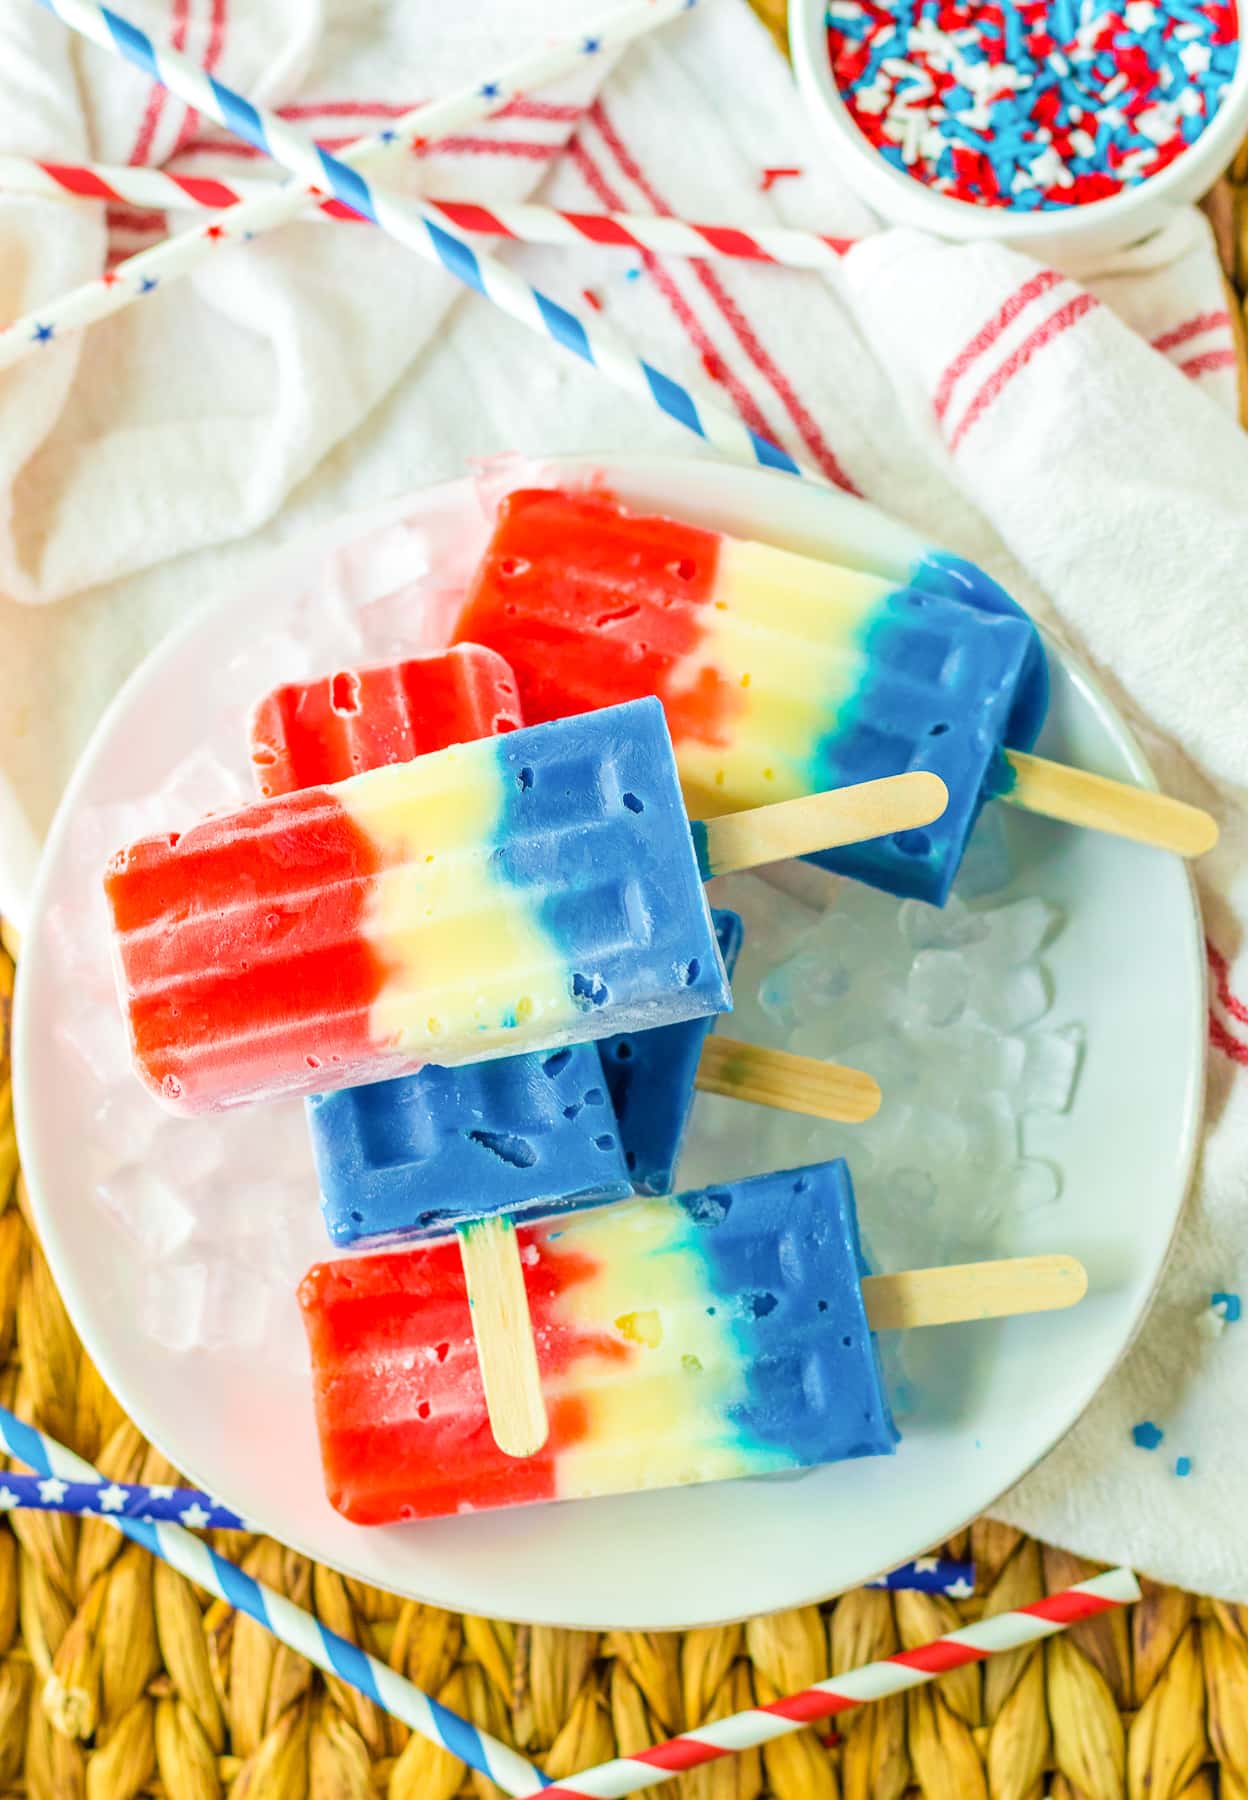
- Fun and Patriotic– These colorful, creamy popsicles are just a fun sweet treat and look just like bomb pops, also known as rocket pops! These red white and blue popsicles are great for the Fourth of July parades, a birthday party, summer BBQs, a popsicle party or just a hot summer day.
- No Drip– Since these popsicles are made out of pudding, they don’t drip like a traditional bomb pop or rocket pop. These are a little bit less messy for little kids.
- Delicious And Easy– Sweet and creamy white chocolate, these patriotic treats are just straight up yummy summer treats. Best of all you only need three ingredients for these festive popsicles.
Ingredients For Red White and Blue Popsicles
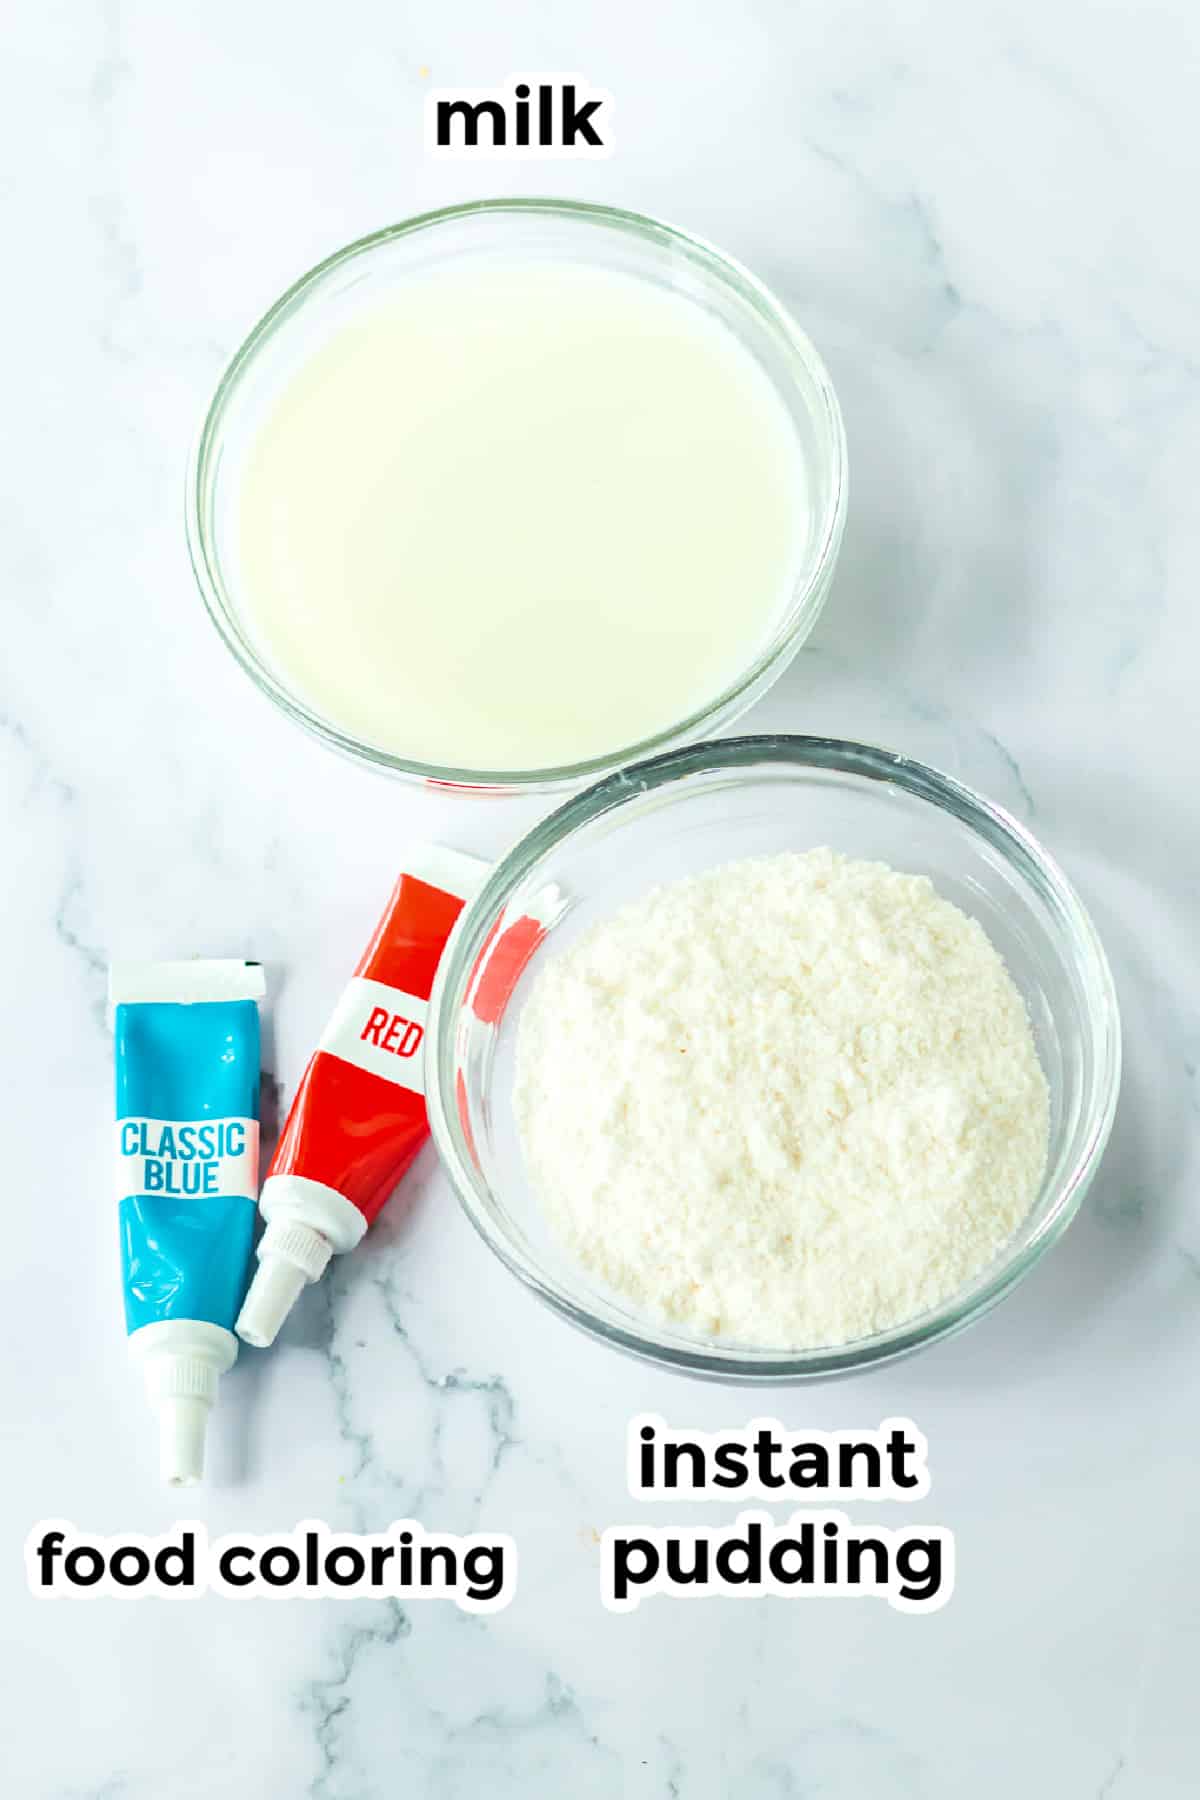
Find the full printable recipe with specific measurements and directions below in the recipe card.
- white chocolate instant pudding You will need three 3.3 ounce boxes. Vanilla, cheesecake or any other flavor of white instant pudding can also be used.
- milk
- Red and blue food coloring gel gives a brighter color
How To Make Red White And Blue Popsicles
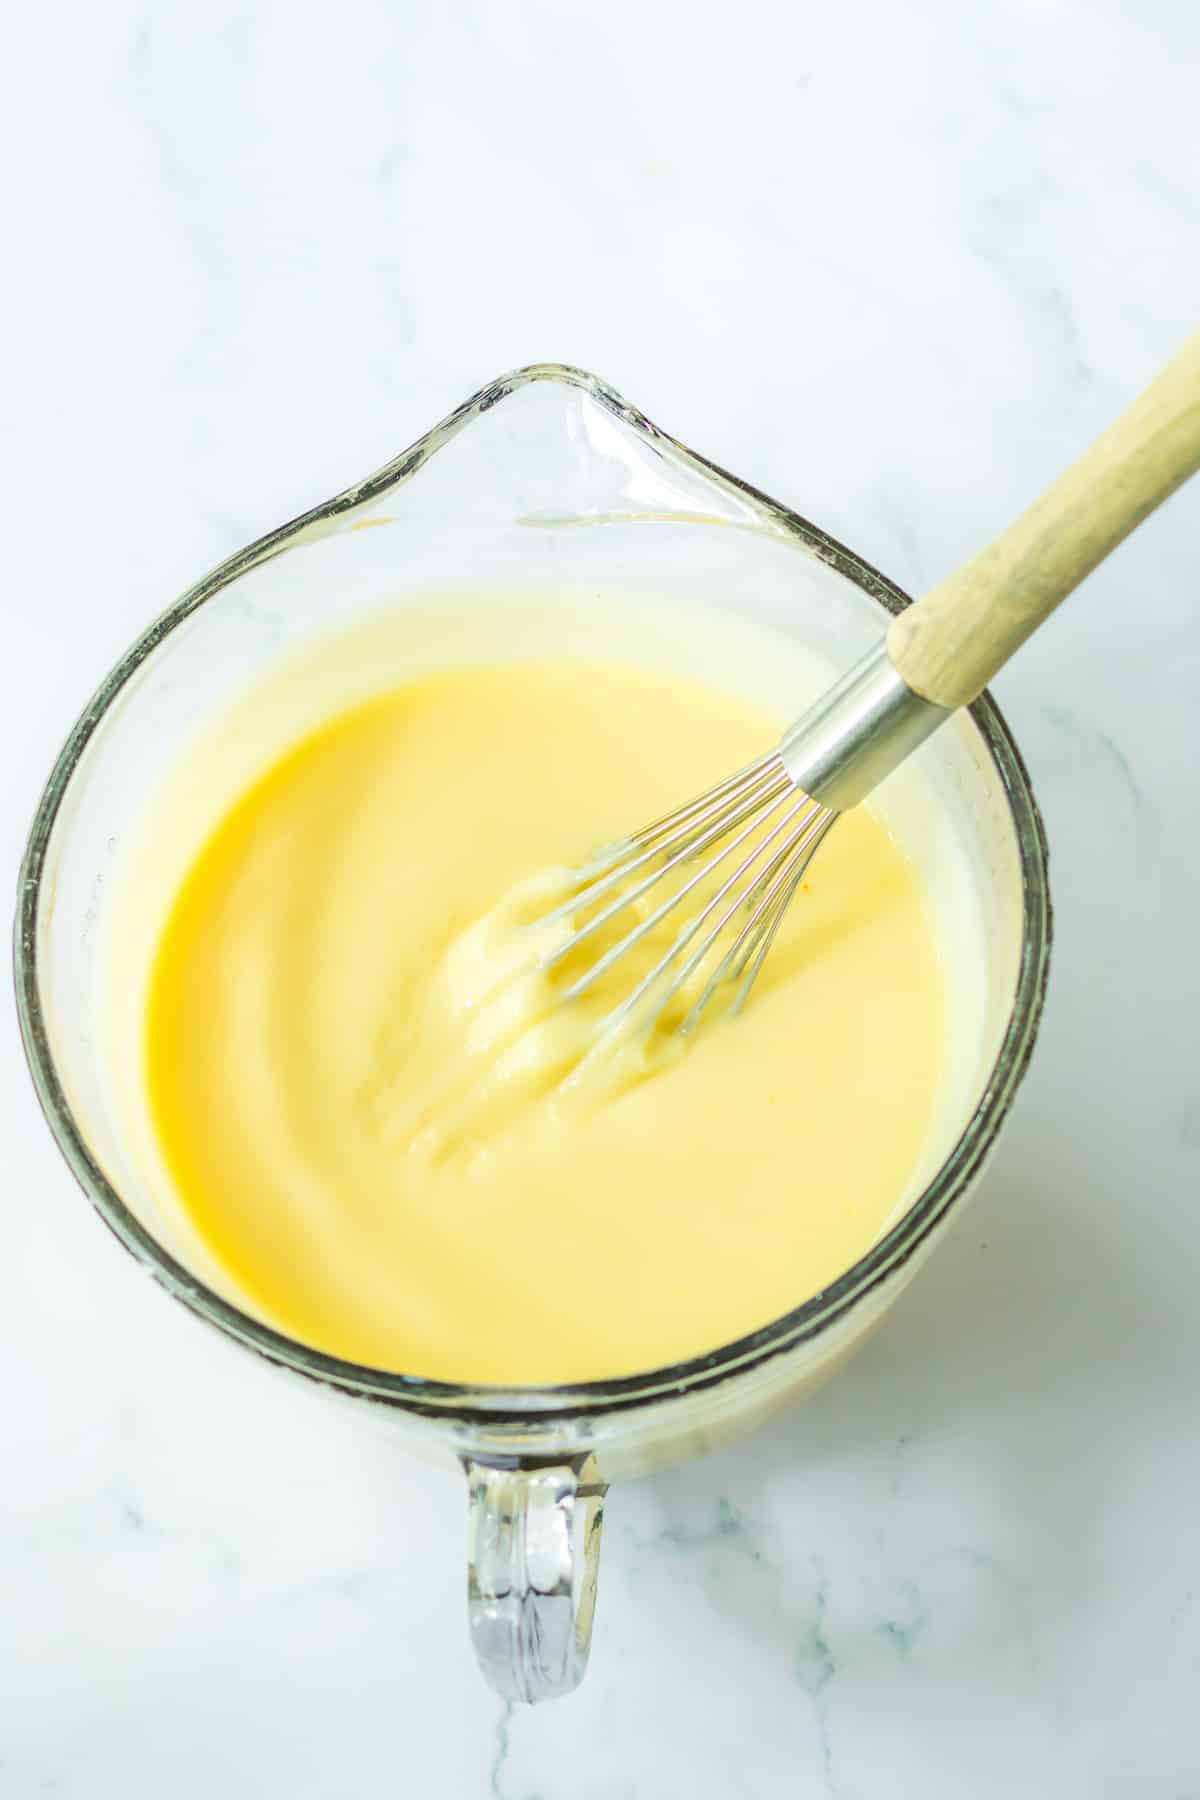
- In a large mixing bowl combine the white chocolate pudding powder with milk. Whisk the mixture together until fully dissolved.
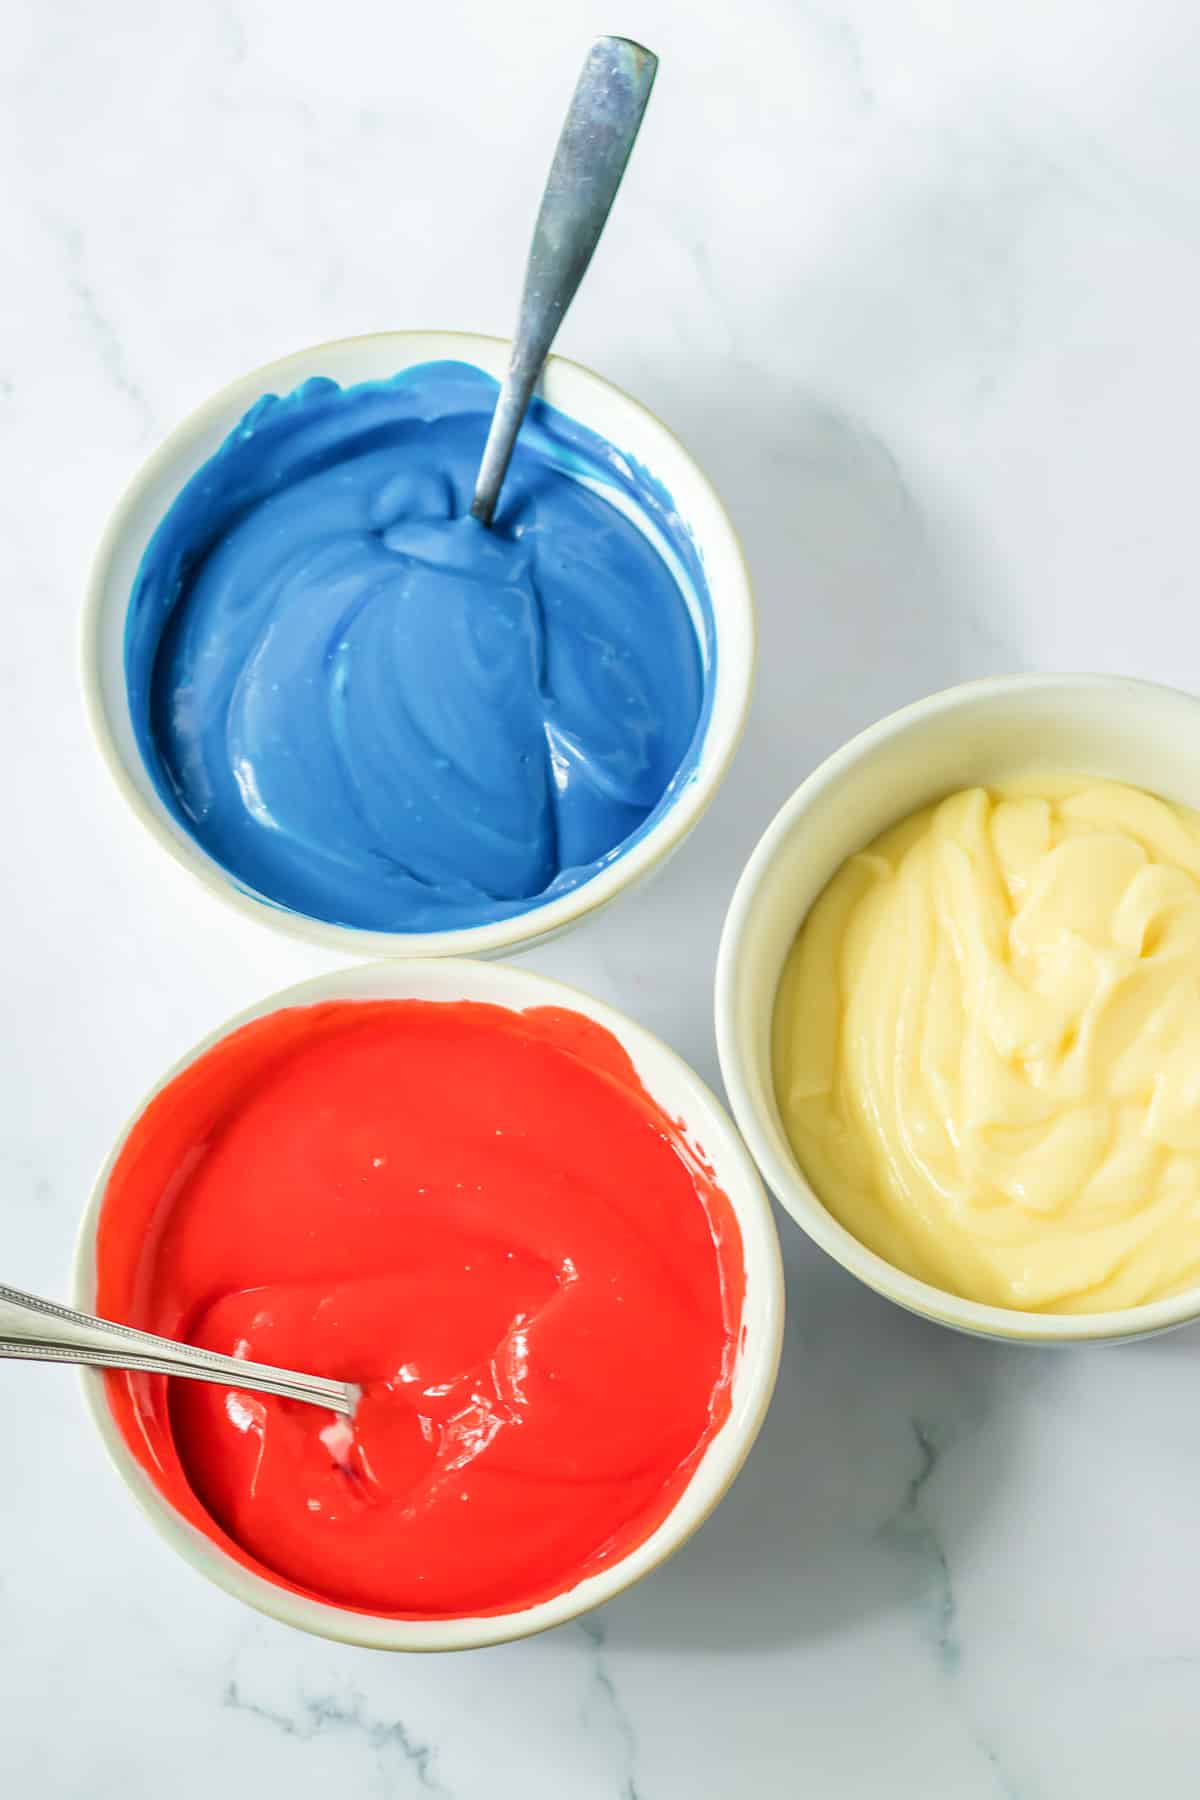
- Divide the pudding equally into three bowls. Add red food coloring to one bowl and blue food coloring to a second bowl, setting the third bowl to the side. Mix each bowl of food coloring with a clean spoon to color the pudding to make the red layer, white layer and blue layer..
- Place a zip top bag in a tall glass and open the bag. Use the spoon to add the red pudding to the bag and zip it closed. Repeat with a new bag for the blue pudding and the white pudding.
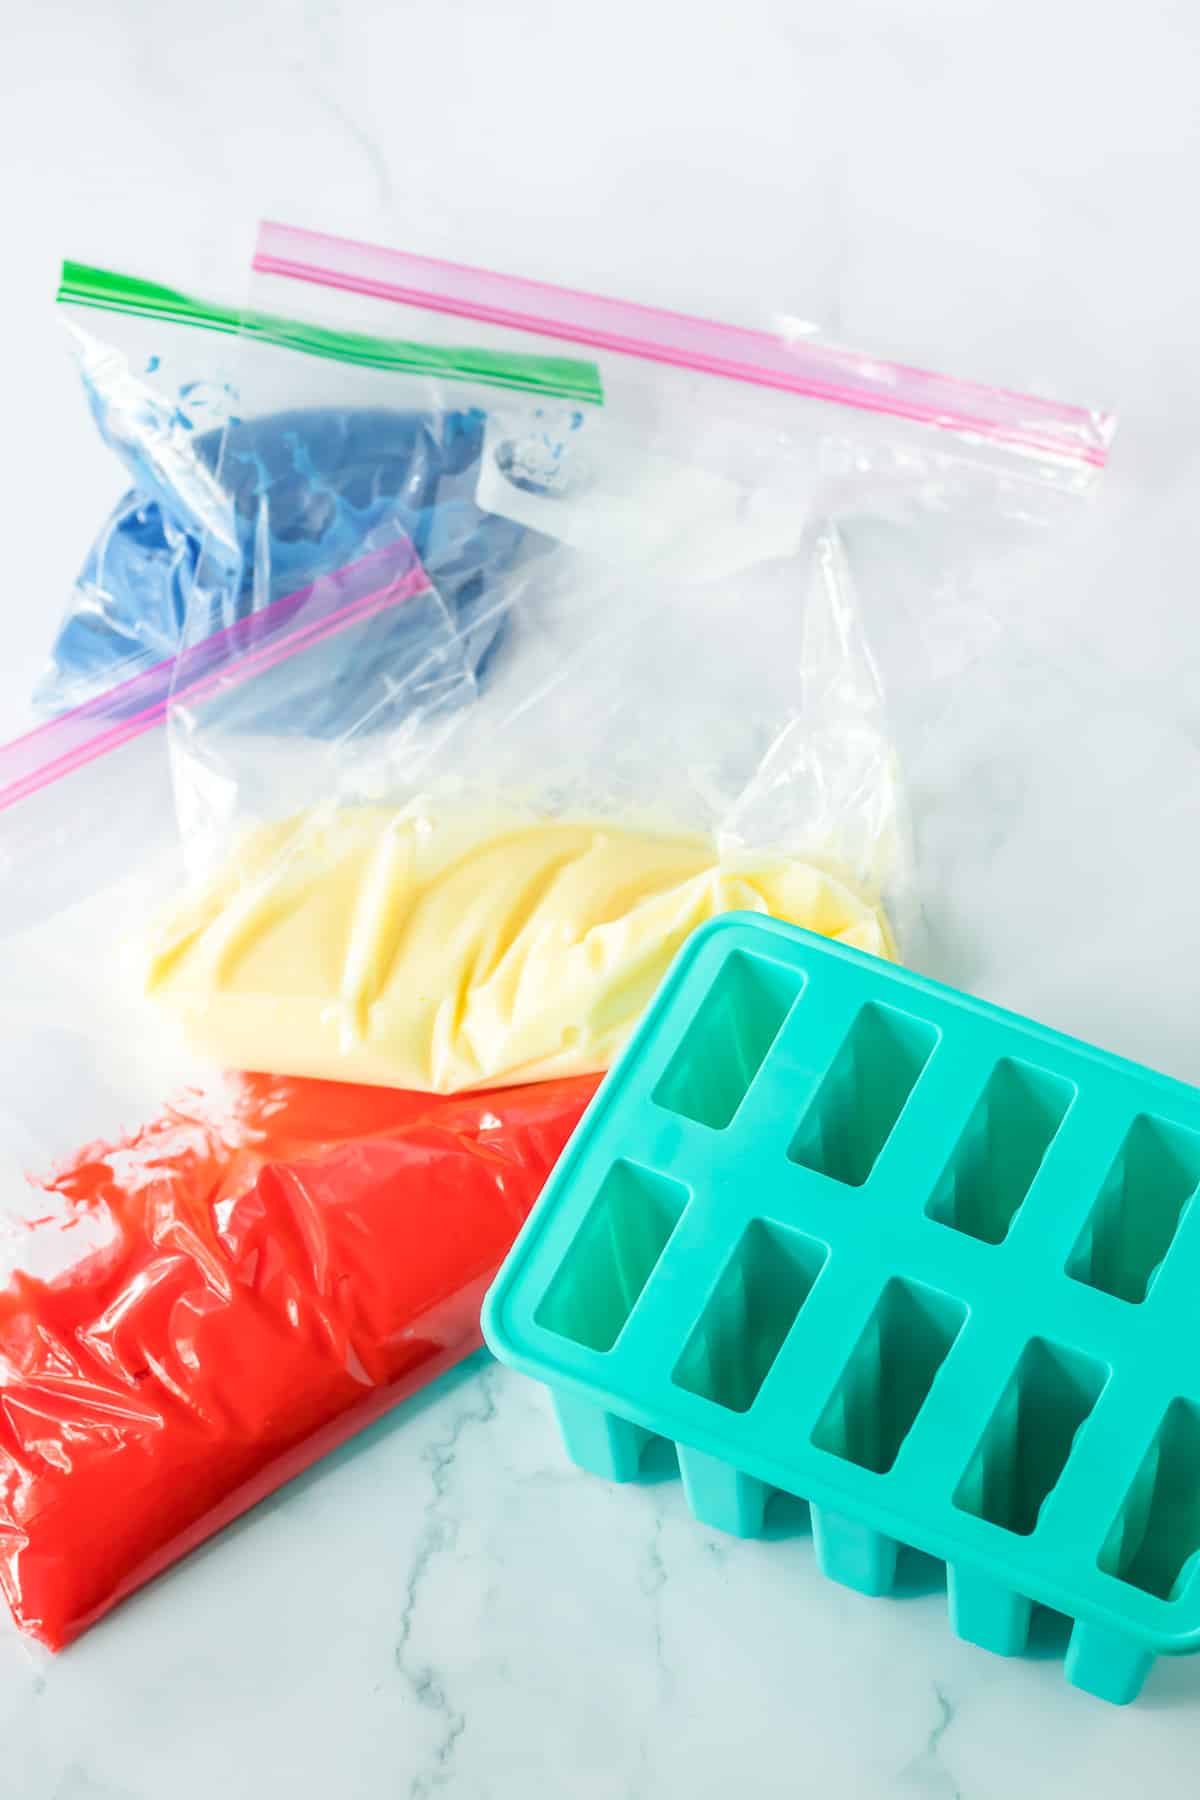
- Snip off the corner of the red bag of pudding with scissors. Fill each hole in the popsicle mold 1/3 the way full with red pudding. Repeat with the white pudding and the blue pudding for the next layer and the final layer, filling 1/3 of the popsicle each time.
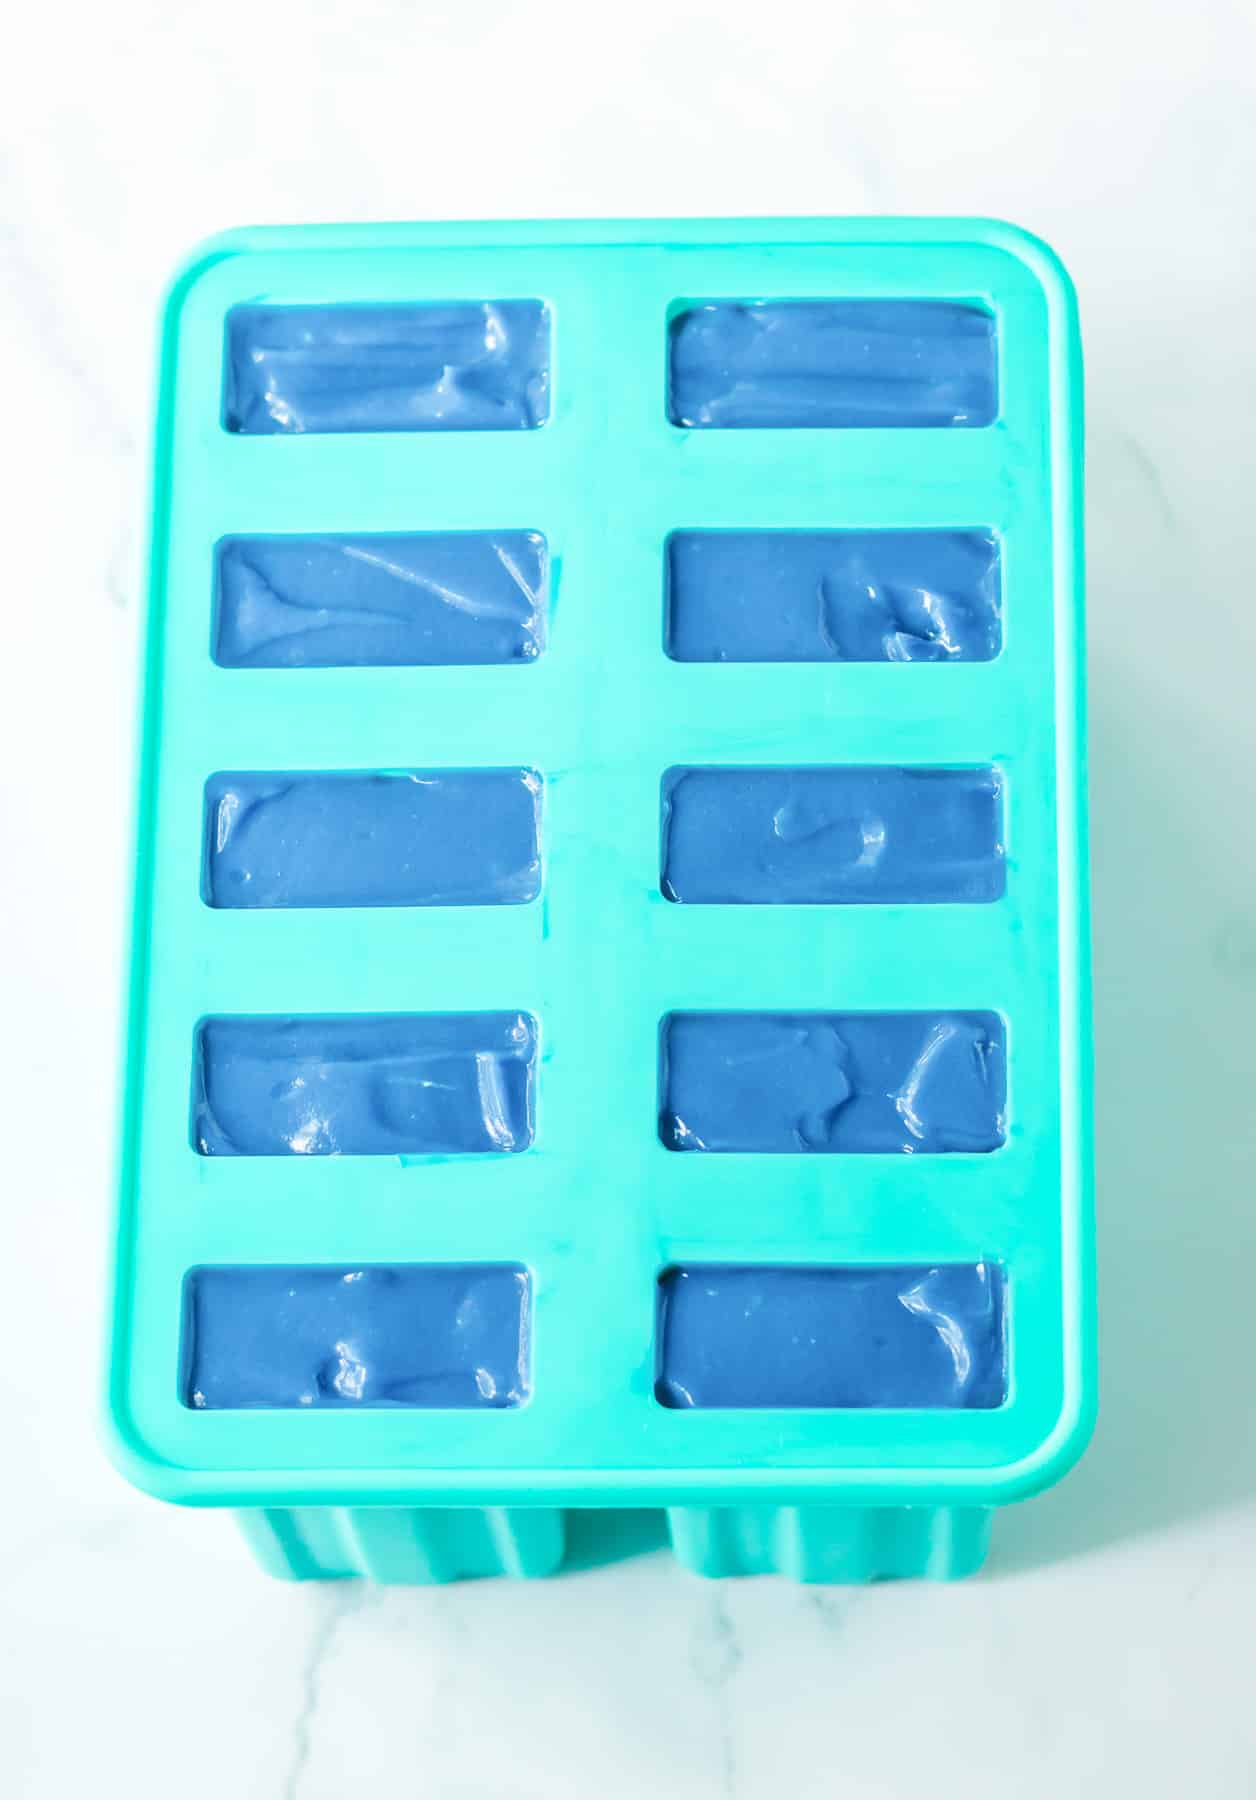
- Add the lid to the top of the popsicle mold if yours has one. Add a stick to each popsicle.
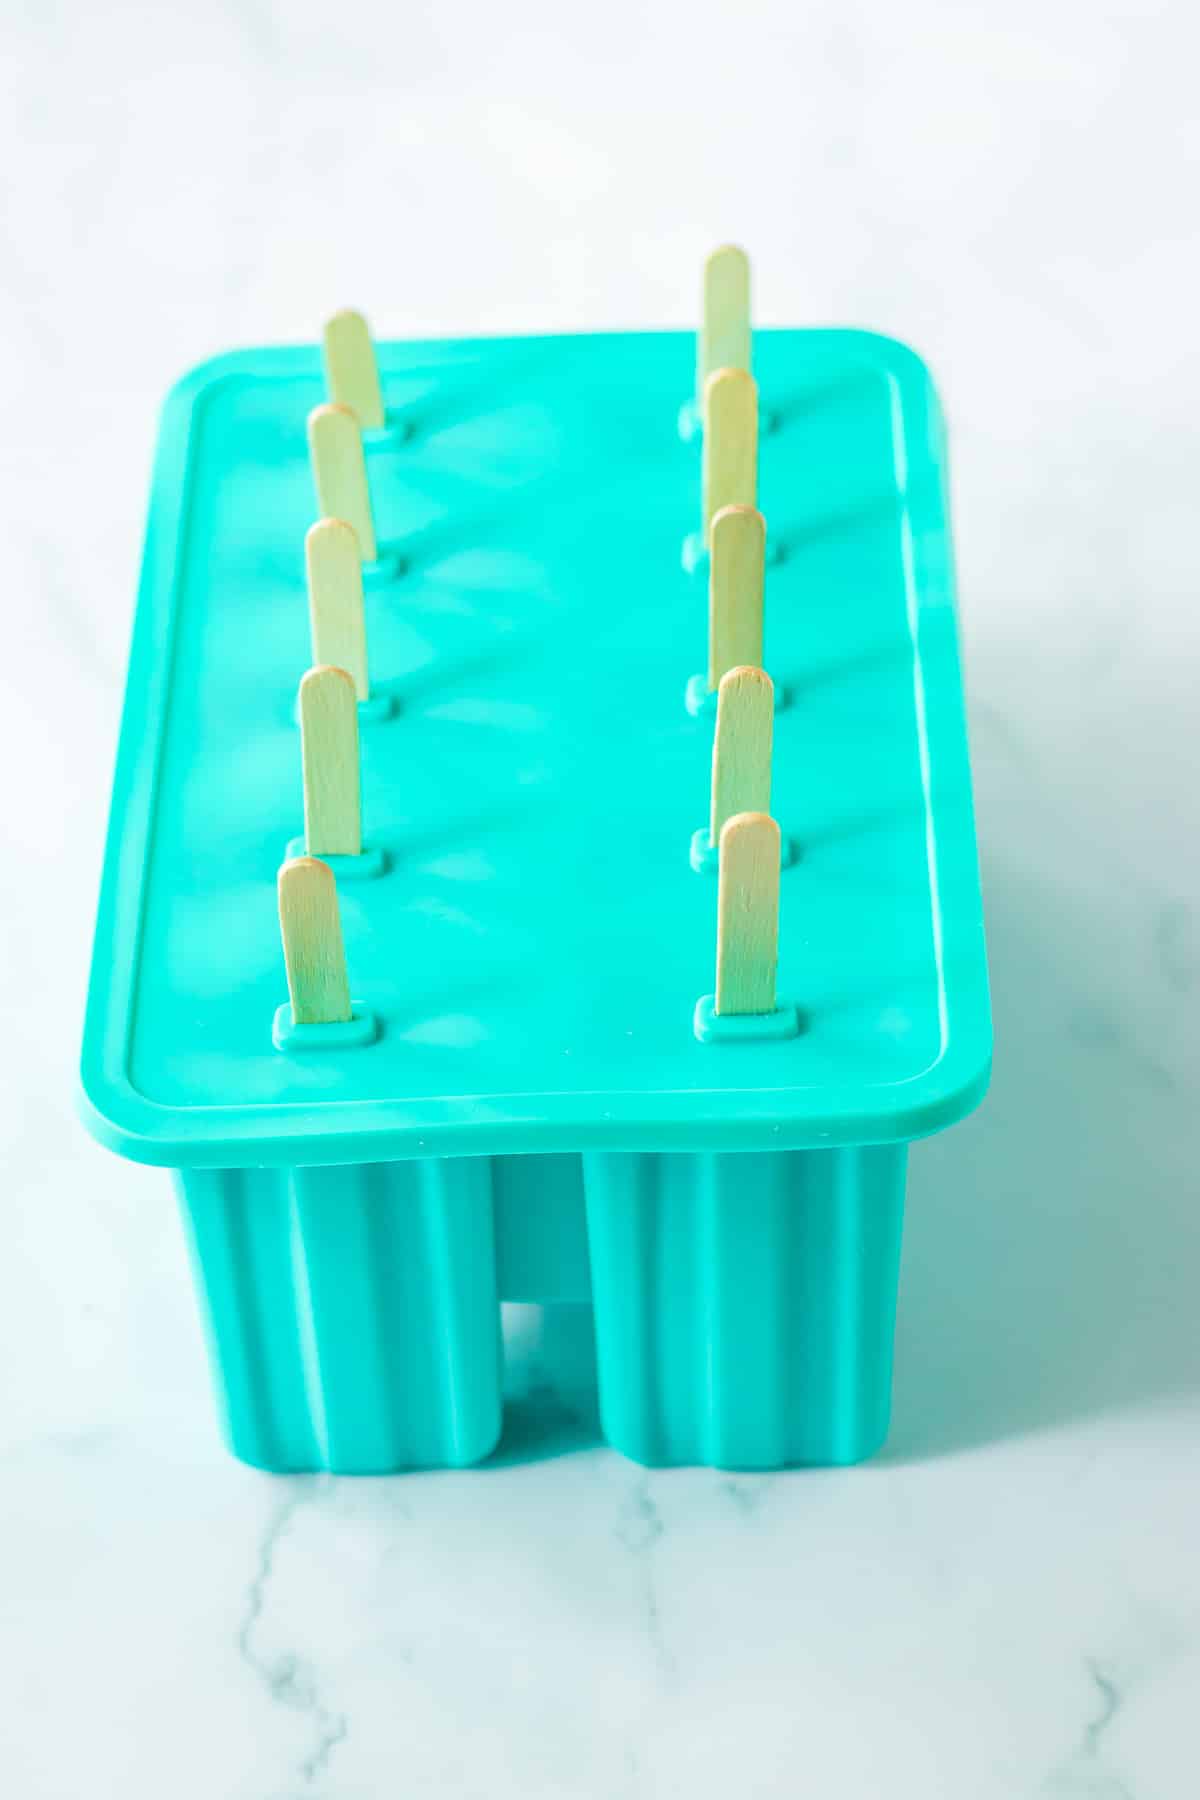
- Place the popsicle mold on a flat surface like a baking sheet. Place the popsicles in the freezer for at least 4 hours or overnight. Carefully remove the popsicles from the mold and enjoy!
Variation Ideas
Use Other Flavors Of Pudding– Any of the white-colored puddings work in this recipe. Vanilla, cheesecake and white chocolate all work to make different flavors that taste like they came from the ice cream truck!
Add Sprinkles– Sprinkles can be added into the popsicle mix.
Swirl The Colors Together– You can do a swirl of the three colors in the popsicles. Add dollops of color, alternating between colors as you add. Don’t mix the popsicles intentionally. The red and the blue may cause purple in a few places, but they are pretty.
Try Other Colors– You can also make rainbow popsicles, mermaid colors, ocean colors, or theme them for party colors just by changing the food coloring colors.
Add Fresh Berries– You can add berries like fresh strawberries, blueberries, raspberries or other fresh fruit to the layers of this popsicle.
How Long Will Red White And Blue Popsicles Last?
You can freeze these popsicles in the freezer for several months before the quality starts to go down.
Popsicles can be left in the mold until you are ready to eat or you can remove them and store them in little individual bags. My silicone molds came with some bags, but we often just take out a few popsicles at a time as we enjoy them.
How Do I Get The Popsicles Out Of The Mold?
The silicone molds helps to release the popsicles. If they are still stuck, a better way to get them out is you can just run a little warm water over the outside of the popsicle mold until it releases. You can use the warm water trick with hard plastic molds also.
More Red White And Blue Desserts
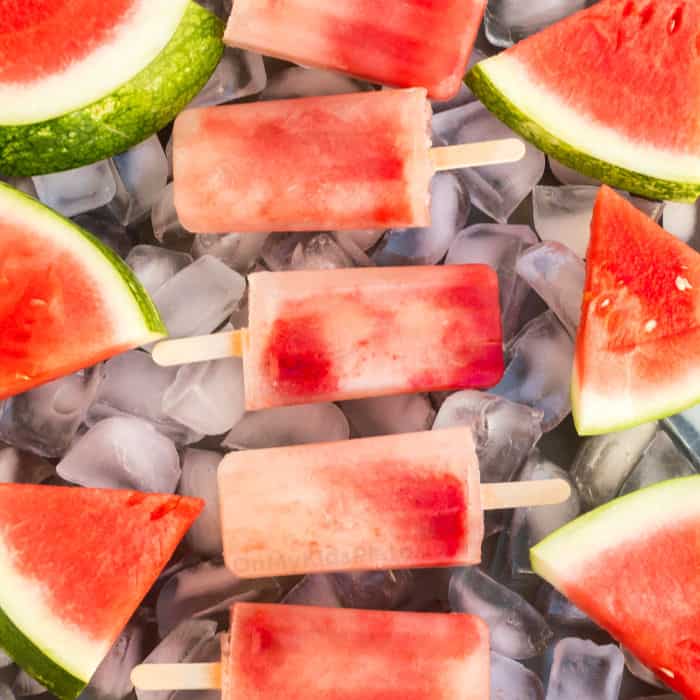
Juicy Watermelon Popsicles
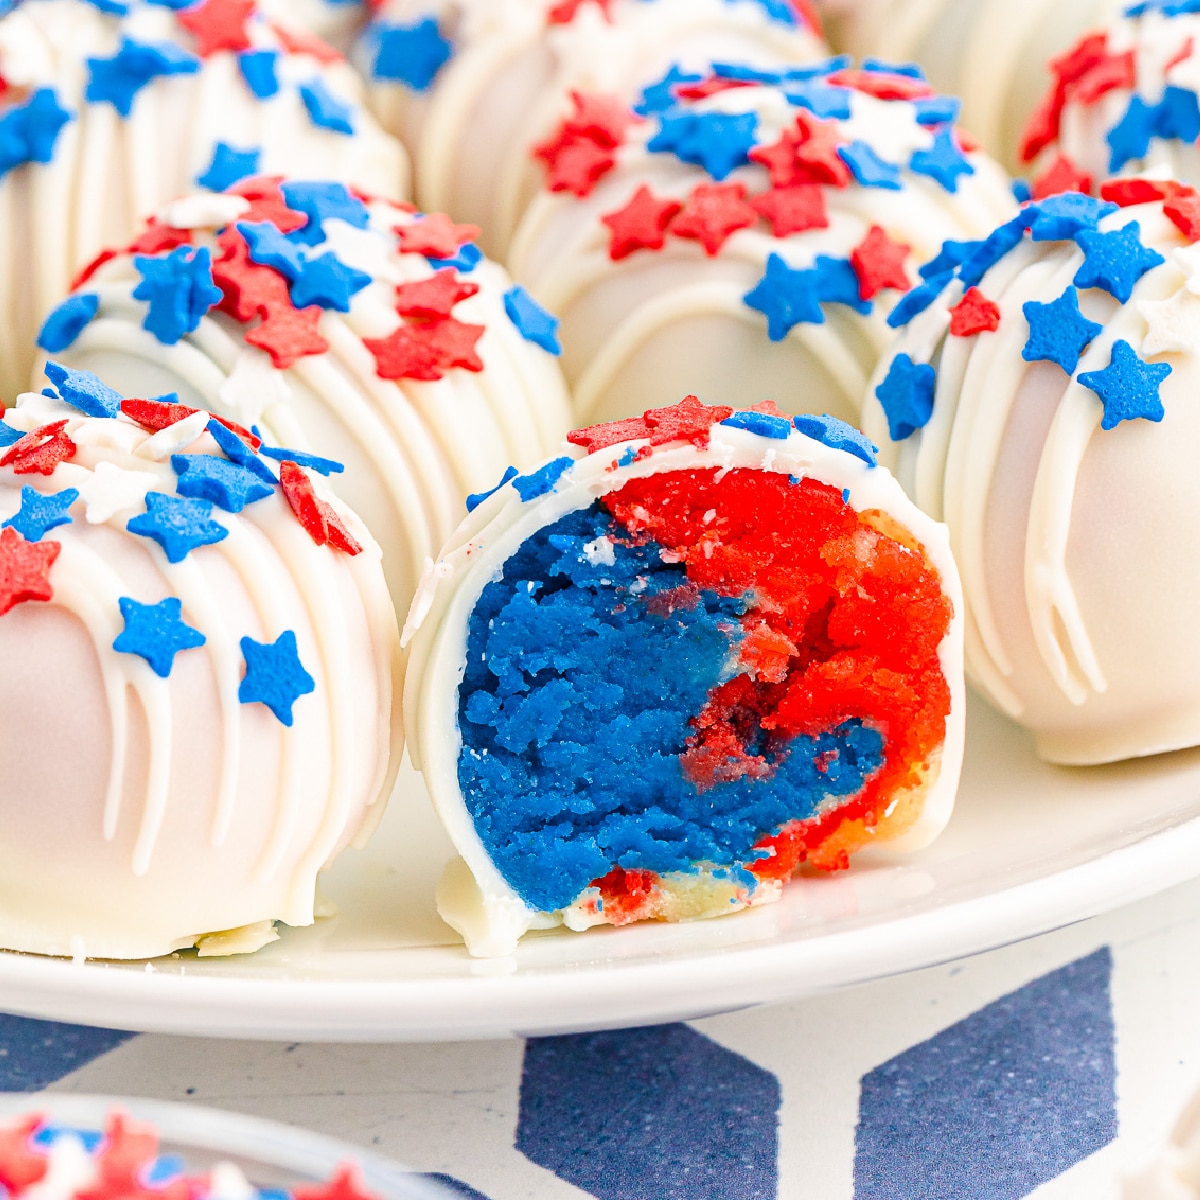
Easy Patriotic 4th Of July Cake Balls
M&M Cookie Bars
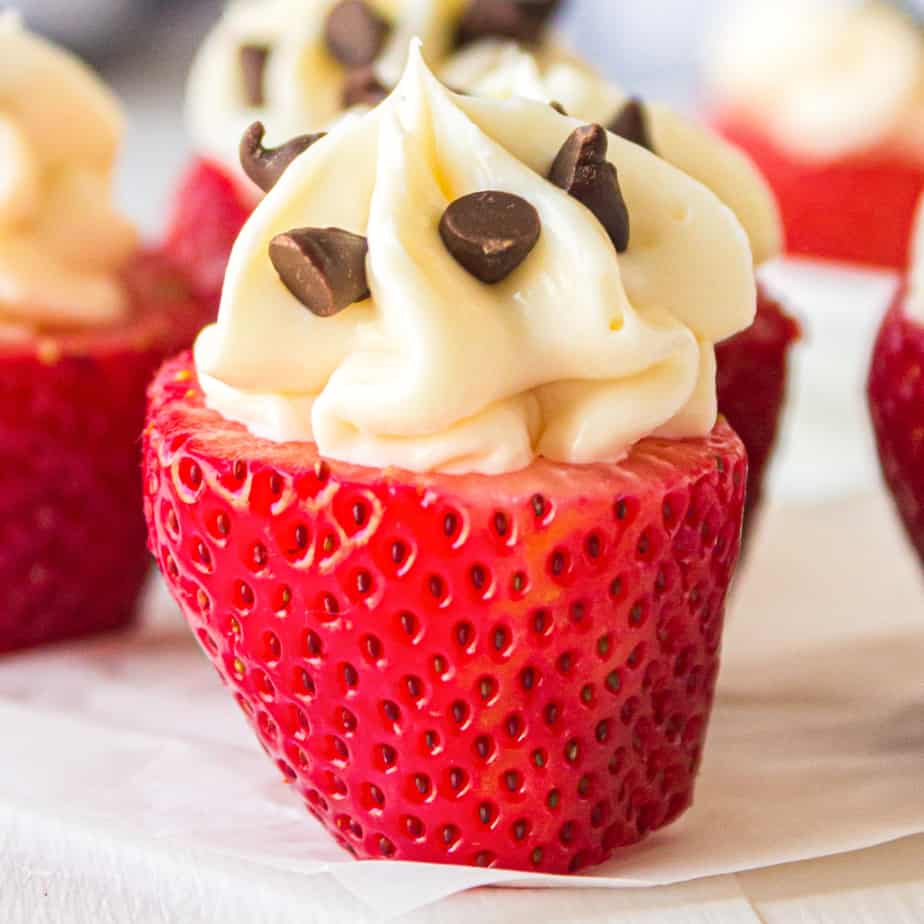
Cheesecake Stuffed Strawberries
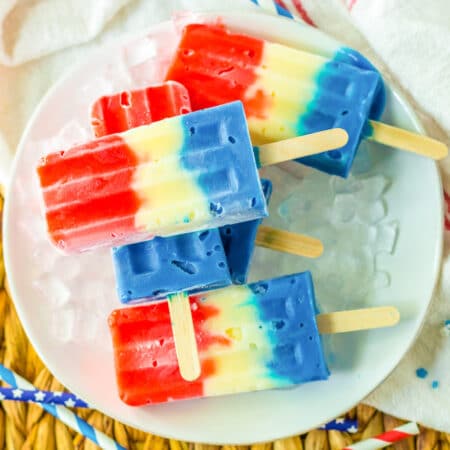

Red White And Blue Popsicles
Equipment
- 3 zip-top bags strong, I prefer freezer bags
Ingredients
- 9.9 ounces white chocolate instant pudding You will need three 3.3 ounce boxes
- 5 cups milk
- Red and blue food coloring gel gives a brighter color
Instructions
- In a large mixing bowl combine the white chocolate pudding powder with milk. Whisk the mixture together until fully dissolved.
- Divide the pudding equally into three bowls. Add red food coloring to one bowl and blue food coloring to a second bowl, setting the third bowl to the side. Mix each bowl of food coloring with a clean spoon to color the pudding.
- Place a zip top bag in a tall glass and open the bag. Use the spoon to add the red pudding to the bag and zip it closed. Repeat with a new bag for the blue pudding and the white pudding.
- Snip off the corner of the red bag of pudding with scissors. Fill each hole in the popsicle mold 1/3 the way full with red pudding. Repeat with the white pudding and the blue pudding, filling 1/3 of the popsicle each time.
- Add the lid to the top of the popsicle mold if yours has one. Add a stick to each popsicle.
- Place the popsicle mold on a flat surface like a baking sheet. Place the popsicles in the freezer for at least 4 hours or overnight. Carefully remove the popsicles from the mold and enjoy!
Nutrition
Did You Make This?
I would love to see it! Share your thoughts with me in the comments below!

