Easy Patriotic 4th Of July Cake Balls
*This post may contain affiliate links. See our affiliate policy here.
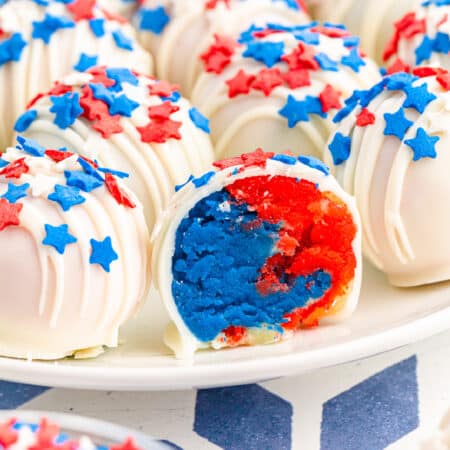
Sweet bite-sized 4th of July cake balls are the perfect choice for your next party! With their deliciously rich vanilla flavor, patriotic red, white, and blue decorations, and colorful cake inside, these cake balls sure to be a hit with family, friends and party guests.
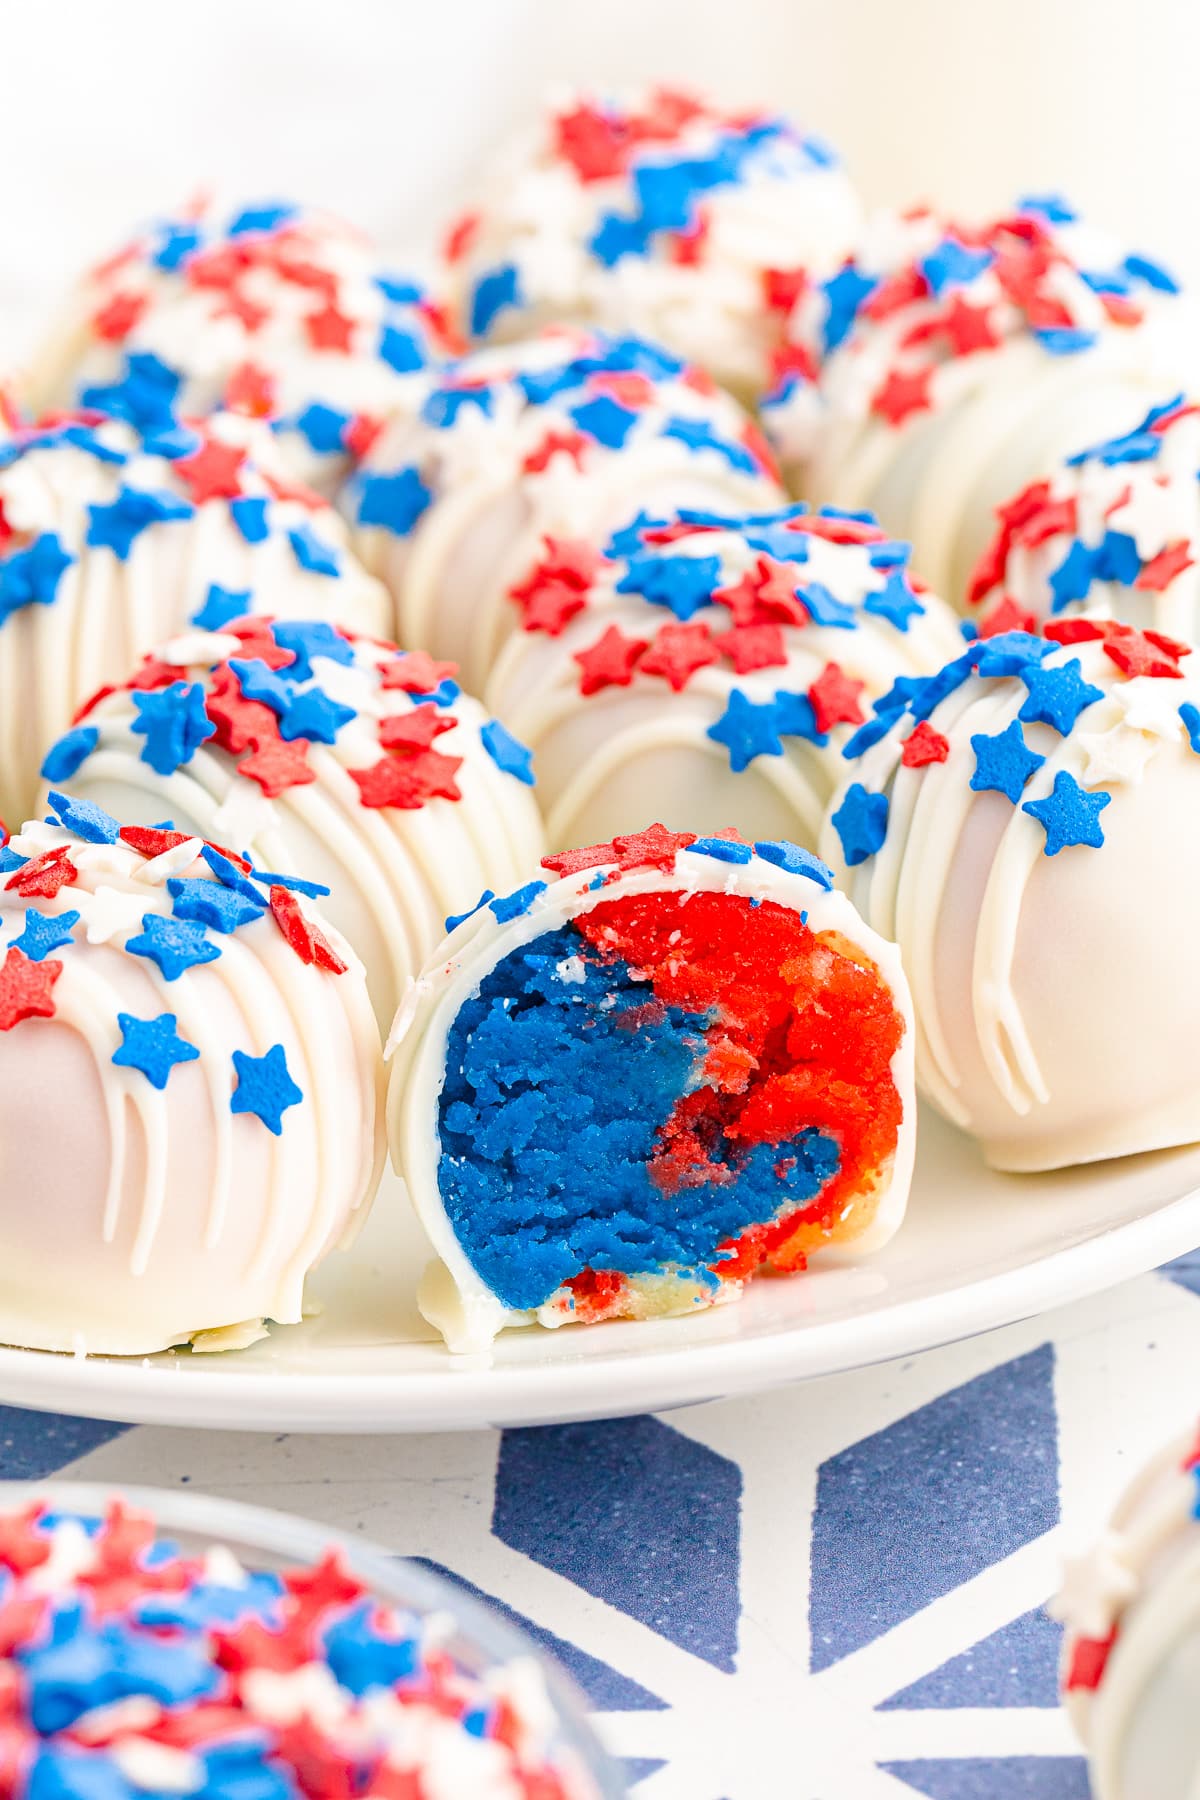
Table of Contents
Why We Love 4th Of July Cake Balls
- Colorful And Fun For Holidays– These colorful treats add a splash of fun to any dessert or potluck table. Perfect for BBQs, potlucks, and for holidays like 4th of July, Memorial Day and Labor Day celebrations.
- Bite-Sized Treats – Bite-sized treats make them easy to share!
- Easy To Customize– You can easily customize these cake balls with your own favorite sprinkles, or even change the colors for other kinds of celebrations like birthdays.
Ingredients For 4th Of July Cake Balls
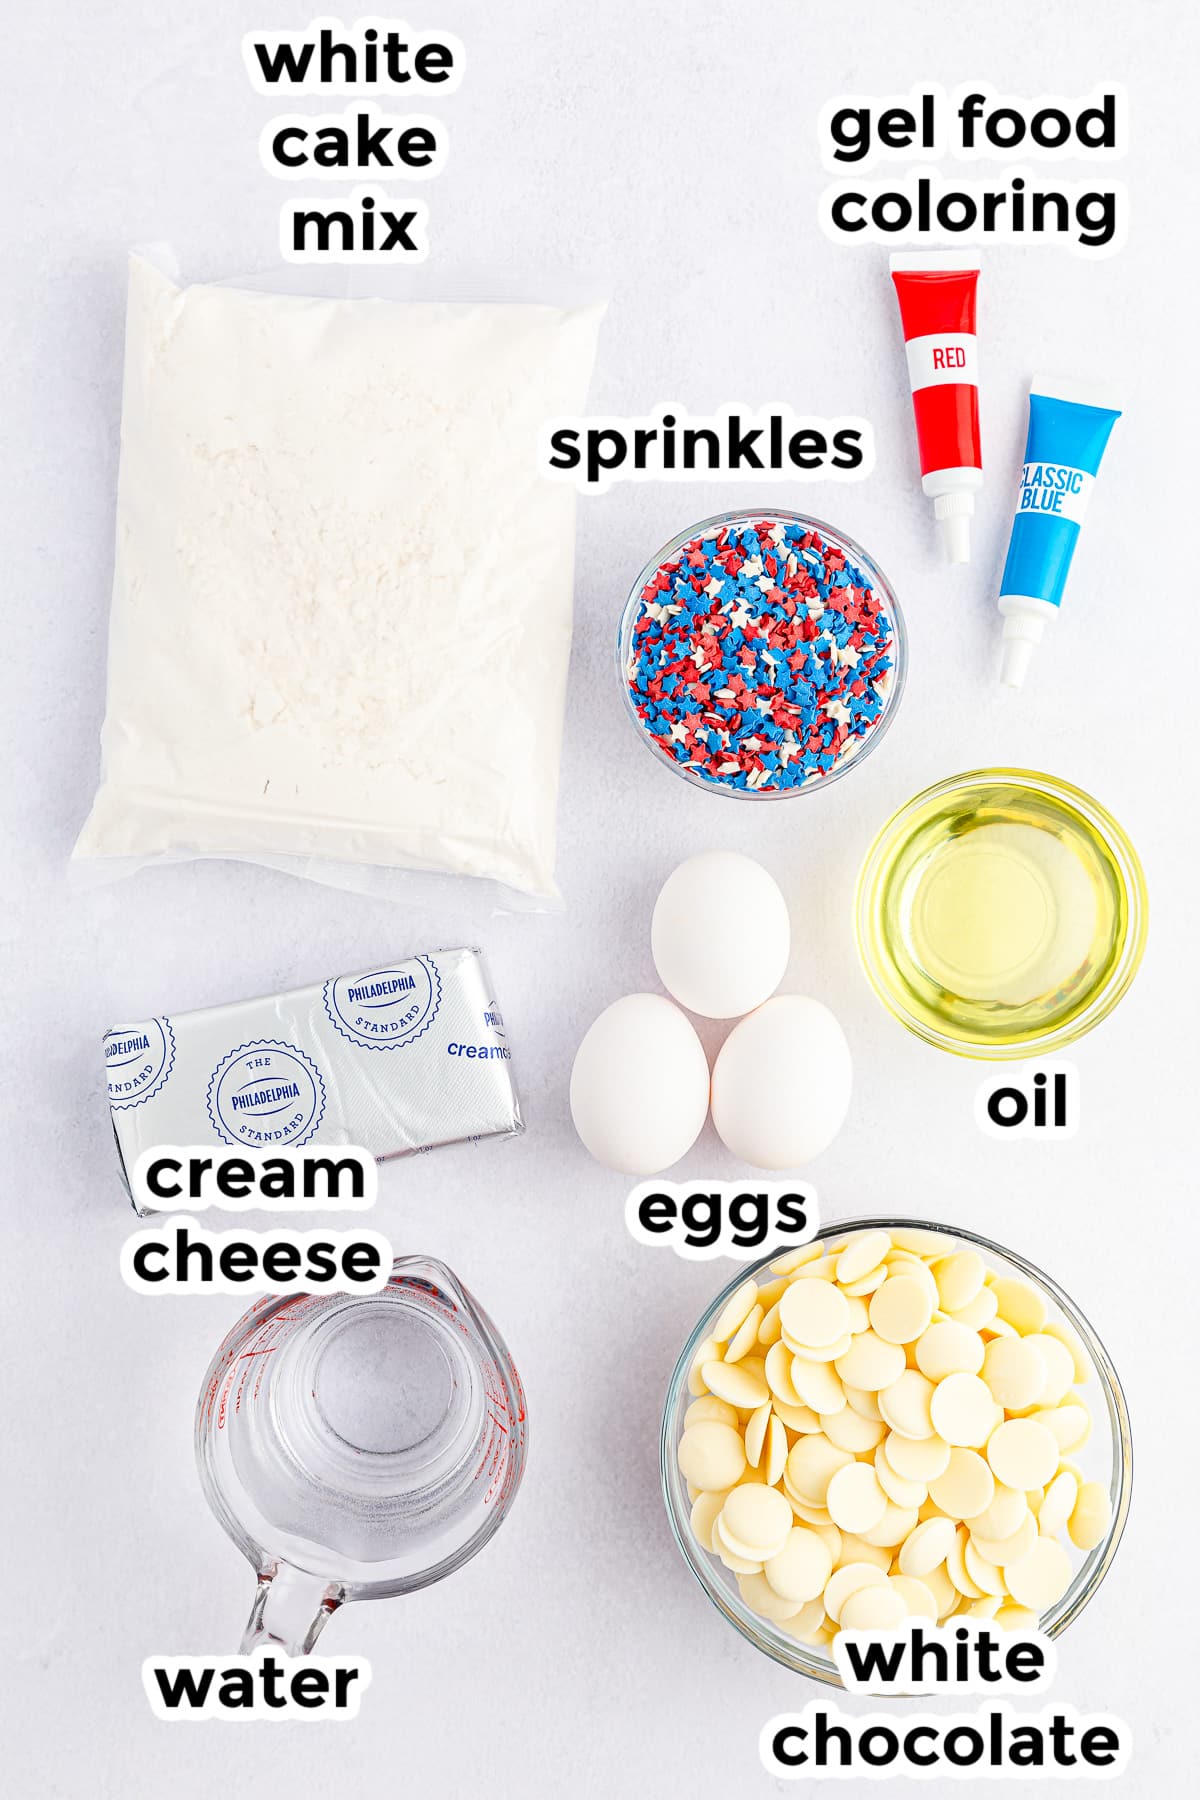
Find the full printable recipe with specific measurements and directions below in the recipe card.
- white cake mix I used Pillsbury, see notes in recipe card
- oil canola oil, vegetable oil, use your favorite cooking oil
- water
- eggs lightly beaten
- food coloring red and blue, gel food coloring gives more vibrant colors and will take less food coloring. I highly recommend using a gel food coloring.
- cream cheese softened to room temperature
- vanilla melting wafers I used Ghirardelli, about 10 ounces total, also called white candy melts. You can also use almond bark. White chocolate chips can be used, but you may need to add an extra tablespoon of coconut oil or shortening to thin them out when melting.
- sprinkles red, white, and blue
How To Make 4th Of July Cake Balls
Baking The Cake
- Preheat the oven to 350 F. Lightly oil 3 8 inch x 8 inch square baking pans or line with parchment paper.
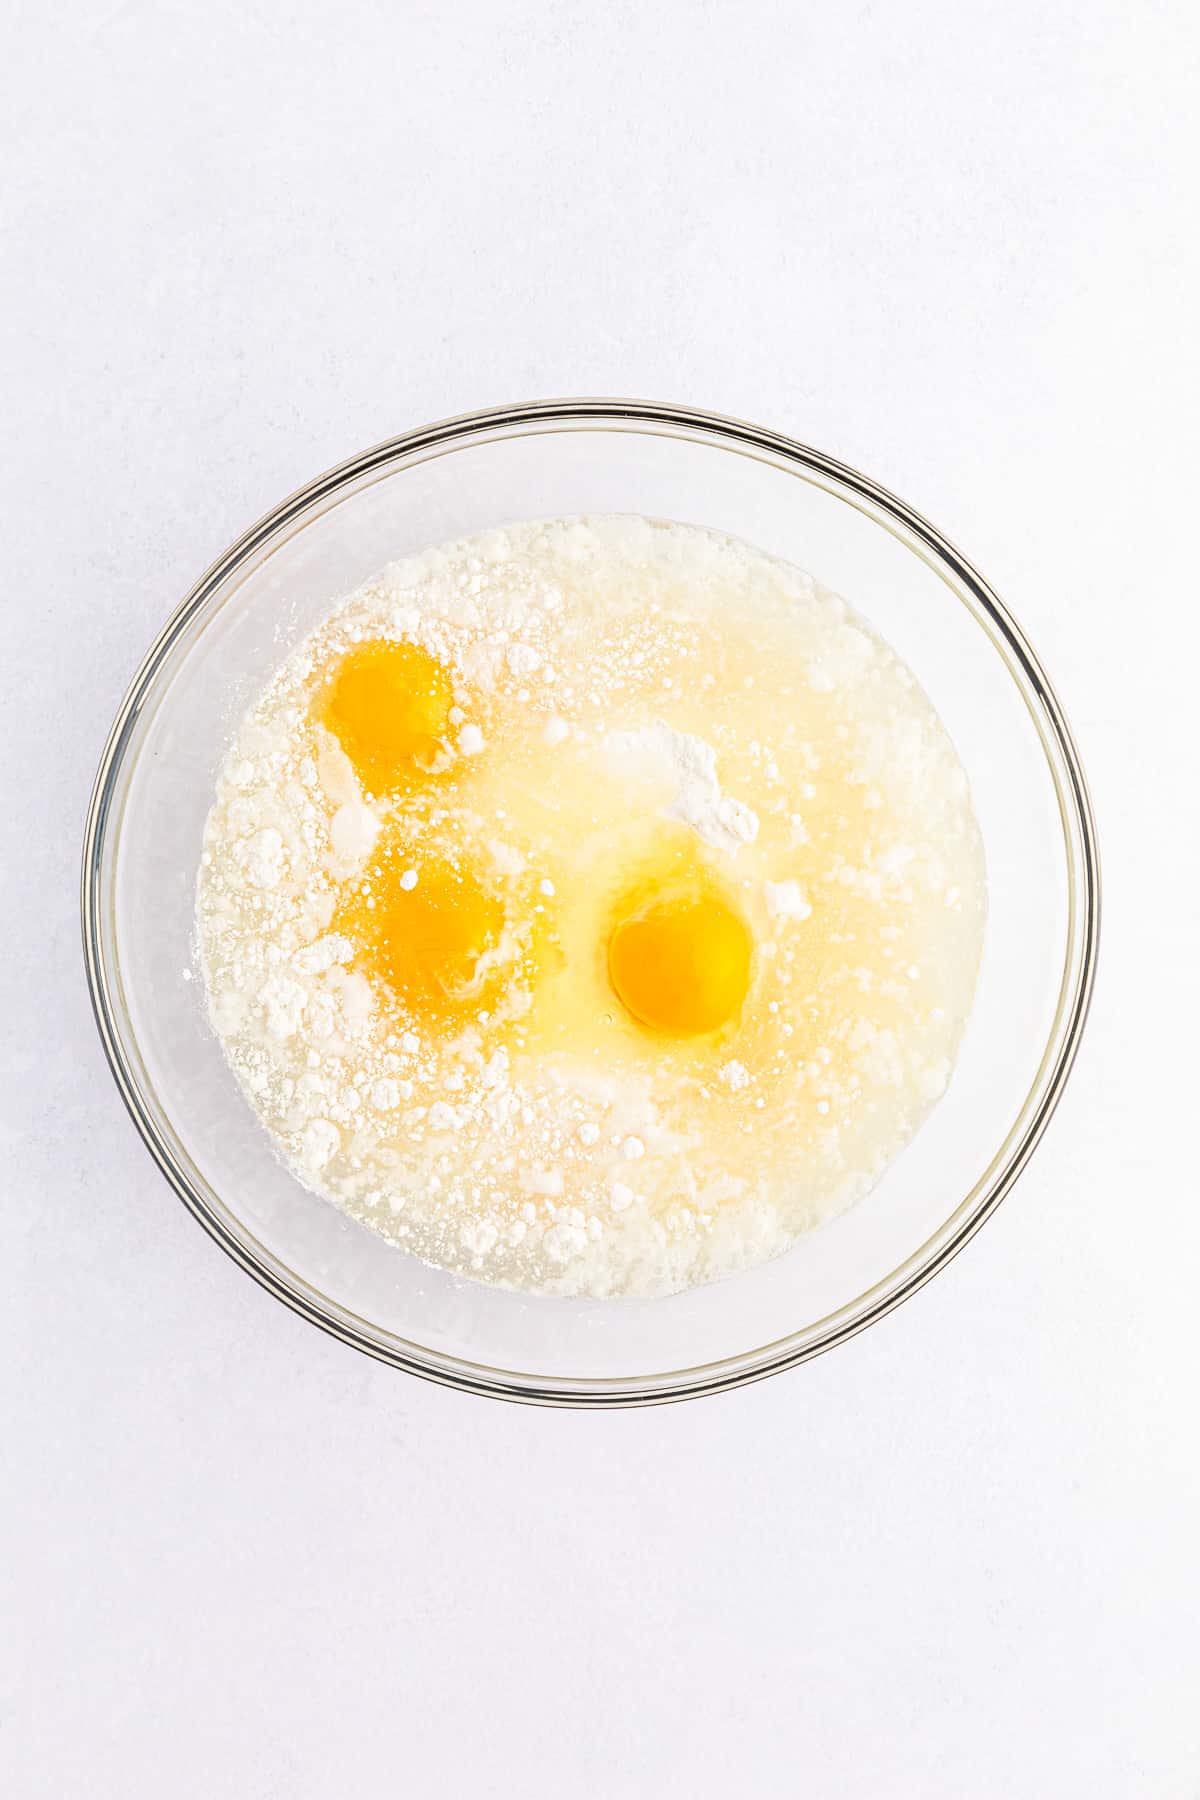
- In a large mixing bowl , combine cake mix, oil, water and eggs. Mix with an electric mixer or a whisk until all of the cake mix is fully mixed into the wet ingredients.
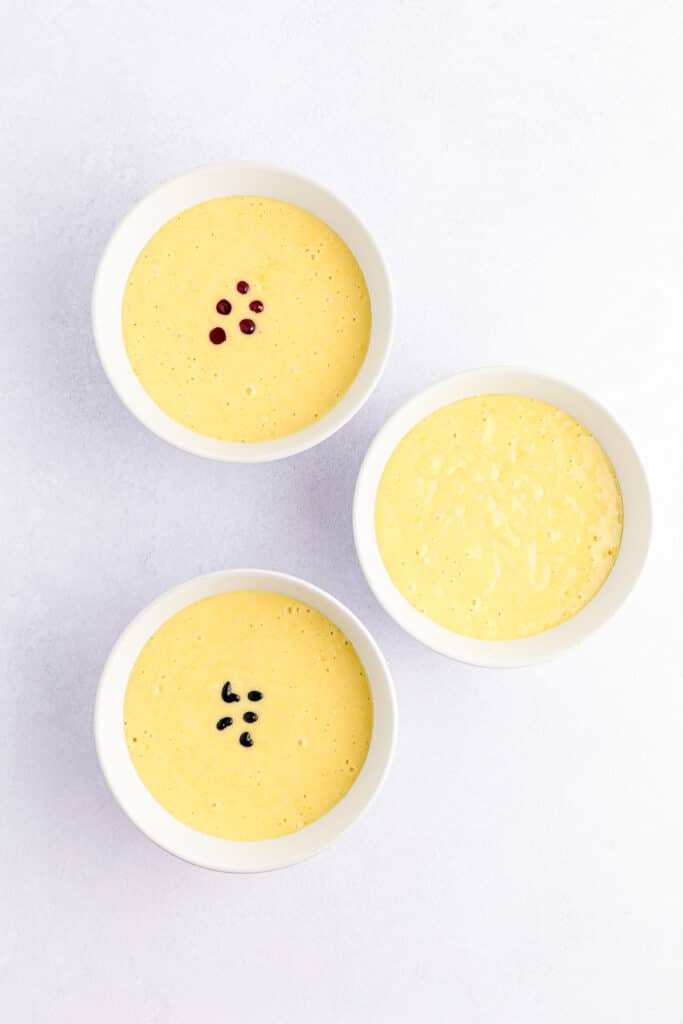
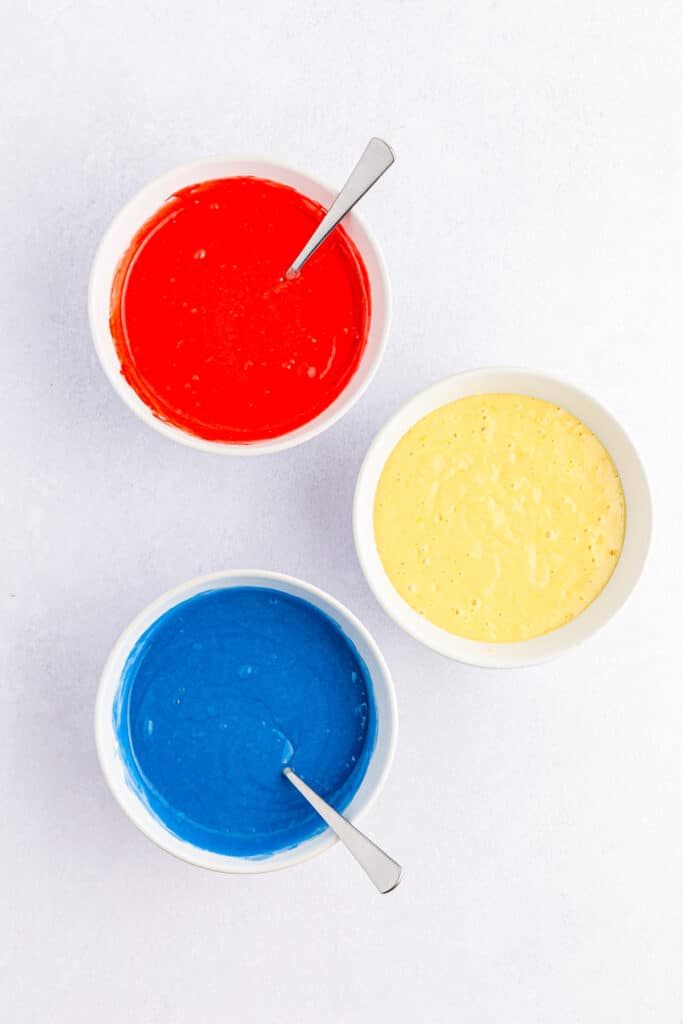
- Separate the batter into three smaller bowls and set one bowl of batter to the side. Mix red food coloring into one bowl, adding a few drops at a time until the batter is your desired color. Repeat with the next bowl with the blue food coloring until you have one plain, one red and one blue bowl of cake batter.
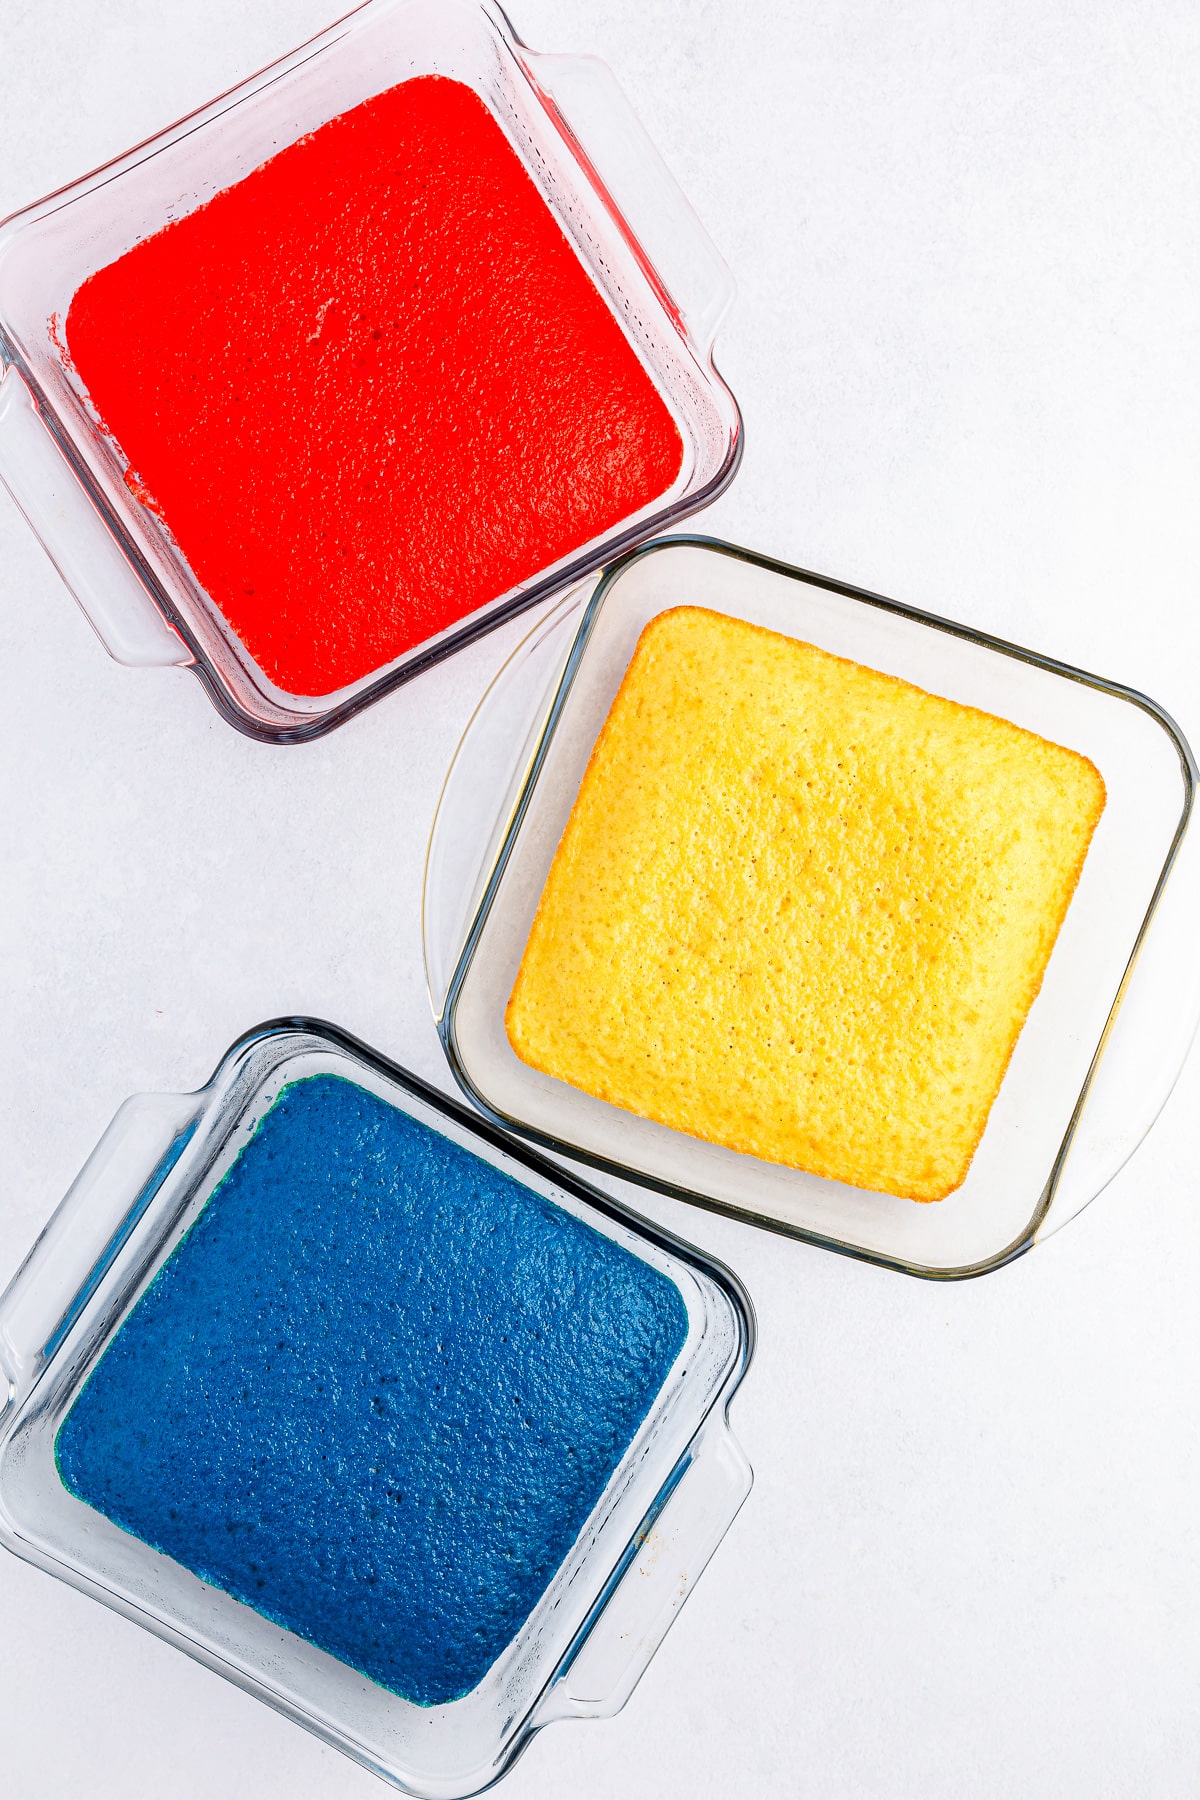
- Pour each batter into its own square baking pan. Bake each cake for 14-16 minutes, or until a toothpick inserted in the center comes out clean and the cake is cooked through. Allow the cake to cool completely on a wire cooling rack or clean kitchen towel.
Making The Cake Ball Centers
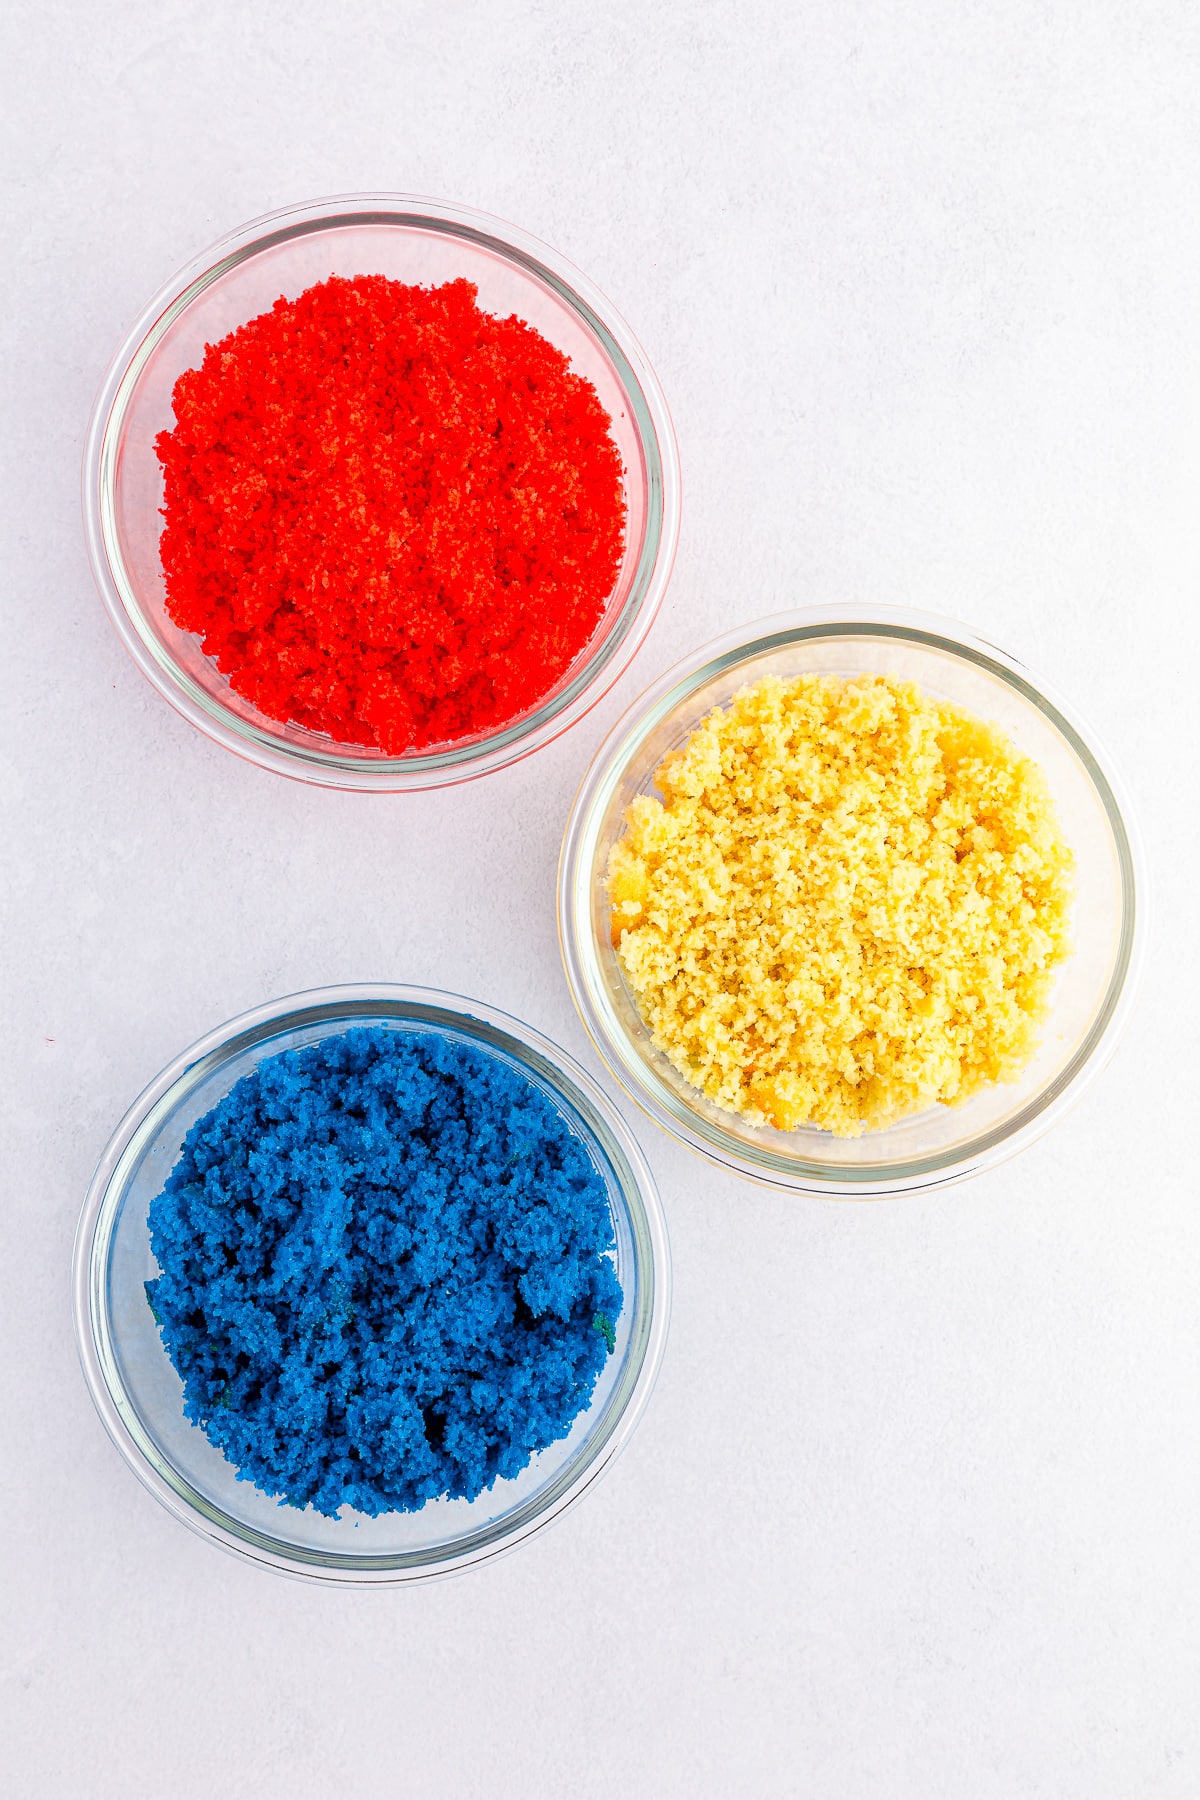
- Once cooled, crumble the cake between your fingers each into their own bowl.
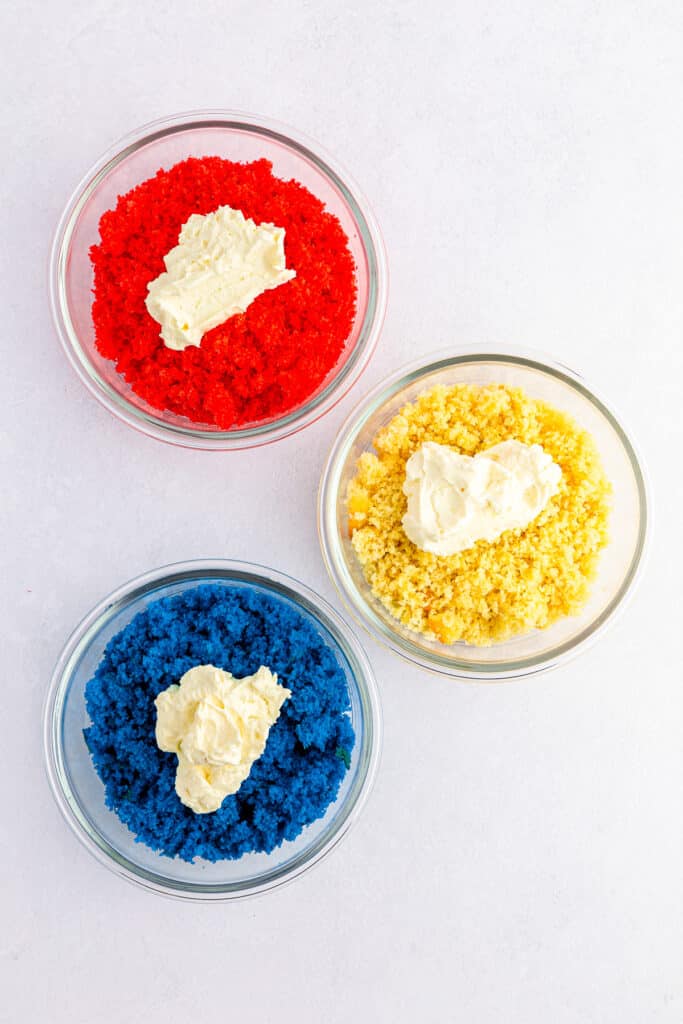
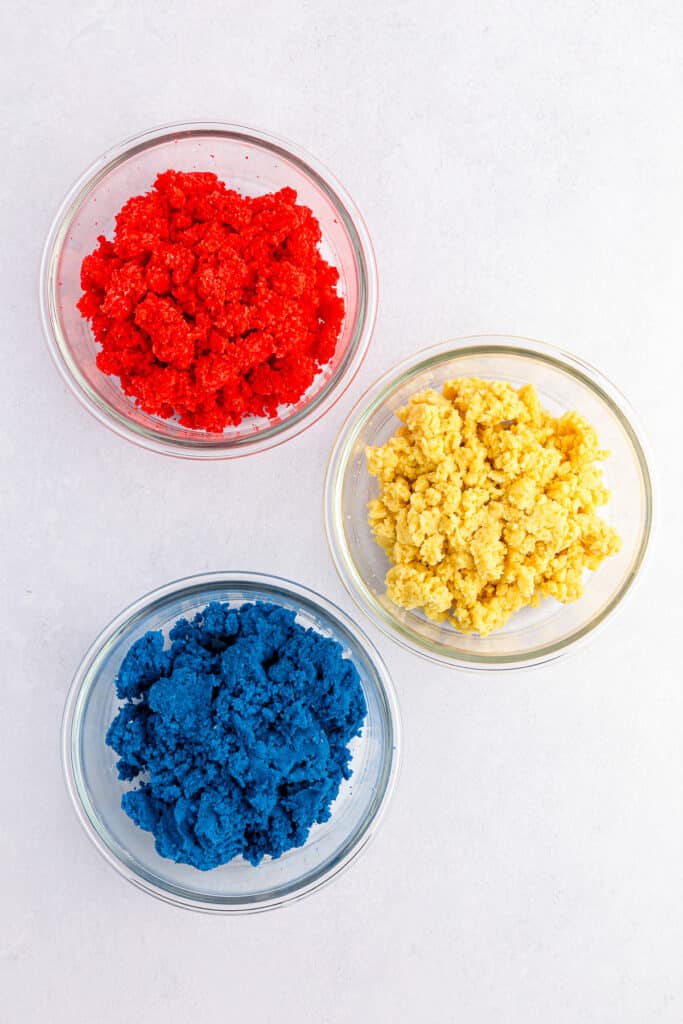
- In a large mixing bowl, beat cream cheese until smooth with an electric mixer. Divide the cream cheese evenly between the three bowls of crumbled cake. Mix each bowl of cake and cream cheese well until the cake becomes the texture of playdough with an electric mixer on low or a silicone spatula. Be careful to clean the beaters or spatula when moving from one cake mixture to the next.
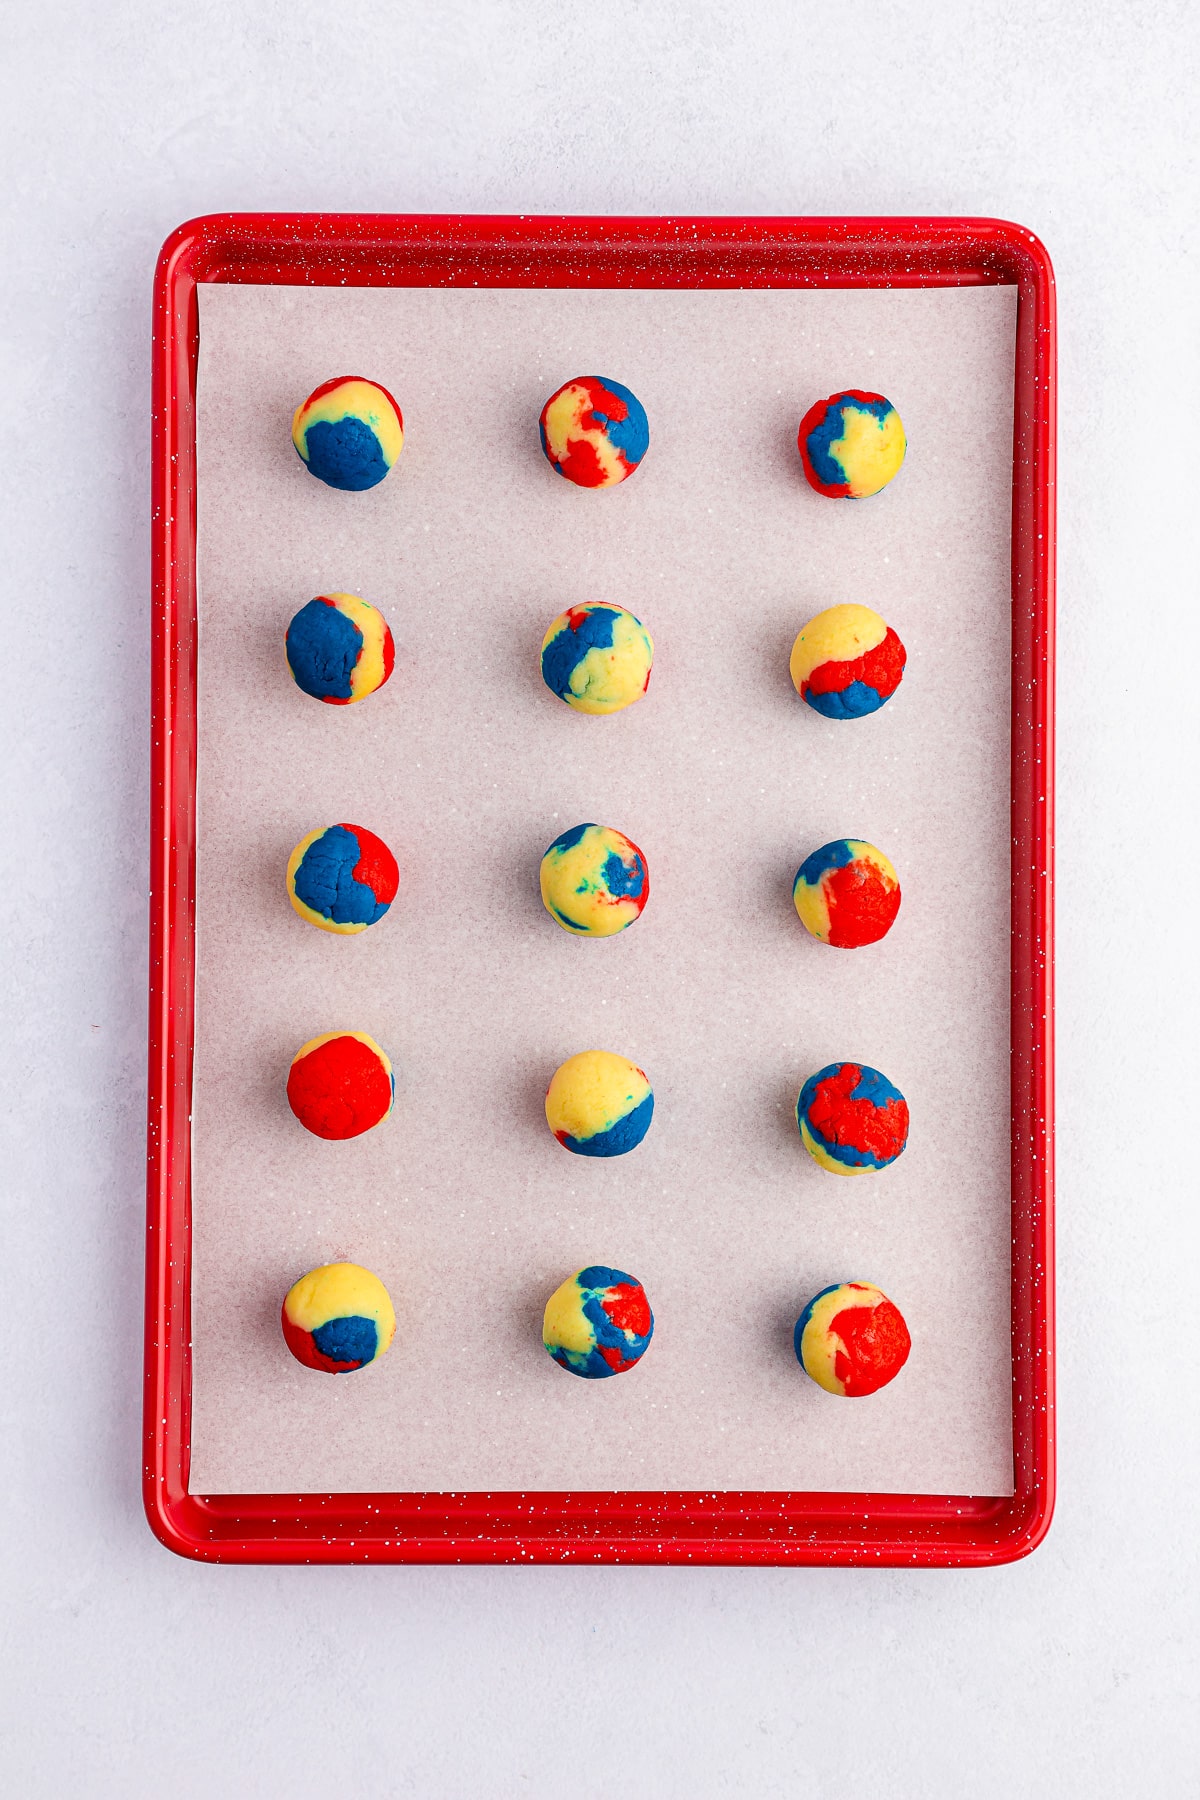
- Line two baking trays with parchment paper. Combine about a one inch piece from each color of cake, red, blue and white. Roll the colors together with your hands to make a ball with a tie-dye effect. Place each ball onto the baking trays. Place the trays of cake balls in the freezer the truffles for 30 minutes.
Dipping The Cake Balls In Chocolate
- Add the white chocolate melting wafers to a heatproof bowl. Place the bowl in the microwave and heat for a minute at half power, then stir. Continue heating the white chocolate in thirty-second increments until it forms a smooth white chocolate sauce.
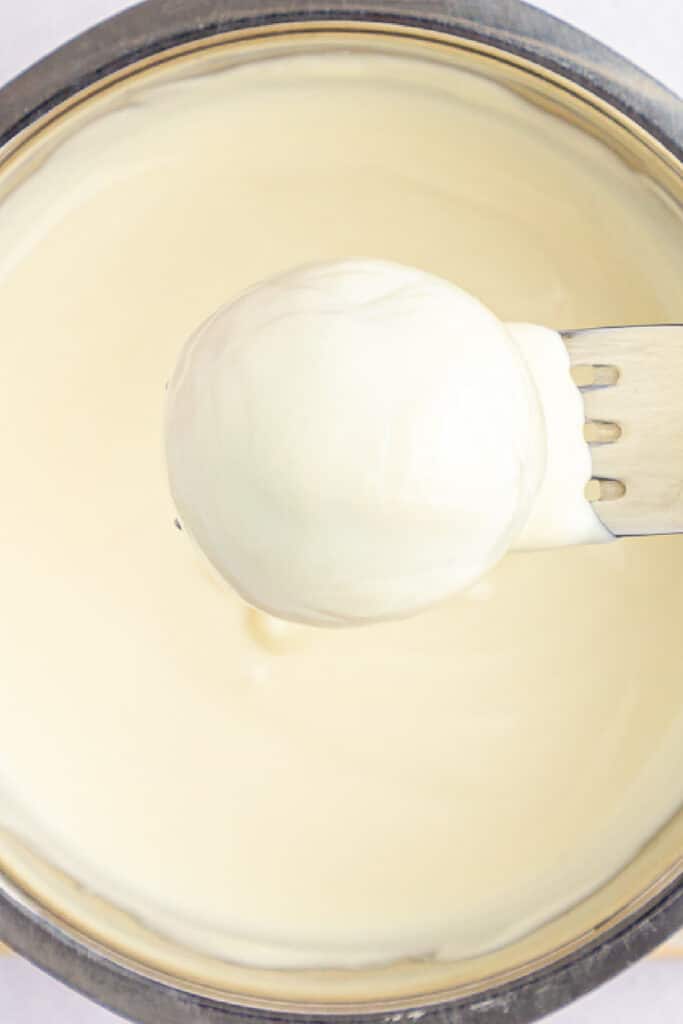
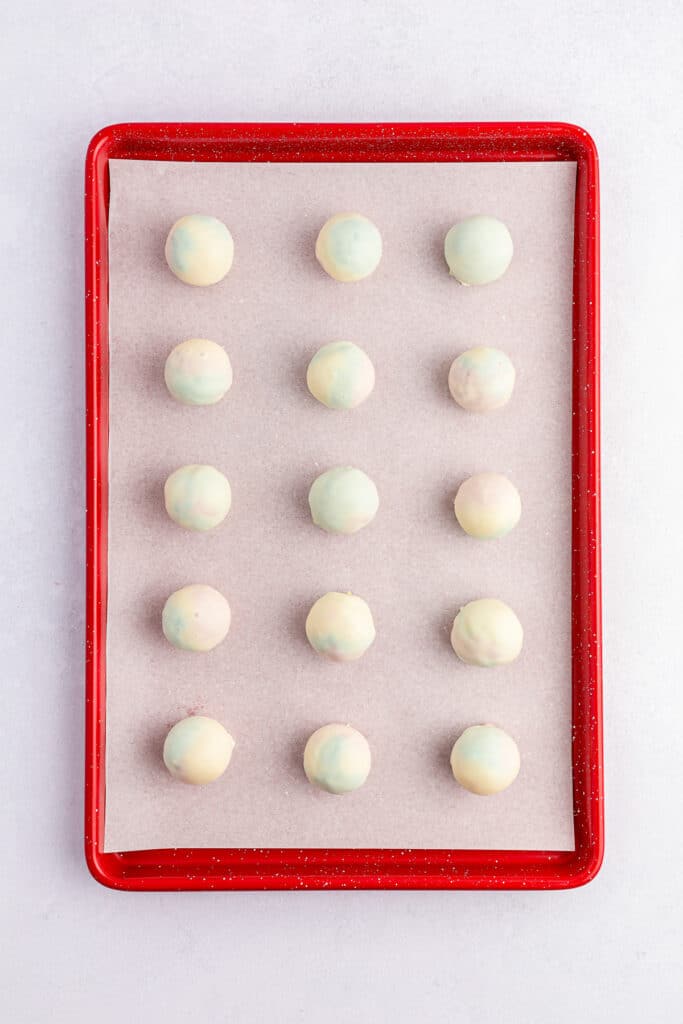
- Remove truffles from the freezer. Place truffle balls into white chocolate one at a time to coat, using a fork so excess chocolate can drip off. Place each white chocolate-coated ball on parchment paper so they are not touching each other.
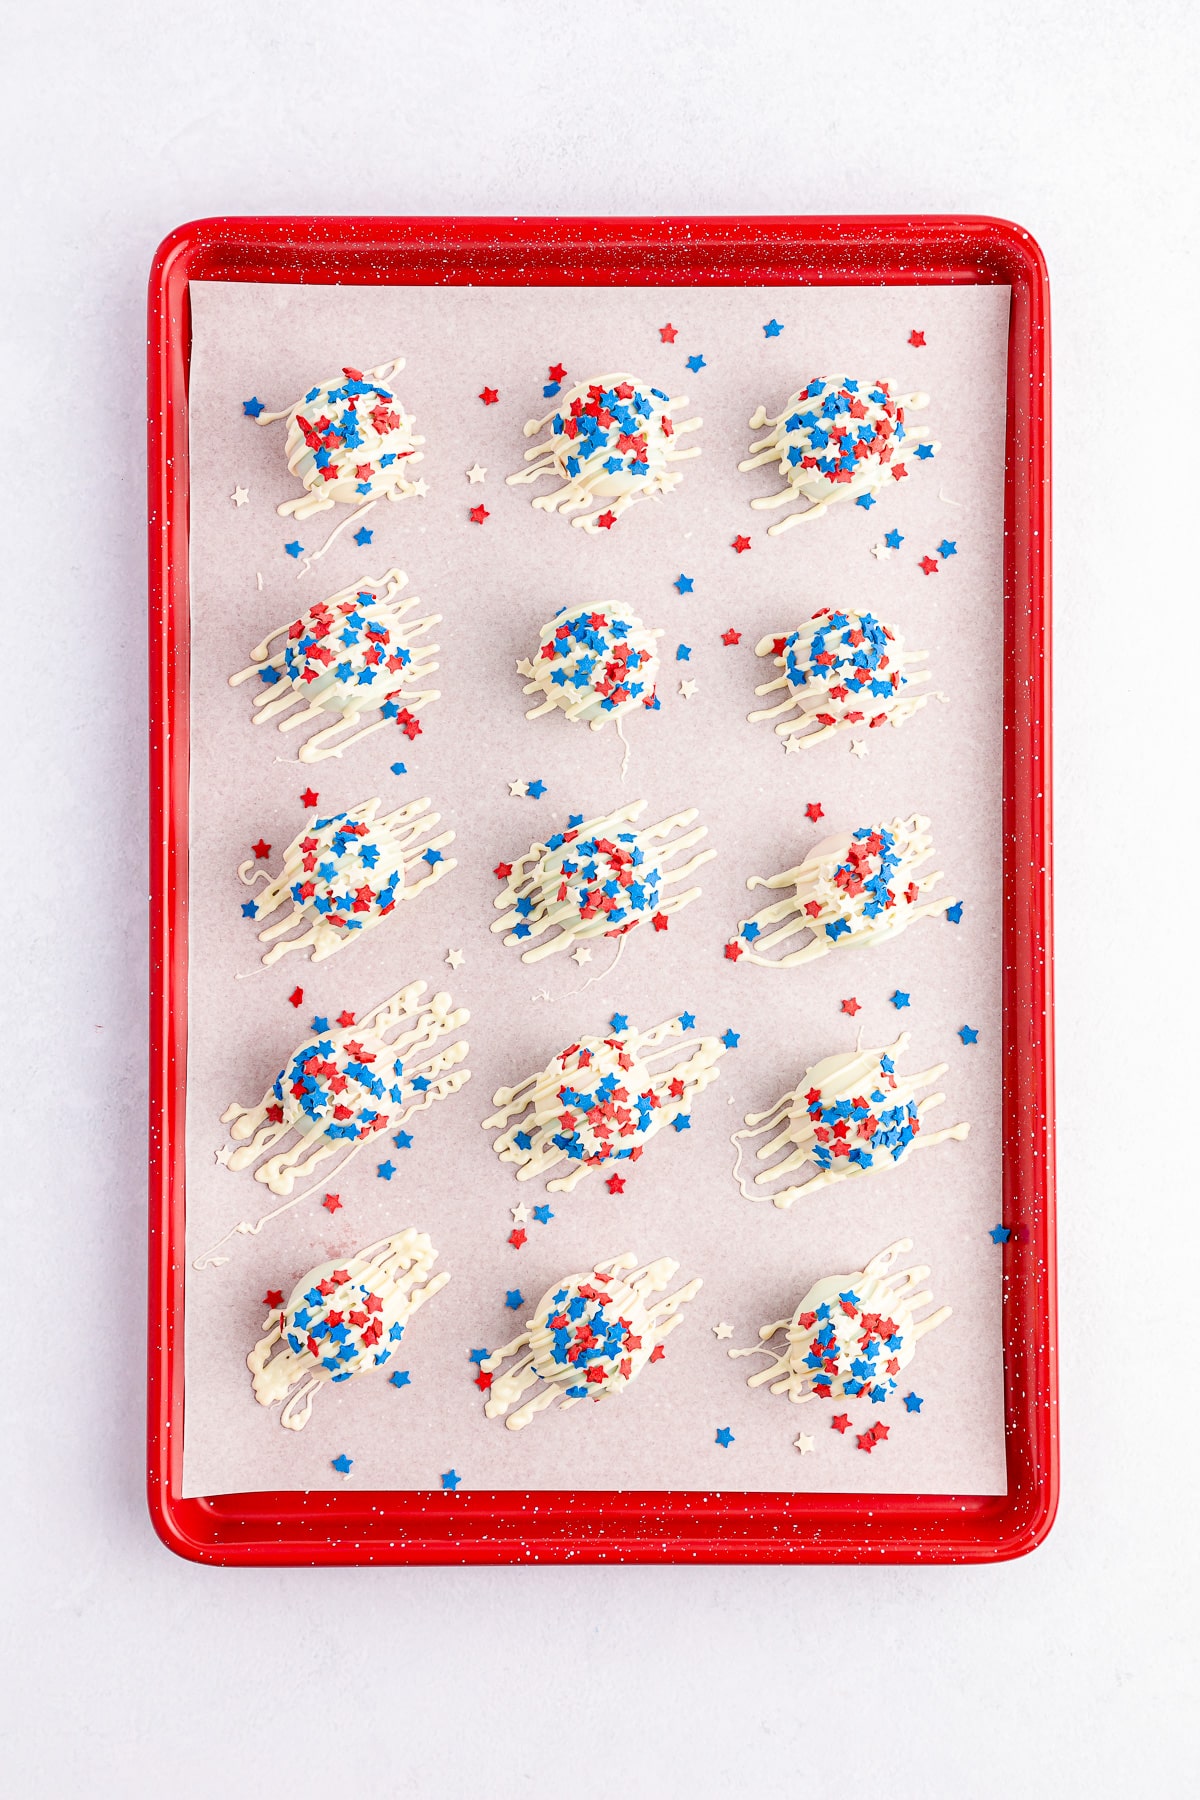
- Drizzle with extra chocolate with a fork (see notes) and immediately sprinkle with sprinkles before the chocolate begins to harden. Place the pan in the freezer for 15 minutes to help the chocolate to fully harden, then enjoy!
Cake Ball Making FAQ And Tips
Make sure the cake is completely cooled before forming the cake balls. If the cake is too warm it can be hard to roll the cake balls and even harder to dip them in chocolate.
You can also add a little additional cream cheese by the tablespoon to help the cake balls stick together if they are having trouble.
If the cake mix you are using calls for a different ratio of ingredients on the box directions, follow the directions to make the cake batter according to the directions. Then split the batter and add food coloring, and continue with the directions for making cake balls.
You can use one 8×8 baking pan three separate times for each cake color. It will take longer to bake the cakes this way, but you can do it. I recommend using parchment paper if you are baking all in one pan so you can easily lift the cake out to make the next cake. Refrigerate the batter while baking the other cakes.
Yes you can use white chocolate chips instead of melting wafers. When you are melting the white chocolate melting wafers or white chocolate chips, adding 1 tablespoon of coconut oil or vegetable oil can help thin the chocolate and give it an even consistency.
How Long Will These Cake Balls Last?
Expect these cake balls to last about 5 days when stored in an airtight container in the refrigerator.
I recommend storing in the refrigerator until you are ready to serve.
Can You Freeze Cake Balls?
Yes, you can absolutely freeze these cake balls, and they are delicious. Freeze them in freezer zip-top bags with layers of parchment paper in between, or in a covered airtight freezer container. Allow them to defrost on the counter for about 15 to 20 minutes before serving.
More Patriotic Dessert Recipes

Red White And Blue Cake Balls
Equipment
- 3 square 8 inch baking pans glass or metal
Ingredients
- 15.25 ounces white cake mix I used Pillsbury, see notes
- 1/2 cup oil use your favorite cooking oil
- 1 cup water
- 3 large eggs lightly beaten
- food coloring red and blue, gel food coloring gives more vibrant colors
- 8 ounce cream cheese softened to room temperature
- 1 3/4 cups vanilla melting wafers I used Ghirardelli, also called candy melts bout 10 ounces total
- sprinkles red, white, and blue
Instructions
Baking The Cake
- Preheat the oven to 350 F. Lightly oil 3 8 inch x 8 inch square baking pans or line with parchment paper.
- In a large mixing bowl , combine cake mix, oil, water and eggs. Mix with an electric mixer or a whisk until all of the cake mix is fully mixed into the wet ingredients.
- Separate the batter into three smaller bowls and set one bowl of batter to the side. Mix red food coloring into one bowl, adding a few drops at a time until the batter is your desired color. Repeat with the next bowl with the blue food coloring until you have one plain, one red and one blue bowl of cake batter.
- Pour each batter into its own square baking pan. Bake each cake for 14-16 minutes, or until a toothpick inserted in the center comes out clean and the cake is cooked through. Allow the cake to cool completely on a wire cooling rack or clean kitchen towel.
Making The Cake Ball Centers
- Once cooled, crumble the cake between your fingers each into their own bowl.
- In a large mixing bowl, beat cream cheese until smooth with an electric mixer. Divide the cream cheese evenly between the three bowls of crumbled cake. Mix each bowl of cake and cream cheese well until the cake becomes the texture of playdough with an electric mixer on low or a silicone spatula. Be careful to clean the beaters or spatula when moving from one cake mixture to the next.
- Line two baking trays with parchment paper. Combine about a one inch piece from each color of cake, red, blue and white. Roll the colors together with your hands to make a ball with a tie-dye effect. Place each ball onto the baking trays. Place the trays of cake balls in the freezer the truffles for 30 minutes.
- Dipping The Cake Balls In Chocolate
- Add the white chocolate melting wafers to a heatproof bowl. Place the bowl in the microwave and heat for a minute at half power, then stir. Continue heating the white chocolate in thirty-second increments until it forms a smooth white chocolate sauce.
- Remove truffles from the freezer. Place truffle balls into white chocolate one at a time to coat, using a fork so excess chocolate can drip off. Place each white chocolate-coated ball on parchment paper so they are not touching each other.
- Drizzle with extra chocolate with a fork (see notes) and immediately sprinkle with sprinkles before the chocolate begins to harden. Place the pan in the freezer for 15 minutes to help the chocolate to fully harden, then enjoy!
Notes
Nutrition
Did You Make This?
I would love to see it! Share your thoughts with me in the comments below!

