Copycat Little Debbie Christmas Tree Cakes
*This post may contain affiliate links. See our affiliate policy here.
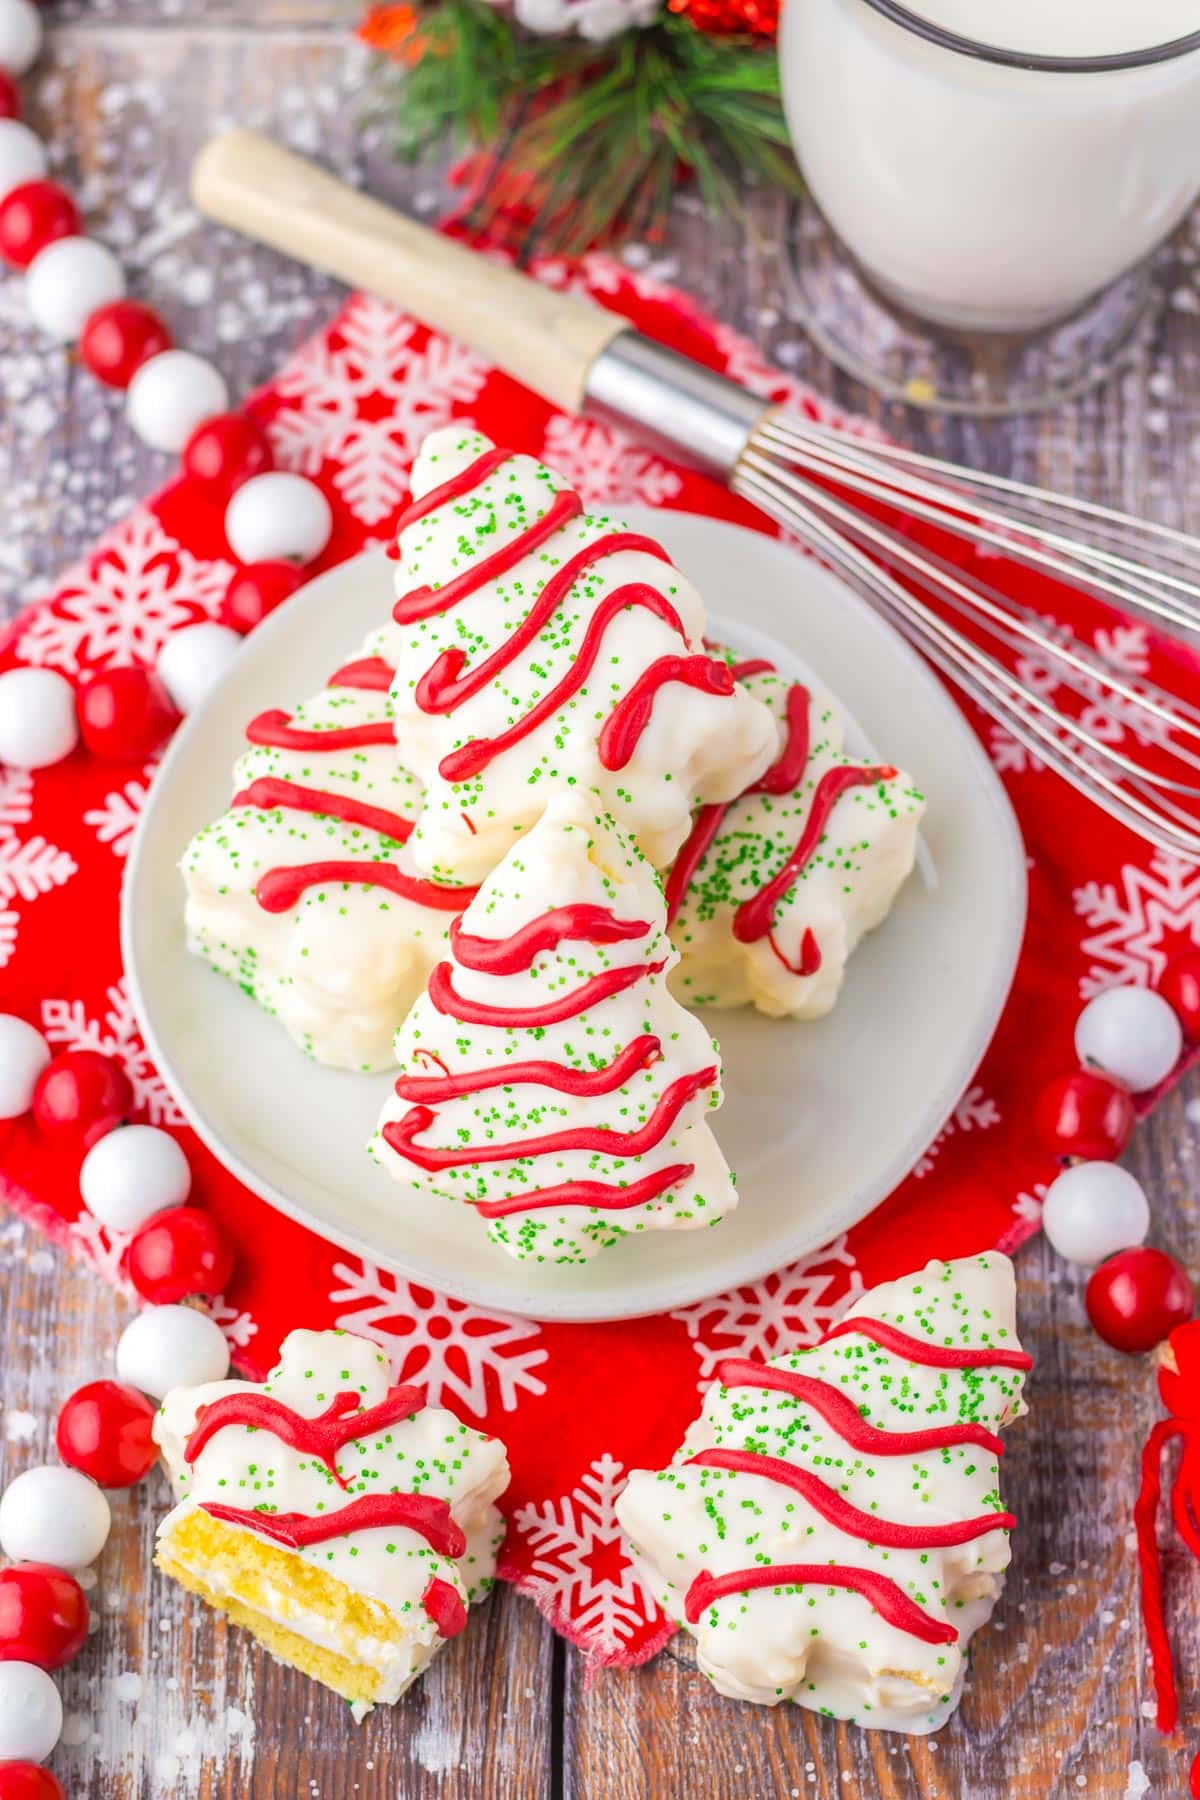
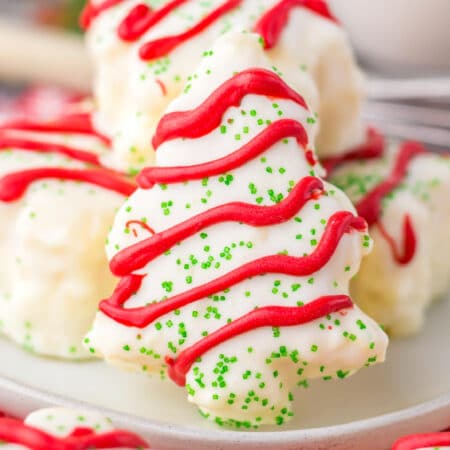
Christmas tree cakes are a copycat version of the popular Little Debbie Christmas tree cakes. Watch your family and friends cheer when you have a plate of these fun festive holiday tree cakes! It always feels like when these Christmas tree cakes hit the shelves, the holidays can begin.
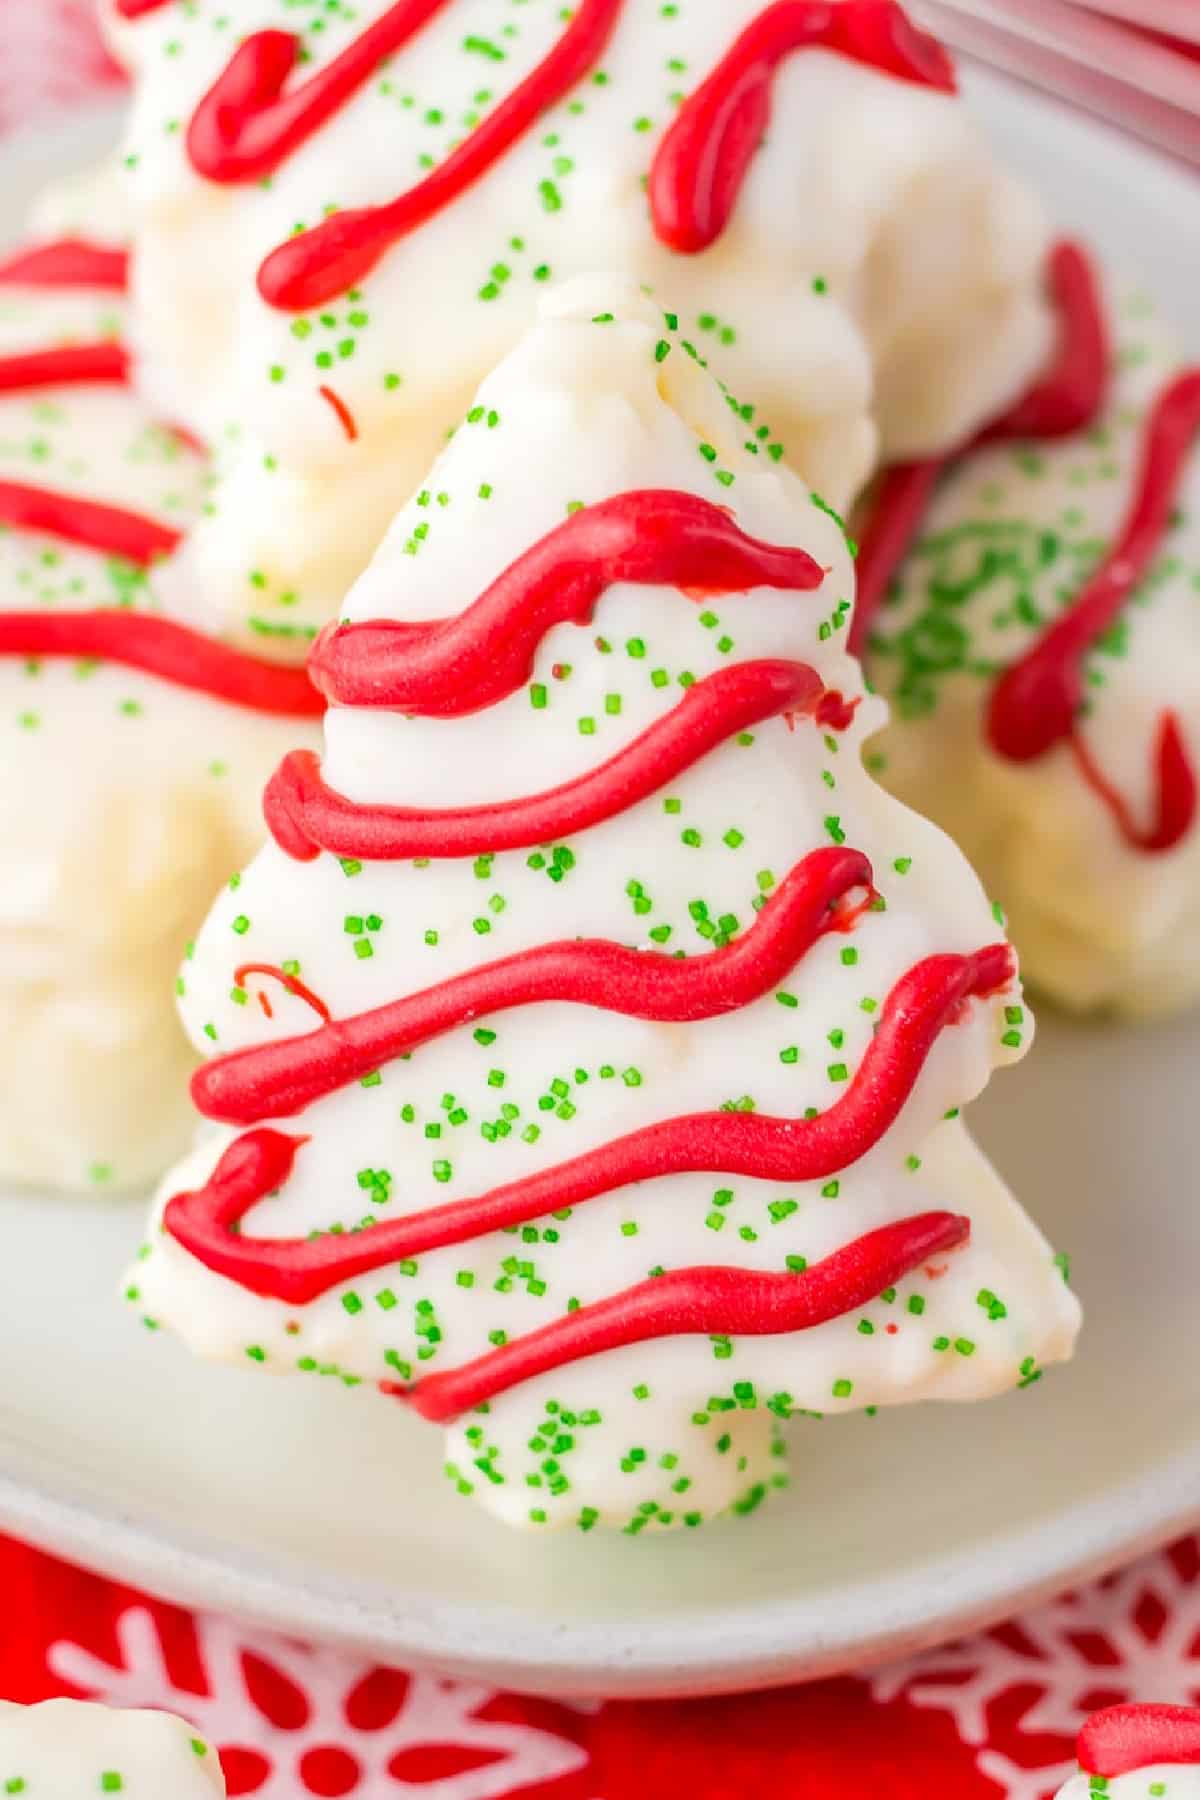
Why We Love Copycat Little Debbie Christmas Tree Cakes
- Great Copycat Of The Original Christmas Little Debbie Tree Cakes – These little cakes have all the things you love about the original Christmas tree cakes, tender cake, gooey marshmallowy filling, and the white chocolate on the outside, these little treats just hits the spot.
- Fun! – Last year there was a shortage of Christmas tree cakes, and I totally missed having them! These are fun and festive to add to any holiday dessert platter or to just enjoy and slide in lunchboxes as a special treat. No need to wait for the stores, you can have them when you want!
- Taste Even A Little Better – My child isn’t a big fan of the Little Debbie cakes; she just doesn’t have the same nostalgia my husband and I have with them. She does love this version of the Little Debbie tree cakes and was excited to pack in her lunchbox.
Ingredients For Homemade Little Debbie Christmas Tree Cakes
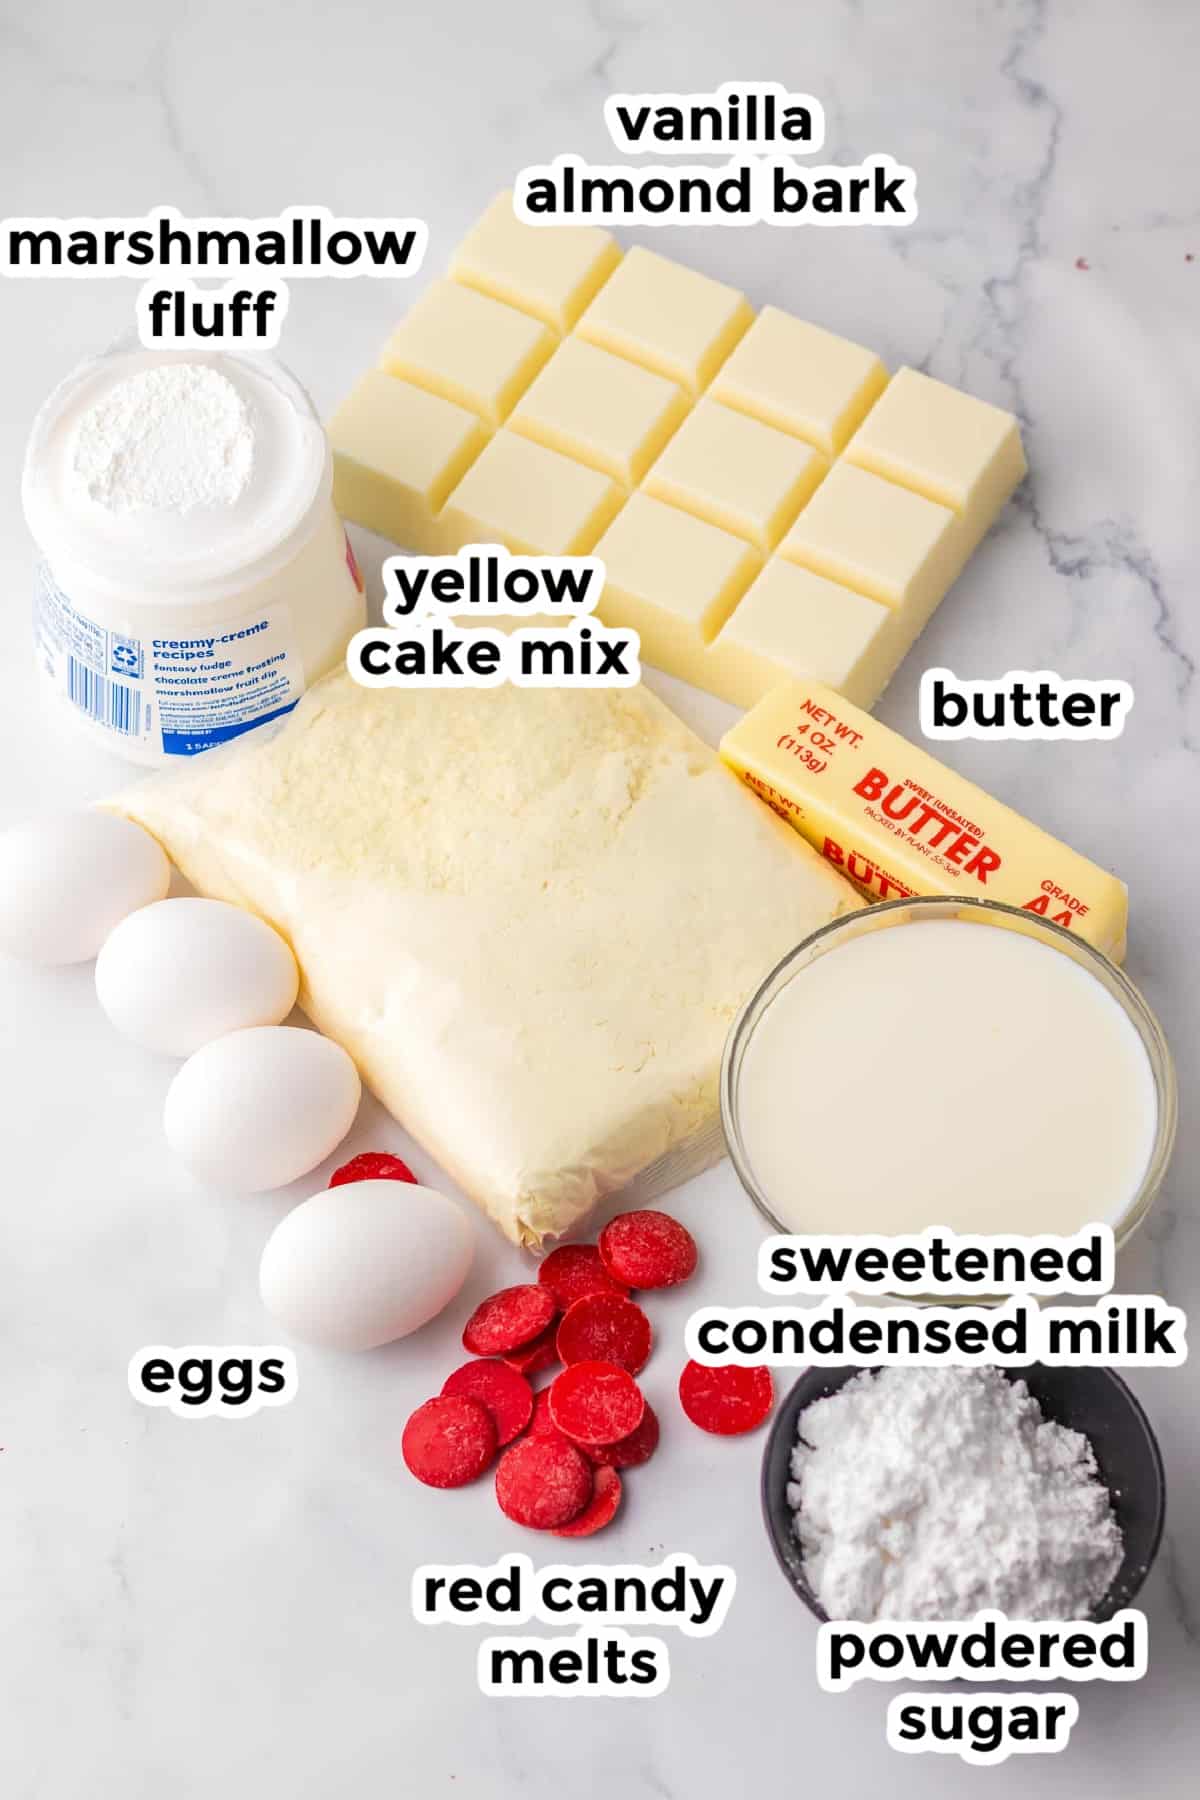
Find the full printable recipe with specific measurements and directions below in the recipe card.
For The Cake
- yellow cake mix see notes about 15.25 ounce cake mix
- eggs
- milk
- butter melted, salted
For The Filling
- marshmallow fluff
- butter softened to room temperature, salted
- powdered sugar
- milk
For The Coating And Decorations
- white almond bark
- red candy melts
- green sanding sugar – optional, but the original has these sprinkles!
This recipe uses a jelly roll pan that is 15″ by 12″ in size with a lip. You can also use a Pyrex pan or a half sheet pan (often used for a sheet cake) and modify it for this recipe. See more specific directions for different pans in the notes in the recipe card.
How To Make Christmas Tree Cakes
Making The Cake
- Preheat the oven to 350 degrees. Line a jelly roll pan with parchment paper.
- To a large mixing bowl add the yellow cake mix, 3 eggs plus 1 extra egg yolk, 1 cup milk, ½ cup melted butter. Mix well with a silicone spatula or whisk until smooth. See notes in the recipe card about the pan. Spread out the cake batter evenly on the parchment paper.

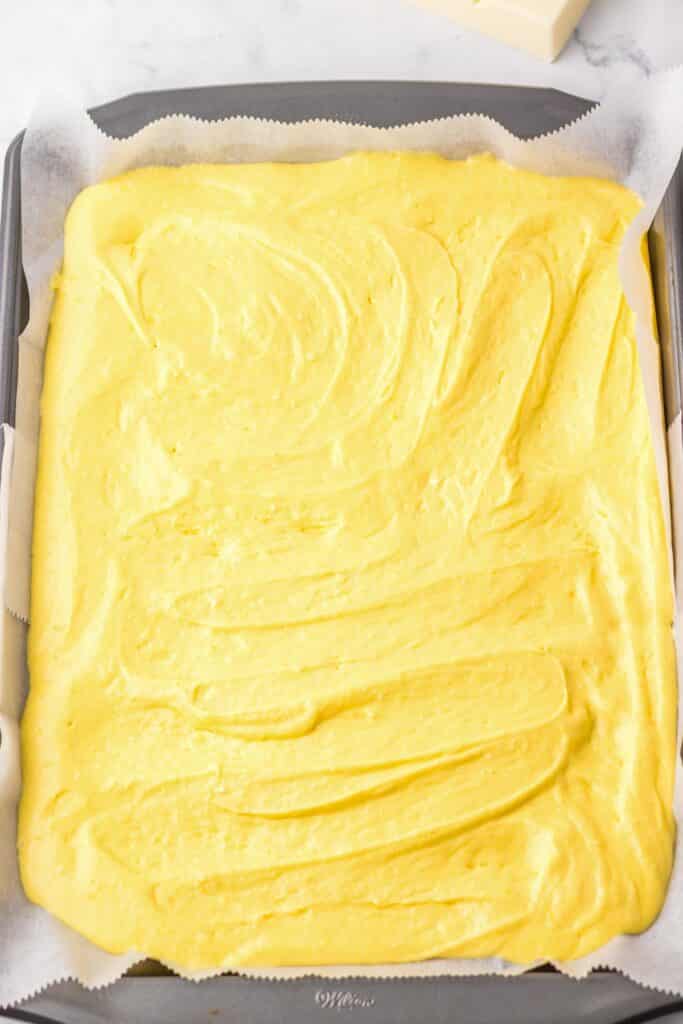
- Place the cake in the oven. Bake for 12-15 minutes or until the center is cooked all the way through. You can check the center with a toothpick. Allow the cake to cool completely.
Making The Filling And Filling The Trees
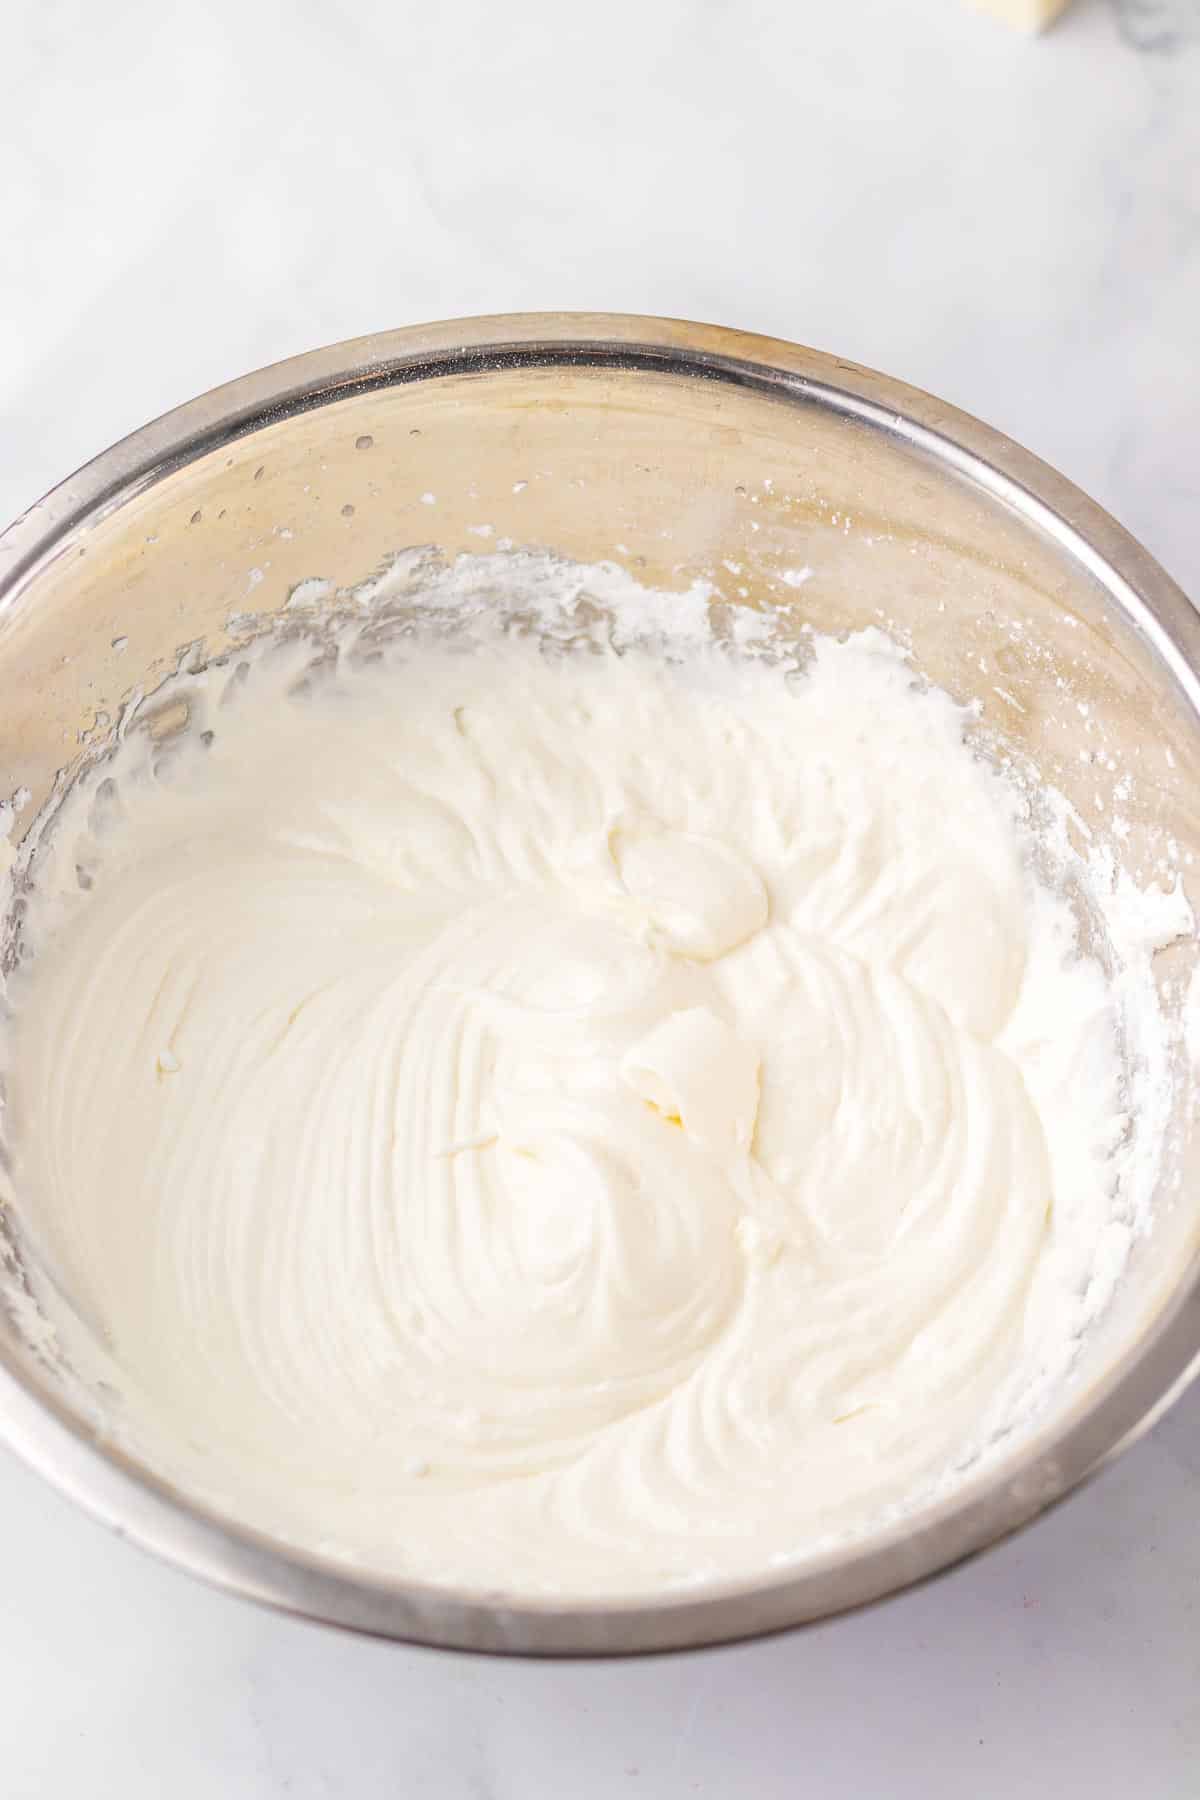
- In a medium bowl combine marshmallow fluff, 3/4 cup softened butter and powdered sugar. With an electric mixer, a hand mixer or a stand mixer, whip until well mixed. Add 2 tablespoons of milk and whip until you have a light and fluffy filling.
- Carefully lift the cake out of the pan with the parchment paper. Cut the cake in half the short direction. Spread the filling on half of the cake. Place the other half of the cake on top. of the filling so that you have a layer of cake on the bottom, a layer of filling, and a layer of cake on the top.
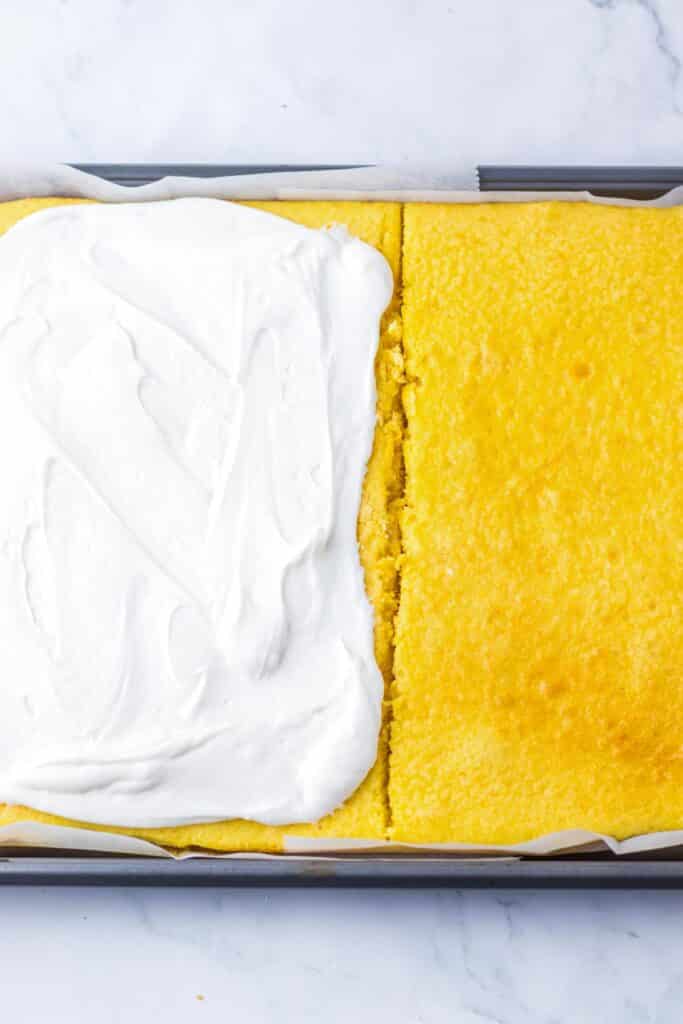
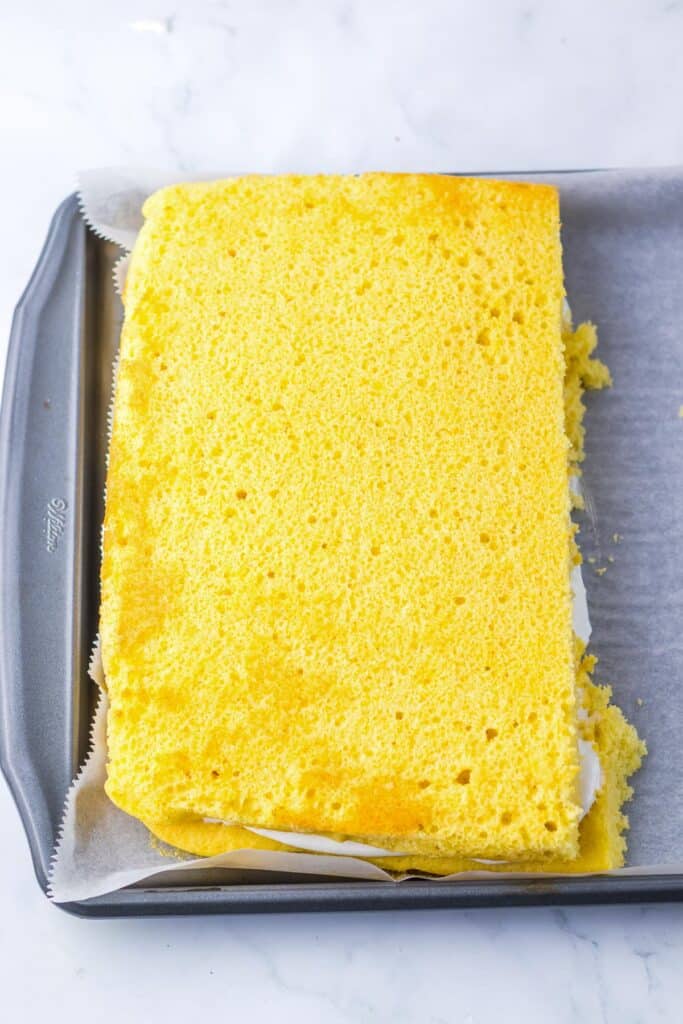
- With a cookie cutter, cut out the trees into cake sandwiches carefully from the cake and place on a pan lined with parchment paper. Set the pan of trees in the freezer to chill for at least 30 minutes.
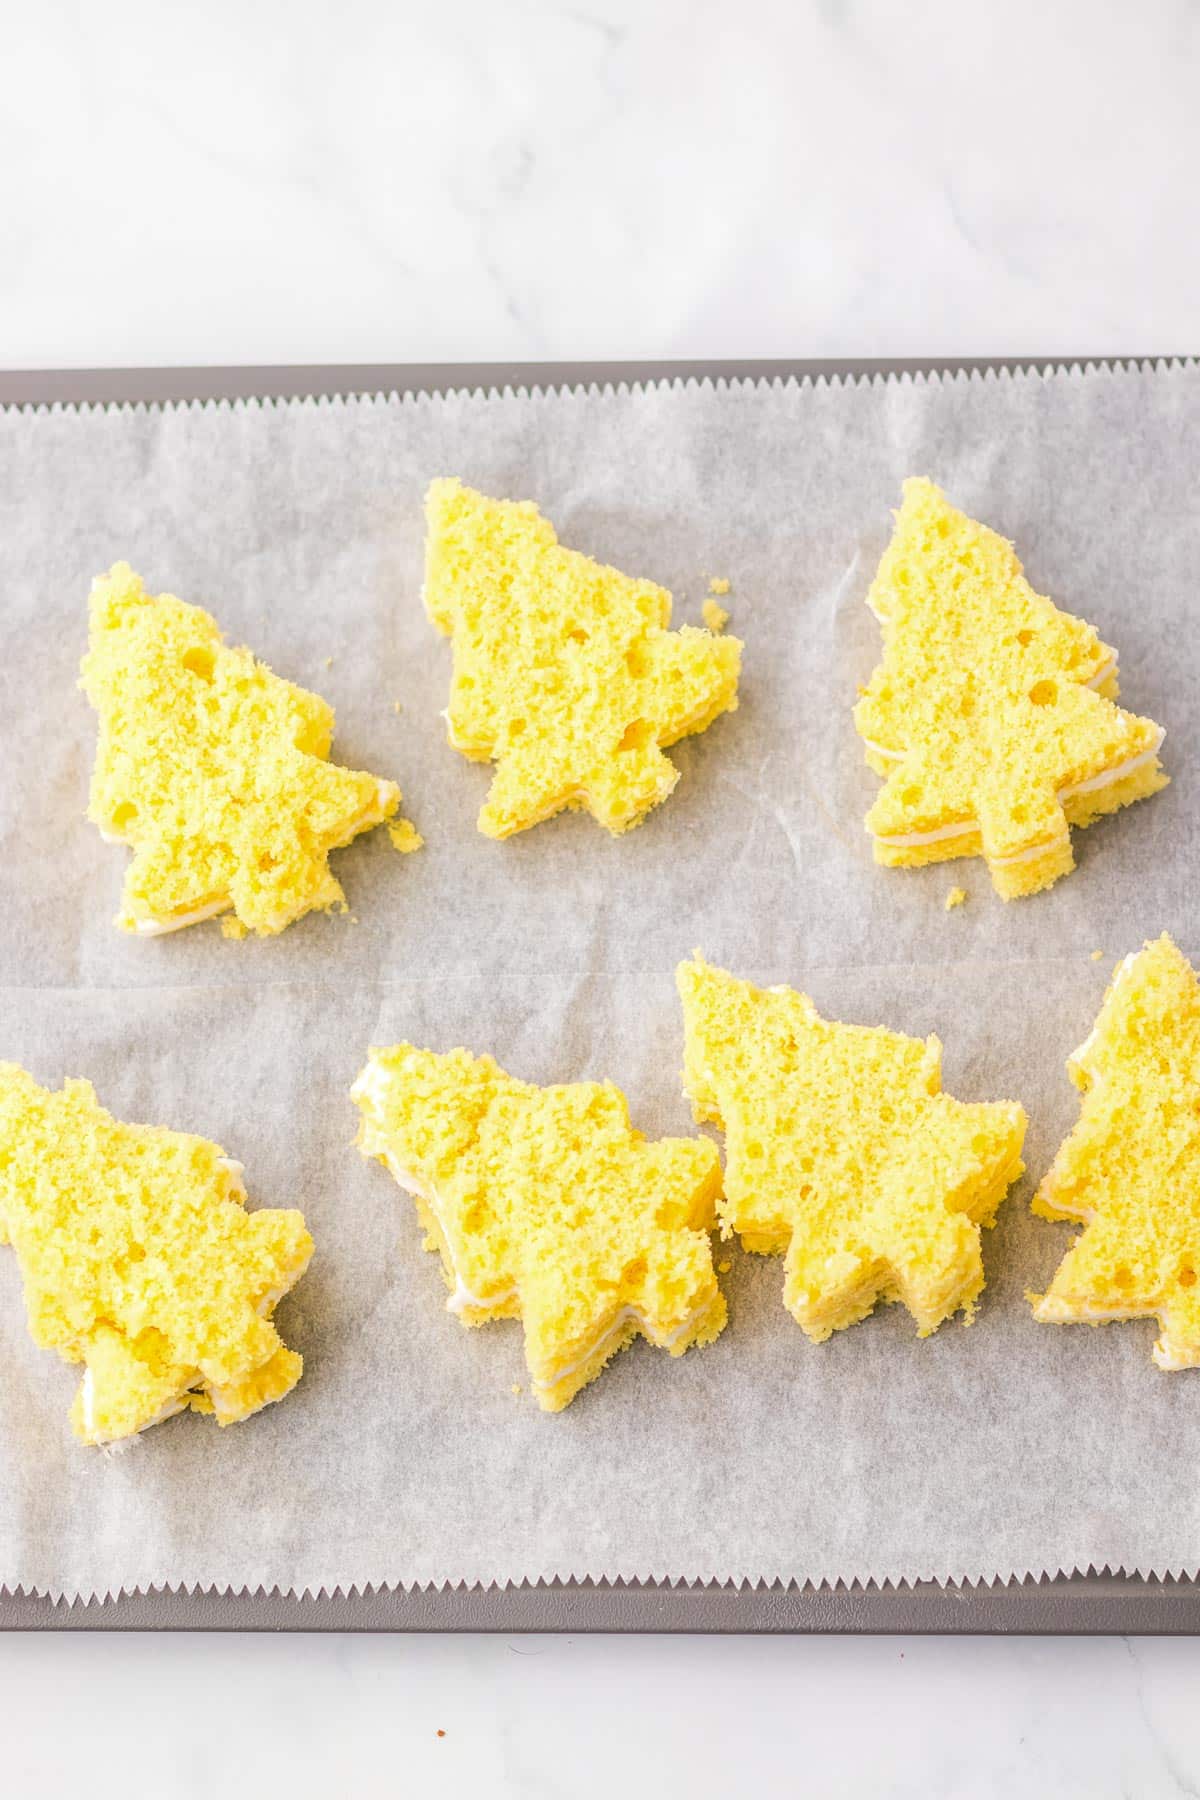
Coating The Trees And Decorations
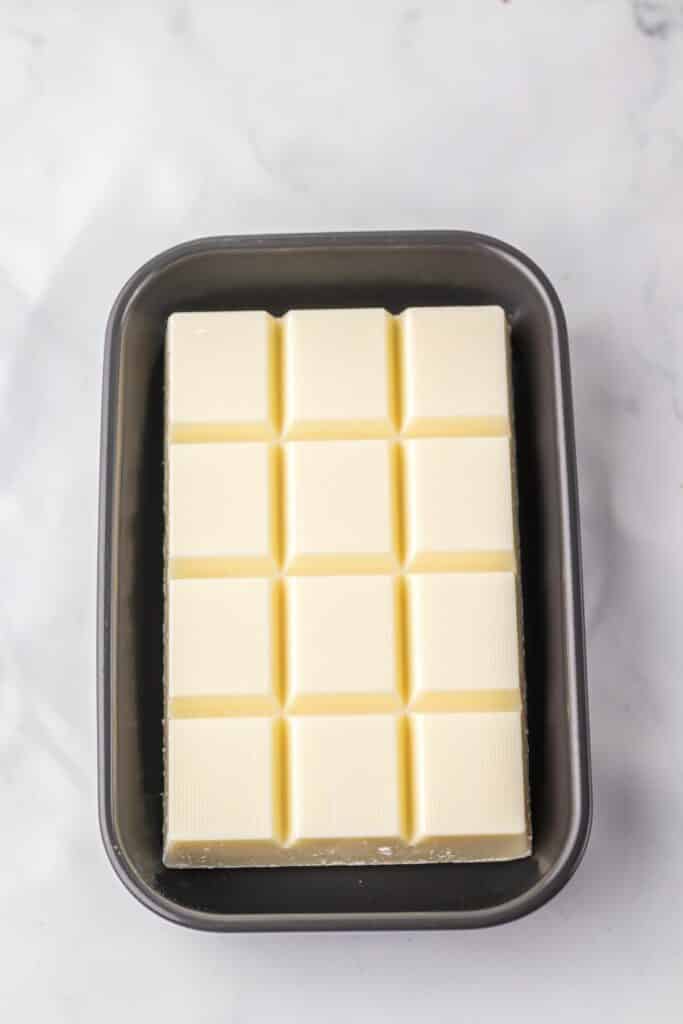
- Line a baking sheet with parchment paper. Place the white chocolate almond bark into a microwave safe bowl. Melt the almond bark in 30 second intervals in the microwave at half power, stirring in between each 30 second interval until the almond bark is smooth and melted, about 2-3 minutes.
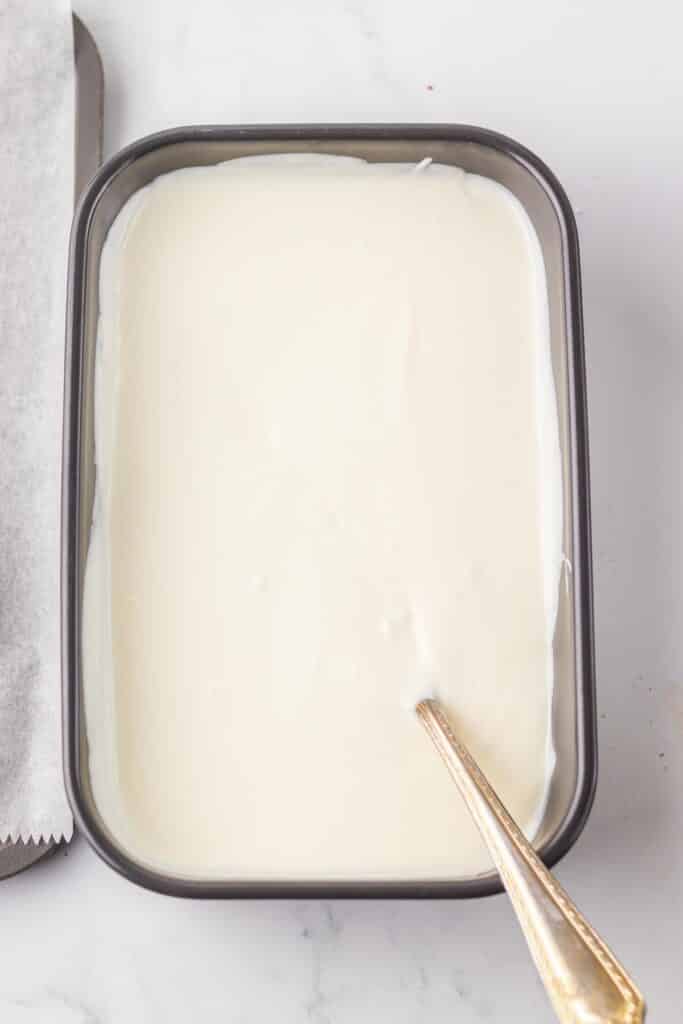
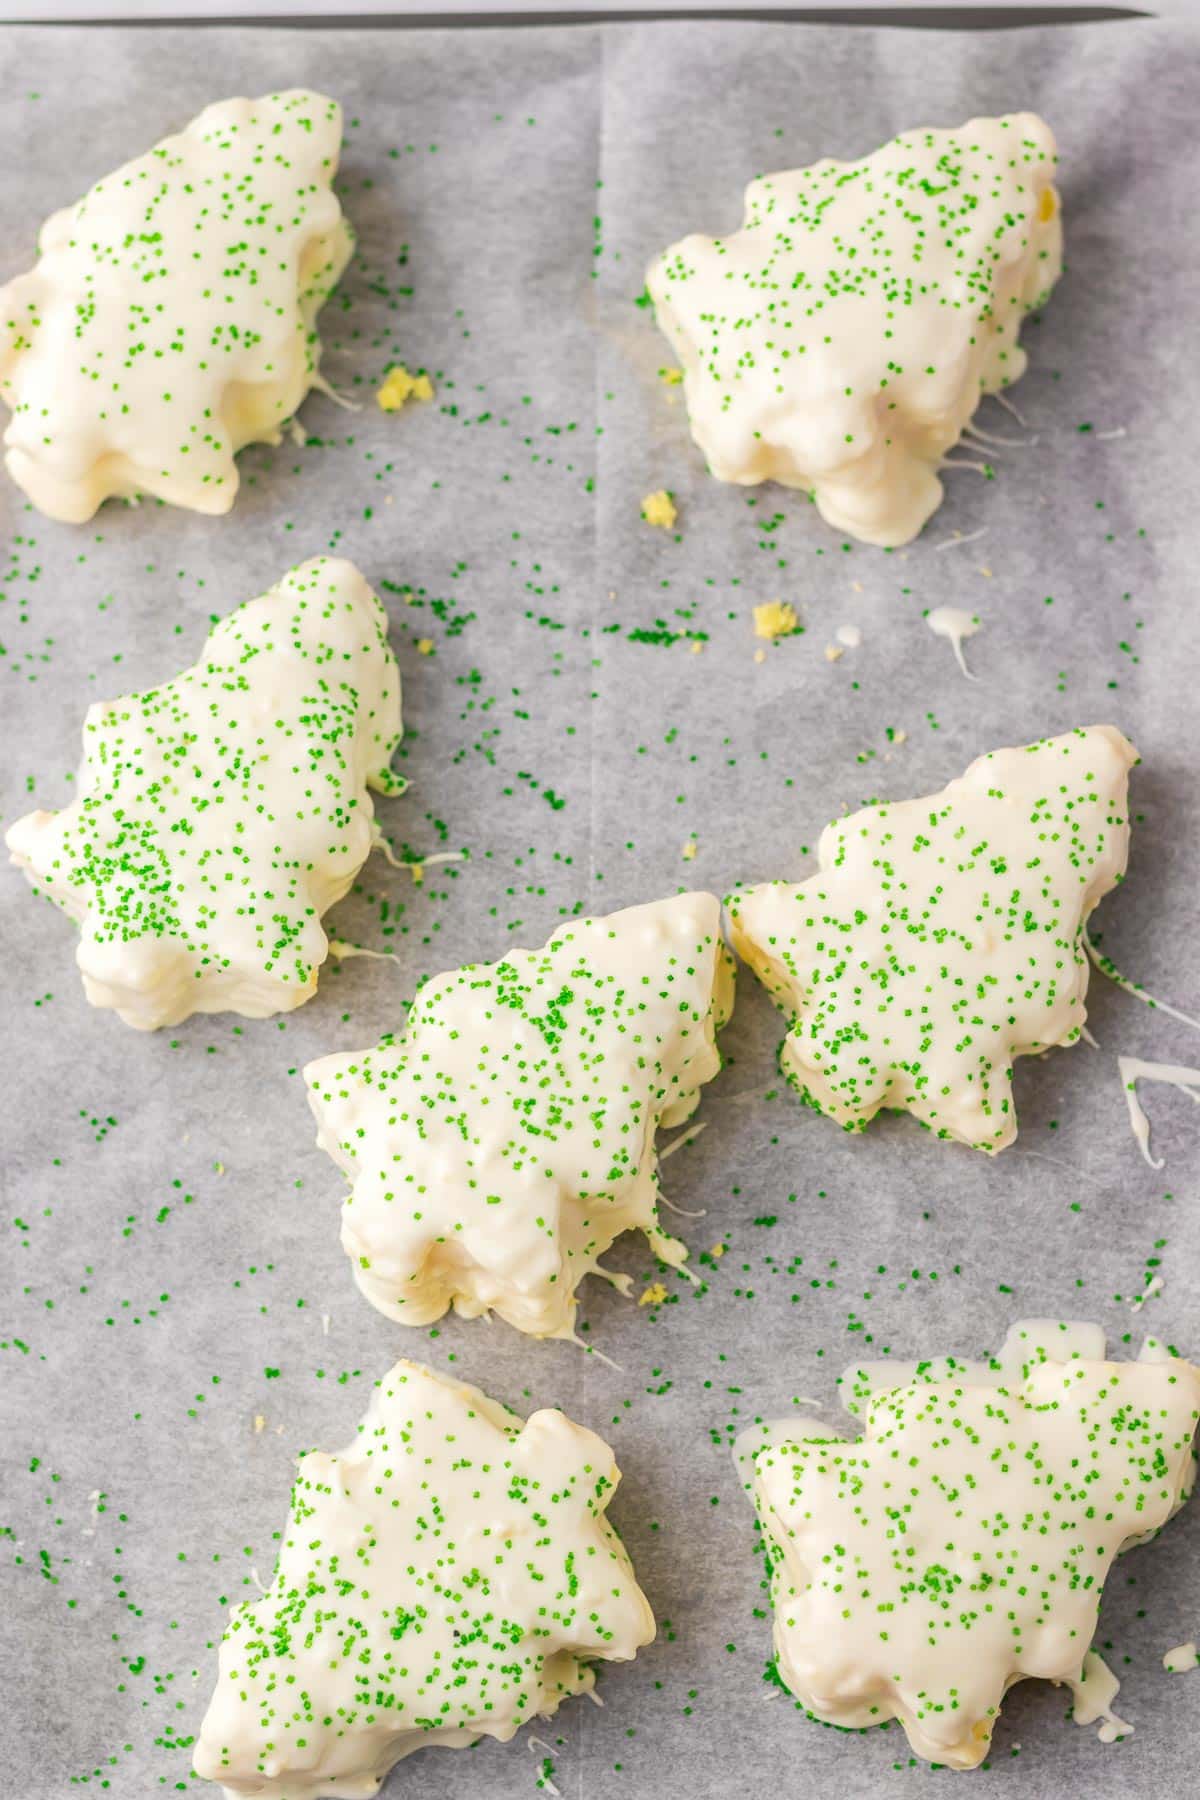
- Remove the cakes from the freezer. Immediately carefully dip each cake into the almond bark, tapping off any excess back into the bowl. The almond bark is much harder to work with if it cools too much. You can use a spoon to help pour the chocolate over the tree evenly, using a fork can be helpful to hold the cake while allowing extra chocolate to drip back in the bowl. Place each tree on a baking sheet lined with parchment paper. Immediately sprinkle with the green sprinkles before the chocolate hardens. Repeat until all trees are coated in almond bark.
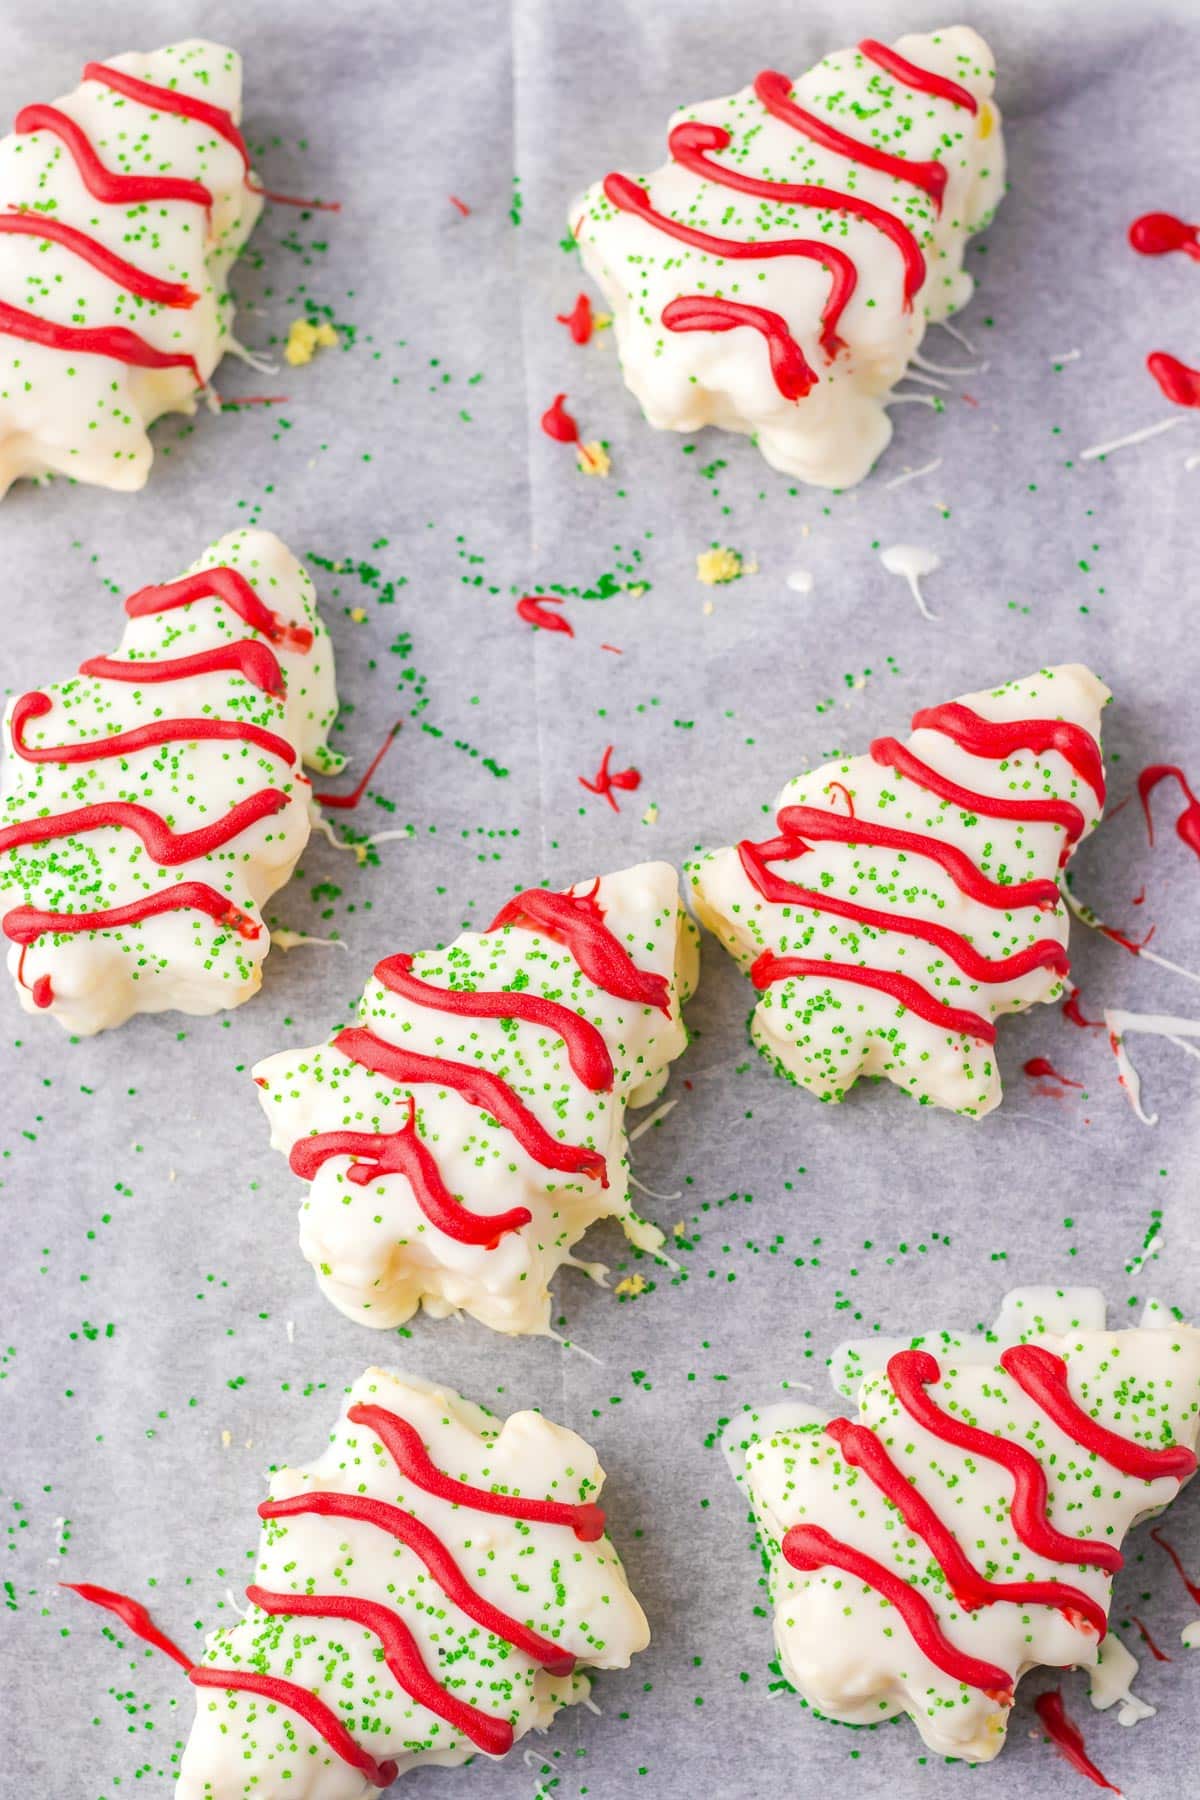
- Place the red candy melts in a small microwave-safe bowl. Melt the red candy melts in 30-second intervals in the microwave at half power, stirring in between each 30-second interval until it is smooth and melted, about 2-3 minutes. Immediately pour the red candy melts into a strong zip-top bag (or you can use a piping bag.)
- With scissors immediately while the candy melts are still warm snip the corner of the zip-top bag. Drizzle the red candy melts over the trees to make the stripes. Let the candy melts fully harden, then enjoy!
How Do I Minimize Leftover Cake Scraps?
Cutting the cakes into a tree shape does leave a lot of leftover cake scarps. You can use the leftover cake scraps to make cake balls. Roll the cake into balls, then dip in the white chocolate almond bark on the end of a fork. Place on parchment paper and chill, then decorate them similarly to the trees! You can just enjoy the scraps, a treat for the baker.
Variation Ideas For Christmas Cakes
Make Them Chocolate – Little Debbie also makes a chocolate Christmas tree cake. Use chocolate cake mix, chocolate almond bark and chocolate frosting in place of the cream filling. Technically the original chocolate Christmas tree cakes are discontinued, so if you’re a chocolate tree fan this is an easy way to still make that happen!
Change The Cake Flavor – Use a different flavor of cake mix to make these Christmas tree cakes any flavor you like.
Change The Filling Flavor – We made a marshmallow filling, but you can use a can of frosting in any flavor you prefer for more of a buttercream filling. You can also mix a few spoonfuls of jam into the filling or just use jam as filling. We really liked raspberry jam at our house when we made these.
Make The Cakes A Different Shape – You can cut these cakes into rectangles or squares with a sharp knife or use a cookie cutter to cut them out in any shape you prefer. This recipe does have a fair amount of scraps.
How Long Will Christmas Tree Cakes Last?
Expect these tree cakes will taste best if enjoyed within 4-5 days though they will taste best if enjoyed within 2-3 days.
Store leftovers in a covered airtight container. I prefer to store them in the refrigerator as they last a little longer and taste better, but they can be stored on the counter also.
Can You Freeze Christmas Tree Cakes?
Absolutely these cakes freeze really well! I like to pop them on a cookie sheet on parchment paper and freeze them individually, so they don’t stick together. Then when I add them to my freezer container or freezer zip-top bag I slide the parchment paper in between the cakes. This allows us to take out just one or two at a time.
You can defrost them on the counter or in the refrigerator, whichever you prefer. Enjoy once defrosted!
More Desserts You’ll Love
Holiday Vanilla Fudge (With Condensed Milk)
Homemade Turtle Candy Recipe
Cranberry Orange Bread (With Orange Glaze!)
Reindeer Poop (Chocolate Snack Mix Recipe)

Christmas Tree Cakes
Equipment
- 1 parchment paper
- 1 jelly roll plan – 15 inch by 12 inch baking sheet with a rim, see notes
- 1 Silicone spatula – or whisk
- 1 Spoon
- 1 Electric Mixer hand mixer or stand mixer
- 1 Butter knife – can also use a frosting spatula
- 1 Large Mixing Bowl
- 1 Christmas tree cookie cutter mine is 3.5 inches long
- 1 medium microwave safe bowl
- 1 small microwave safe bowl
- 1 Zip top bag – I use a freezer zip-top bag so it's strong
- 1 Scissors
Ingredients
For The Cake
- 13.25 ounces yellow cake mix see notes about 15.25 ounce cake mix
- 4 large eggs we use three full eggs + 1 egg yolk
- 1 cup milk
- ½ cup butter melted, salted
For The Filling
- 7 ounces marshmallow fluff
- ¾ cup butter softened, salted
- 2 cups powdered sugar
- 2 tablespoons milk
For The Coating And Decorations
- 1 pound vanilla almond bark
- 1 cup red candy melts
- green sanding sugar optional but the original has these sprinkles!
Instructions
Making The Cake
- Preheat oven to 350 degrees. Line a jelly roll pan with parchment paper.
- To a large mixing bowl add the yellow cake mix, 3 eggs plus 1 extra egg yolk, 1 cup milk, ½ cup melted butter. Mix well with a silicone spatula or whisk until smooth. See notes about the pan. Spread out the cake batter evenly on the parchment paper.
- Place the cake in the oven. Bake for 12-15 minutes or until the center is cooked all the way through. You can check the center with a toothpick. Allow the cake to cool completely.
Making The Filling And Filling The Trees
- In a medium bowl combine marshmallow fluff, 3/4 cup softened butter and powdered sugar. With an electric mixer whip until well mixed. Add 2 tablespoons of milk and whip into a smooth, fluffy filling.
- Carefully lift the cake out of the pan with the parchment paper. Cut the cake in half the short direction. Spread the filling on half of the cake. Place the other half of the cake on top. of the filling so that you have a layer of cake on the bottom, a layer of filling, and a layer of cake on the top.
- With a cookie cutter, cut out the trees into cake sandwiches carefully from the cake and place on a pan lined with parchment paper. Set the pan of trees in the freezer to chill for at least 30 minutes.
Coating The Trees And Decorations
- Line a baking sheet with parchment paper. Place the white chocolate almond bark into a microwave safe bowl. Melt the almond bark in 30 second intervals in the microwave at half power, stirring in between each 30 second interval until the almond bark is smooth and melted, about 2-3 minutes.
- Remove the cakes from the freezer. Immediately carefully dip each tree into the almond bark, tapping off any excess back into the bowl. You can use a spoon to help pour the chocolate over the tree evenly. Place each tree on a parchment paper lined baking sheet. Immediately sprinkle with the green sprinkles before the chocolate hardens. Repeat until all trees are coated in almond bark.
- Place the red candy melts in a small microwave-safe bowl. Melt the red candy melts in 30-second intervals in the microwave at half power, stirring in between each 30-second interval until it is smooth and melted, about 2-3 minutes. Immediately pour the red candy melts into a strong zip-top bag.
- With scissors immediately while the candy melts are still warm snip the corner of the zip-top bag. Drizzle the red candy melts over the trees to make the stripes. Let the candy melts fully harden, then enjoy!
Notes
Nutrition
Did You Make This?
I would love to see it! Share your thoughts with me in the comments below!





My cake ended up a little thick so I just did squares. I made my own marshmallow fluff but was a little bummed that once added to the butter and powdered sugar all I could taste was the powdered sugar. I would’ve like the marshmallow to come through more.
This looks like a fun recipe to make! I’m pinning it to make around Christmas time. We have always liked Little Debbie trees, but I think these will taste even better! I want to try it with a homemade yellow cake instead of a mix.
I am new to your site, but am finding alot of good things to try. : )
Thank you!
So happy to have you hear Joy! This would work with a homemade yellow cake as well, and I bet they will taste better then the original. 🙂 Little Debbie Christmas trees are so iconic, I bet your family/friends will really enjoy this version.