Irish Soda Bread With Raisins
*This post may contain affiliate links. See our affiliate policy here.
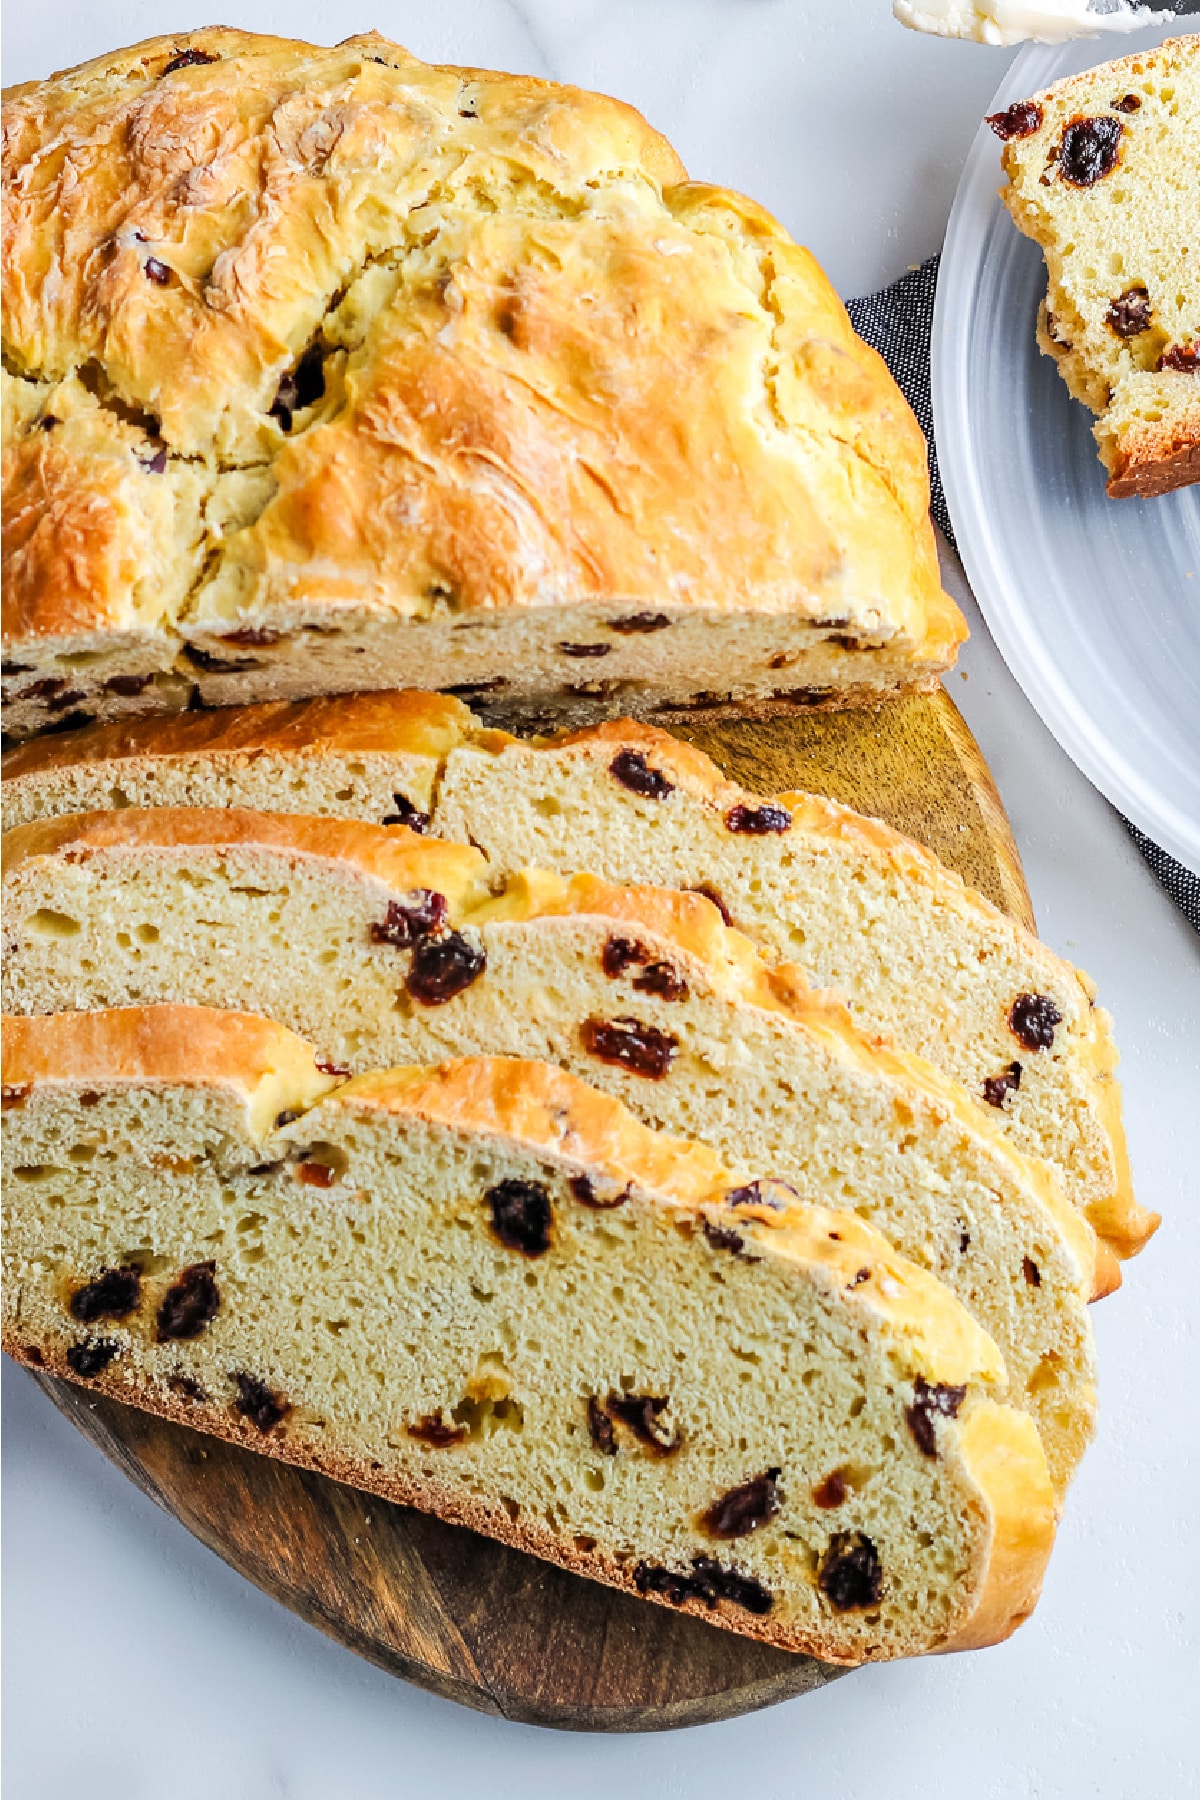
Enjoy cozy comfort in every slice of this Irish soda bread with raisins. This Irish American recipe is slightly sweet, with a soft crumb that makes the perfect treat for any time of day. This is a great recipe to make with the kids for St. Patrick’s Day.
Why We Love The Best Irish Soda Bread (With Raisins)
- No Special Equipment Needed – You won’t need a stand mixer or anything else special to make this bread. While I prefer baking this bread in a Dutch oven, you can also bake it right on a baking sheet. This recipe makes a rustic round loaf, and you don’t need a bread pan.
- Classic Irish American Recipe – This homemade bread recipe is delicious to make for St. Patrick’s Day or just to enjoy for breakfast or snacks. The Irish American version is a little lighter and softer and includes sweetness from the raisins.
- Slightly Sweet Quick Bread – This Irish Soda bread recipe uses baking soda instead of a yeast bread to give it the soft, slightly spongy crumb that kind of reminds me a little bit of a scone. It does require a little kneading to mix the flour, but without yeast long kneading times aren’t needed and you don’t have to wait for a bread rise. This recipe is best when you serve warm with butter.
Ingredients For Irish Soda Bread
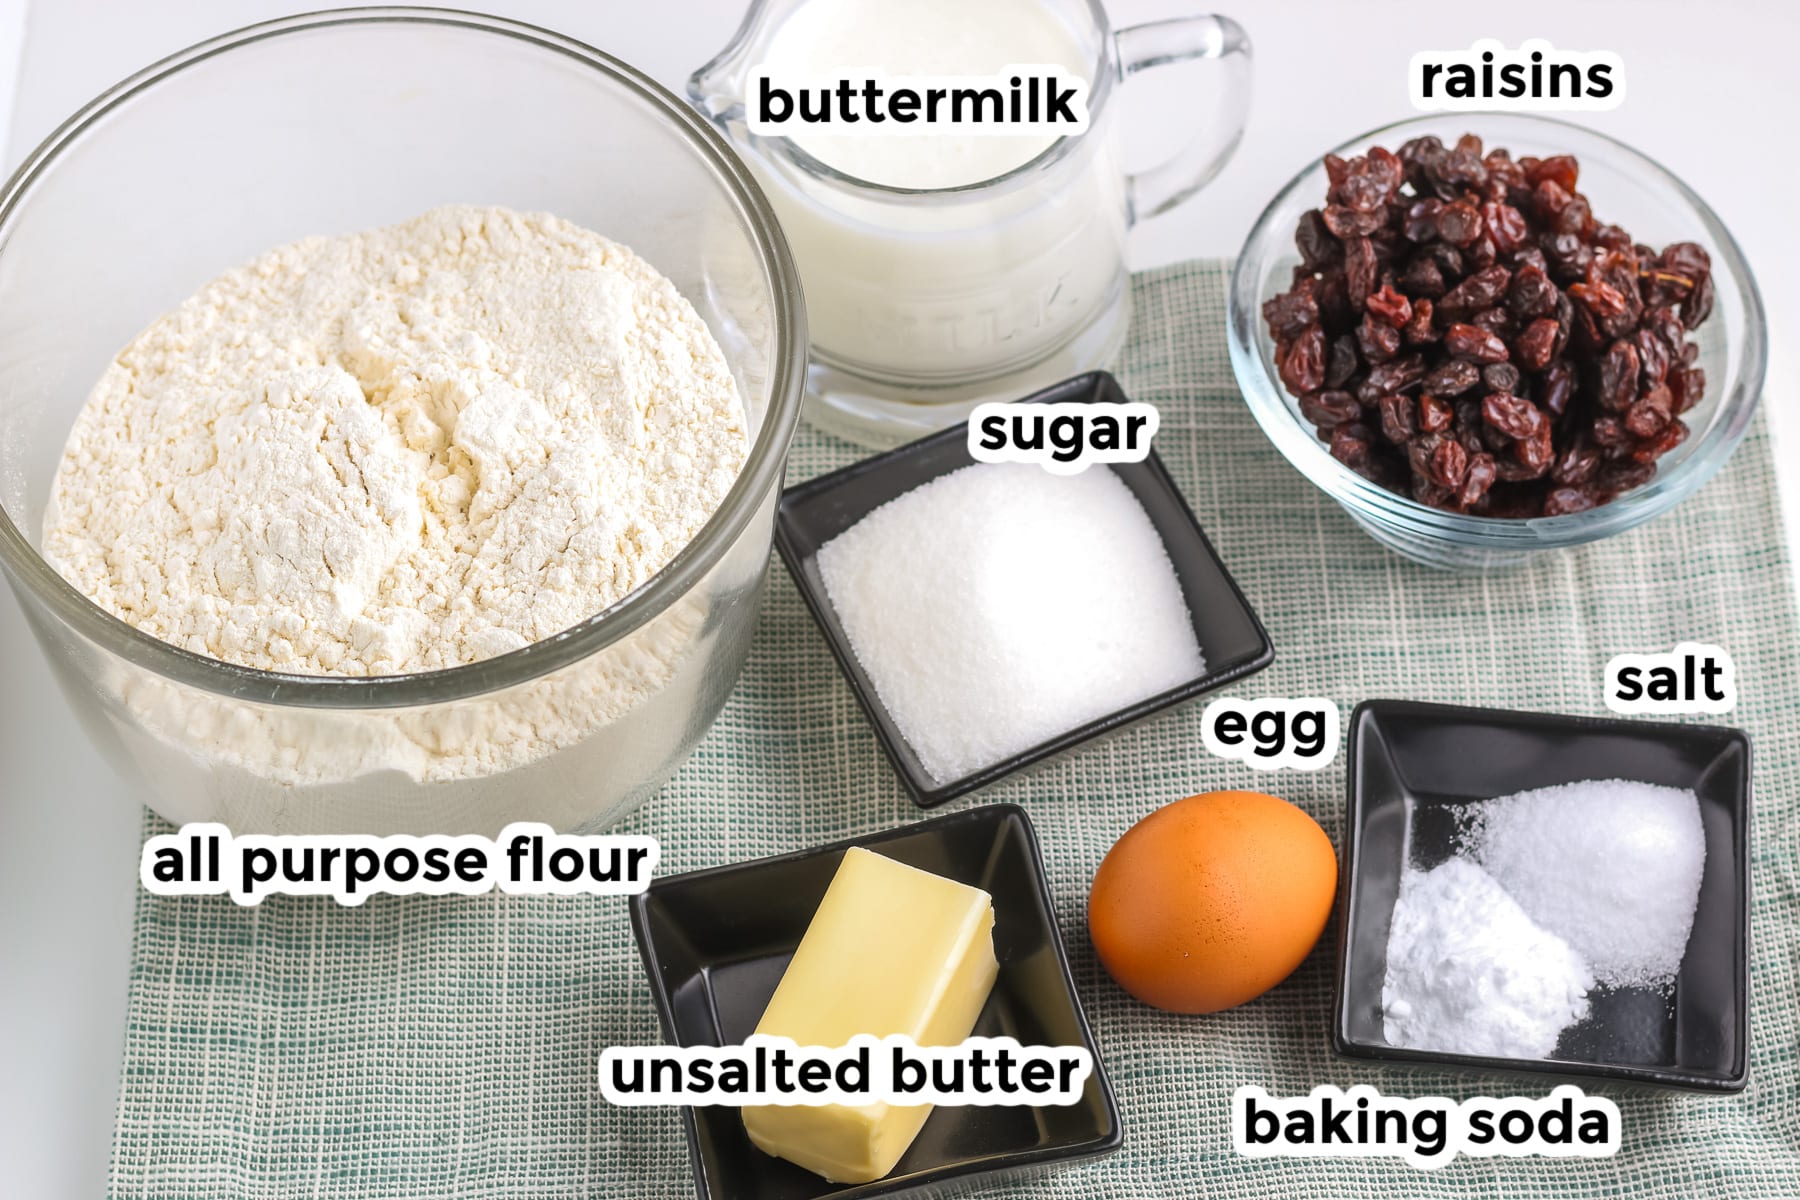
- all-purpose flour
- sugar granulated white
- baking soda – baking soda is stronger than baking powder and gives this bread the left it needs. You can’t swap the two in this recipe or the bread won’t turn out right.
- salt
- unsalted butter cold, cut into small pieces
- buttermilk cold, shaken
- egg lightly beaten
- raisins – you can also use golden raisins
How To Make Delicious Irish Soda Bread
- Preheat oven to 375 degrees Fahrenheitt. Line a Dutch oven with parchment paper or spray with non-stick cooking spray. You can also use a cast iron skillet or a cookie sheet also.
- In a large bowl add flour, sugar, baking soda and salt. Stir until combined.
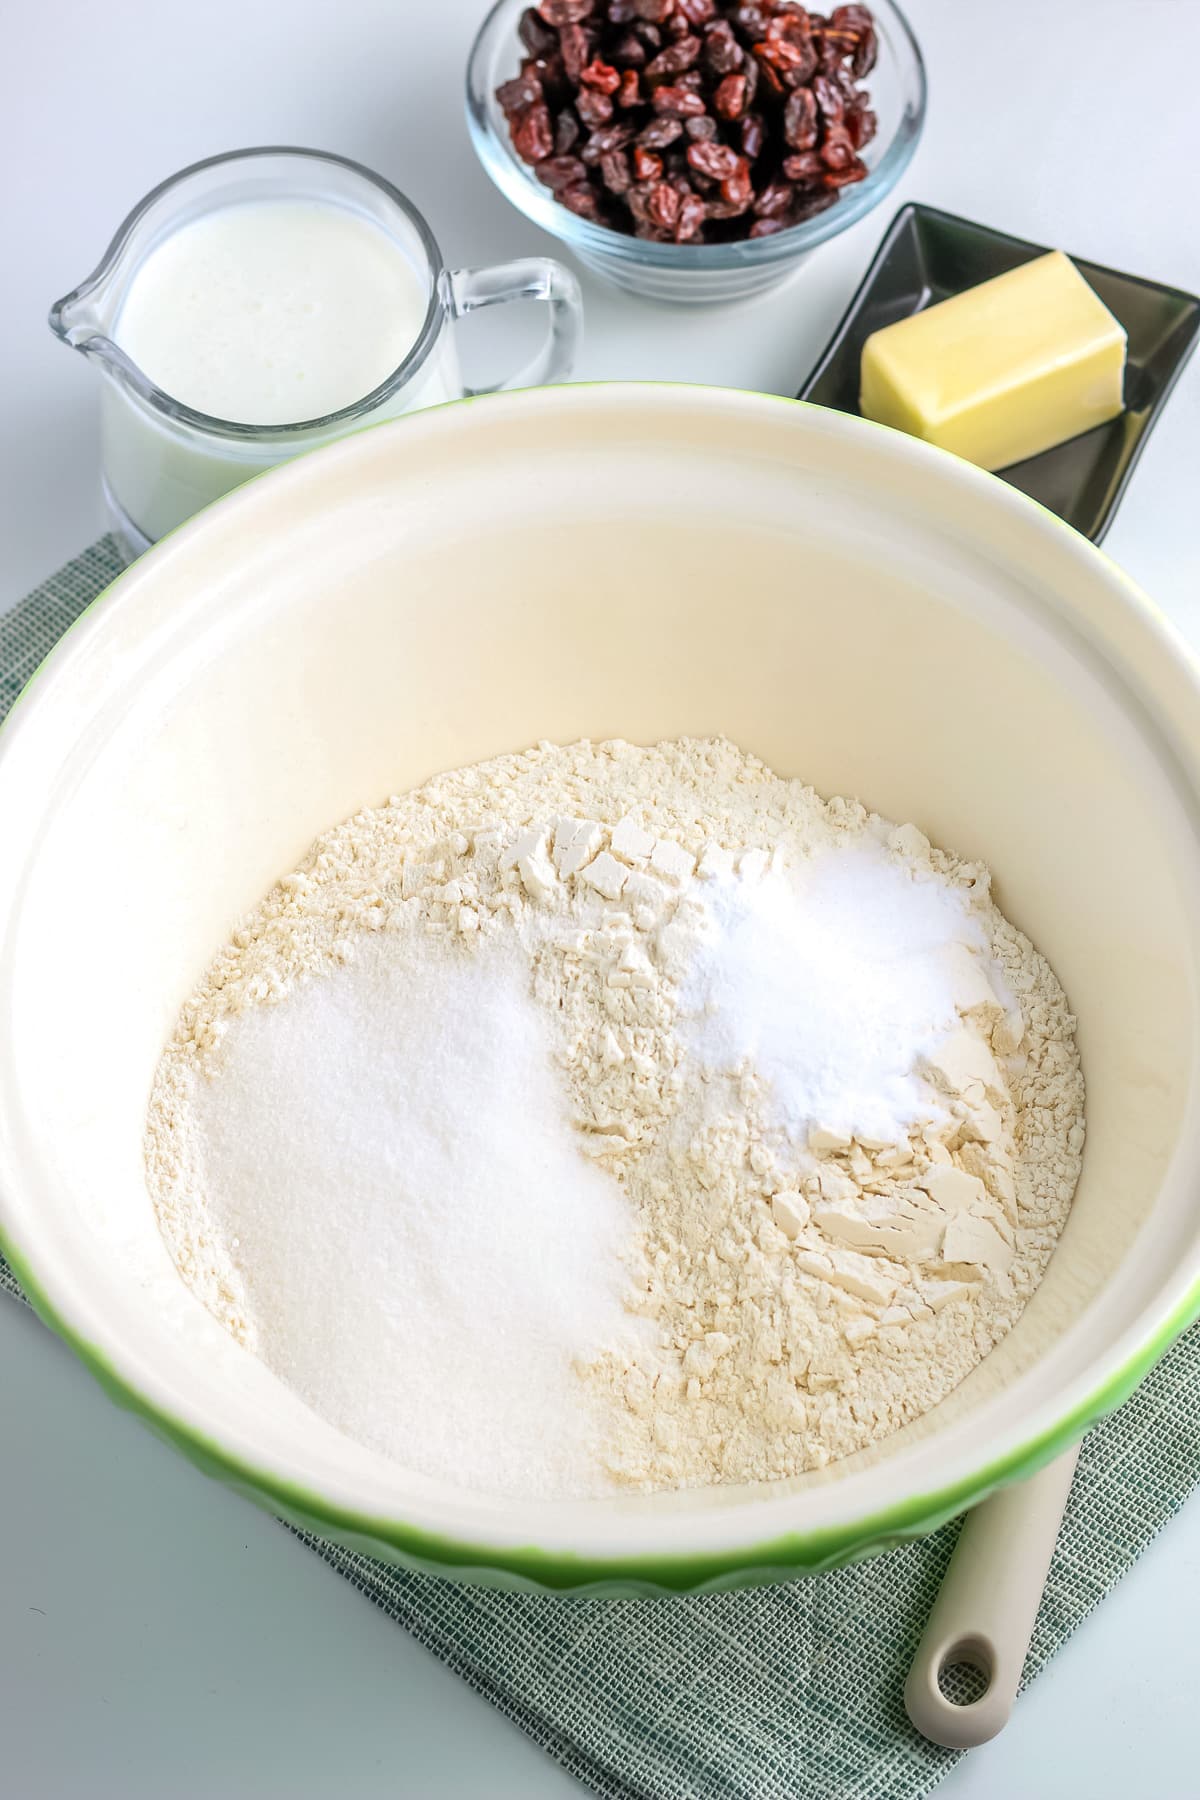
- Place the raisins in a medium bowl and add about 2 teaspoons flour mixture. Mix to coat the raisins to help keep them from falling to the bottom of the bread.
- Using a pastry blender to cut in cold butter into the flour mixture. The dough has a lot of flour but you’re looking for the butter pieces to be about the same size as regular blueberries (not jumbo blueberries!)
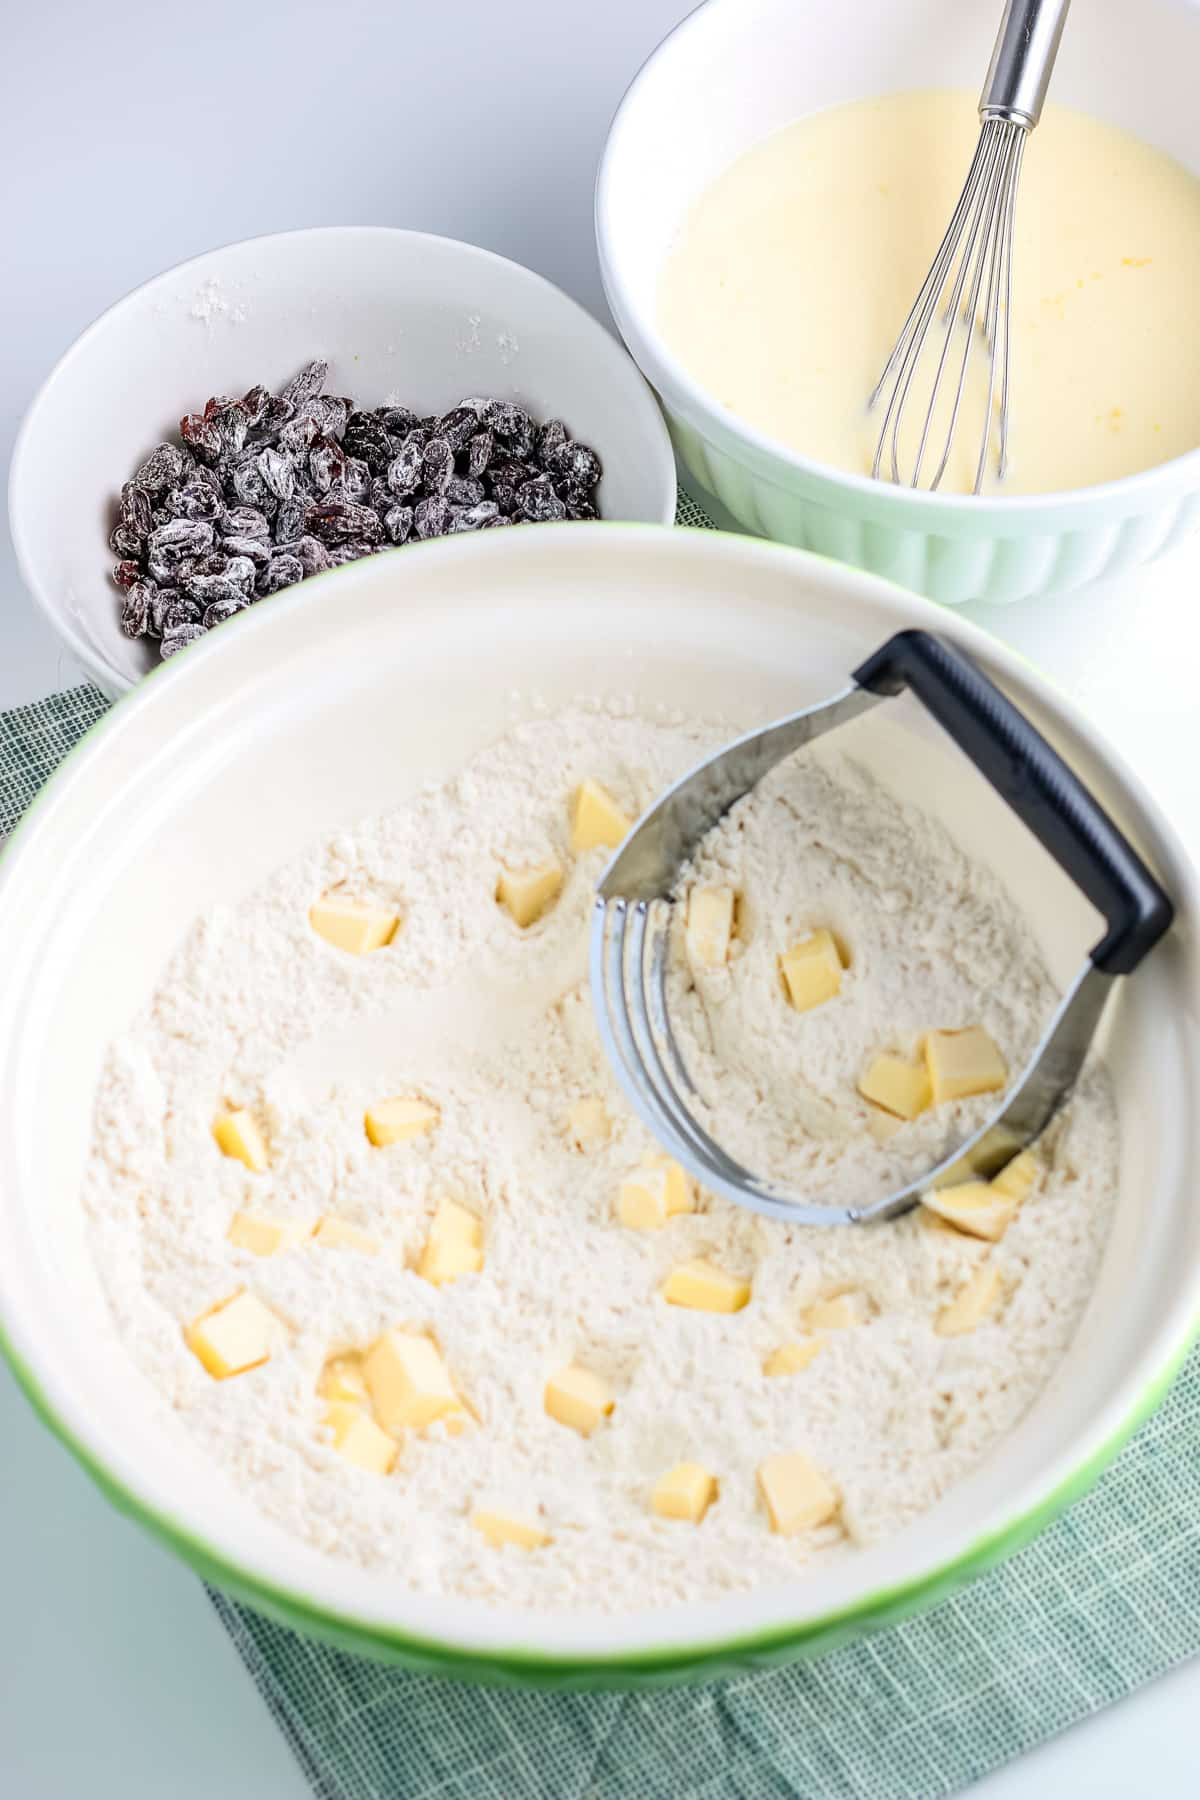
- In a second medium bowl, combine buttermilk and egg, Beat the mixture lightly with a fork until the egg yolk cracks and mixes in.
- Add liquid ingredients to dry ingredients and mix until a shaggy dough starts to form.
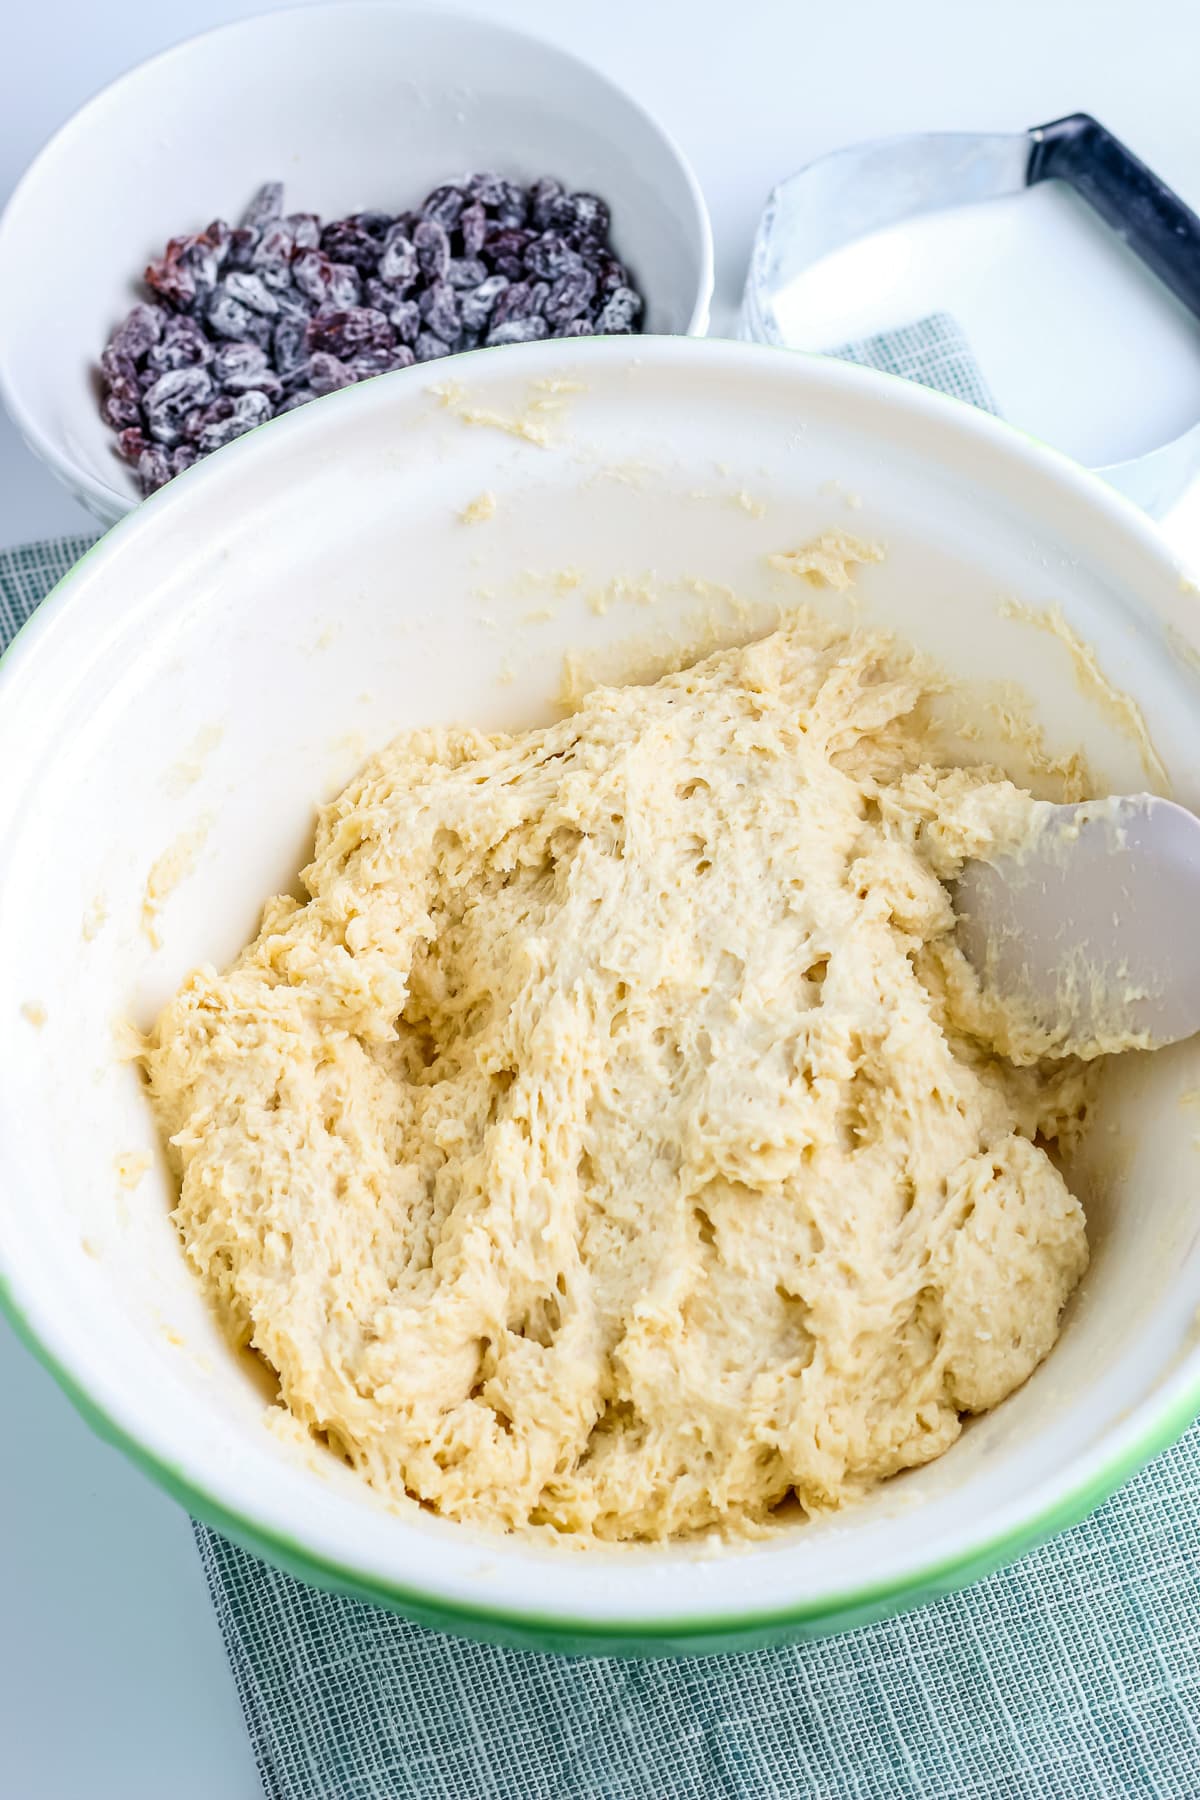
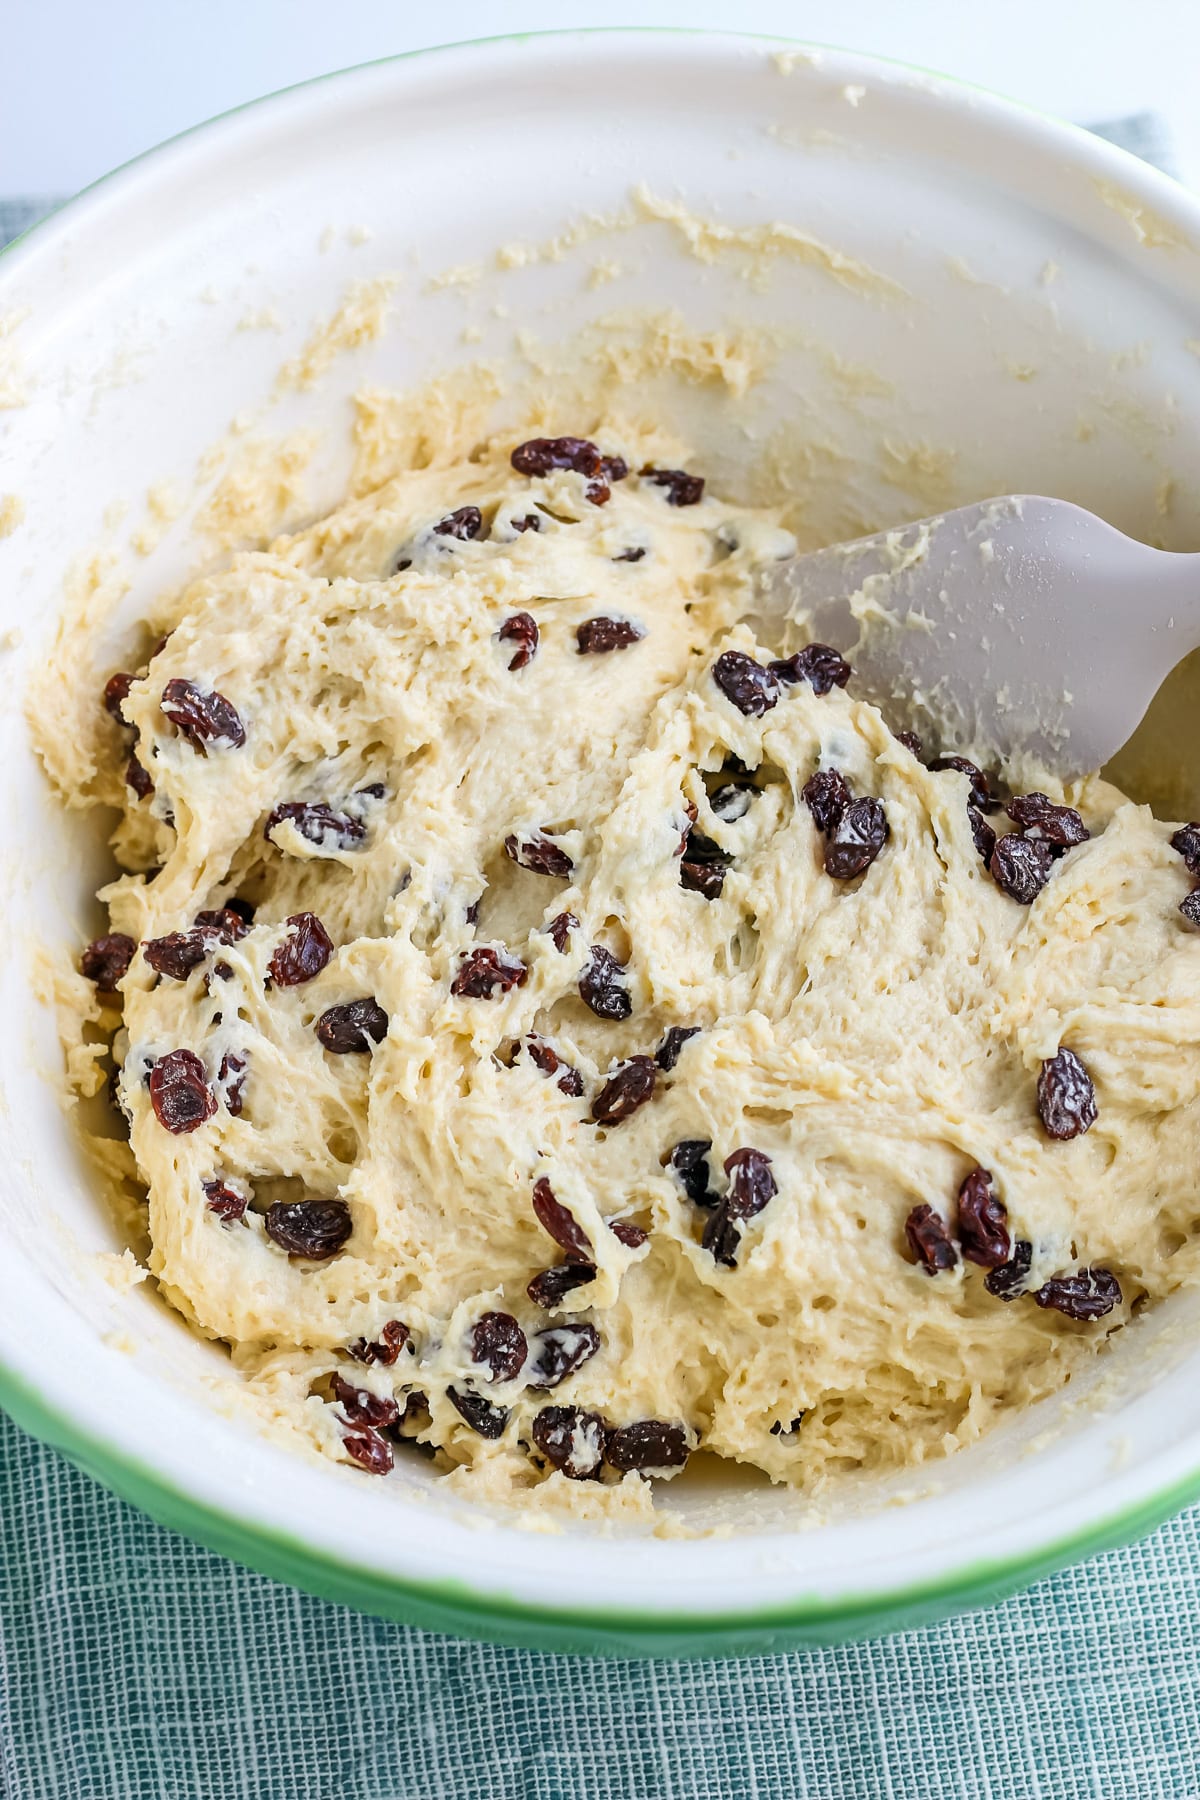
- Fold raisins into the dough. Stop mixing when the dough just begins to feel too stiff to mix.
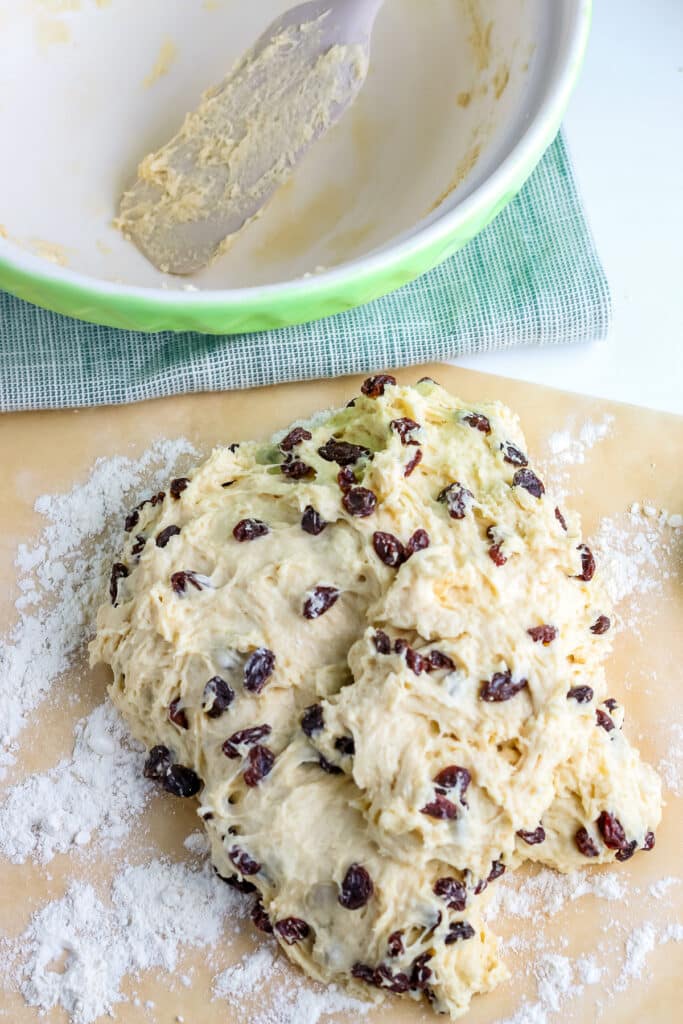
- Flour a clean counter or surface heavily. Work with about half of the dough and knead the dough, adding flour as you go until the dough is not sticky. The dough will feel crumbly at first but then will become smooth as you knead for about thirty to forty five seconds and comes together. Move to the second half of the dough to knead that piece also for thirty to forty five seconds. Form the two dough balls into a singe ball.
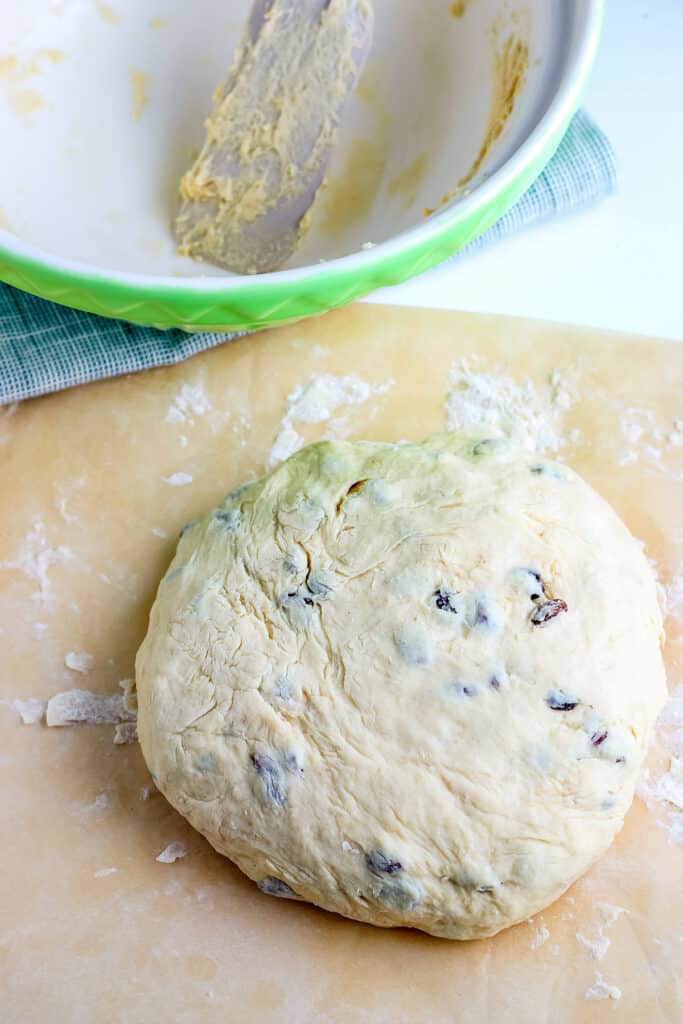
- Place the dough ball in a Dutch oven or on the pan. Using a sharp knife, make an X on the top of the dough. This will score the top and allow the bread to expand more easily without cracking.
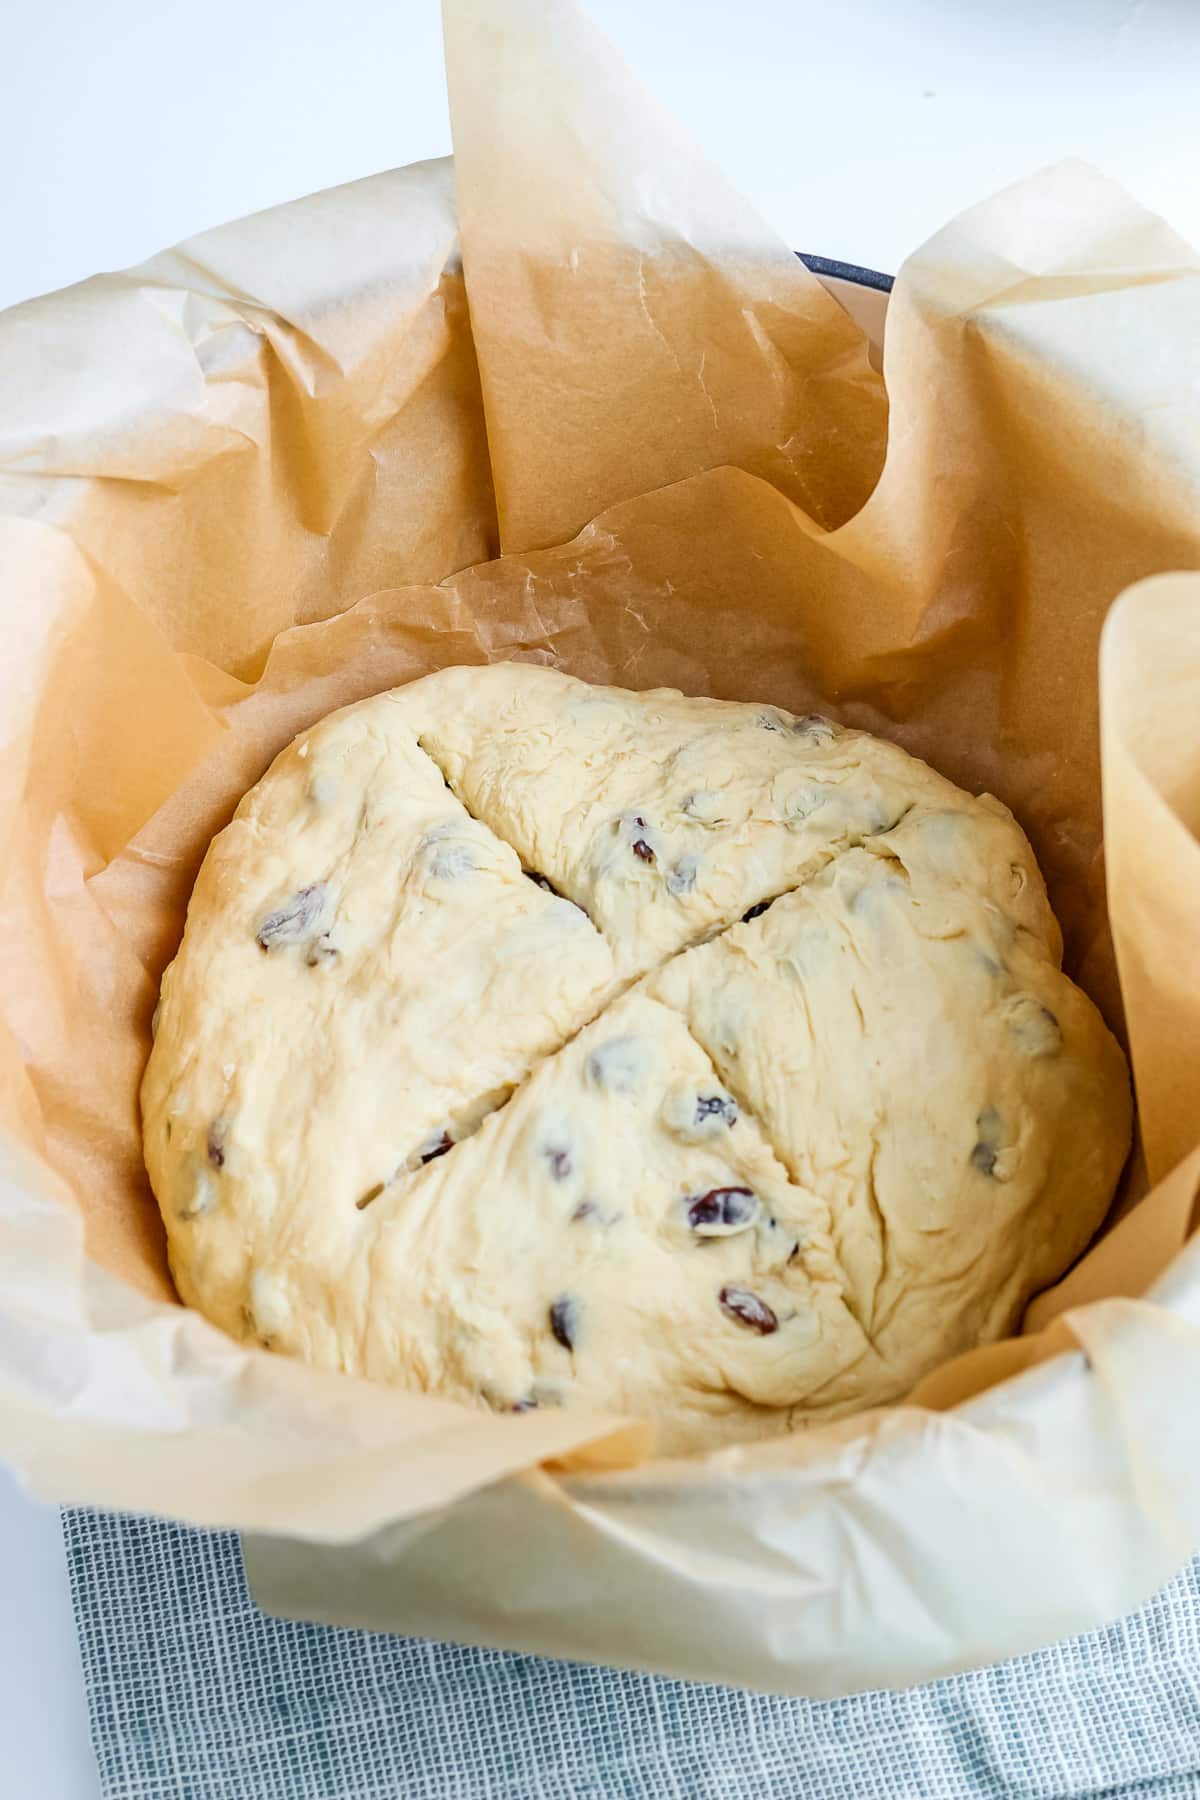
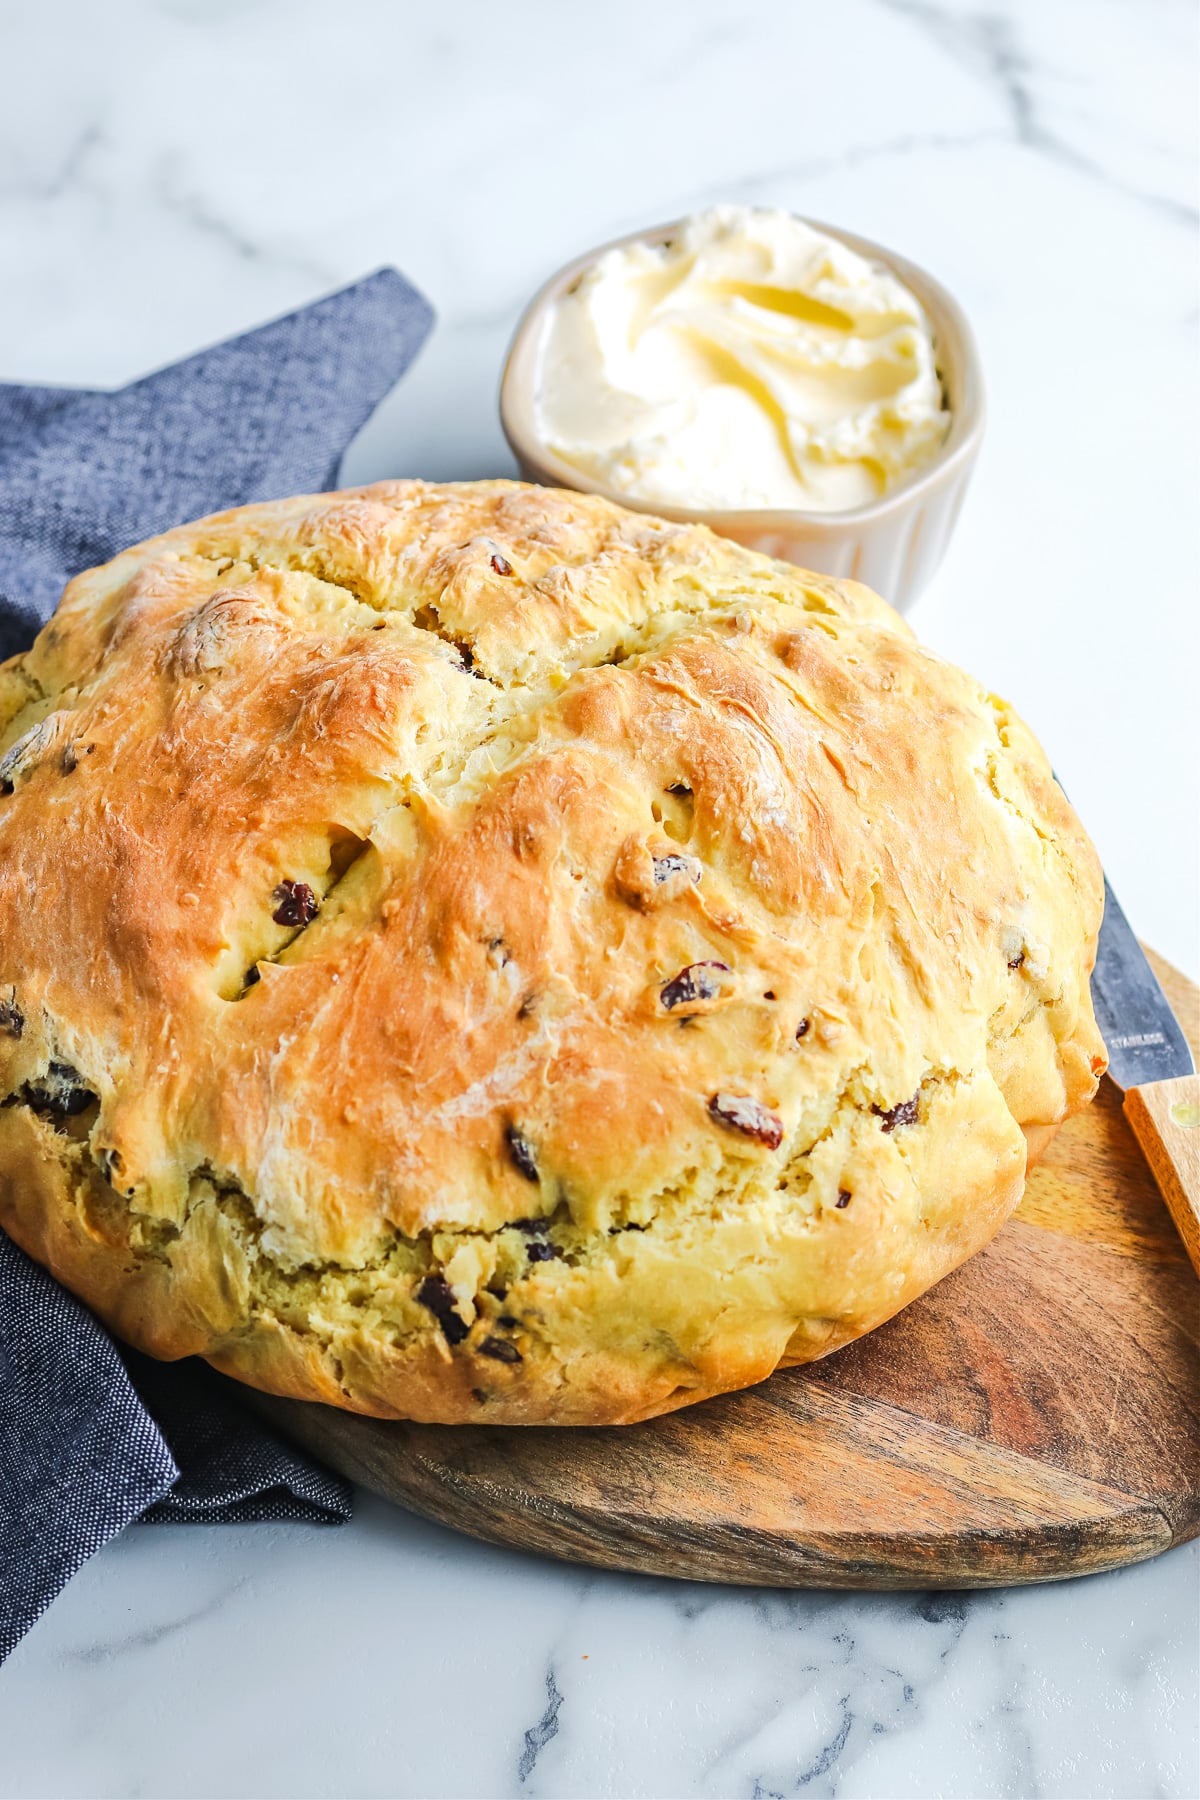
- Bake the bread for about 45-55 minutes. The bread loaf will be golden brown on the outside and seems cooked all the way through in the center of the loaf. You can also use a digital thermometer, the bread is cooked all the way through when it registers about 195 degrees. Place on a wire rack to cool for 5-10 minutes, then slice and enjoy!
What Can I Swap For Buttermilk?
If you don’t have buttermilk you can swap a combo of lemon juice or vinegar and milk in this easy Irish soda bread recipe. Here’s how you do it.
- Pour 1 tablespoon and two teaspoons of vinegar or lemon juice in the bottom of a two cup glass measuring cup.
- Add milk to the measuring cup until it reaches the 1 3/4 cup line.
- Stir the mixture with a spoon, and then let it sit for 10 minutes. You’re now ready to add the buttermilk swap to the recipe.
The more fat in the milk, the more tender the bread will be. I suggest using at least 2% milk or whole milk in the recipe.
What Is The Difference Between Irish American Soda Bread And Traditional Irish Soda Bread?
There is a traditional brown bread you’ll find in Ireland that is known as Irish soda bread. It tends to be heavier with wheat flour and a nuttier flavor, and it doesn’t have the same sweetness that you find in this Irish American version.
The Irish American version of Irish soda bread tastes more like a slice of scone or a biscuit than bread.
How Long Will Irish Soda Bread Last?
Expect this Irish soda bread will taste best if eaten within 3-4 days and stored in an airtight container or bag on the counter. Placing the bread in a closed airtight container in the refrigerator can extend it to about five days.
Be careful what you store the bread next to, as if moisture gets inside the container it can spoil the bread faster.
Fresh bread will always taste it’s best when eaten within 1-2 days and is even better if you serve warm. Once you are past that toasting the bread and adding butter for toast can make it taste almost as delicious as fresh.
Can You Freeze Irish Soda Bread After You Make This Recipe?
Yes you can freeze this bread. Wrap the bread in freezer paper and place inside a freezer zip-top bag or freezer container. Expect the bread will taste it’s best when eaten within 2-3 months.
Other Recipes You’ll Love

Irish Soda Bread
Equipment
- 1 Large Mixing Bowl
- 1 Large spoon a silicone spatula can also be used
- 1 6 quart dutch oven You can also use a cast iron skillet or a baking sheet. It's a little too big to cook in a loaf pan easily.
Ingredients
- 4 cups all-purpose flour
- 4 tablespoons sugar granulated white
- 1 teaspoon baking soda
- 1½ teaspoons salt
- 4 tablespoons unsalted butter cold, cut into small pieces
- 1 ¾ cups buttermilk cold, shaken
- 1 large egg lightly beaten
- 1 cup raisins
Instructions
- Preheat the oven to 375 degrees Fahrenheitt. Line a dutch oven with parchment paper or spray with non-stick cooking spray. You can also use a cast iron skillet or a cookie sheet.
- In a large mixing bowl add flour, sugar, baking soda and salt. Stir until combined.
- Place the raisins in a medium bowl and add about 2 teaspoons flour mixture. Mix to coat the raisins to help keep them from falling to the bottom of the bread.
- Using a pastry blender to cut in cold butter into the flour mixture. The dough has a lot of flour but you're looking for the butter pieces to be about the same size as regular blueberries (not jumbo blueberries!)
- In a second medium bowl, combine buttermilk and egg, Beat the mixture lightly with a fork until the egg yolk cracks and mixes in.
- Add liquid ingredients to dry ingredients and mix until a shaggy dough forms.
- Fold raisins into the dough. Stop mixing when the dough just begins to feel too stiff to mix.
- Flour a clean counter or surface heavily. Work with about half of the dough and knead the dough, adding flour as you go until the dough is not sticky. The dough will feel crumbly at first but then will become smooth as you knead for about thirty to forty five seconds. Move to the second half of the dough to knead that piece also for thirty to forty five seconds. Form the two dough balls into a singe ball.
- Place the dough ball in the dutch oven or on the pan. Using a sharp knife, make an X slice on the top of the bread. This will score the top and allow the bread to expand easier without cracking.
- Bake for about 45-55 minutes. Bread will be golden brown on the outside and seems cooked all the way through in the middle in the center of the loaf. You can also use a digital thermometer, the bread is cooked all the way through when it registers about 195 degrees. Let cool for 5-10 minutes, then slice and enjoy!
Notes
Nutrition
Did You Make This?
I would love to see it! Share your thoughts with me in the comments below!

