Christmas Thumbprint Cookies (Grinch Inspired!)
*This post may contain affiliate links. See our affiliate policy here.

Buttery sweet Grinch cookies are a twist on Christmas thumbprint cookies that will make your Christmas love grow three times bigger! This festive holiday cookie recipe is topped with a soft green vanilla center and red candy hearts to make Grinch Christmas cookies that are perfect for any cookie tray or cookie exchange for the holidays.

Why We Love Grinch Style Thumbprint Cookies
- Fun For Christmas Cookie Trays– These delicious buttery cookies are a fun addition to cookie trays, potlucks or small Christmas gifts. These cookies stand out as fun but unique on any tray with their festive colors that are inspired by The Grinch Stole Christmas story.
- Perfect For Movie Night Or Parties– Having a family movie night or a fun holiday party? This Grinch cookie recipe is an adorable addition to lift everyone’s holiday spirits and add a little bit more fun to Christmas time with these fun green cookies.
- Easy To Make– The recipe is fairly easy, great for bakers of all levels.
Ingredients For This Grinch Cookie Recipe

Find the full printable recipe with specific measurements and directions below in the recipe card.
Ingredients For The Cookies
- butter softened, unsalted
- sugar – I’ve used a more natural colored sugar in the photo, but any white granulated sugar works.
- egg- yolk only
- salt
- flour – use all purpose flour
Ingredients For The Filling
- powdered sugar
- milk
- corn syrup
- vanilla extract
- heart sprinkles – these are the exact heart sprinkles I used, but I bought a big bag at the time. For a smaller container that would be similar, I recommend using the red heart sprinkles from these Wilton heart sprinkles. You can use any heart sprinkle though, these heart sprinkles are just a little bigger then a standard size heart sprinkle.
- green food coloring– I’ve used Wilton’s gel food coloring in “leaf green” gel color to get this great Grinch color
Try these more traditional melt-in-your-mouth raspberry jam-filled thumbprint cookies, or the hot chocolate peppermint thumbprint cookies to add more sweetness to your Christmas dessert trays with these adorable Grinch cookies!
How To Make Grinch Style Thumbprint Cookies
To Make The Cookies
- Preheat the oven to 350 degrees Fahrenheit. Line a baking sheet with parchment paper.
- Place butter and sugar in a large bowl. Cream butter and sugar together with an electric mixer (like a stand mixer or a hand mixer) until smooth.

- Add one egg yolk to the butter mixture. Continue mixing with an electric mixer until well mixed.

- In a second medium bowl, mix together flour and salt. Gradually add the flour mixture about 1/3 at a time to the butter mixture, mixing well with an electric mixer in between until a dough forms.
- With a small cookie scoop, scoop the dough into tablespoon size scoops. and roll into balls. Place the balls of cookie dough on the prepared cookie sheet with about two inches of space in between.

- Use the end of a wooden spoon or your thumb to create a hole in the top of each cookie for the filling. I’ve also found using the round end of my extract bottle or a clean cork from a bottle of wine gives me the best shape and size for the filling to stay in the cookie. About 3/4 of an inch across is the perfect size circle.

- Bake cookies for 10 minutes. Remove from the oven, and gently press a circle into the center of each cookie a second time. Place back in the oven and bake 10-12 minutes or until the cookie is light golden brown.
- Allow to cool on the baking sheet for 2-3 minutes before removing to a wire rack to cool completely to the touch, about 30 minutes.
To Make The Filling
- In a medium bowl add powdered sugar, corn syrup, vanilla, milk and food coloring. Mix well until smooth. The filling should be thin enough to scoop out with a spoon, but thick enough to set and not run out of the cookies. See notes.

- Place the filling in a strong freezer zip-top bag. Snip the corner off the bag. Fill each cooled cookie with the filling and add a heart sprinkle to each cookie.

- Allow the cookies to sit uncovered until the filling has set. Then enjoy!

Variation Ideas Grinch Style Thumbprint Cookies
Add A Light Green Candy Melt– You can add a Grinch vibrant green colored candy melt in the center of each thumbprint cookie instead of using the filling. Candy melts are colored white chocolate melting disks, and you can find them at most craft stores in the cake decorating section.
Sprinkle Red Sprinkles– You could add a variety of red sprinkles across these cookies to still give them the Christmas decorations.
Drizzle Decorations– A red, white or bright green candy melt could be used to create a drizzle across these cookies
Make a few more cute treats for your treat trays! Try the gooey peppermint bark brownies or grab a handful of this sweet and crunchy reindeer chow chex mix. The Rice Krispie treat trees or Christmas tree meringue cookies both look like Christmas trees, and are way fun on a platter. Or add these fun and colorful Christmas pinwheel cookies.

How Long Do These Grinch Style Thumbprint Cookies Last?
Expect these cookies will last about 3-4 days when stored in an airtight container on the counter. The cookies can be frozen also and will last for 2-3 months.
More Cookies You’ll Love
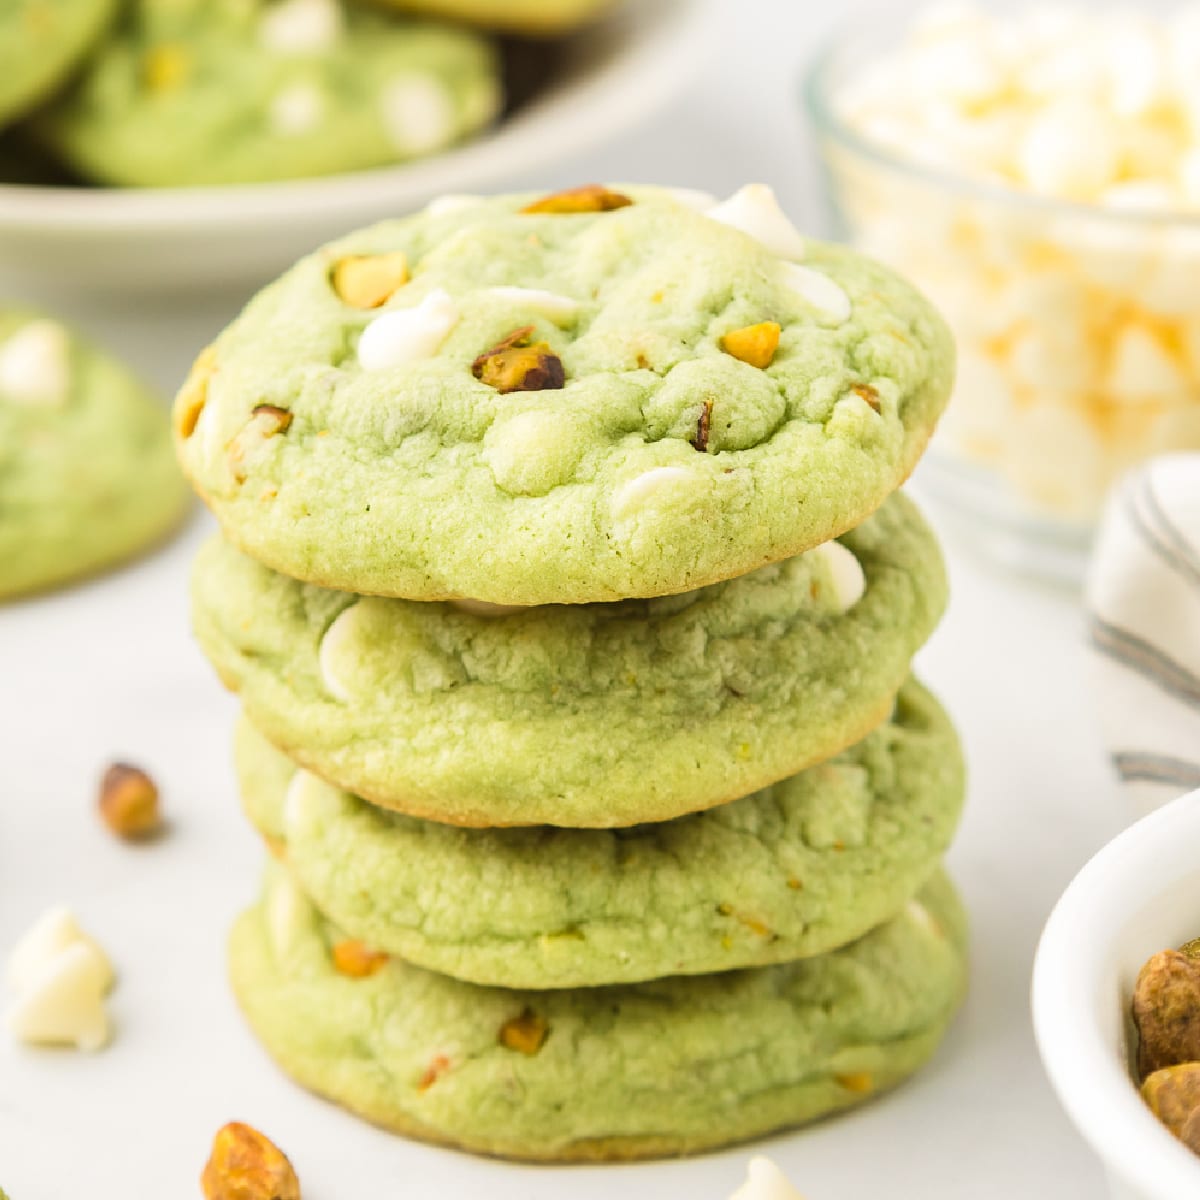
Pistachio Pudding Cookies

Santa’s Favorite Cookies (M&M Pudding Cookies)


Grinch Style Thumbprint Cookies
Ingredients
For The Cookies
- 1 cup butter softened, unsalted
- ¼ cup sugar
- 1 large egg- yolk only
- ¼ teaspoon salt
- 2 cups flour use all purpose flour
For The Filling
- 1 cup powdered sugar
- 2 teaspoons milk
- 2 teaspoons corn syrup
- ½ teaspoon vanilla extract
- heart sprinkles see notes
- green food coloring I've used Wilton's gel food coloring in "leaf green" to get this great Grinch color
Instructions
To Make The Cookies
- Preheat the oven to 350 degrees fahrenheit. Line a baking sheet with parchment paper.
- Place butter and sugar in a large mixing bowl. Cream butter and sugar tgoether with an electric mixer until smooth.
- Add one egg yolk to the butter mixture. Continue mixing with an electric mixer until well mixed.
- In a second medium bowl, mix together flour and salt. Gradually add the flour mixture about 1/3 at a time to the butter mixture, mixing well with an electric mixer in between until a dough forms.
- With a small cookie scoop, scoop the dough into tablespoon size scoops. and roll into balls. Place the balls of cookie dough on the prepared cookie sheet with about two inches of space in between.
- Use the end of a wooden spoon or your thumb to create a hole in the top of each cookie for the filling. I’ve also found using the round end of my extract bottle or a clean cork from a bottle of wine gives me the best shape and size for the filling to stay in the cookie. About 3/4 of an inch across is the perfect size circle.
- Bake cookies for 10 minutes. Remove from the oven and gently press a circle into the center of each cookie a second time. Place back in the oven and bake 10-12 minutes or until the cookie is light golden brown.
- Allow to cool on the baking sheet for 2-3 minutes before removing to a wire rack to cool completely to the touch, about thirty minutes.
To Make The Filling
- In a medium bowl add powdered sugar, corn syrup, vanilla, milk and food coloring. Mix well until smooth. The filling should be thin enough to scoop out with a spoon, but thick enough to set and not run out of the cookies. See notes.
- Place the filling in a strong freezer zip-top bag. Snip the corner off the bag. Fill each cooled cookie with the filling and add a heart sprinkle to each cookie.
- Allow the cookies to sit uncovered until the filling has set. Then enjoy!
Video
Notes
Nutrition
Did You Make This?
I would love to see it! Share your thoughts with me in the comments below!