Blackberry Jam (Easy No Pectin!)
*This post may contain affiliate links. See our affiliate policy here.
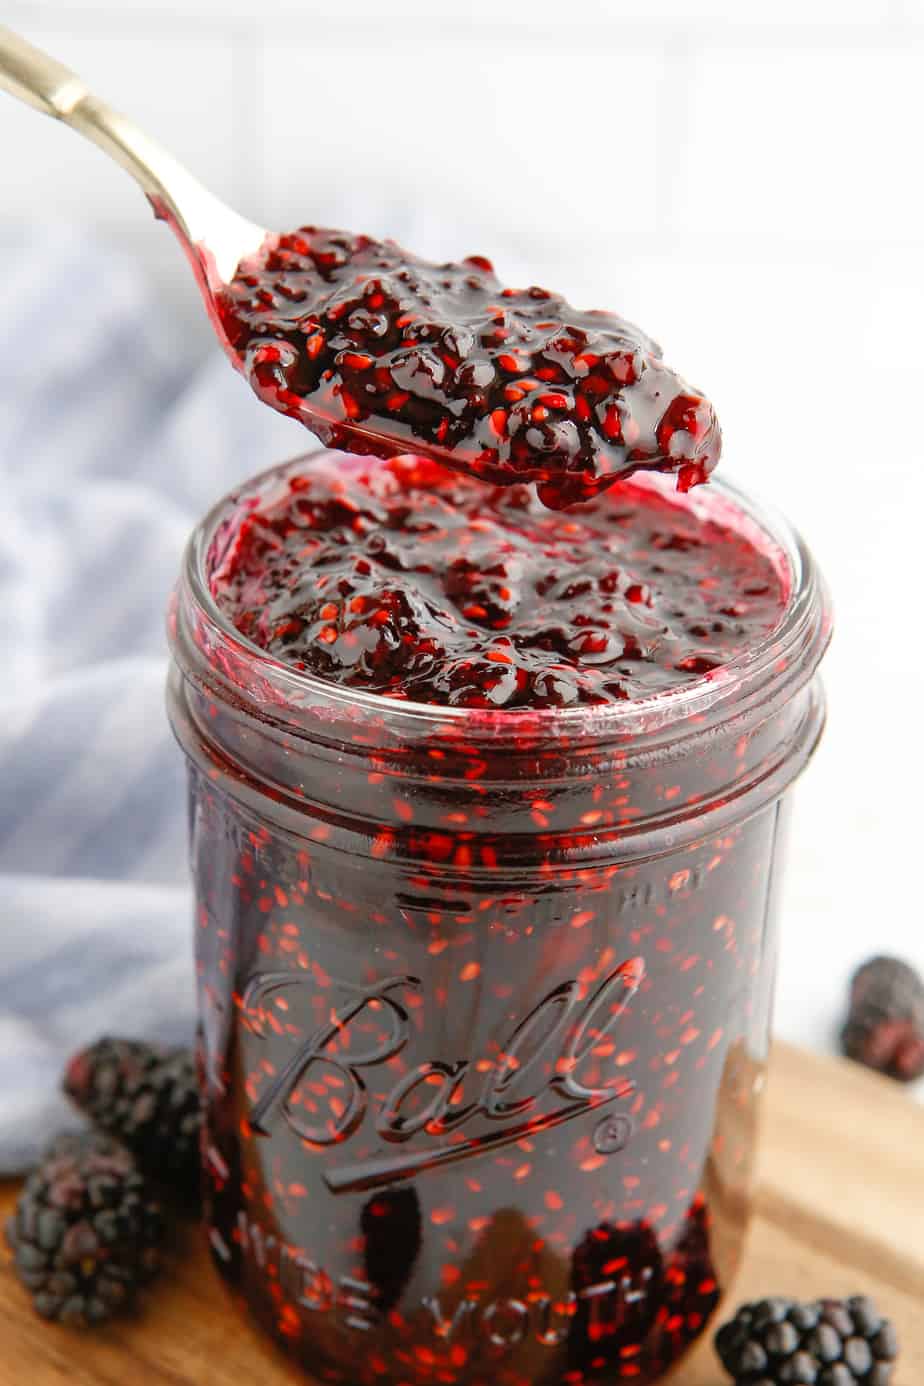
Sweet blackberry jam will have you coming back for another sweet bite! This easy jam recipe only needs three ingredients, and bursts with flavor whether you add it to biscuits, toast, peanut butter and jelly sandwiches or on top of desserts!
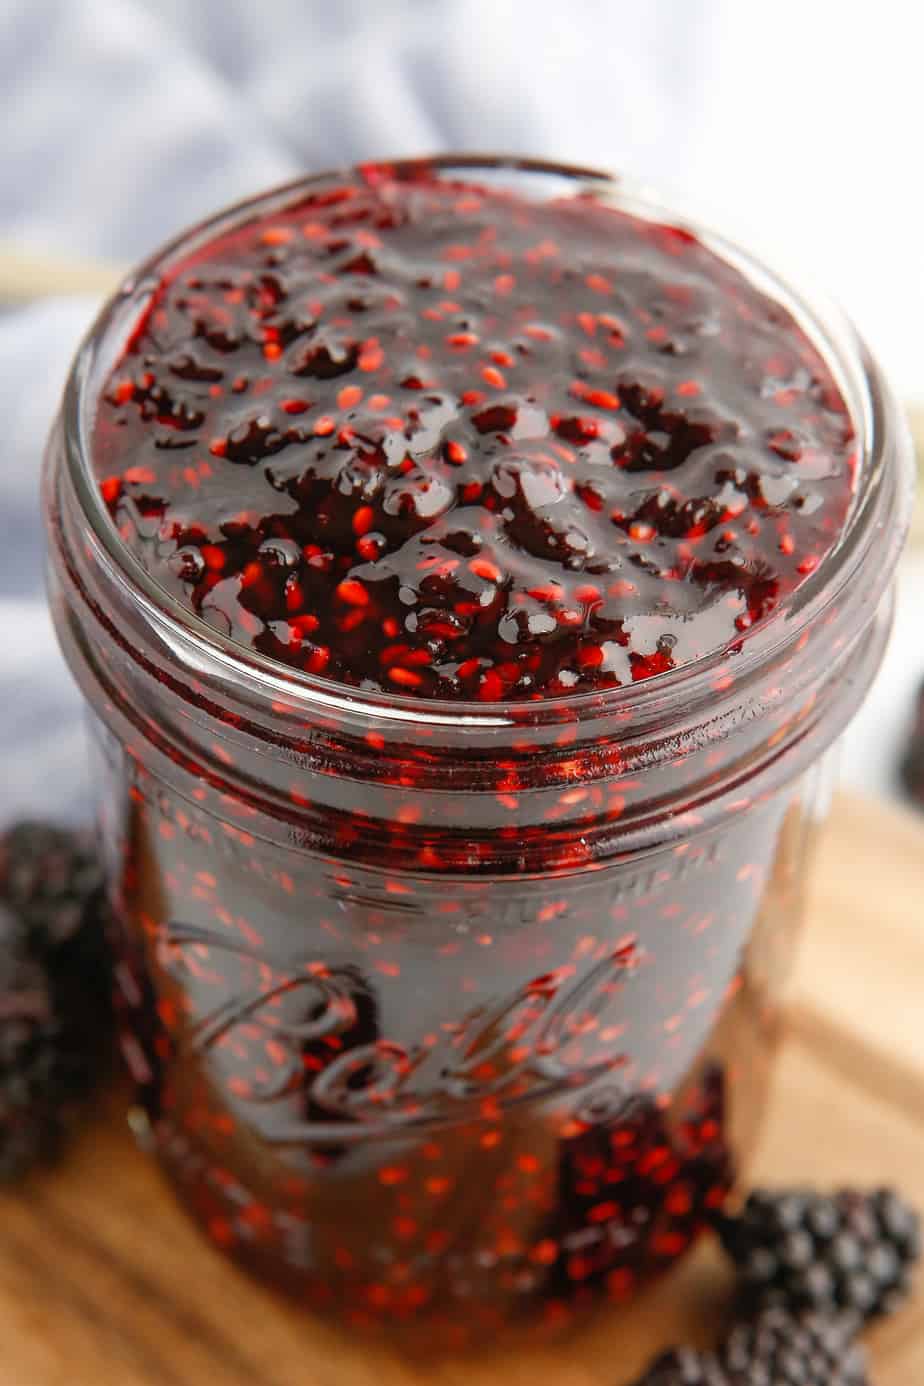
Table of Contents
Why We Love Blackberry Jam
- Delicious Blackberry Flavor– Blackberries just get sweeter when you make them into delicious jam, and you’ll want to spread this on everything! You only need three simple ingredients for this recipe, and it’s a delicious way to use summer blackberries during blackberry season.
- Perfectly Sweet For Meals– Add this easy blackberry jam to toast or biscuits, or even a drizzle on top of french toast! This recipe is perfect for breakfast, but also try it in the ultimate peanut butter and jelly! Or add it to desserts, try it in my thumbprint cookies in place of the raspberry jam or over ice cream delicious!
- Small Batch, Big Flavor- This jam recipe makes three 8 ounce containers, perfect for enjoying one now and two in the freezer for later without making huge batches. See directions below for how to freeze extras.
Whether you’ve made jam one or a hundred times, you’ll love this easy recipe. Homemade blackberry jam always feels like a special treat.
Ingredients For Blackberry Jam
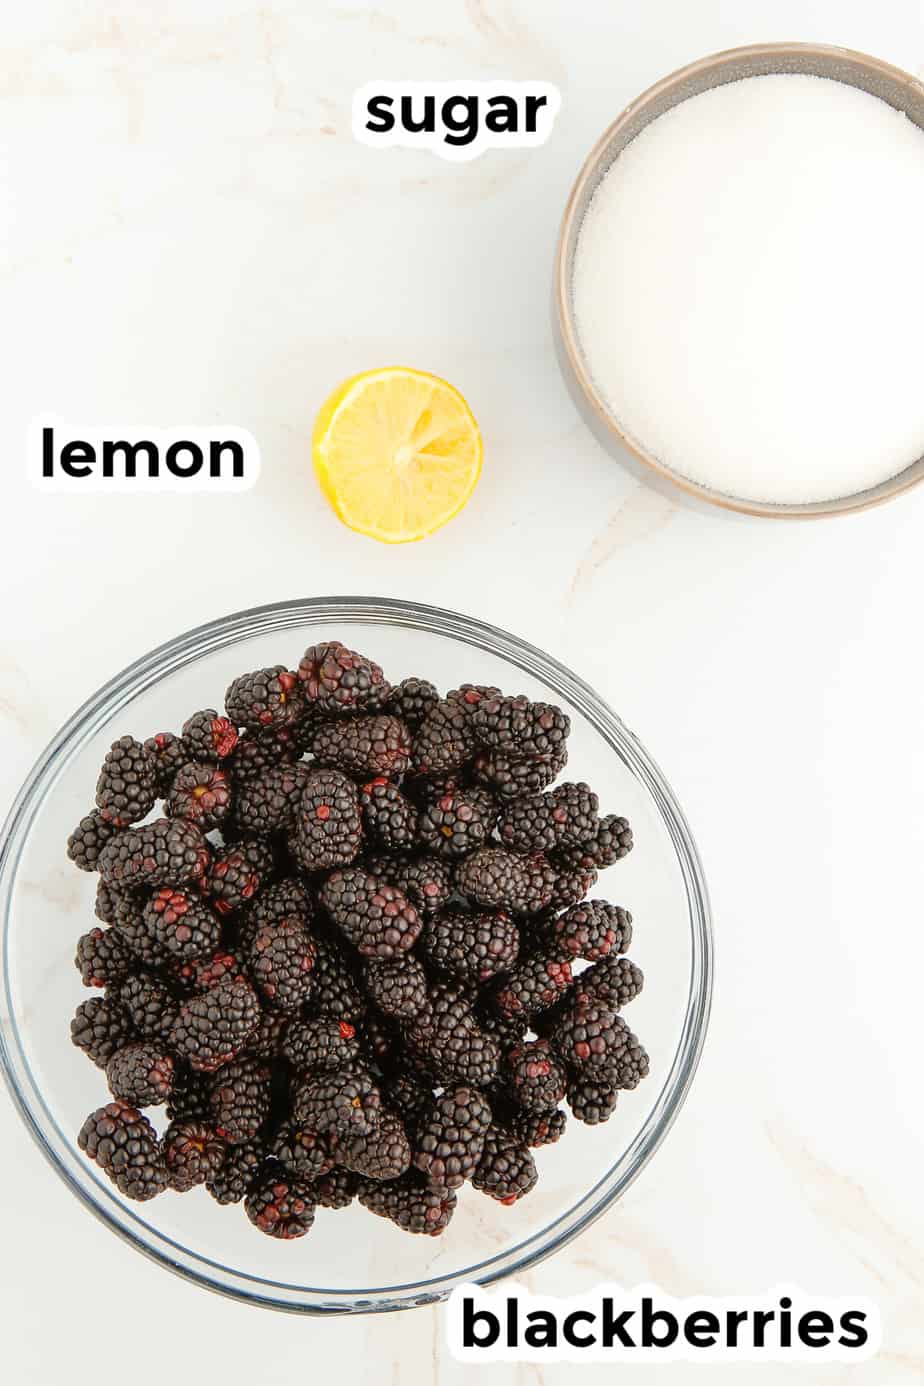
Find the full printable recipe with specific measurements and directions below in the recipe card.
- blackberries fresh berries or frozen berries, ripe berries will produce a sweeter jam
- granulated sugar
- lemon juice – don’t skip the lemon juice, it helps to activate the natural pectin in the fruit while makes the jam gel.
How Many Pints Of Blackberries Do I Need For This Recipe?
One 6-ounce container of blackberries that you typically find at the grocery store (also known as a dry pint) is equal to about one cup of blackberries. For this recipe you will need about four 6-ounce containers of blackberries or 24 ounces total.
You can also use two 12-ounce bags of frozen blackberries easily without needing to measure in cups.
This measurement is an estimate. Berries can vary in both size and weight, especially if you are using wild blackberries. Luckily jam does not need to be super exact, if you have one or two less berries or one or two more berries the jam will still be delicious.
A dry pint that I mentioned above is simply measuring the fruit in a pint container “dry” as whole berries rather than a liquid version of the same berries. Learn more about the difference between a dry pint and a liquid pint here.
How To Make Blackberry Jam
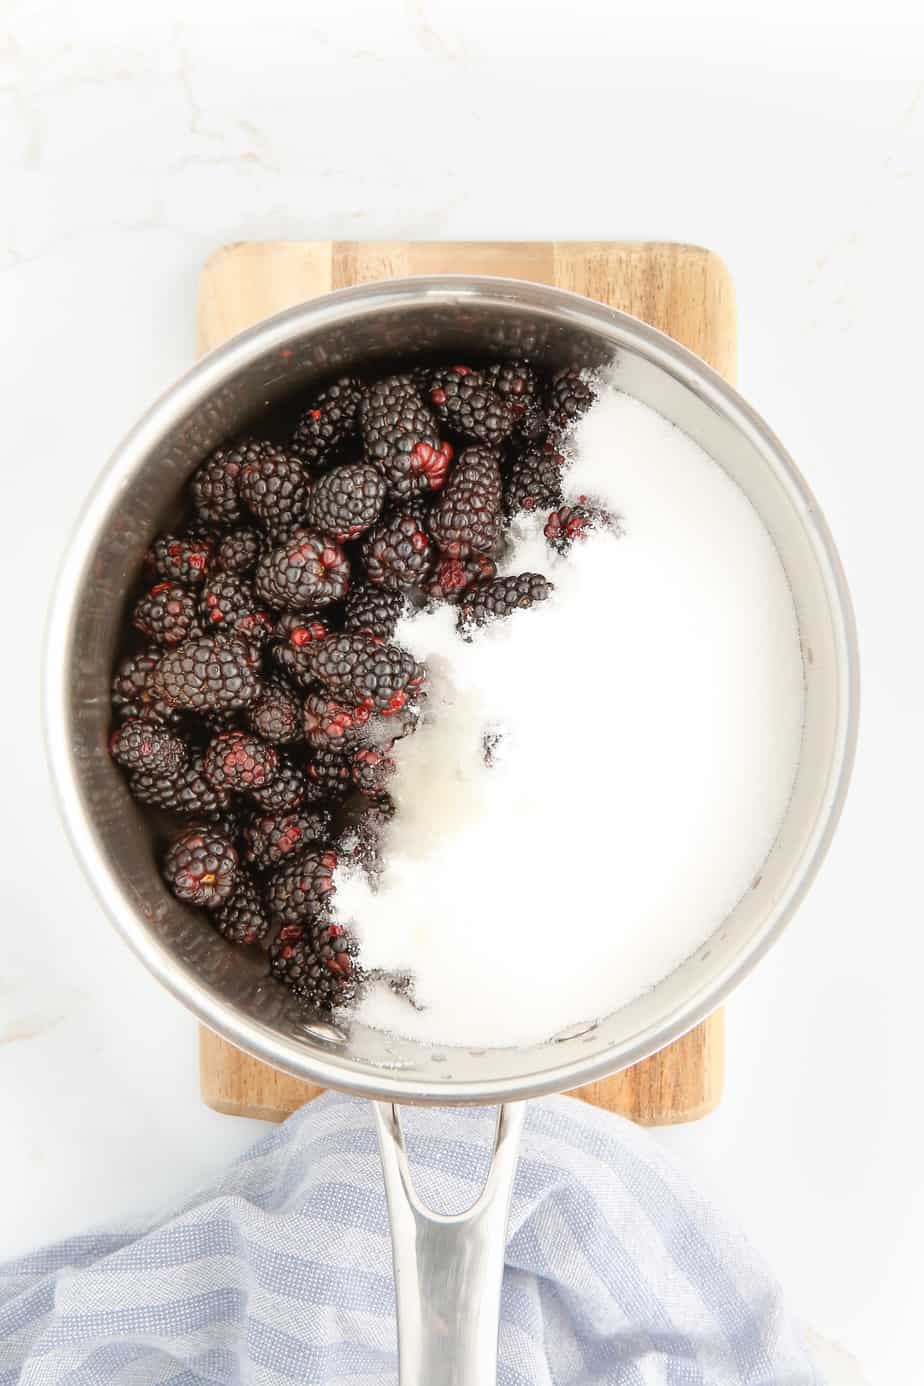
- Turn the stove to medium high heat. In a medium saucepan, add the blackberries, sugar and lemon juice. Place the pan on the stove.
- Cook the blackberry mixture over medium heat, stirring frequently. Allow the fruit to come to a full rolling boil carefully.
Blackberries foam a LOT when you cook them. Watch the pot carefully as it cooks so you don’t accidentally boil over the pot. Adjust the heat on the burner as necessary to keep the pot from overflowing.
- Reduce the heat slightly to allow the jam to simmer. You can help the blackberries break down faster by gently mashing them with a potato masher if you choose. Stir frequently as the jam thickens until it thickens to your desired consistency. You can also use the drippy spoon technique described in the notes. This should take about 12-15 minutes from the beginning of boiling through the simmering process.
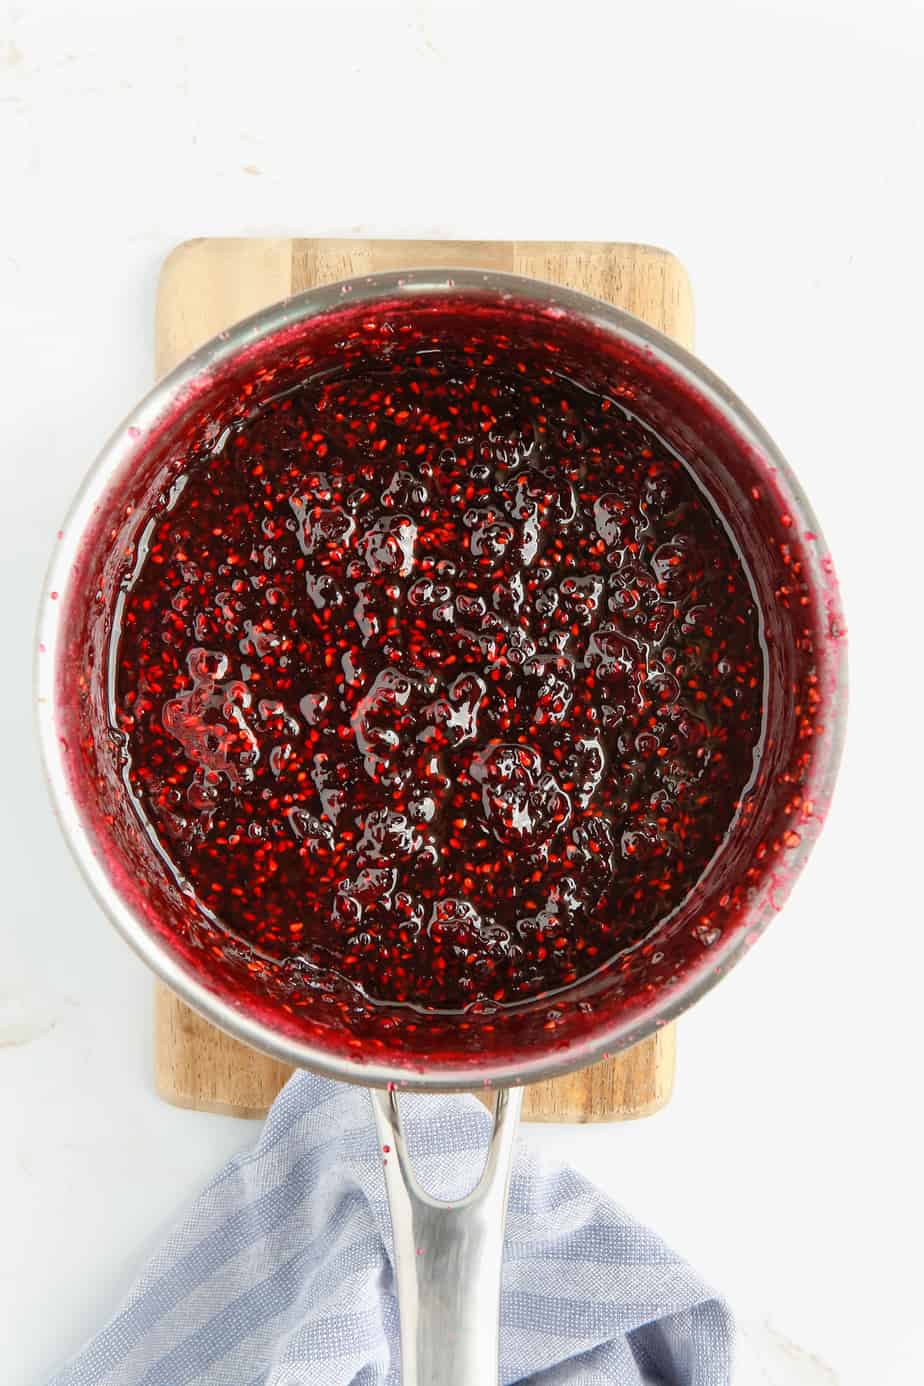
- Remove the blackberry jam from the heat and allow to fully cool to room temperature before storing or using for a recipe. Enjoy!
How To Tell If Your Jam Is Thick Enough- The Drippy Spoon Test
This test is the easiest I have found to know if the jam has finished cooking. Dip a spoon into the jam then watch the speed and the shape of the jam as it drips off the side of the spoon.
- Light drips– The mixture will drip easily off the spoon and be light in color, and will be liquidy.
- Drops In Two Drips– A small amount of the jam will start to come off of side of the spoon in two drips instead of one. This means the jam is starting to thicken.
- Sheet of Drips– The hot jam mixture will drop off the side of the spoon in a thicker sheet. This means the jam has the natural fruit pectin found inside the fruit has thickened giving it that great jam texture without added pectin.
Learn more about the drippy spoon test and how to test if the jam is done cooking by temperature here.
If your blackberry jam doesn’t seem to be becoming a gel, it likely means you need to cook it just a little bit longer. You will see the jam set more as it cools.
How Much Jam Does This Recipe Make?
This jam makes 24 ounces which will fill three 8 ounce jam jars meant for canning. An ounce is about equal to two tablespoons of jam. This easy raspberry jam recipe is a small batch recipe.
Is This Raspberry Jam A Freezer Jam?
You can store unused jam from this recipe in the freezer but it is not considered blackberry freezer jam. Freezer jam keeps its bright color easier than a traditional jam. This recipe will get darker in color if stored in the freezer Learn more about how to make freezer jam here.
How Do I Freeze This Jam?
To freeze the ham, place it in a freezer-safe container or freezer zip-top bag once it has cooled.
Glass canning jars can be stored in the freezer. Make sure you leave at least a half-inch of space in the container at the top so the jam has room to expand as it freezes.
These handy plastic freezer jars from Ball, are also great as freezer storage containers.
Can I Home Can This Raspberry Jam?
You can home can this blackberry jam. I recommend using a hot water bath method when canning fruit jams.
Follow the instructions here on how to can homemade jam using a hot water bath method. Blackberries don’t need to be pressure canned. The fruit is acidic enough that the hot water bath method works just fine.
For canning jam you will need a large pot, a pair of tongs, pint size glass canning jars (Ball makes the best canning jars), and the matching metal lids and rings.
A home canning tool kit like this can be really nice to have. It’s not necessary to get started the first time, but the tools do make filling and moving the jars easier.
If you’re interested in trying canning at home, I recommend checking out the book The Complete Book Of Home Preserving. I home canned with my husband for a while, and this book was really valuable with clear instructions on how to can all kinds of foods, like Canned Pears, homemade canned tomatoes, or canned apple pie filling.
Can I Make This Seedless Blackberry Jam?
You can make blackberry jam seedless. It’s not a hard process but can take a little time.
To make seedless jam, you want to push the jam through a food mill like this one. It’s a little easier to use then a fine mesh strainer to remove the seeds quickly and effectively. You’ll need to use the disc with the smallest holes.
Removing the seeds from blackberry jam isn’t necessary but blackberry seeds in particular tend to irritate some people because they are hard and can get stuck in your teeth. Running the jam through a food mill will remove those seeds.
How Long Will This Jam Last?
We don’t add any preservatives to this blackberry jam. Cover the jam in an airtight container and store in the refrigerator, it should last for about 3-4 weeks.
Be careful not to get butter or crumbs in the jam when using it on toast or biscuits. These crumbs can spoil the jam more quickly.
More Recipes You Will Love

Blackberry Jam
Ingredients
- 4 cups blackberries fresh or frozen
- 2 cups granulated sugar
- 1 ½ tablespoon lemon juice
Instructions
- Turn the stove to medium high heat. In a large saucepan, add the blackberries, sugar and lemon juice. Place the pan on the stove.
- Cook the blackberry mixture over medium heat, stirring frequently. Allow the fruit to come to a full boil watching carefully so it doesn't over boil. See notes.
- Reduce the heat slightly to allow the jam to simmer. Stir frequently as the jam thickens until it thickens to your desired consistency. You can also use the drippy spoon technique described in the notes. This should take about 12-15 minutes from the beginning of boiling through the simmering process
- Remove the blackberry jam from the heat and allow to fully cool to room temperature before storing or using for a recipe. Enjoy!
Notes
How Can I Adjust The Sugar In This Jam?
The sugar can be adjusted to your own taste in most jam recipes, and can be made with less sugar if you choose. I suggest starting with half the listed sugar and then taste and add more if necessary. The amount of sugar can adjust if you have especially ripe blackberries. Taste carefully once the jam mixture just comes to a boil. (blow on it carefully it will be hot!) You can then add the amount of sugar that works for you before the jam begins to jell.Can I Make This Jam Sugar Free?
Blackberries have natural sugar in them so there is no way to make jam that has no sugar. You can make a no sugar added jam by using a sugar substitute, I generally recommend using Stevia or your favorite sweetener replacement to taste after the fruit has begun boiling. I would start with half of the sugar listed with a sugar replacement as sugar replacements tend to be sweeter. Then taste and add more sugar as needed.How To Do The Drippy Spoon Test For Jam To Know When It’s Thick Enough
The drippy spoon test is one of the easiest ways I know to tell if jam is done simmering. Simply dip a spoon into the jam mixture and watch the jam drip off the side of the spoon.- Light drips– When the jam first begins to become a syrup after boiling, the mixture will drip easily off the spoon and be light in color.
- Drops In Two Drips– As the jam mixture begins to thicken, you’ll notice the drips will start to come off the side of the spoon in two drips instead of one.
- Sheet of Drips– Once the jam has become thick enough it will drop off the side of the spoon in more of a thicker sheet. Once this happens, the jam has reached the jelled portion where the natural fruit pectin found inside the fruit has thickened, and your jam will be thick enough to spread on toast.
Nutrition
Did You Make This?
I would love to see it! Share your thoughts with me in the comments below!




Awesome
So glad it was delicious Michael!
So far the jam is not setting up. We brought it to a full boil on 5. Then lowered it to 3, then lowered it to 2, then 1. Still not thickening up. We’ve turned off the burner and we’re letting it cool before we put it in our jars.
We’re hoping it’ll thicken up but I’m not sure it will. We’ve done the spoon test and it’s still fairly runny.
I’ll report back when it’s all cooled and in our jars.
Hi Vonie, I read up on this a little more specifically and found that if your fruit is especially ripe it has less pectin in the fruit. That can sometimes make the jam a little extra runny and harder to set up. The recommendations I saw was to cook it a second time at a medium temperature to help ti set.
Another option is to make a cornstarch slurry and add it to the jam while cooking again. So mix in two teaspoons of cornstarch and four teaspoons of water, and add it to the jam while it is cooking again. It should cause it to start thickening up pretty quickly. An additional teaspoon of cornstarch mixed with two teaspoons of water can be added if it still needs to be thickened a little more. You must mix the cornstarch with the water first before adding it to the jam though. Hope that helps you troubleshoot!
Hi Kristy,
Thank you so much for your response.
The jam ended up setting really well because we let it boil a little longer. Once it was cooled down we poured it into our glass canning jars. It became nice and thick which is what we wanted. We absolutely love it and will be happy to give you a good review. We’re new to making freezer jam so we started with a single batch to test it. Now we plan to go bigger and at least double the recipe! We have several people we plan on giving some to so we need to get back into production!
We used fresh-picked berries picked 3 days before we made the jam. Have you used frozen berries using this same recipe? Were you happy with the result?
Thank you so much Kristy!
Can you freeze this jam in jars?
Yes, you can freeze the jam in jars, just make sure to leave a little space at the top of the jar as the jam will expand as it freezes.
Do u just put in jar n refrigerate or put in jars n put on shelves
You put it in a jar in the refrigerator. To be able to put the jar on a shelf, you must home-can the jam in your canning jars which takes a few more steps. IF you’ ‘re interested in learning how to home can this jam there is more information in the post already about how that process works. You can also store jam in the freezer for later, but you must leave space in the jar for the jam to expand. Hope that helps! -Kristy
Does this recipe work with other fruit like blueberries or strawberries?
Yes you can use other fruit and a similar process, but you may need to adjust the sweetness for your own taste. Hope that helps, I’ve made a similar raspberry jam recipe here: https://onmykidsplate.com/raspberry-jam/ -Kristy