Fluffy Mini Pancakes (Silver Dollar Pancakes)
*This post may contain affiliate links. See our affiliate policy here.
These mini pancakes are basically the most fun breakfast you can flip on a skillet. They’re soft, fluffy, and just the right size for little hands, or big snackers who like stacking their breakfast sky-high.
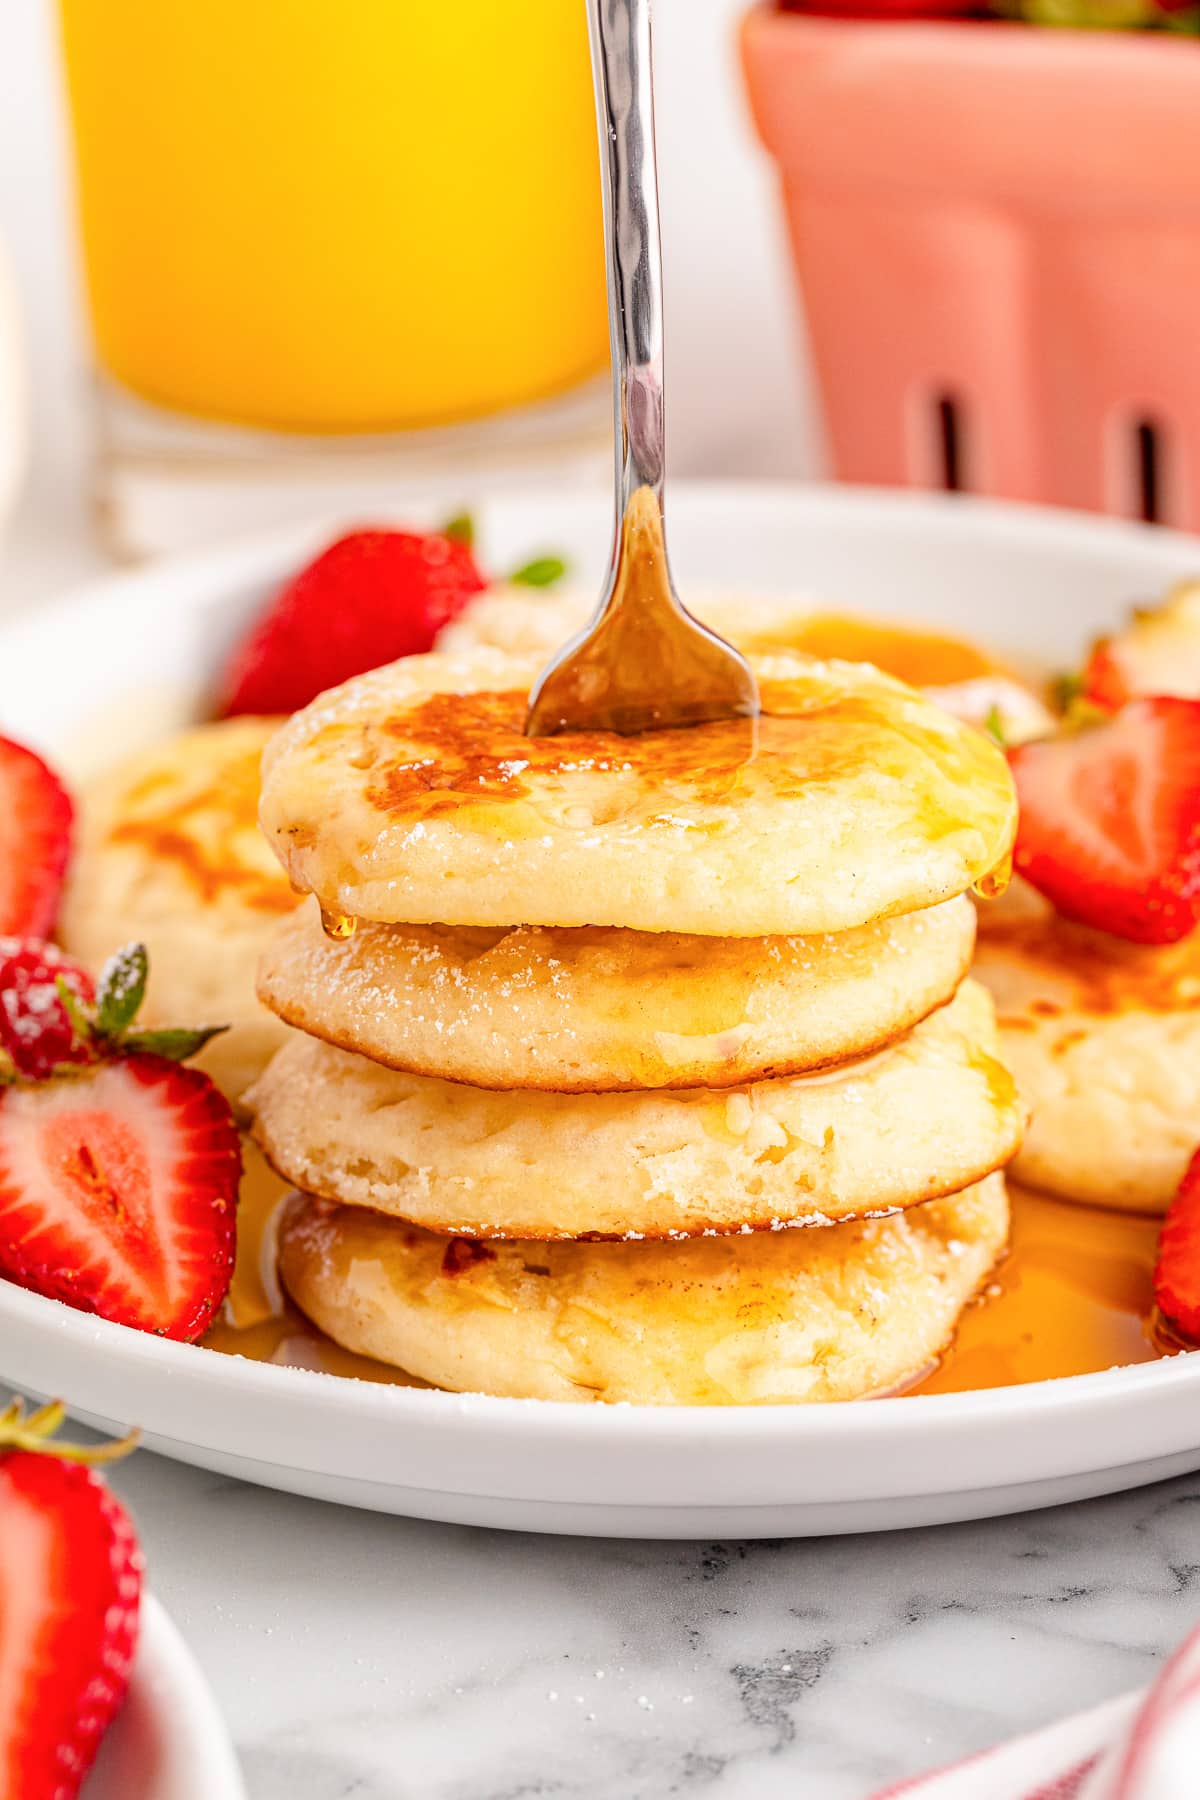
Table of Contents
Why We Love Silver Dollar Pancakes
- Fluffy Golden Mini Pancakes – Fluffy buttermilk pancakes in a mini bite size makes the fluffiest pancakes. These pancakes are worthy of any special occasion or brunch menu, but still easy enough for a regular weekend.
- Made In Less Than 30 Minutes – Fast and easy to make, this recipe will help you get a wholesome breakfast on the table fast. Mini silver dollar pancakes are the perfect easy breakfast recipe to add to your breakfast rotation and are more fun than regular pancakes.
- Perfect For Meal Prep – My kid loves pancakes as do most picky eaters, they are a fun breakfast! Leftovers of these pancakes are perfect for meal prep for fast breakfasts on busy mornings.
Ingredients For Silver Dollar Pancakes
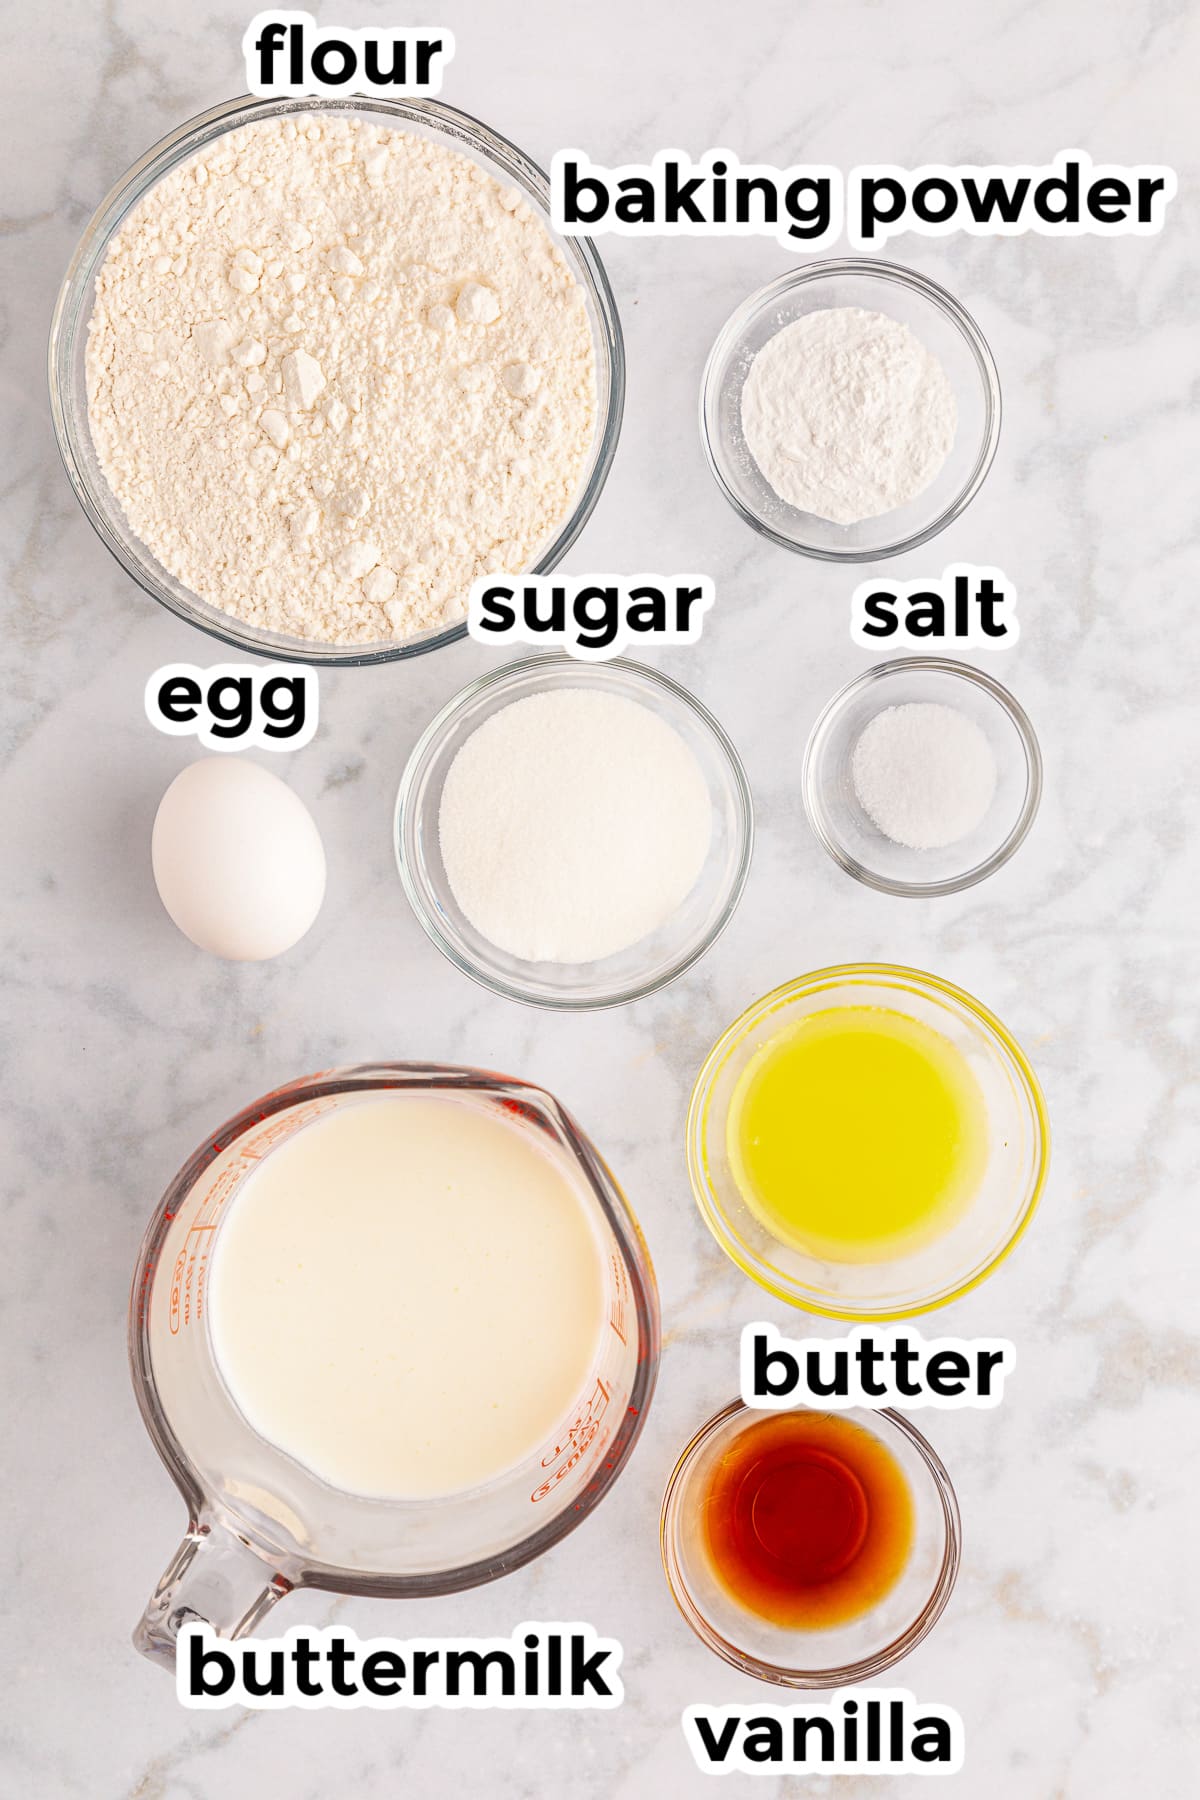
Find the full printable recipe with specific measurements and directions below in the recipe card.
- butter melted – allow to cool, plus extra for the pan
- all-purpose flour
- white sugar
- baking powder
- salt
- buttermilk see notes at the bottom of the page for substitution
- vanilla extract
- egg
How To Make Silver Dollar Pancakes
- Place the butter in a microwave-safe bowl. Microwave for 20-30 seconds or until melted. Set the butter to the side allowing it to cool.
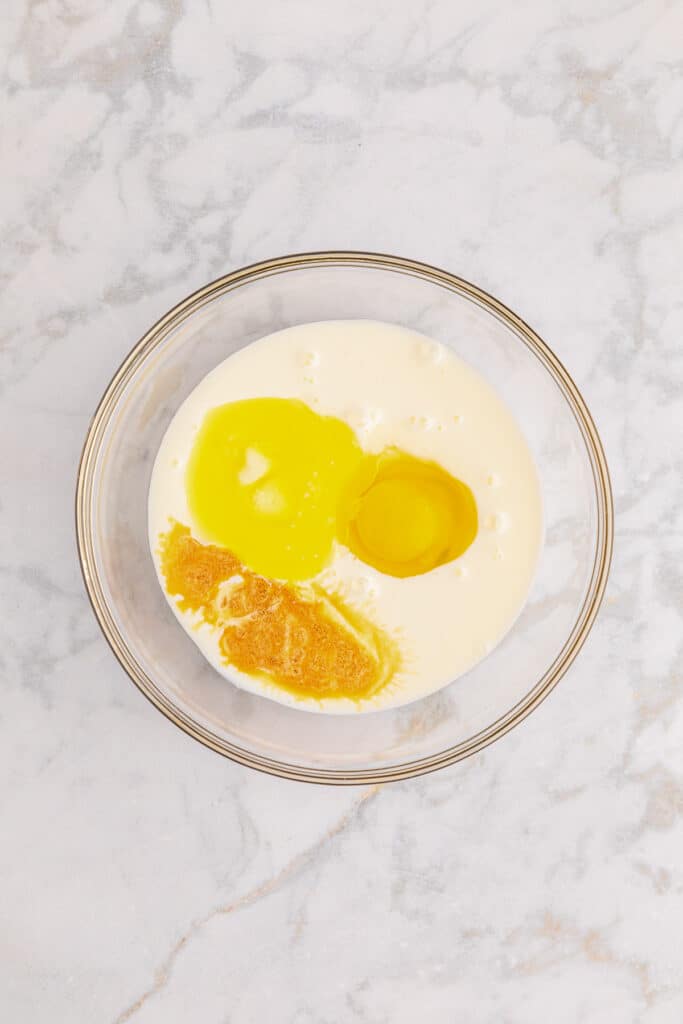
- Add the all-purpose flour, sugar, baking powder, and salt to a large bowl. Stir until mixed.
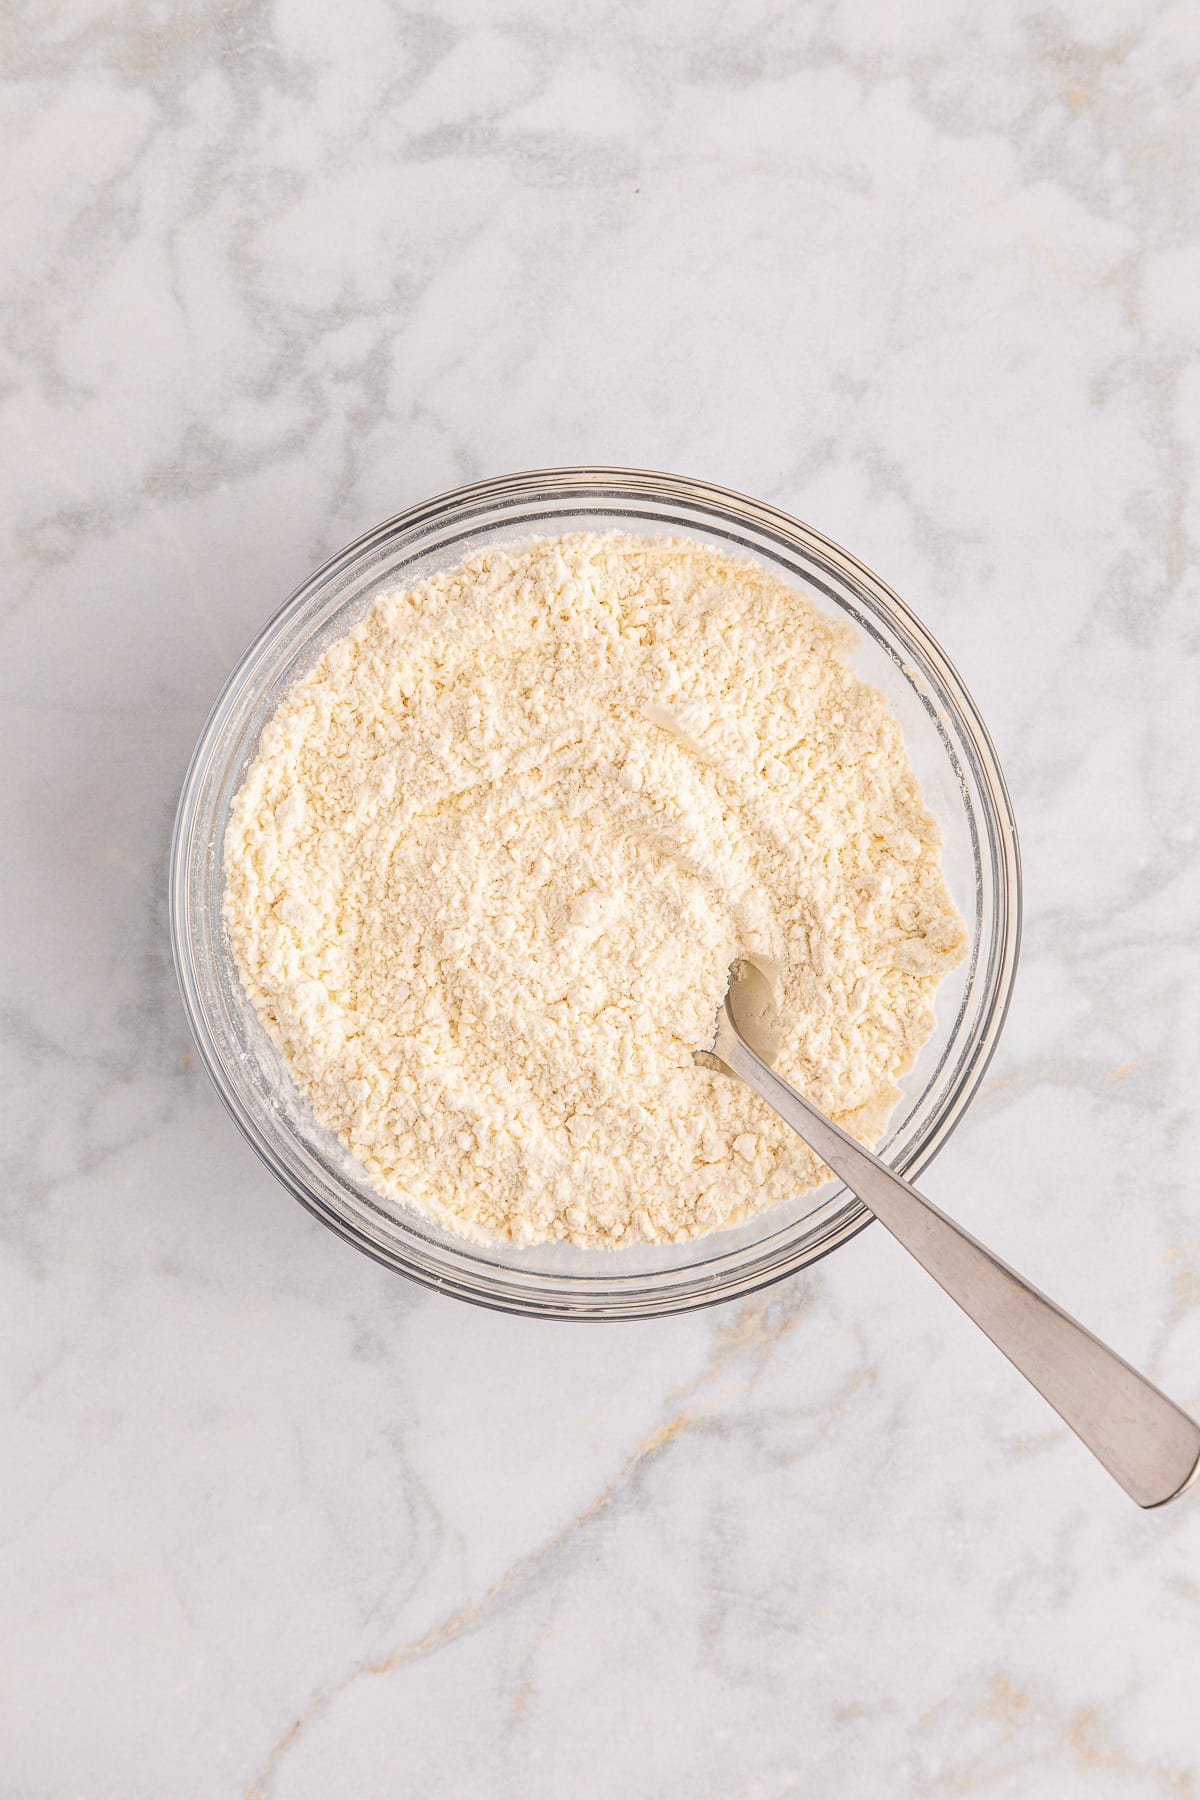
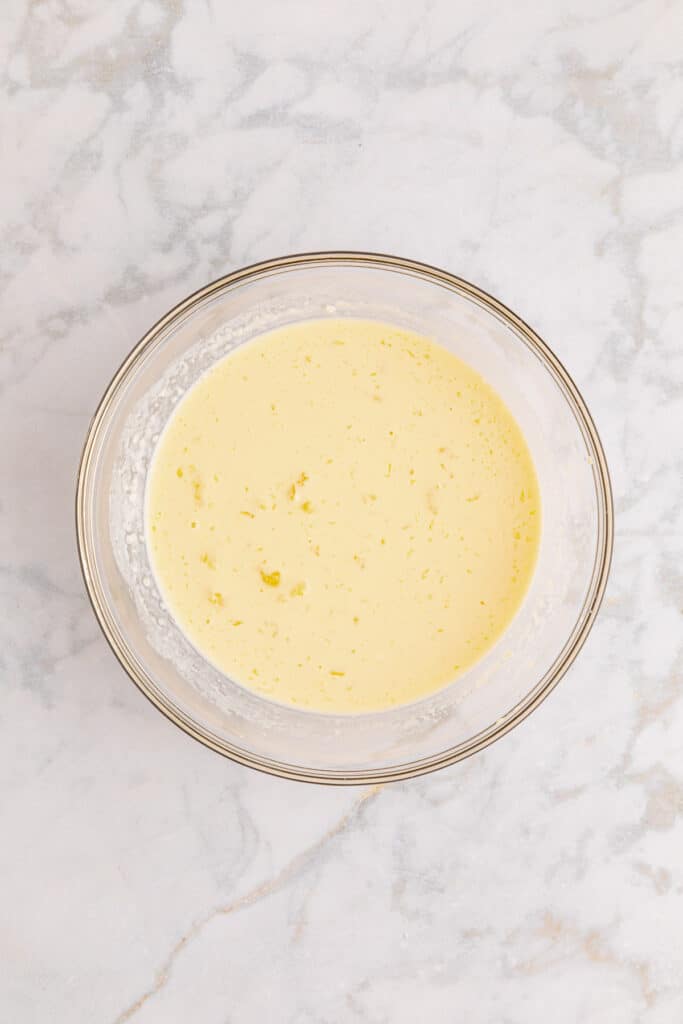
- In a medium-sized mixing bowl combine the buttermilk, melted butter, vanilla extract, and egg. Whisk together until egg is fully mixed in.
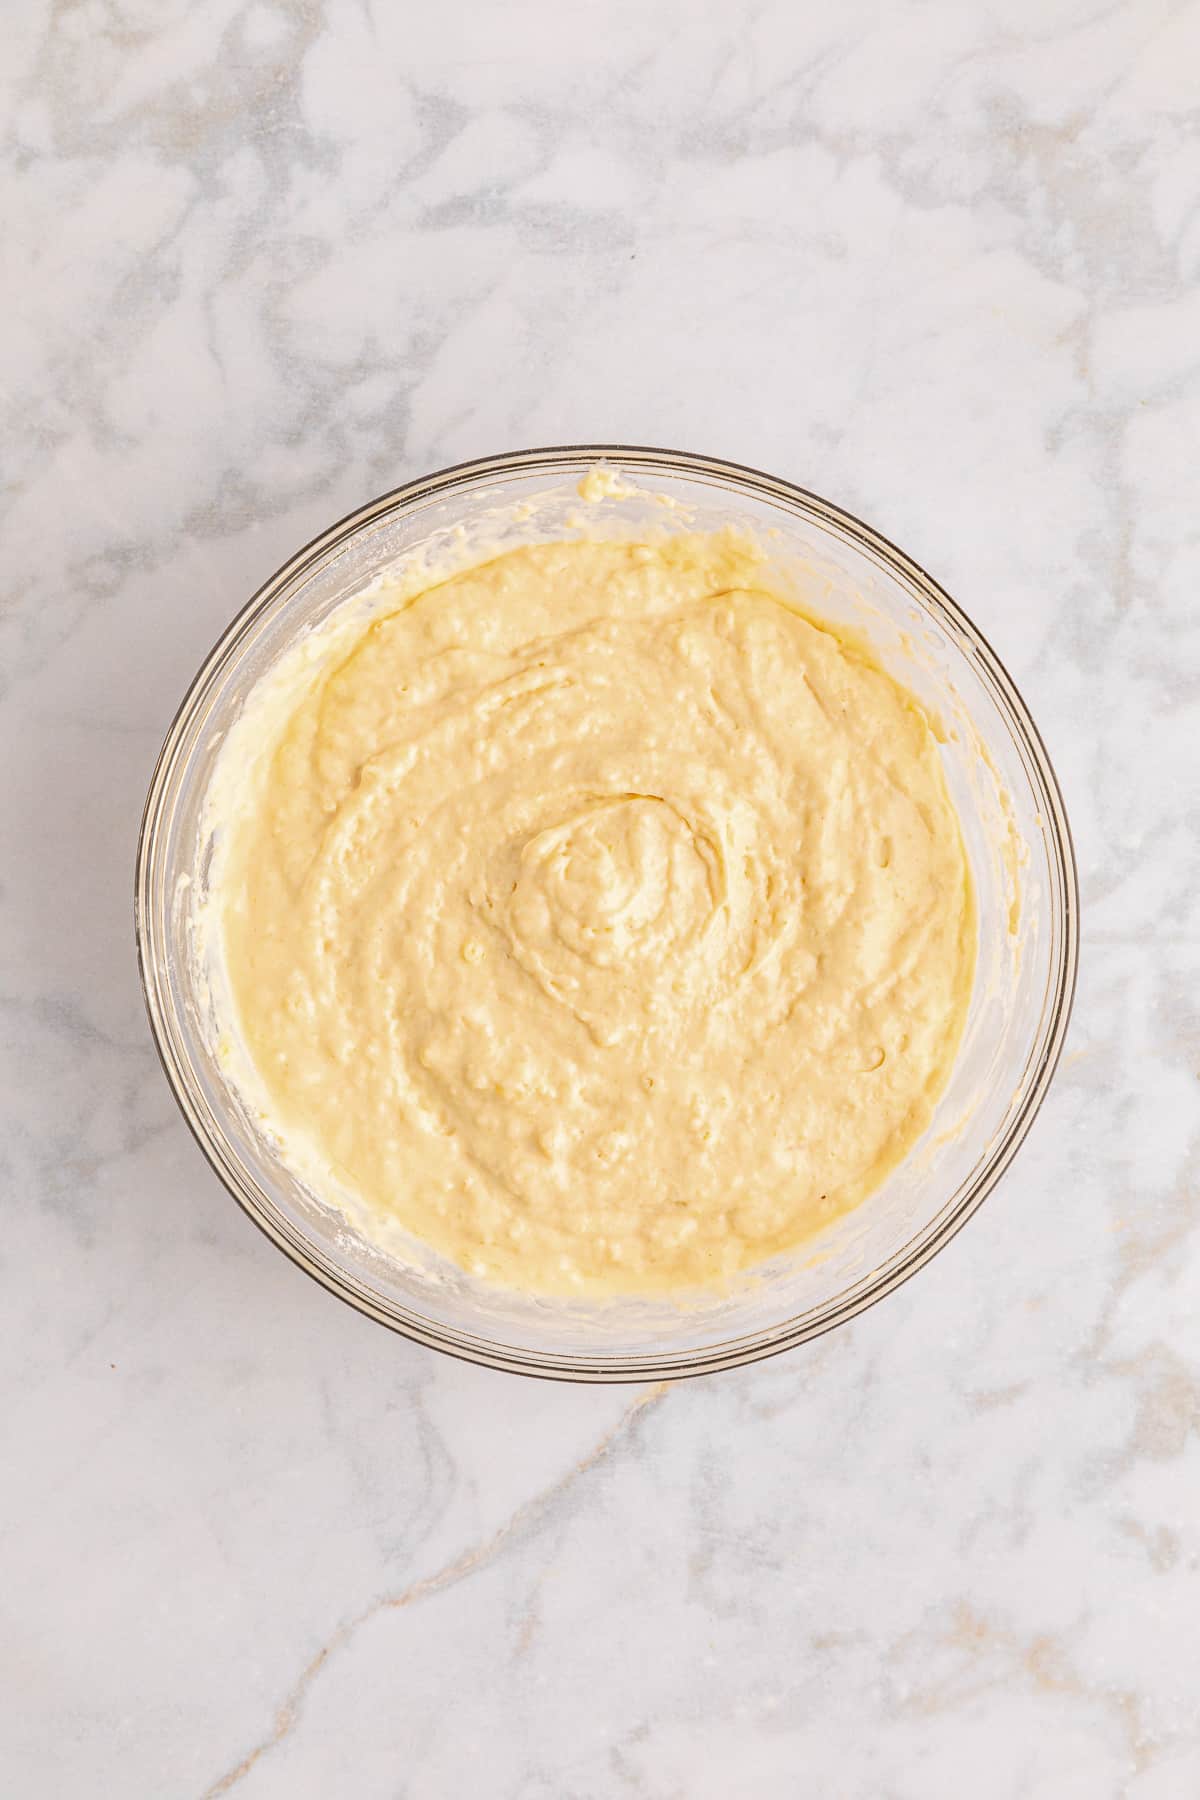
- Combine the wet ingredients and dry ingredients together in the larger mixing bowl. Mix the pancake batter by hand until it just forms. Do not overmix. Using an electric mixer will cause these pancakes to overmix and be tough.
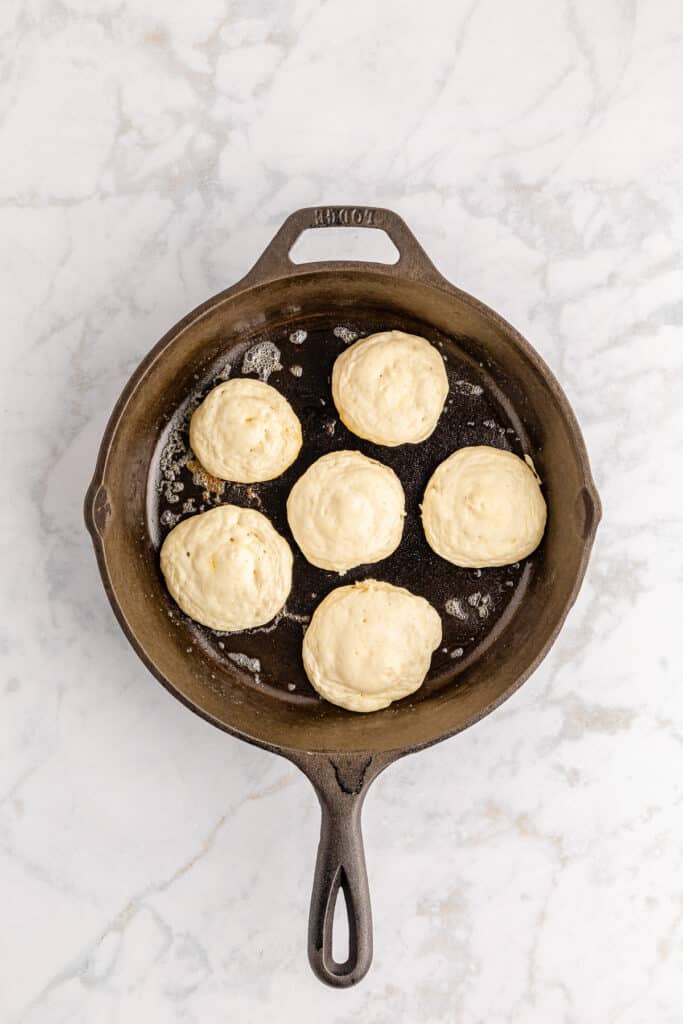
I have used a cast iron skillet when making this recipe, but any large skillet will work.
- Heat a large skillet or griddle over medium-low heat. Add a little extra butter and let it melt to coat the pan. Drop a tablespoon of batter onto the pan for each tiny pancake, allowing space in between each pancake. Most large skillets will fit between 5-7 pancakes at a time.
- Cook the pancakes for 2-3 minutes, or until the tops of the batter begins to bubble with small bubbles. Use a spatula to flip the pancakes over. Cook the other side of the pancake for an additional 1 minute until golden brown then place on a plate.
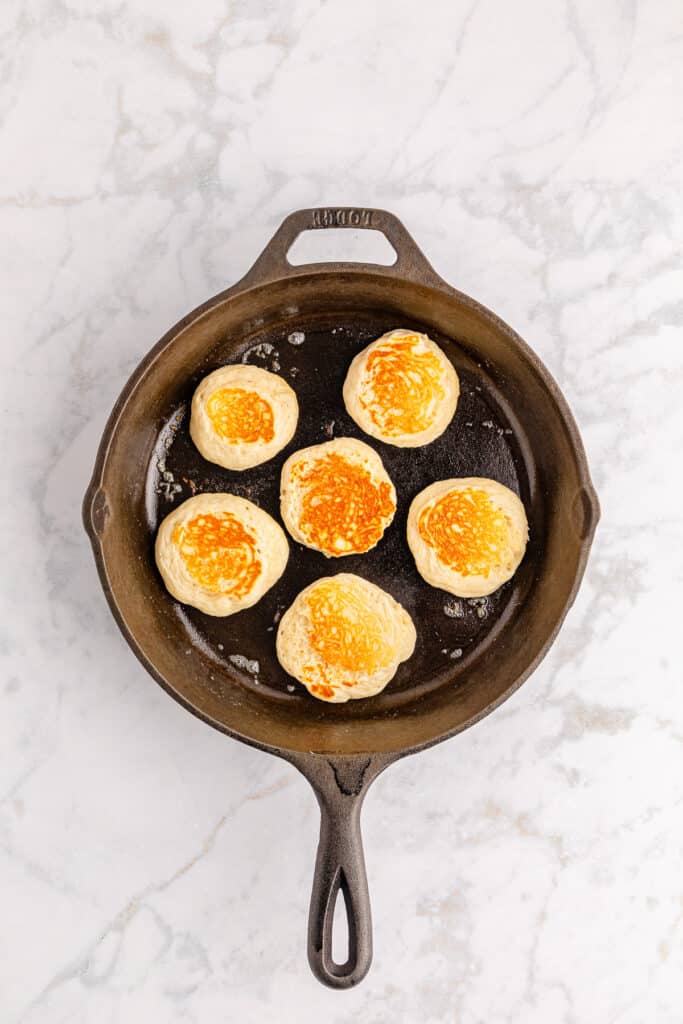
- Repeat steps 5 and 6 with the rest of the pancake batter, adding more butter as needed to the pan. Then serve these tiny pancakes with your favorite toppings and enjoy.
What To Serve With Silver Dollar Pancakes?
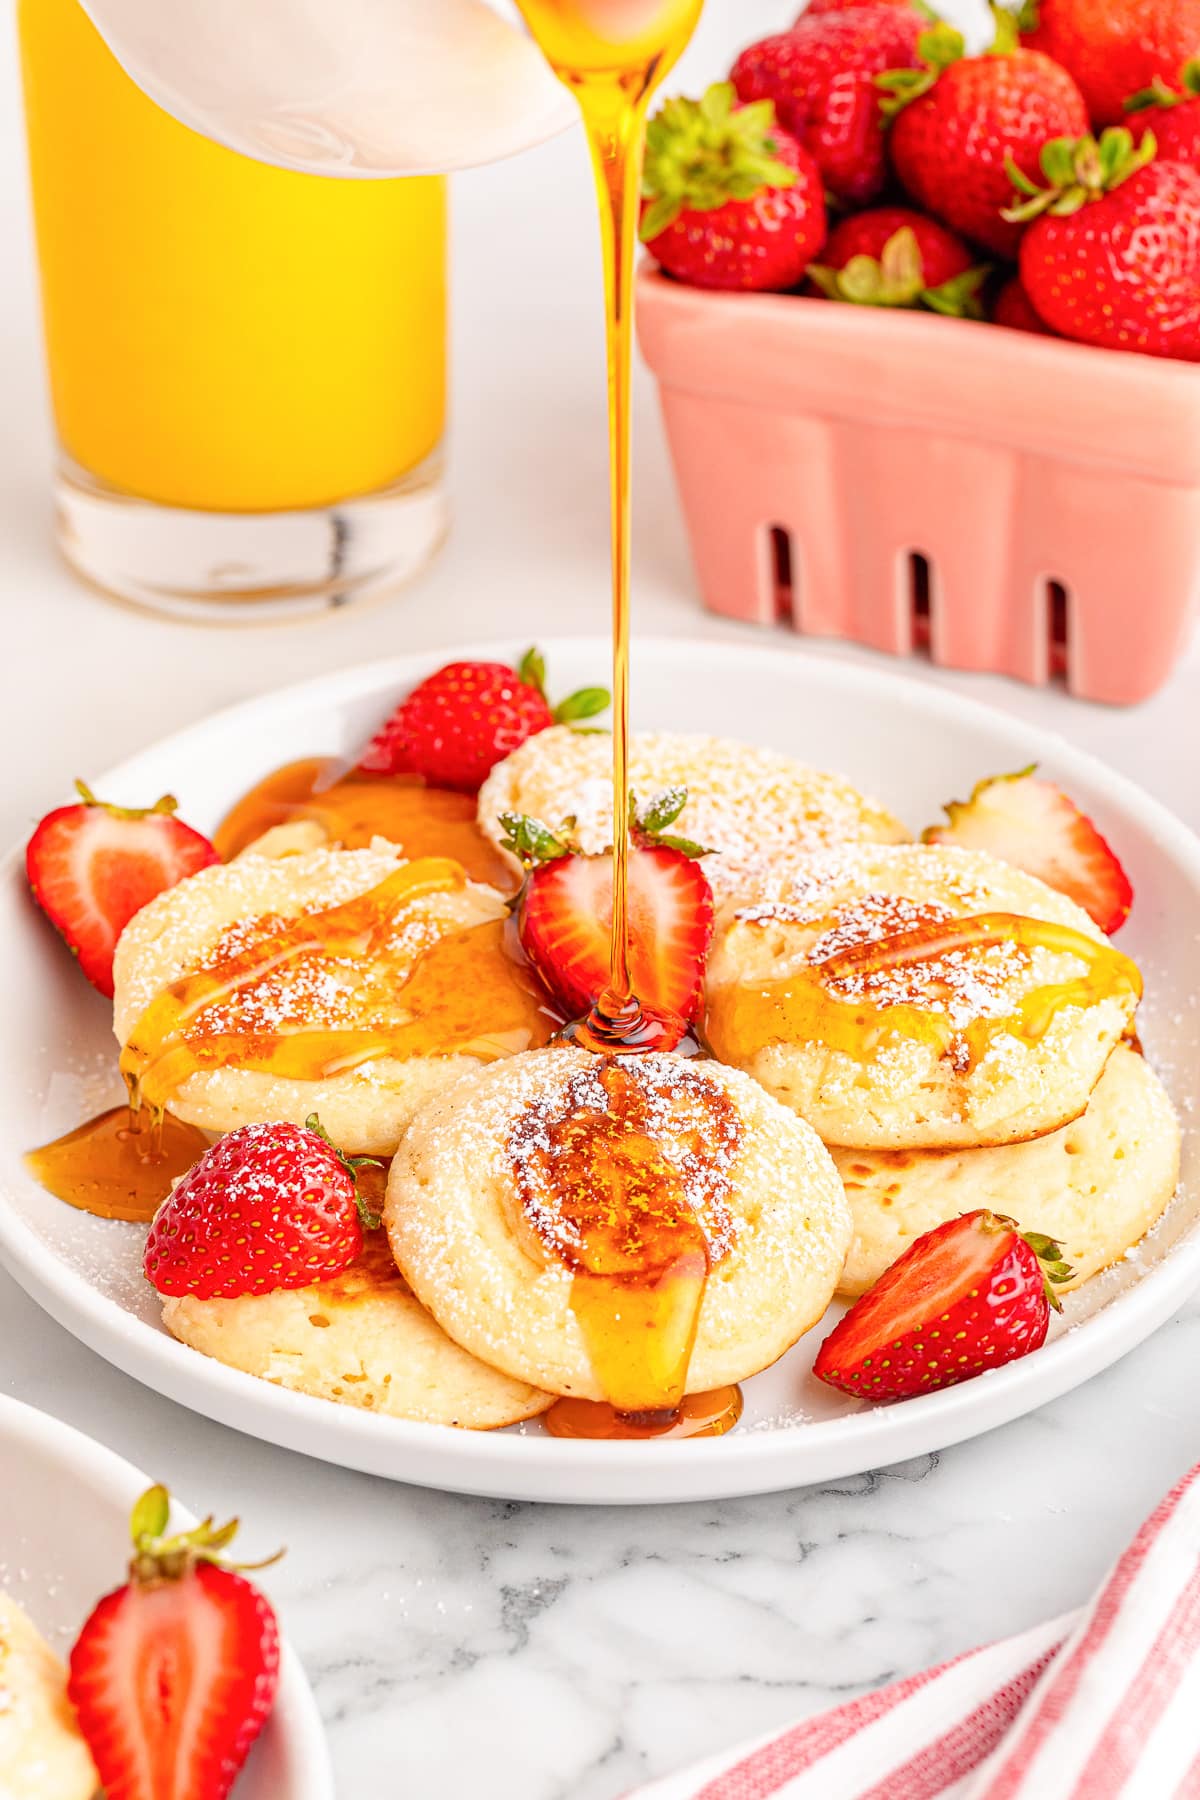
I usually serve silver dollar pancakes with fresh fruit. Strawberries, blueberries, raspberries, blackberries, banana slices or even slices of peach or pomegranate seeds are all great choices. If you’ve never opened a pomegranate before, here’s how to cut and seed a pomegranate.
You can top with jams like raspberry jam, blackberry jam or this easy 3 Ingredient Peach Butter.
We often have maple syrup on the table, and a little bit of powdered sugar is also delicious on top of these pancakes. My daughter also loves when we heat up a little bit of Nutella or peanut butter and drizzle it on top.
We typically will put a breakfast protein like breakfast sausage, bacon or ham on the side. Make it extra special with this Million Dollar Bacon Recipe. Scrambled eggs or even make mini egg muffins on the side for an easy breakfast.
Why Are They Called Silver Dollar Pancakes?
Silver dollar pancakes get their name from being a little bit bigger than silver dollar coins in the US, the mini pancakes are usually 2-3 inches across.
How Long Will Silver Dollar Pancakes Last?
Expect these silver-dollar pancakes will last for about 4-5 days. Store leftover pancakes in the refrigerator in a covered airtight container.
Can You Freeze These Pancakes?
Yes you can absolutely freeze silver dollar pancakes. I recommend freezing the pancakes in a single layer on a baking sheet. I like to line it with parchment paper or freezer paper so they don’t stick together. Once frozen, place the pancakes in a zip-top freezer bag.
You can use parchment paper or freezer paper to keep the small pancakes separated so they don’t stick together. Then you can grab just a few little pancakes at a time.
How Do I Reheat Mini Pancakes?
Regular silver dollar pancakes can be reheated in the microwave, toaster oven, in a pan on the stove or even in the air fryer for a minute at 325.
Frozen silver dollar pancakes can be reheated in the toaster oven or even the air fryer at 325 in just a minute or two. You can also reheat in a pan on the stove or in the microwave.
Easy Brunch Recipes
One Bowl Zucchini Chocolate Chip Muffins
Lucky Charms Pancakes
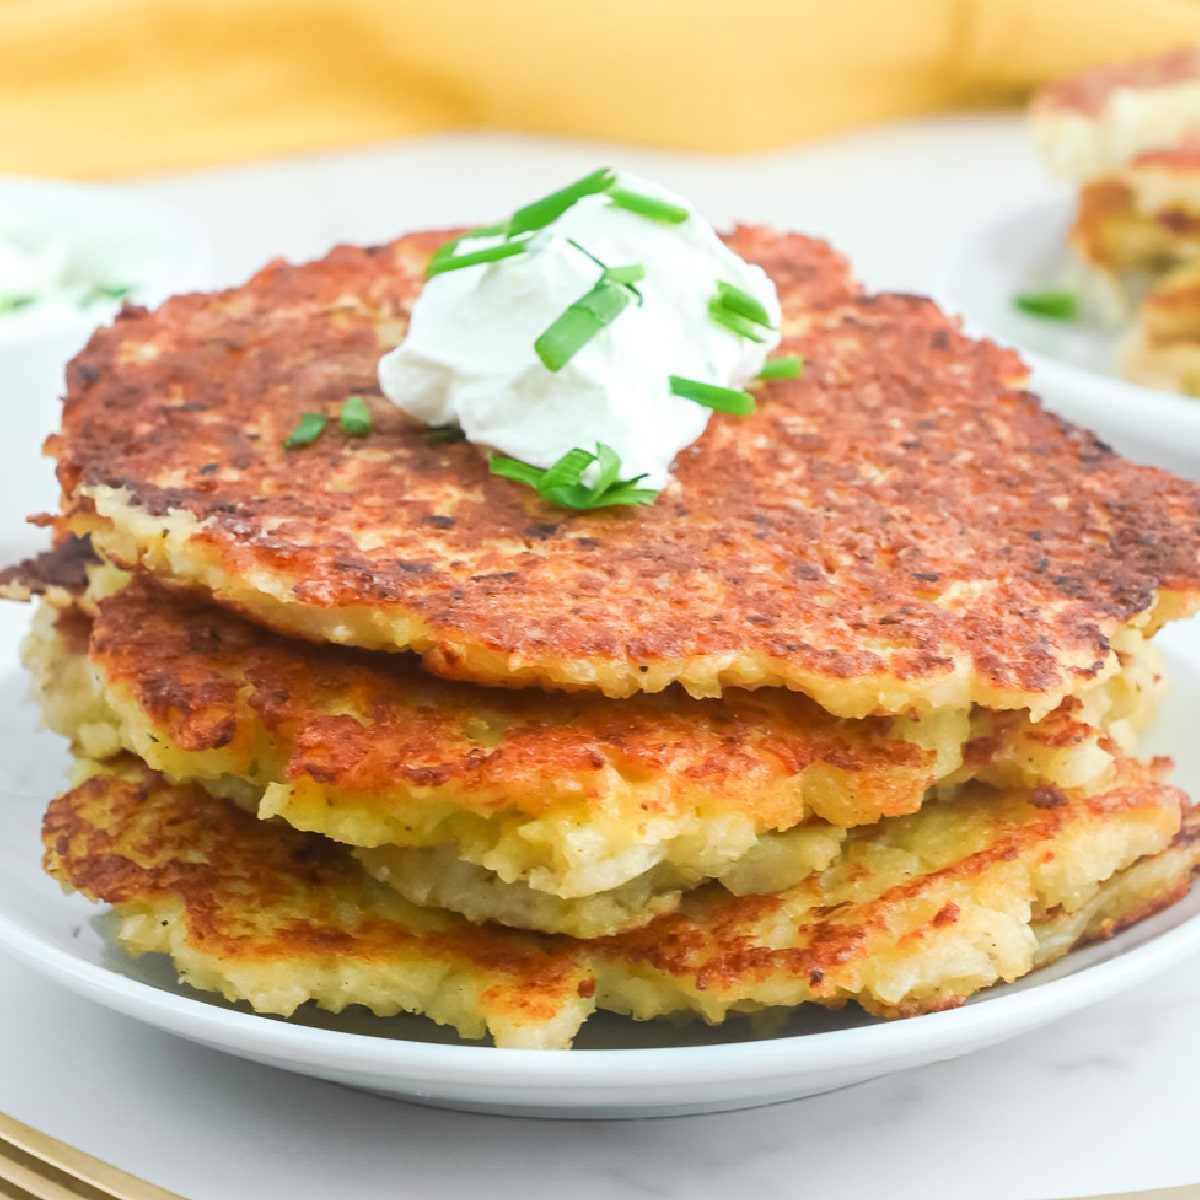
Crispy Easy Potato Pancakes
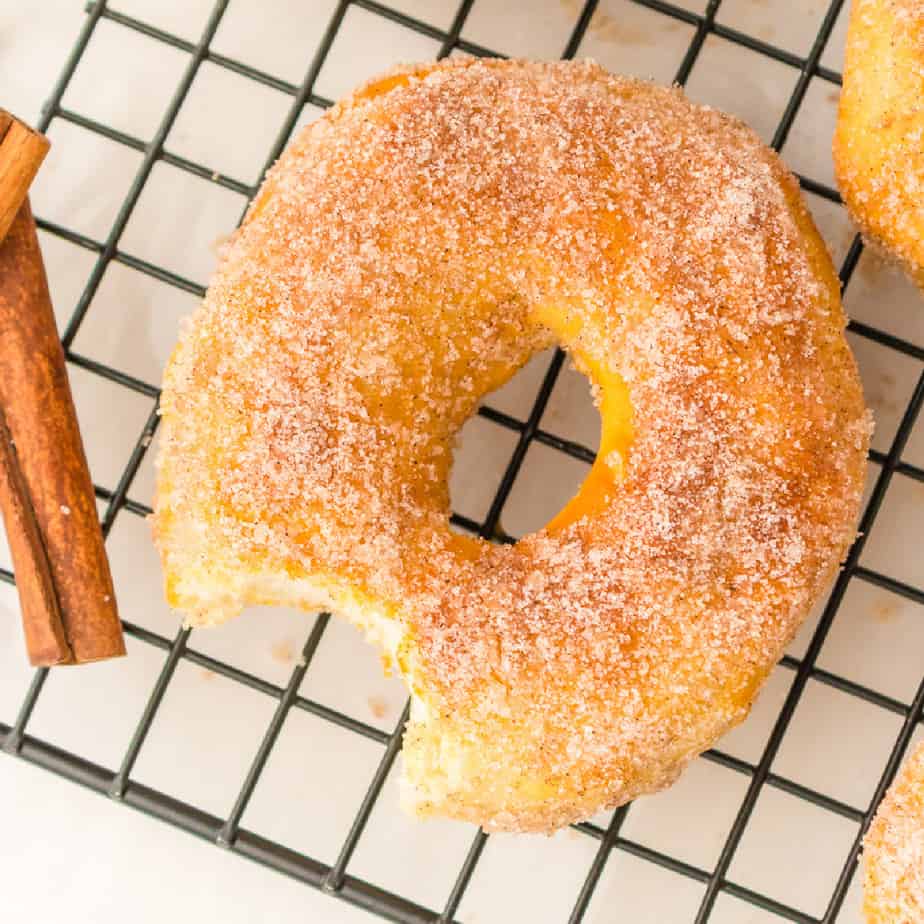
Easy Biscuit Donuts (In The Air Fryer)

Silver Dollar Pancakes
Ingredients
- 2 tablespoons butter melted – allow to cool, plus extra for the pan
- 1 ½ cups all-purpose flour
- 1/4 cup white sugar
- 1 tablespoon baking powder
- ½ teaspoon salt
- 1 ¼ cups buttermilk see notes for substitution
- 2 teaspoons vanilla extract
- 1 large egg
Instructions
- Place the butter in a microwave safe bowl. Microwave for 20-30 seconds or until melted. Set the butter to the side allowing it to cool.2 tablespoons butter
- Add the all-purpose flour, sugar, baking powder, and salt to a large mixing bowl. Stir until mixed.1 ½ cups all-purpose flour, 1/4 cup white sugar, 1 tablespoon baking powder, ½ teaspoon salt
- In a medium-sized mixing bowl combine the buttermilk, melted butter, vanilla extract, and a cracked egg. Whisk together until egg is fully mixed in.2 tablespoons butter, 1 ¼ cups buttermilk, 2 teaspoons vanilla extract, 1 large egg
- Combine the wet and dry ingredients together in the larger mixing bowl. Mix the pancake batter by hand until it just forms. Do not overmix.
- Heat a large skillet or griddle over medium-low heat. Add a little extra butter and let it melt to coat the pan. Drop a tablespoon of batter onto the pan for each tiny pancake, allowing space in between each pancake. Most large skillets will fit between 5-7 pancakes at a time.
- Cook the pancakes for 2-3 minutes, or until the tops of the batter begins to bubble. Use a spatula to flip the pancakes over. Cook the other side of the pancake for an additional 1 minute until golden brown then place on a plate.
- Repeat steps 5 and 6 with the rest of the pancake batter, adding more butter as needed to the pan. Then serve and enjoy.
Notes
Buttermilk Swap
I don’t always have buttermilk at home, so I often will substitute a mixture of milk and lemon juice. I usually do this process with 2% or whole milk for the best flavor. For this pancake recipe, add 1 tablespoon plus 1 teaspoon of lemon juice to a two-cup measuring cup. Add milk to the measuring cup until you get to the 1 1/4 cup marker. Give the mixture a stir, then let it sit for five minutes. You can then use this mixture in place of buttermilk. Sometimes there will be a few clumps in the milk. That’s the milk starting to curdle and is ok to add as is is to the pancake batter.Mixing The Pancake Batter
Using an electric mixer will cause these pancakes to overmix and be tough. Mix this batter by hand until just mixed. Also allow the butter to cool for a few minutes before adding it to the batter after melting. If the butter is too hot it may make the pancakes rubbery.Pan Tips
I have used a cast iron skillet when making this recipe, but any large skillet will work.Servings This Recipe
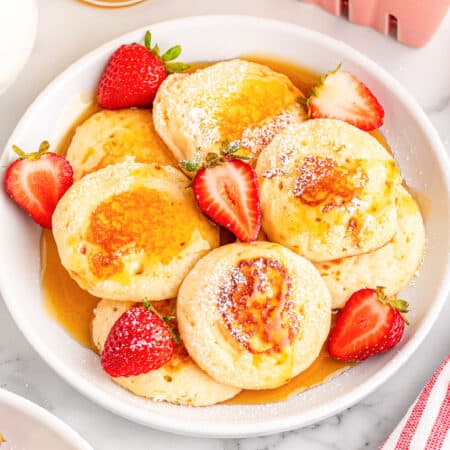
This recipe typically will feed 4-5 people. Top pancakes with fresh fruit, sprinkle with powdered sugar and add maple syrup at the table. Enjoy!Nutrition
Did You Make This?
I would love to see it! Share your thoughts with me in the comments below!



What’s the best way to reheat these after freezing them?
I like to reheat them either in the toaster oven or the microwave.