The Best Cutout Sugar Cookies (No Spread, No Chill)
*This post may contain affiliate links. See our affiliate policy here.
This soft Christmas sugar cookie recipe requires no chill time and makes cutout cookies that are perfect for decorating for Christmas or any holiday. Whether this is your first time making cutout cookies, or a holiday tradition, you will love these buttery soft sugar cookies with sweet frosting.

Why We Love Cutout Sugar Cookies
- Dough Holds It Shape– Cut out your cookies into any cookie shape you prefer, these cookies hold their shape when they are baking. No blob cookies with this simple recipe!
- No Chill Dough– No long chill times for this cookie dough, with the help of a stand mixer you can make the dough and be rolling out buttery cookies in no time.
- Customize!– Christmas cookies, Halloween cookies, Easter bunnies, hearts, stars, or circles too, this perfect sugar cookie recipe can make them all. These cookies are perfect for leaving out on Christmas Eve for Santa or cookie trays. You’re only limited by your favorite cookie cutters and what kind of sprinkles you have for the perfect cookie. In the spring and summer time I love using this sugar cookie recipe to make fruit pizza cookies.
- Sweet Memories– Making classic Christmas cookies and decorating them is a tradition for my family, and can be for your family too!
A stand mixer is the best way to make this no chill cookie dough. We start with cold butter which will break a hand electric mixer and mixing by hand is possible, but takes a lot more effort. I highly recommend using a higher power stand mixer for these cutout cookies.
Ingredients For No Spread Sugar Cookies
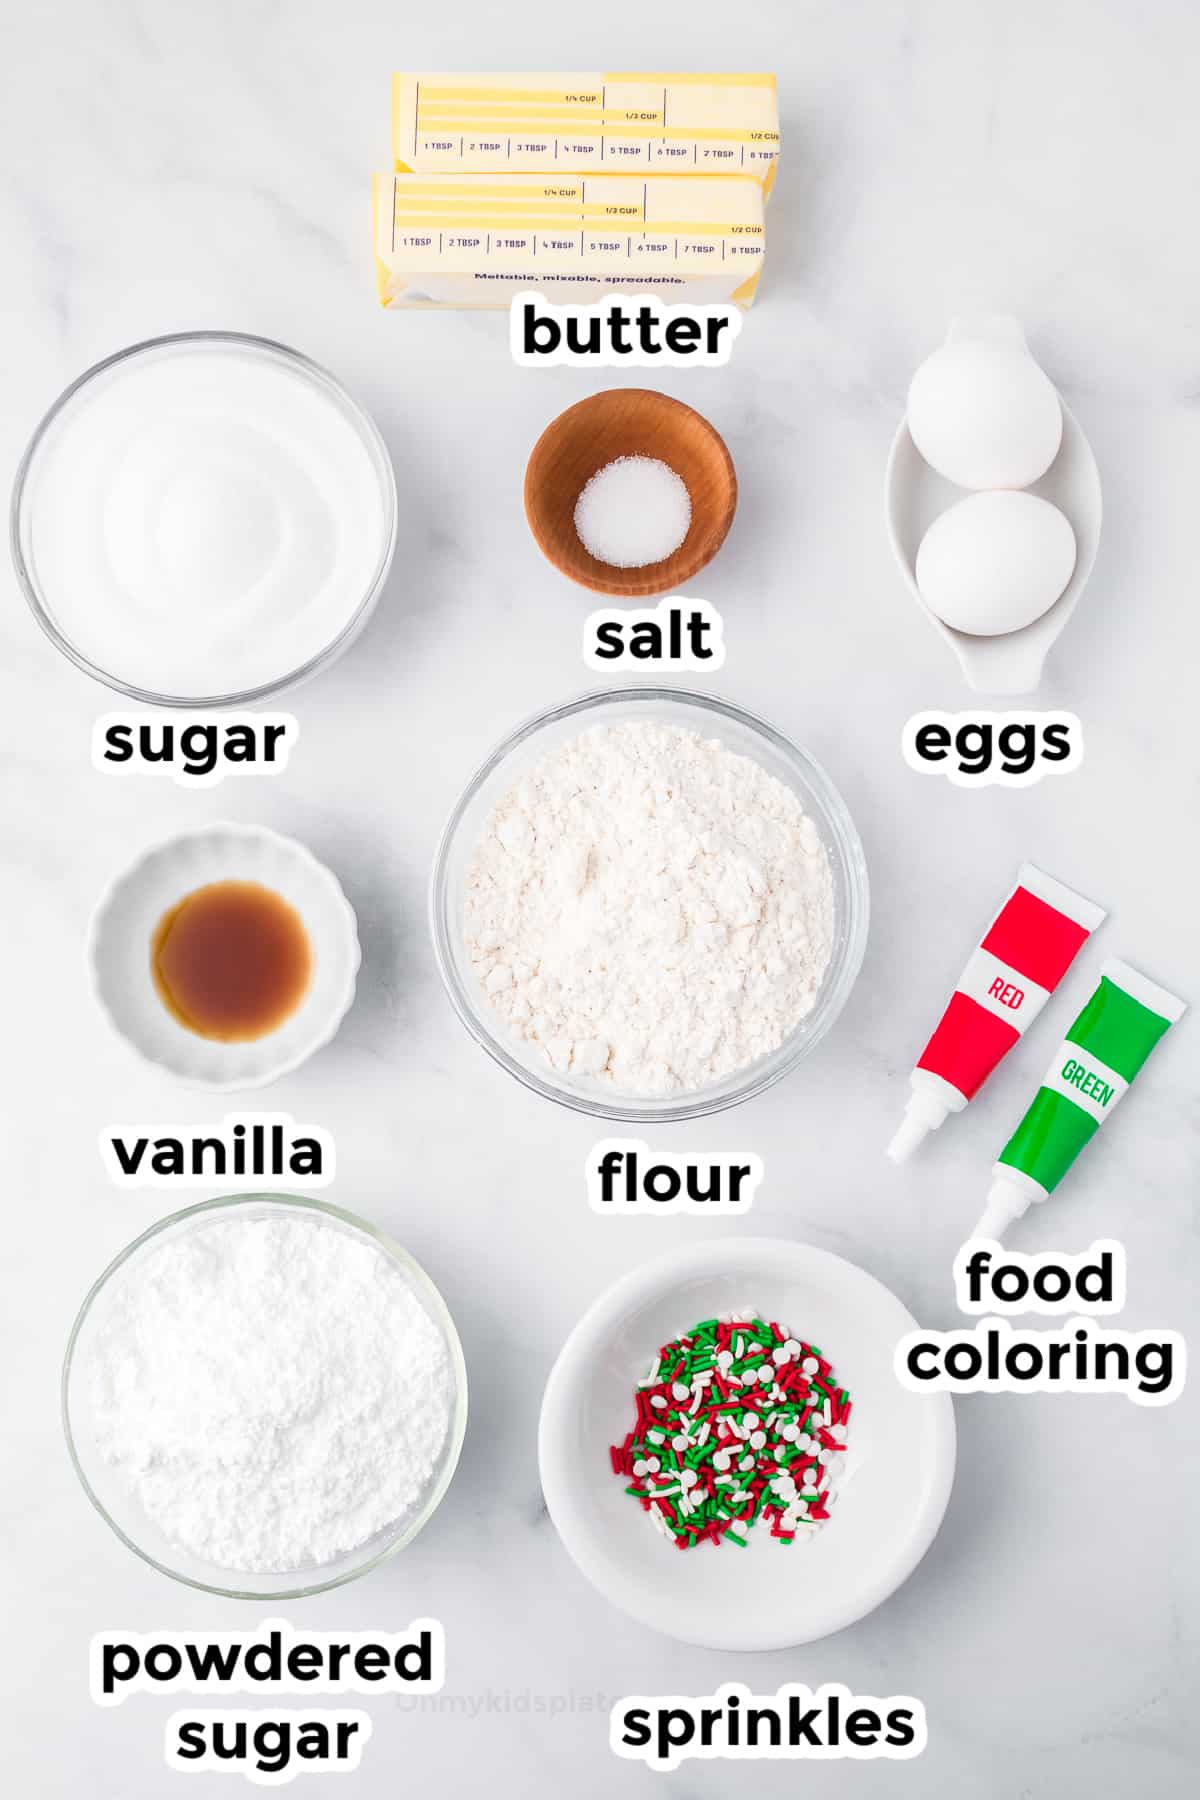
For The Cookies
- 1 cup butter – use unsalted butter, cold
- 1 cup granulated sugar
- 2 large eggs cold
- ½ teaspoon vanilla extract – you can also use almond extract, which gives these cookies great flavor
- 3 cups flour plus more for dusting, use all purpose flour
- ½ teaspoon salt
For The Frosting
- 1 cup butter– unsalted, softened
- 1 teaspoon vanilla
- ½ teaspoon salt
- 4 cups powdered sugar
- Food coloring
- Sprinkles
How To Make Cutout Sugar Cookies For Christmas
Making The Cookies
- Preheat the oven to 350˚F. Lay parchment paper on your cookie sheets and clean off a big area of counter space to roll out the cookie dough.
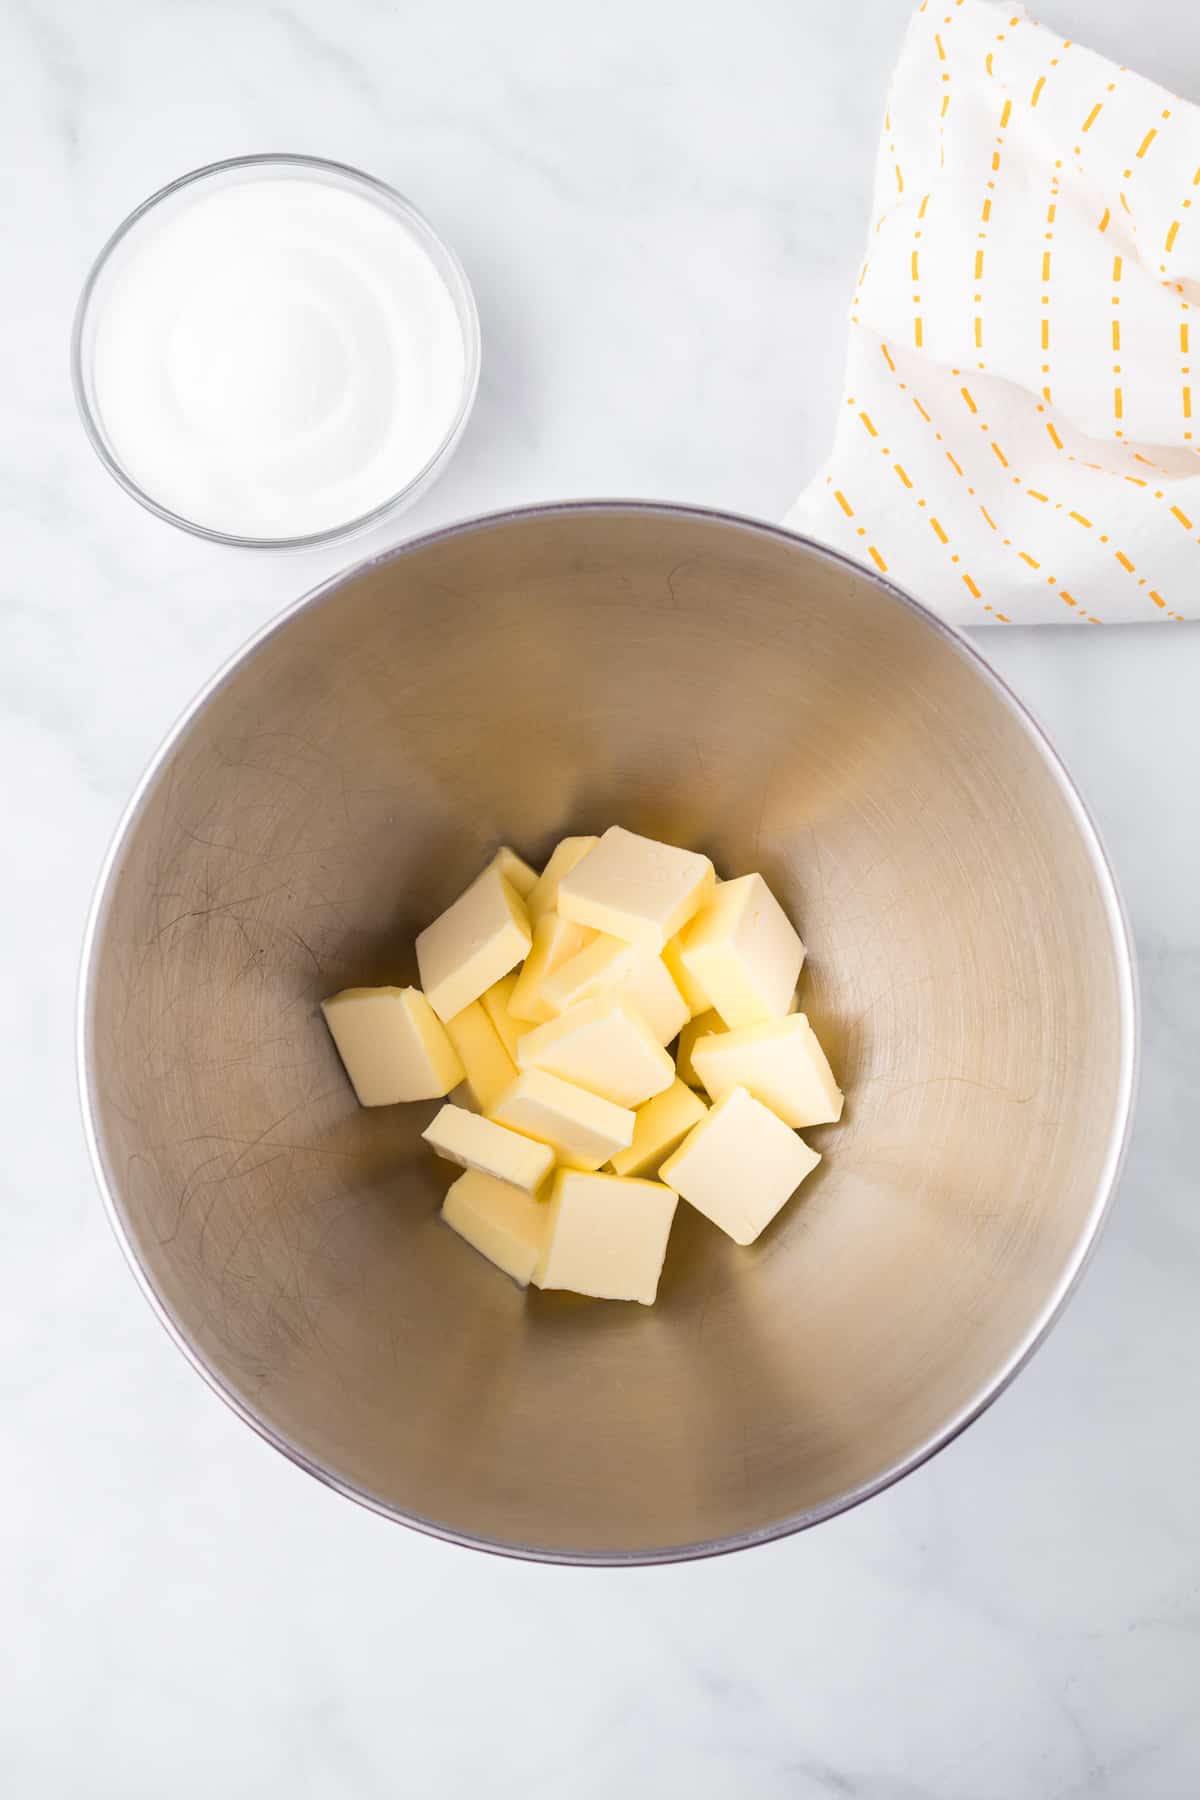
- In the bowl of a stand mixer, cream the butter and sugar for 2 to 3 minutes with a stand mixer on low-medium.
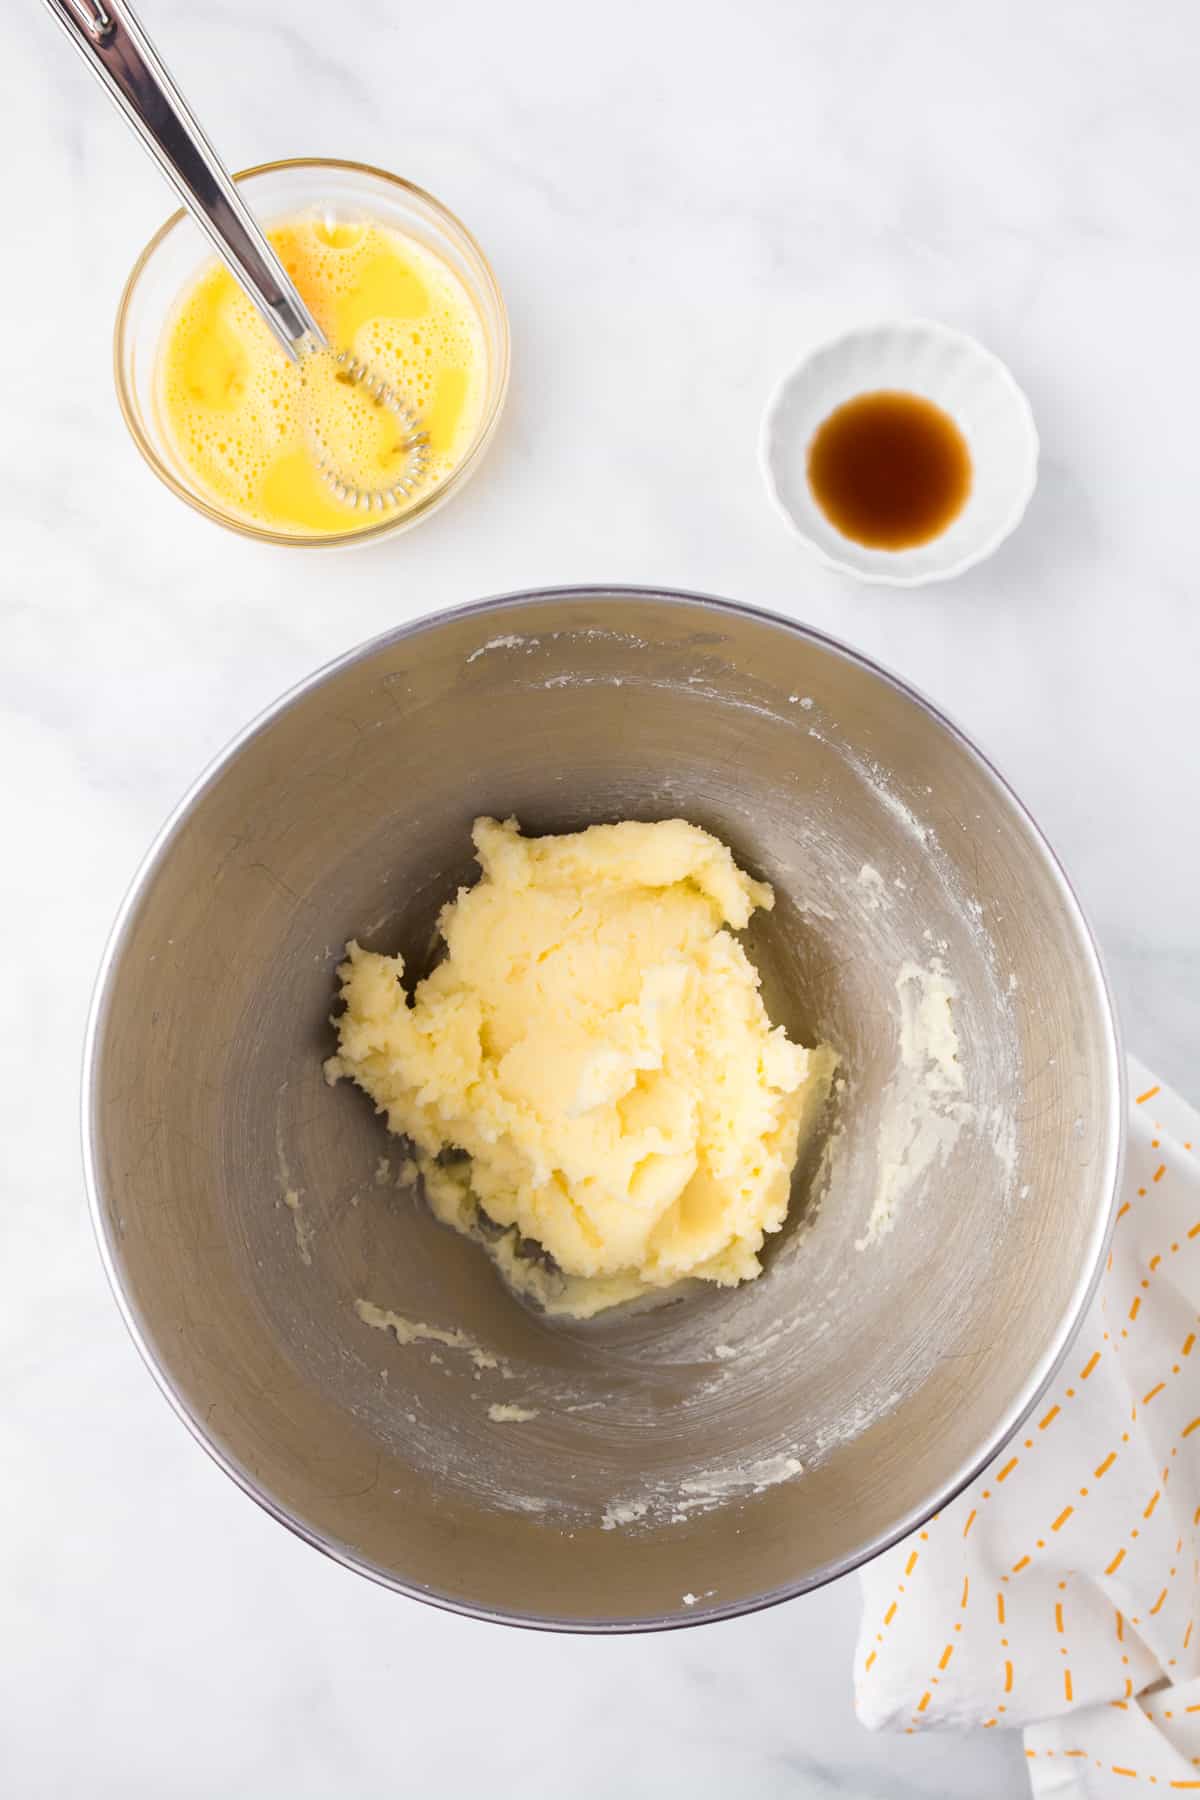
- In a small bowl crack the eggs and beat with a fork or a whisk. Add the eggs and vanilla to the butter and sugar mixture, then mix until well blended.
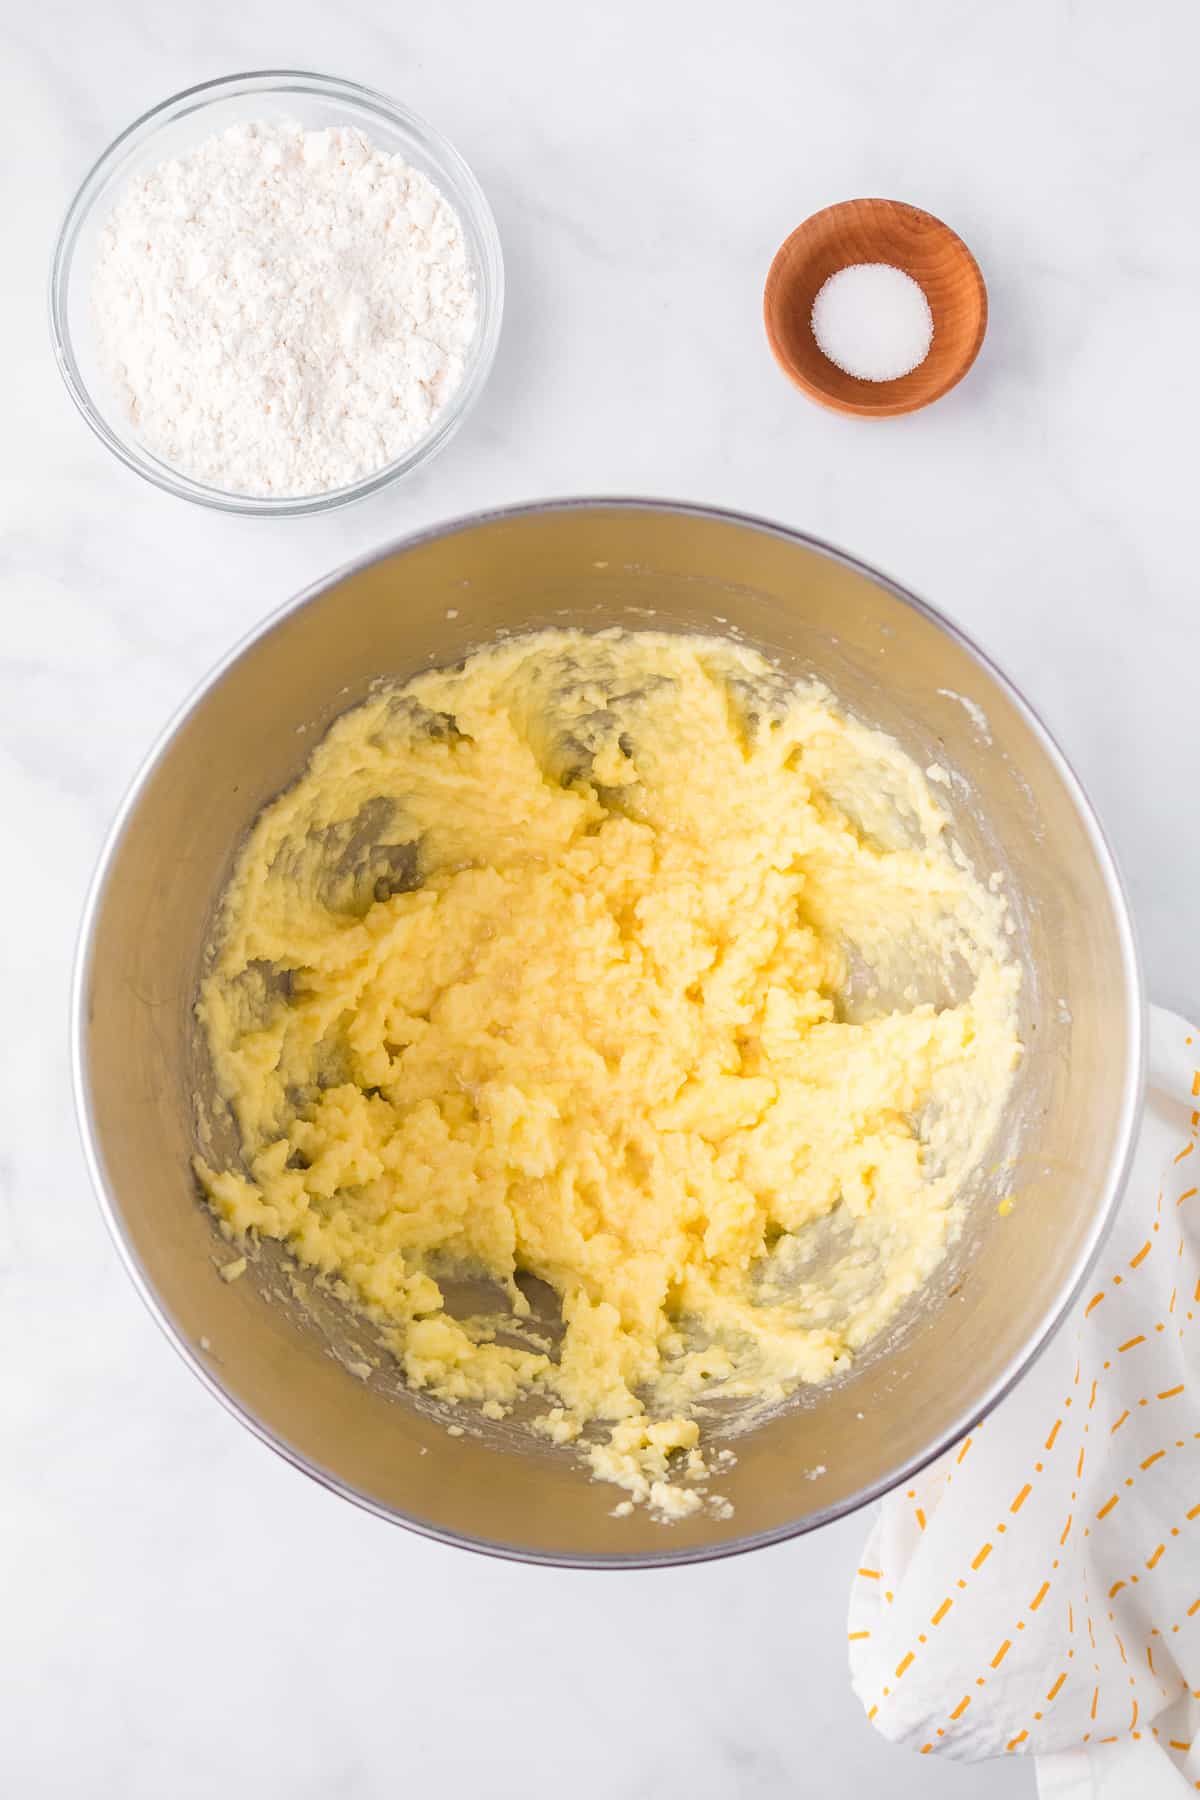
- To your wet mixture add the flour and scatter the salt around the bowl. Mix the dry ingredients into the wet ingredients well for a few minutes with a strong wooden spoon or a stand mixer on low (I use the paddle attachment) and then medium until a dough forms. (Don’t try mixing this part of the dough with a hand mixer—the dough is very thick and may break your mixer!)
- Lightly flour the counter and a rolling pin, keeping a small pile of flour at the edge of your workspace. Roll out your dough to a thickness of about ⅜ of an inch on the floured surface, adding dustings of flour as needed. Use holiday cookie cutters between 3-4 inches and cut out your favorite shapes from the rolled dough like circles, Santa, reindeer, stars, or trees.
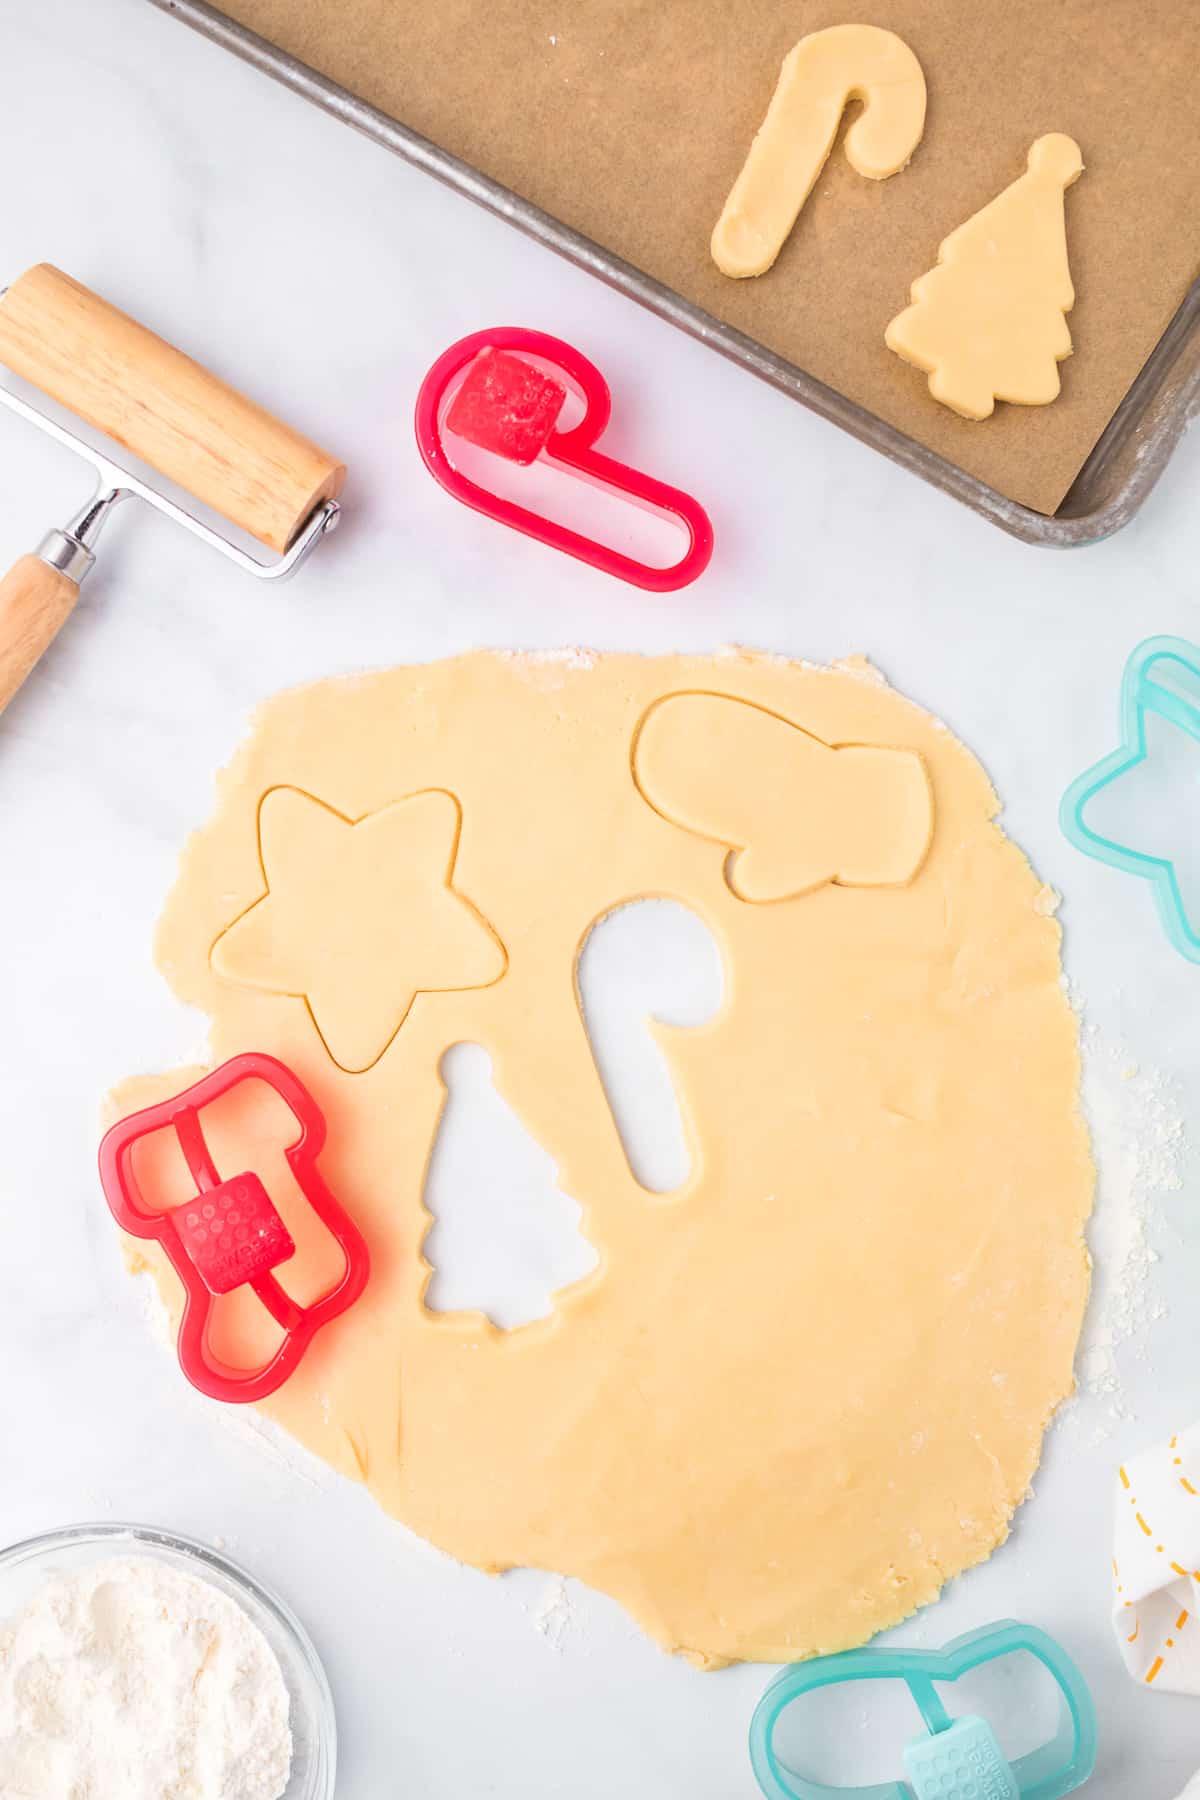
- Place all cookies on baking sheets and bake cookies for 9 to 11 minutes. Allow cookies to cool completely before frosting for best results.
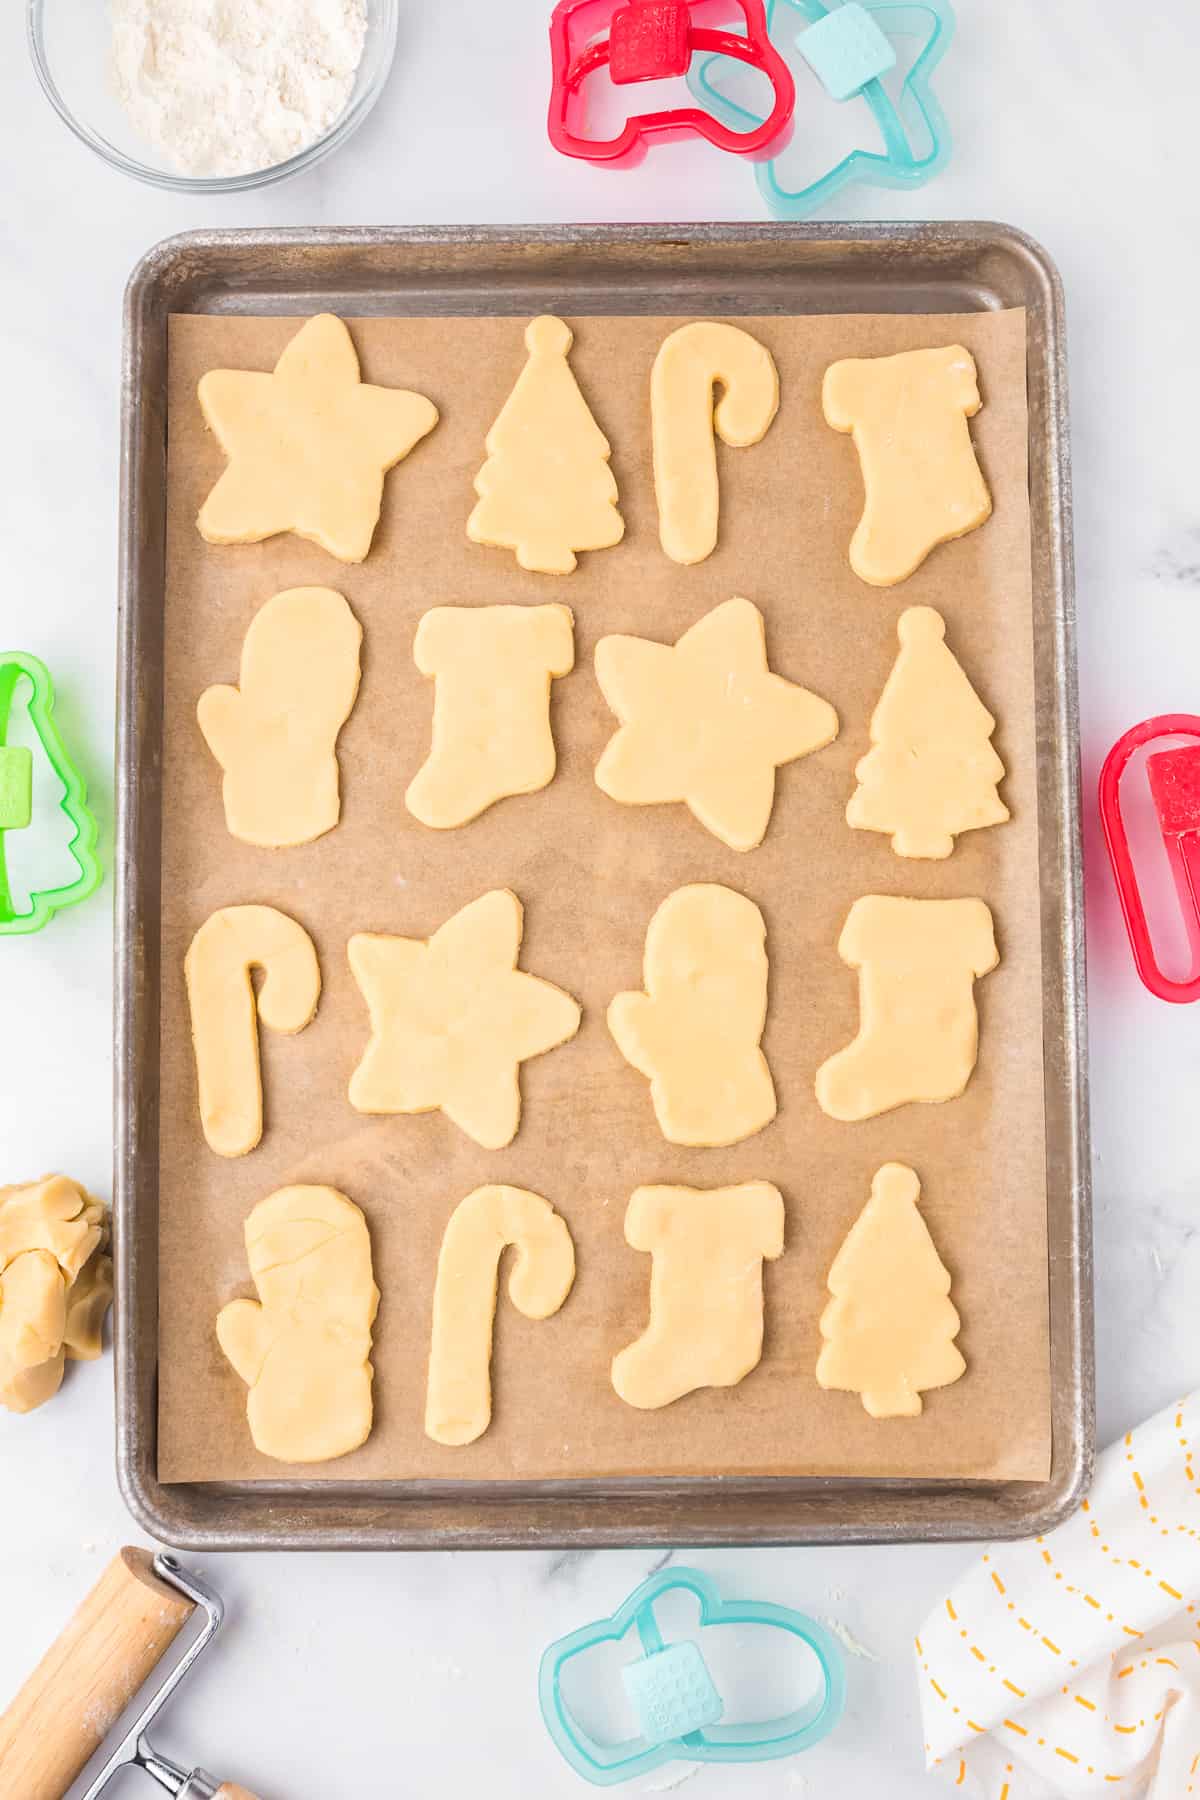
Making The Frosting
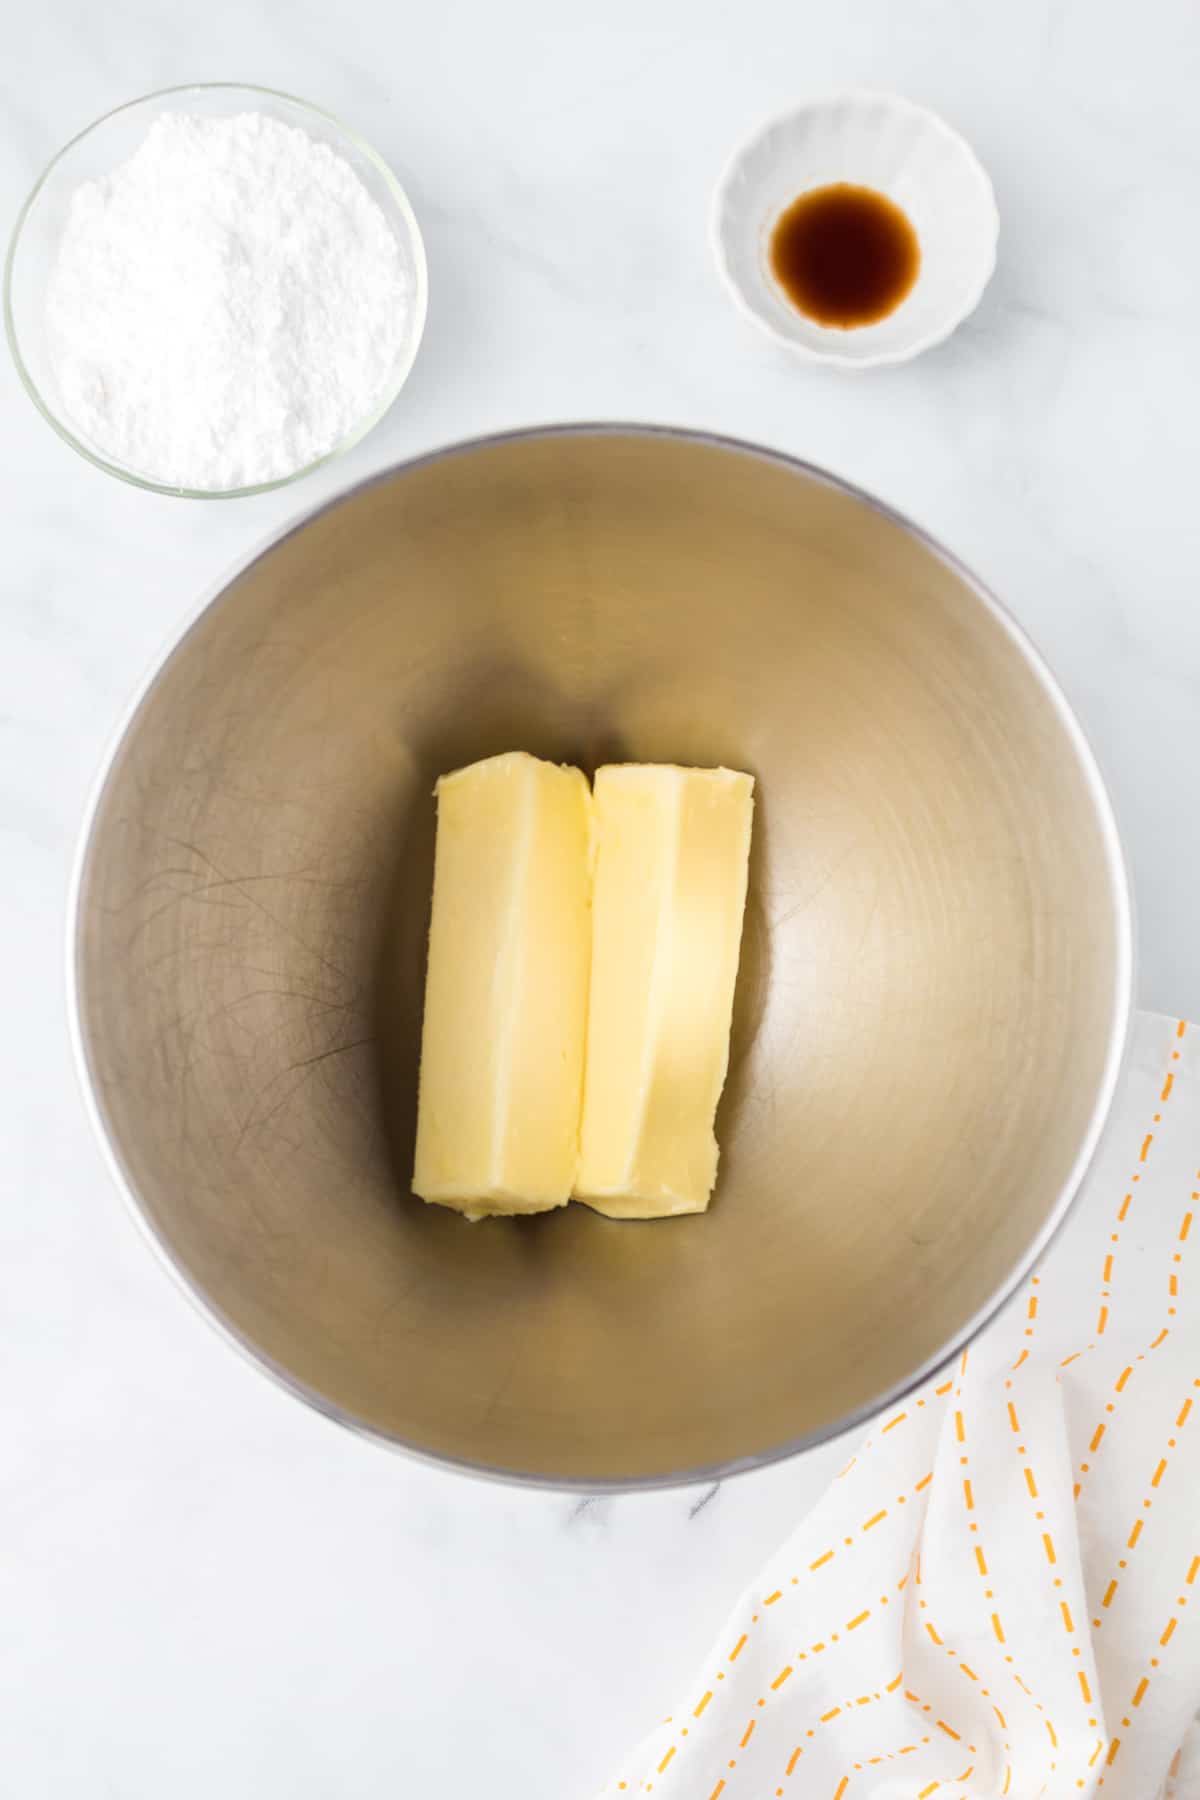
- Place butter in a large mixing bowl. Cream butter on medium speed for 4 to 5 minutes with a stand mixer or hand mixer. Add vanilla and salt, then mix for one more minute until fully mixed.
- Add powdered sugar 1 cup at a time, mixing first on low speed, then on medium until well mixed. Scraping down the sides of the bowl each time before you add more sugar until a creamy sugar cookie frosting forms.
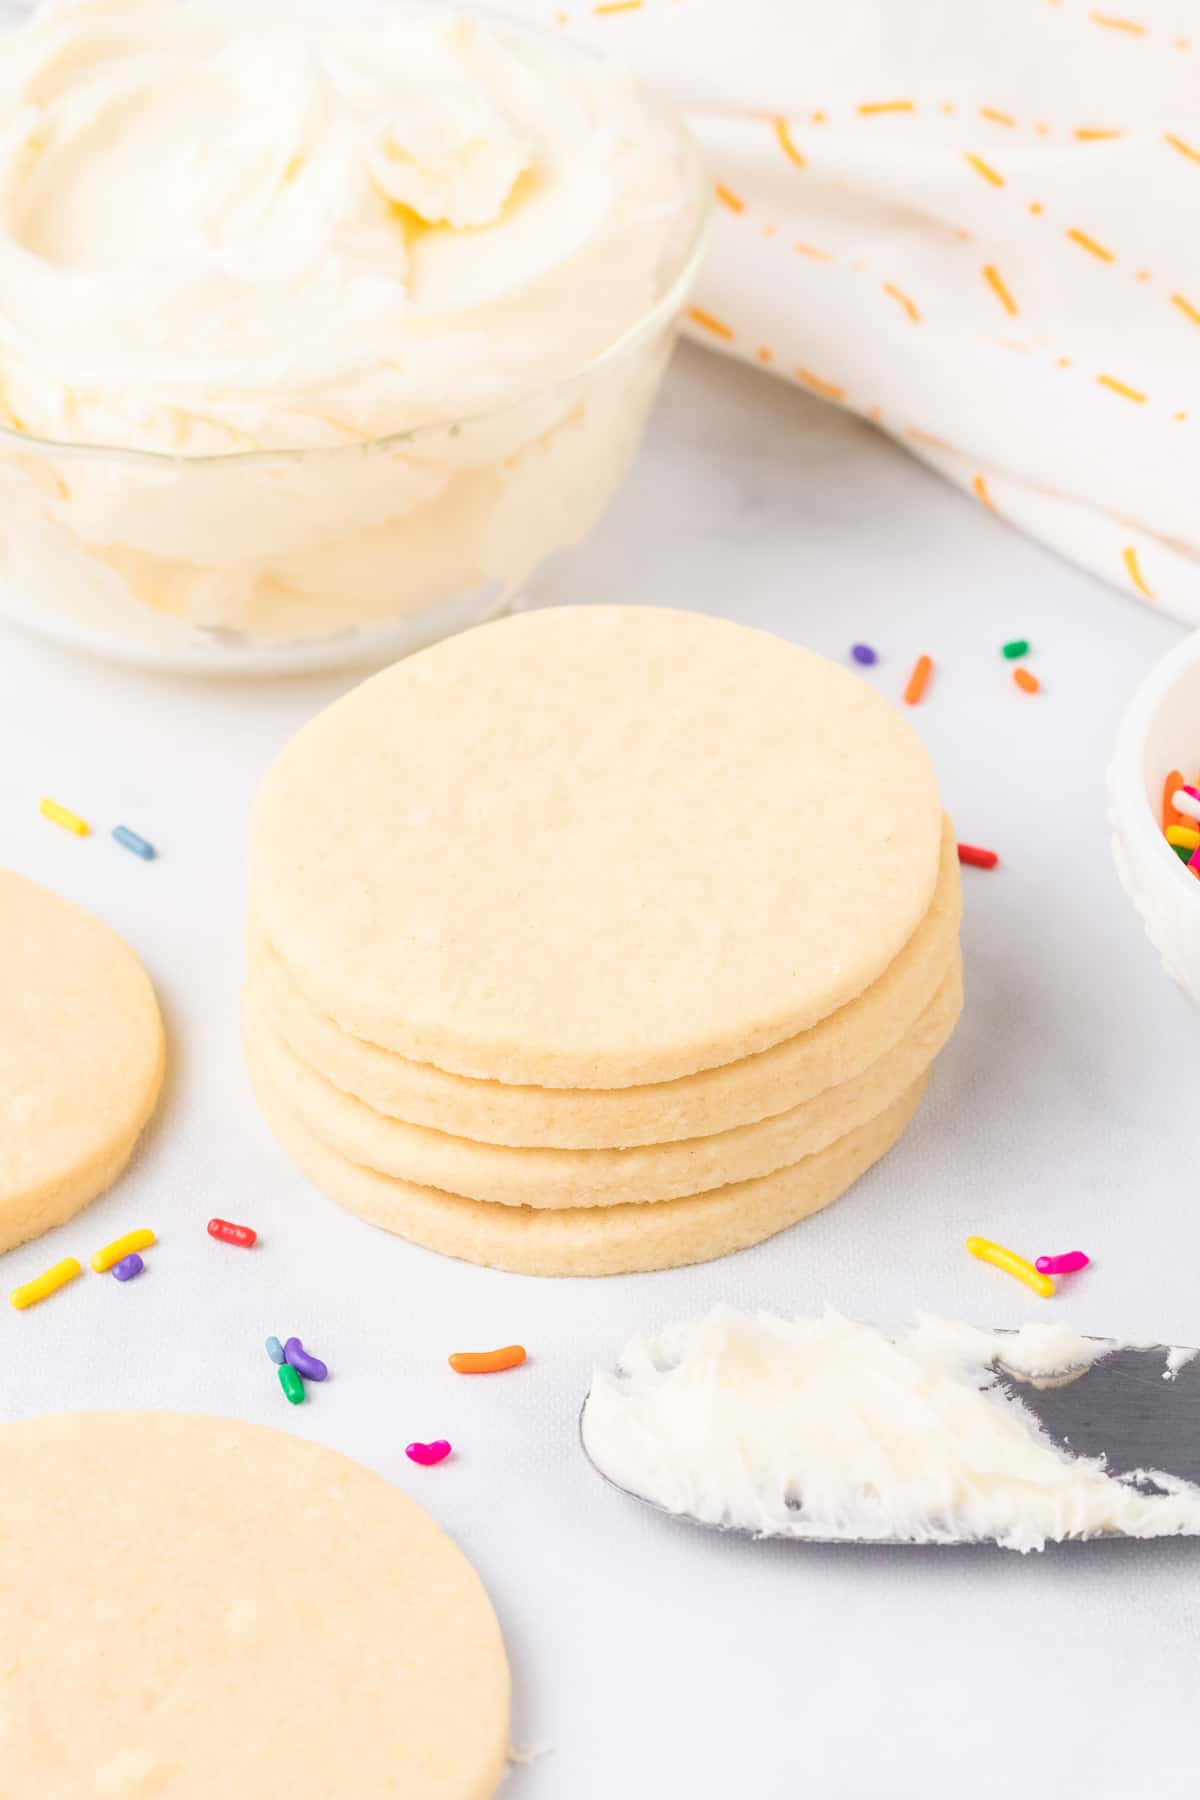
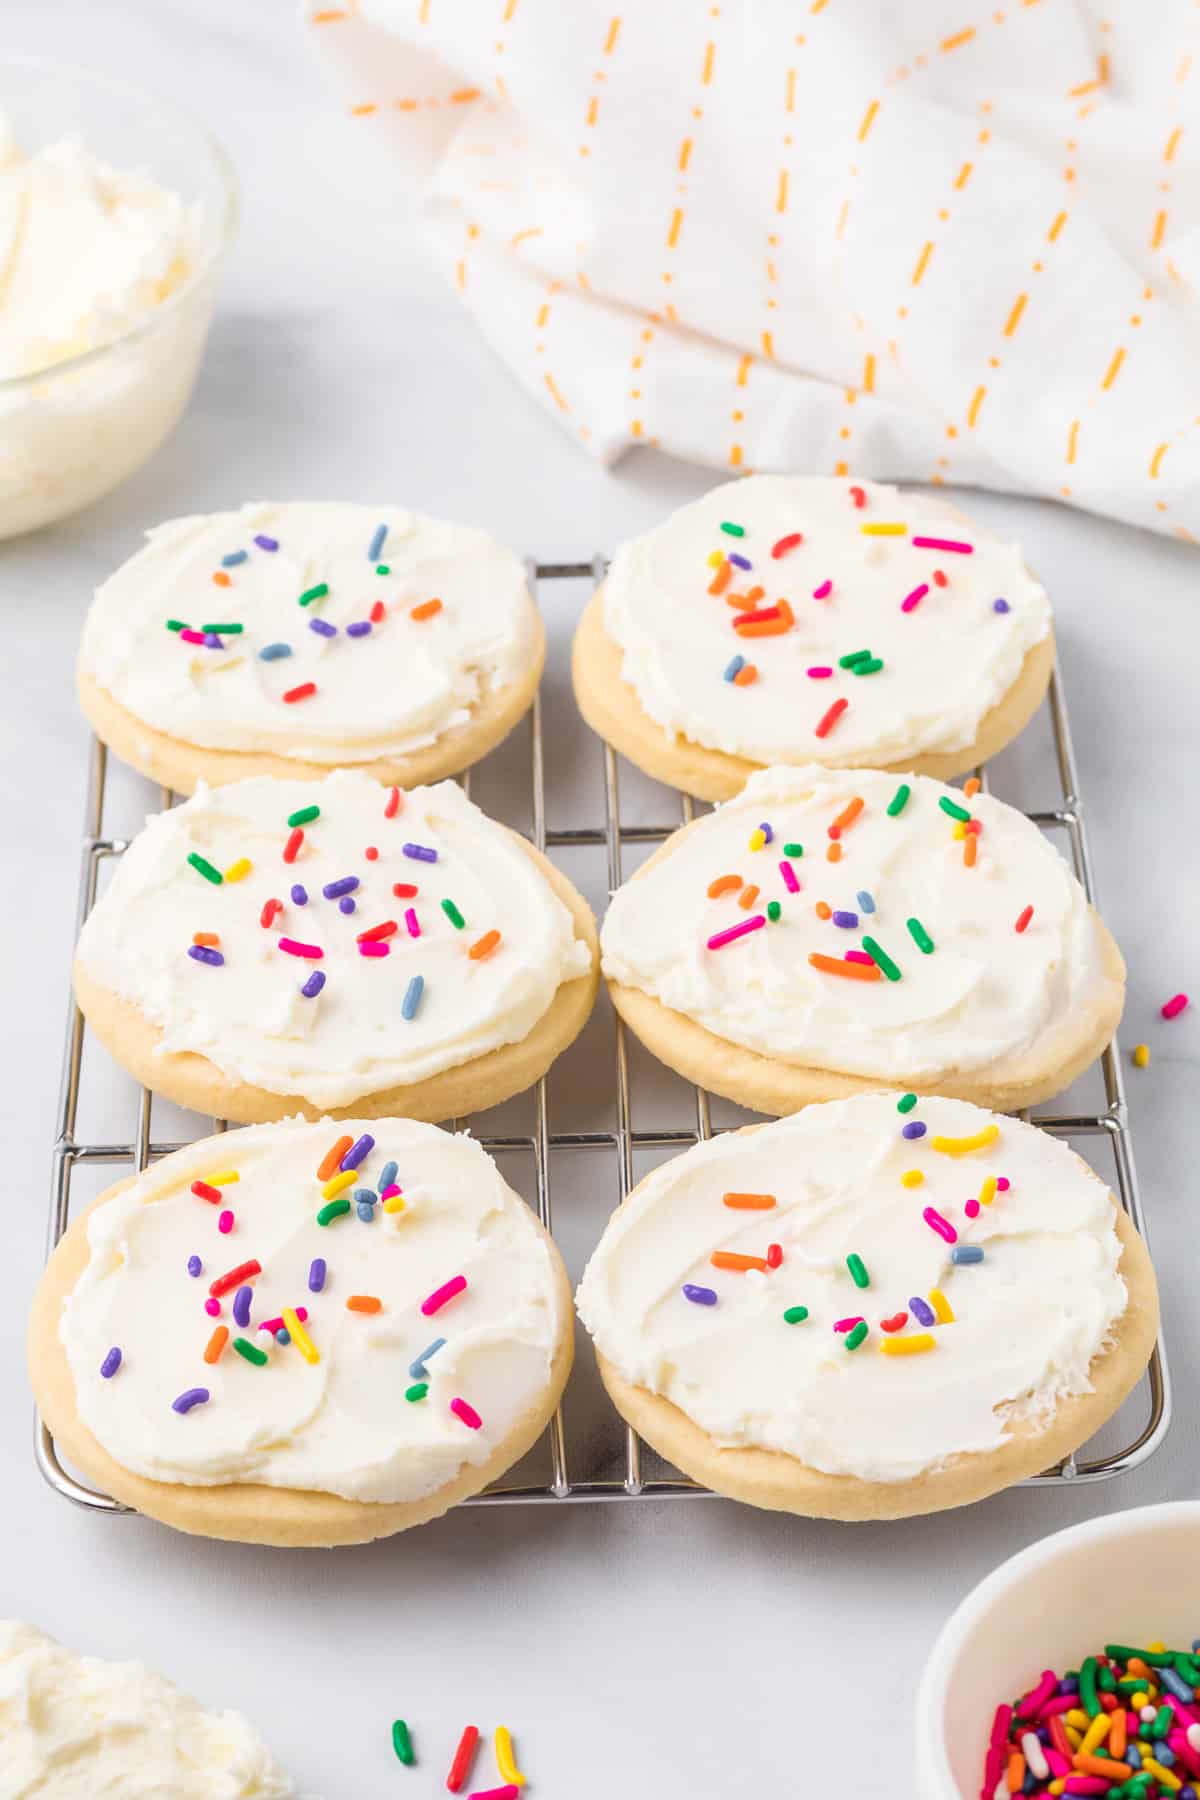
- Split the frosting into smaller bowls, then mix in food coloring until you get your desired color. The frosting can also be left white if you prefer. You can then spread this frosting with a knife, or place it in a piping bag to frost the cookies and top with sprinkles. Enjoy!

This Is Our Family’s Go-To No Spread Sugar Cookie Dough
My mother-in-law loved Christmas, and was known far and wide for all the Christmas cookies she would sell by the dozen every year. Everyone loved her cutout cookies, but making the dough was always an event that involved prepping dough a full day or two in advance.
When I created my cookbook “Kid Chef Bakes For The Holidays” I knew I wanted to include cutout homemade sugar cookies that were delicious but simpler than my MIL’s recipe. I wanted kids to get faster to the fun cutting and decorating part of making sugar cookies, the best part. This recipe first appeared in that cookbook and is our family’s go-to recipe now for cutout cookies year round, even for my husband.
Can I Freeze This Cookie Dough?
Yes you can freeze this cookie dough! Allow the cookie dough to fully defrost (usually overnight) before attempting to roll it out on the counter.
Can I Freeze The Sugar Cookies Once Baked?
You can also freeze already frosted cookies or plain cookies that have been baked but are unfrosted.
Can I Freeze The Frosting?
The frosting freezes all right also. I recommend if freezing a batch of frosting that you pull it out to defrost completely (usually overnight) before spreading it.
Once defrosted, re-whipping the frosting in a stand mixer can help bring it back to the right consistency. If needed, thin the frosting with a tablespoon of milk at a time or thicken it with 1/2 cup of powdered sugar at a time until you reach your desired consistency.

How Do You Store Sugar Cookies?
Store sugar cookies in an airtight container once they have fully cooled. Once frosted let the frosting fully harden before stacking in a container.
If you frost these sugar cookies with a knife you can stack these cookies. If you create a fancier frosting decoration with a piping bag and tip I recommend storing these cookies in a single layer so the decorations stay intact.
You can chill sugar cookies to extend their freshness, but you can also store on the counter in a sealed covered container.
How Long Do Sugar Cookies Last?
These easy sugar cookies will taste their best if eaten within 4-5 days. I have eaten them up to a week later though and they are still delicious, but they taste a little less fresh at that point.
Can I Use Royal Icing For These Cookies?
Yes you can use royal icing instead of the buttercream frosting recipe I’ve included to decorate these sugar cookies. I have several recipes in my cookbook that include my royal icing with meringue powder which I love, or you can use this royal icing recipe which uses egg whites.
Other Recipes You Will Love
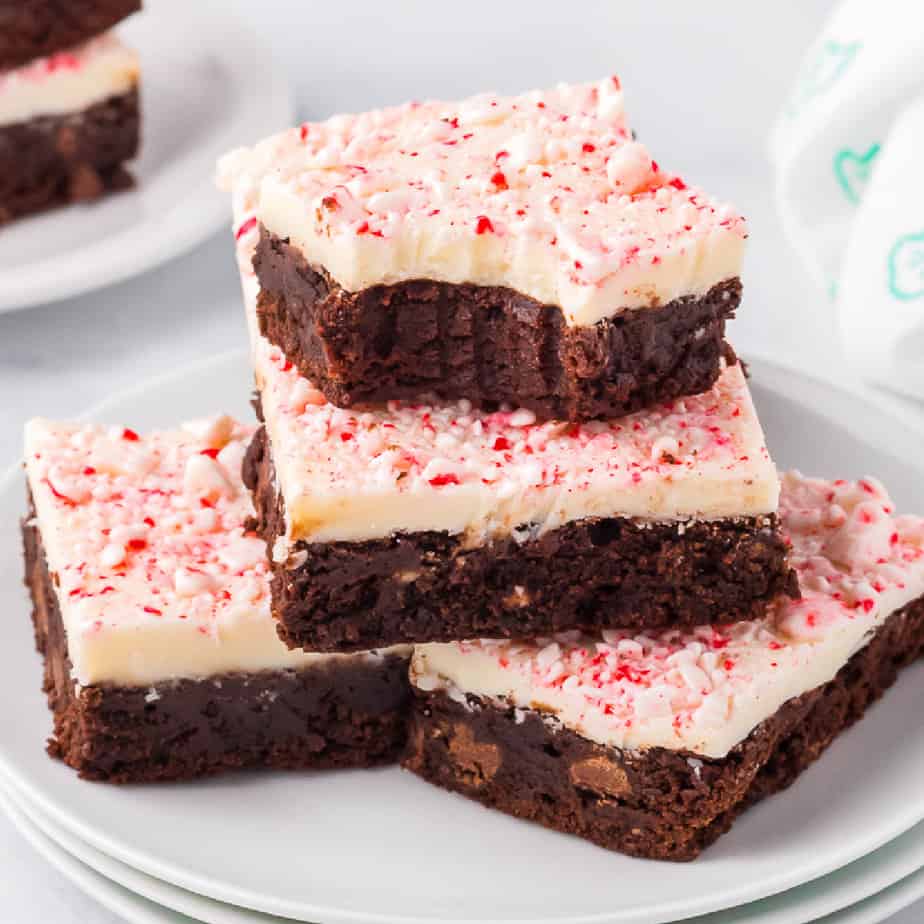
Peppermint Bark Brownies
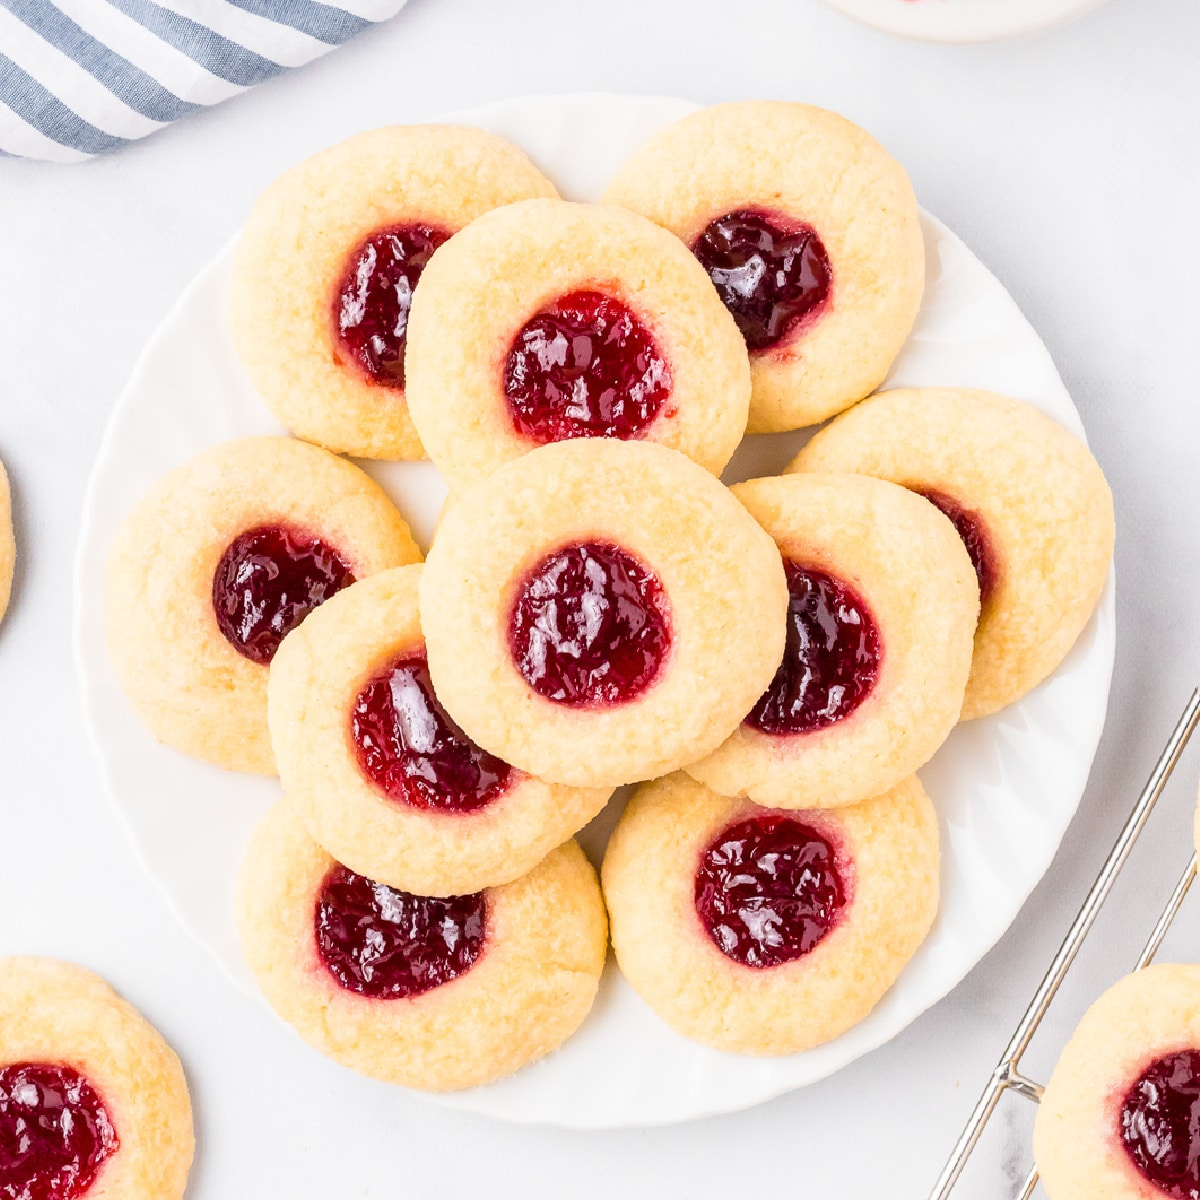
Raspberry Thumbprint Cookies
Peppermint Candy Cane Cookies
M&M Cookie Bars


Soft Christmas Sugar Cookies
Equipment
- 1 stand mixer You must use a stand mixer for this recipe. The dough is very thick and will break an electric hand mixer. I've also mixed this recipe by hand, but it takes some effort.
Ingredients
For The Cookies
- 1 cup butter unsalted, cold
- 1 cup sugar
- 2 large eggs cold
- ½ teaspoon vanilla extract
- 3 cups flour plus more for dusting, use all-purpose flour
- ½ teaspoon salt
For The Frosting
- 1 cup butter unsalted, softened
- 1 teaspoon vanilla
- ½ teaspoon salt
- 4 cups powdered sugar
- food coloring
- sprinkles
Instructions
Making The Cookies
- Preheat the oven to 350˚F. Lay parchment paper on your cookie sheets and clean off a big area of counter space to roll out the cookie dough.
- In the bowl of a stand mixer, cream the butter and sugar for 2 to 3 minutes with a stand mixer on low-medium.
- In a small bowl crack the eggs and beat with a fork or a whisk. Add the eggs and vanilla to the butter and sugar mixture, then mix until well blended.
- To your wet mixture add the flour and scatter the salt around the bowl. Mix the dry ingredients into the wet ingredients well for a few minutes with a strong wooden spoon or a stand mixer on low and then medium until a dough forms. (Don’t try mixing this part of the dough with a hand mixer—the dough is very thick and may break your mixer!)
- Lightly flour the counter and a rolling pin, keeping a small pile of flour at the edge of your workspace. Roll out your dough to a thickness of about ⅜ of an inch adding dustings of flour as needed. Use holiday cookie cutters between 3-4 inches and cut out your favorite shapes like circles, Santa, reindeer, stars, or trees.
- Place all cookies on baking sheets and bake for 9 to 11 minutes. Allow cookies to cool completely before frosting.
Making The Frosting
- Place butter in a large mixing bowl. Cream butter on medium speed for 4 to 5 minutes with a stand mixer or hand mixer. Add vanilla and salt, then mix for one more minute until fully mixed.
- Add powdered sugar 1 cup at a time, mixing first on low speed, then on medium until well mixed. Scraping down the sides of the bowl each time before you add more sugar until a creamy frosting forms.
- Split the frosting into smaller bowls, then mix in food coloring until you get your desired color. The frosting can also be left white if you prefer. You can then spread this frosting with a knife, or place it in a piping bag to frost the cookies and top with sprinkles. Enjoy!
Video
Notes
Rolling The Cookies To The Right Thickness
Placing two chopsticks on either side of the dough while you roll can help you roll the dough to about the right thickness, ⅜ of an inch in slightly thicker than most chopsticks.Frosting Consistency
The frosting on these cookies is on the thicker side but is pipeable using a frosting bag. If you feel like it’s too thick, you can adjust with a teaspoon or two of milk to make it spread easier. How thick the frosting is can vary a little bit depending on the butter each person uses, and how packed full the cups of powdered sugar are, so don’t be hesitant to thin it a little if you need to. If it gets too thin, whip in more powdered sugar! I usually start with 1/2 cup of powdered sugar at a time until I get my desired thickness. Placing the frosting in the refrigerator also will make the frosting thicken, but it can be rewhipped with a mixer as needed after refrigerating to be more spreadable again.Nutrition
Did You Make This?
I would love to see it! Share your thoughts with me in the comments below!






Bummer…I don’t have a stand mixture.
Sorry friend, you really need the extra power for this one. You can do it by hand but it takes a strong thick wooden spoon and some arm power. But it will break a hand mixer, I’ve done it.
Tried this recipe for Christmas cookies for work,made some a little thinner too came out great,thank you for a great recipe
Love the recipe!! thanks for sharing
You’re very welcome!
Mine were more crispy throughout than I usually like, altho the bottom was only very lightly brown. I think next time I’ll use the almond extract to give them more flavor too. Overall, they were easy and it was nice not to have to refrigerate the dough. Will try the frosting when the grandkids get here to frost them!
Hi Barbara- I am so glad you liked the recipe. There are a couple of things you can try so your cookies are soft and not crispy. The cookies do continue to bake on the pan, so removing them from the pan right away to a cooling rack can help so they don’t keep baking. Making sure you are rolling the dough on the thicker side (3/8 inch) will also produce a softer cookie. Lastly just pulling them out a minute early can help, as ovens can vary. Hope that helps and you have ALL the fun baking them with your grandkids! -Kristy
Great cookies I didn’t have a chance to frost them because they were gone before I could.
So glad they were delicious for you! 🙂
I made these tonight. The cookies taste floury ( my word). What do I need to do different for the dough?
If it tastes too floury it might be too much flour on the counter when you are rolling. The dough is sticky being a no chill dough and you do have to work some flour in as you roll so the dough doesn’t stick, but too much flour added can make them taste a little extra floury. To much flour on the outside of the dough give it that taste. I would try going a little easier when you sprinkle the flour as you are rolling. I find I need less and less flour each time I reroll the scraps, as their is now already extra flour in the dough. Hope that helps!
Will the frosting whole up to travel
It depends on how far you are traveling. It does hold up pretty well, but if you are going really long distances you may want more of a royal icing.
I noticed no baking soda or baking powder what makes them raise? Love the recipe and frosting!!! Sharon Crosby
Hi Sharon, So glad you liked the cookies! We are suspending the butter in the dough by adding it cold, which creates small pockets of steam from the water in the butter. This gives the dough just enough lift without making the cutout spread from it’s original shape. While a tiny bit of baking powder or baking soda can work in a cutout cookie when done correctly, it’s very easy to have too much and the cookies then spread. This cookie dough version using cold butter and a strong mixer is my favorite for shaped cutout sugar cookies too. -Kristy
Hi, made these cookies 11/30/22 great recipe I was very happy with it!!!! Frosted the cookies with your recipe I flavored it with lemon so good,thank you!!! Sharon Crosby 😊😊😊
Oh, I love the lemon twist, sounds delicious! Thank you so much for sharing and I am glad the cookies came out great! 🙂 -Kristy
How much lemon juice did you add? Sounds like a great idea!
Is it self riding flour or plain?
All purpose flour. Don’t use self-rising flour, the cookies won’t come out right. Happy Holidays!
Loved these! Super easy and worked out great.
So glad they were delicious Matilda! Hope you had fun too 🙂 -Kristy
Can I make these with a hand mixer if I let the butter soften a bit?
I wouldn’t suggest it, I’m sorry. You will likely end up with the butter not firming up properly in this recipe or breaking the hand mixer as they just don’t have enough power for this recipe. This recipe is more like making a biscuit where you cut the butter in cold. Something you could try is to freeze the butter and grate it with a cheese grater once frozen. You can then mix things by hand without killing your hand mixer. Hope that helps! -Kristy