How To Make Hot Chocolate Bombs For Christmas
*This post may contain affiliate links. See our affiliate policy here.
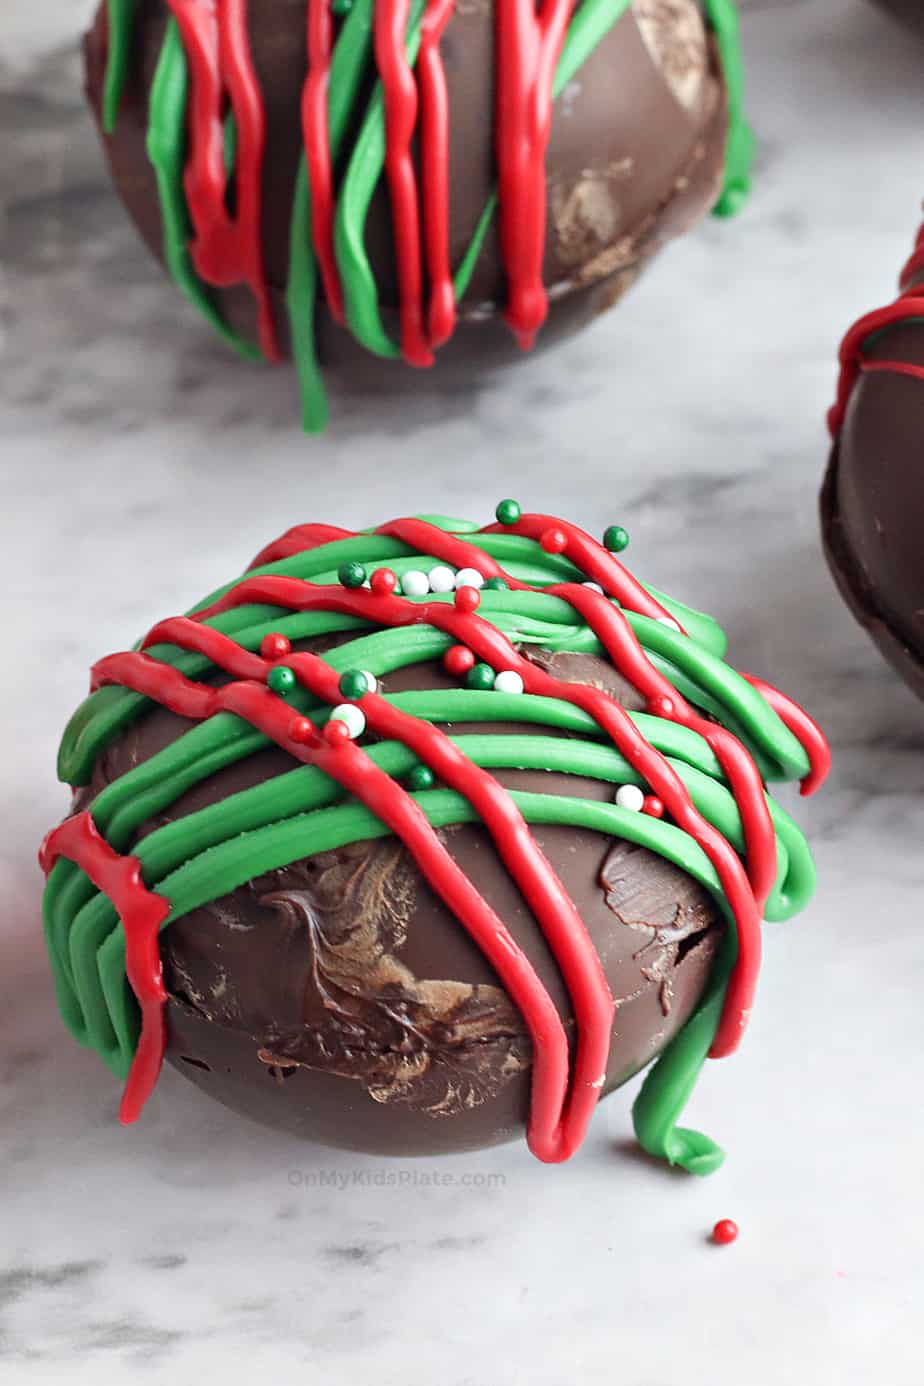
Celebrate the holidays with a bang and these delicious hot chocolate bombs. Hot chocolate bombs are giant spheres of chocolate full of cocoa mix and marshmallows. Drop one in your cup, add a little hot milk and watch the marshmallows explode out of the chocolate to make the most fun cup of hot cocoa!
Why We Love Hot Chocolate Bombs
These hot chocolate bombs have been making their way around first tiktok, and then Instagram and all over social media. While you can buy hot chocolate bombs, you can customize them more if you make them at home. We decorated ours with Christmas colors and boy are they delicious!
If you’re looking for a great Christmas present, these hot chocolate bombs are a fun gift everyone will like. The kids will love making them too!
Ingredients For Hot Chocolate Bombs
Find the full printable recipe with specific measurements and directions below in the recipe card.
- Semi-sweet chocolate chips or chocolate melting wafers
- Hot chocolate mix
- Mini marshmallows
- Red and green melting chocolate
- Hot milk when you are ready to explode the chocolate bombs
How To Make Hot Chocolate Bombs
Making the best-ever hot chocolate bombs only requires a few steps! You’ll make chocolate balls in a silicone mold, add some hot cocoa mix inside, seal the chocolate spheres then decorate!
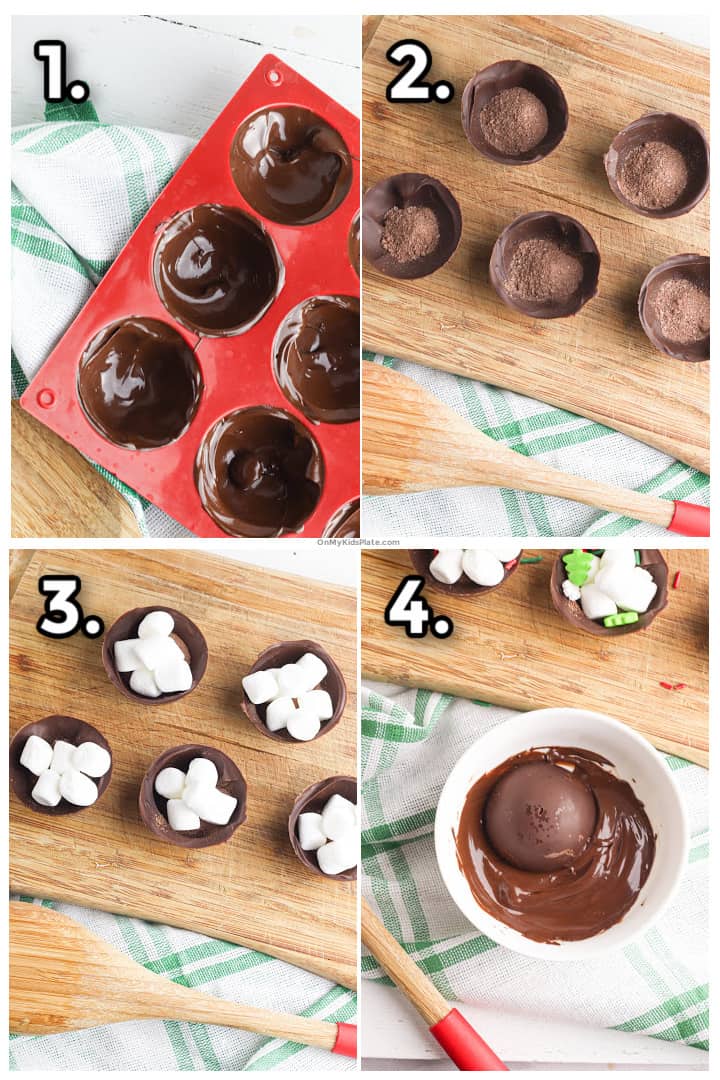
- Melt the chocolate and coat the silicone mold with chocolate, then allow to set. Double-check to make sure you don’t have any holes and be generous with the chocolate.
- Add a spoonful of hot cocoa powder to the bottom half of the chocolate cups.
- Add marshmallows to the cup
- Dip and seal the edges of the top chocolate cup with the bottom chocolate cup using melted chocolate.
Tips For Sealing The Hot Chocolate Bombs Closed
I’ve since found an easier way to seal the hot chocolate bombs. Turn on your oven to about 300 degrees and place a cookie sheet inside.
When the cookie sheet is warm, pull it out of the oven and put a piece of parchment paper over it.
Touch the edge of the hot chocolate bomb to the hot pan on the paper for a few seconds to melt the edge, then seal the chocolate bomb shut.
If your pan starts to become too cool, slide the parchment paper off the pan and place it back in the oven to heat up again. Using the parchment paper makes it much easier to clean up the chocolate, but we don’t want to scorch it in the oven.
Once the cocoa spheres are sealed, decorate with more chocolate or sprinkles!
What Kind Of Chocolate Molds Work Best For Hot Chocolate Bombs?
I bought a silicone sphere mold on Amazon. I’ve noticed that these hot cocoa bombs have become so popular that they are having trouble keeping up with orders for the molds sometimes.
In the pictures in this post, I used this silicone mold that makes a 2 inch sphere.
But then as I have started experimenting. I decided they might be even more fun if the bombs were slightly bigger. So I also bought these 2.7 inch sphere silicone molds which came in after I shared this recipe.
The more I experiment with the molds, the more I like the bigger molds better for gifts. The slightly larger sphere feels a little more impressive for a gift and does make the milk more chocolately.
Either mold will work though, whether you go for a slightly larger or smaller version.
I would also recommend not using the stiff plastic chocolate molds. They are much harder to release the chocolate unless you temper the chocolate using a candy thermometer.
If you are making large batches of these chocolate bombs it would be worth learning how to temper chocolate. If you’re just making a few the silicone molds are really much easier. I also find the silicone molds are much easier to handle when cooking with kids unless your kid is more advanced in the kitchen.
What Does It Mean To Temper Chocolate?
Tempering the chocolate means you melt pure chocolate and carefully keep it below 95 degrees using a thermometer while you melt it. When you temper chocolate it creates a slightly shiny coating of chocolate that gives you a little more snap when you bite into it.
Think biting into a cream-filled chocolate from somewhere like Godiva that makes handmade chocolates. The chocolate snaps a but as you bite into it.
While we are keeping the temperature low in this recipe, tempering requires just a little more precision. But when you temper the chocolate, it also releases easily from a plastic chocolate mold.
You also would also need to use a good quality bar chocolate that you chop up to melt if you are tempering the chocolate. Chocolate chips are often made of compound chocolate which is chocolate mixed with a few other ingredients. Other types of slightly lower quality chocolate can sometimes be compound chocolate too.
Compound chocolate can have an extra coating on them that causes the chocolate not to temper correctly. You can find more info about how to temper chocolate here.
How Can I Make The Chocolate Explosion MORE Impressive
I’m so glad you asked! So again I took these pictures of these cocoa bombs because they were fun. But then I started experimenting because we can’t get enough of them!
If you want to really make the explosion feel more impressive try filling the spheres with these extra tiny mini marshmallows. You can pack more of these tiny marshmallows into the chocolate sphere which makes it feel like it’s exploding even more! I think it also looks great with a mix of mini marshmallows and these tiny marshmallows!
Also using a larger silicone mold allows you to fit more marshmallows inside of the chocolate bomb.
Ideas To Decorate Hot Cocoa Bombs
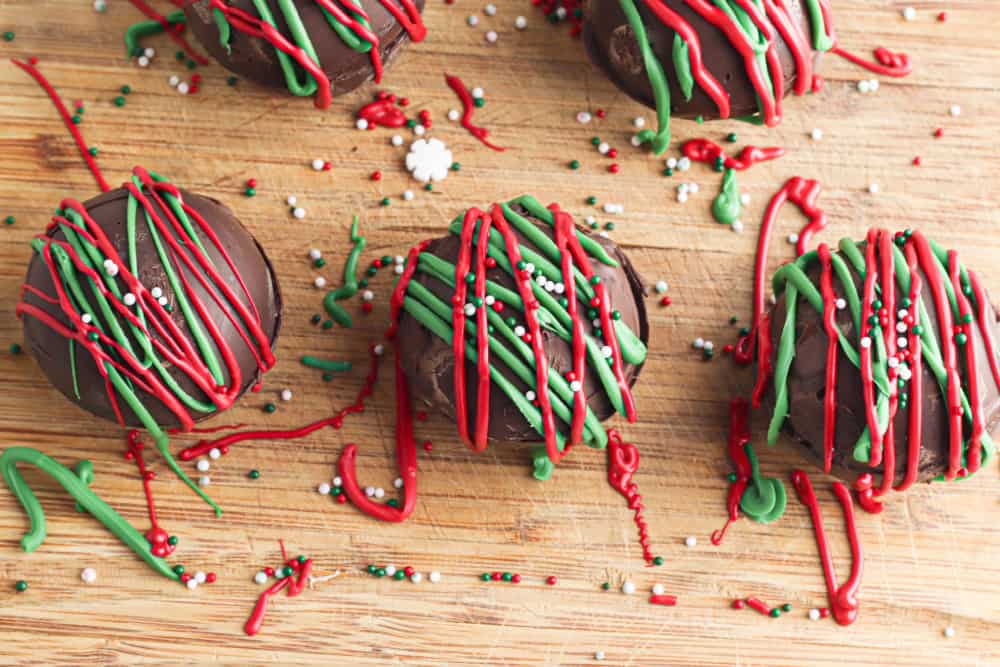
Decorating is the fun part, right? Here are a few ideas to try!
- Experiment with drizzling different colors of candy melts across the top of the spheres
- After you drizzle the chocolate on top, try adding small sized sprinkles (like these rainbow Nonpareils, red and white-colored sugar sprinkles or these colored jimmies which are my favorite to mix and match for ANY holiday!) The melted chocolate will help small sprinkles stick.
- I’ve also seen people cover the seam where the two chocolate halves meet with a little extra chocolate and roll the edge in sprinkles.
- Try decorating with crushed up candy canes!
Hot Cocoa Bomb Decorating Ideas That Didn’t Work Well
- I would recommend staying away from the oversized sprinkle balls or any sprinkles that have a larger hard piece of candy. Sometimes they are also shaped in things like Christmas trees. They are simply too heavy for these cocoa bombs to stick well.
- I also wouldn’t recommend putting sprinkles into the cocoa bombs. They just kind of sink to the bottom of your cup and you don’t see them very well. Keep sprinkles on the outside of the chocolate to look pretty.
How Do I Package These Cocoa Bombs For Gifts?
First off, check out my free printable hot cocoa gift tag! These fun tags are designed for teachers and other school administrators gifts. I also included some blank templates you can gift your chocolates to anyone easily!
–A paper box would fit at least 2 chocolate bombs well.
-Cellophane bags– these bags self-seal. All you have to do is add a bow or a pretty ribbon. You could also slide the bag into a holiday or pretty mug as a gift.
-These Reindeer Boxes are SO cute and would make great chocolate bomb holders.
More Holiday Recipe Ideas
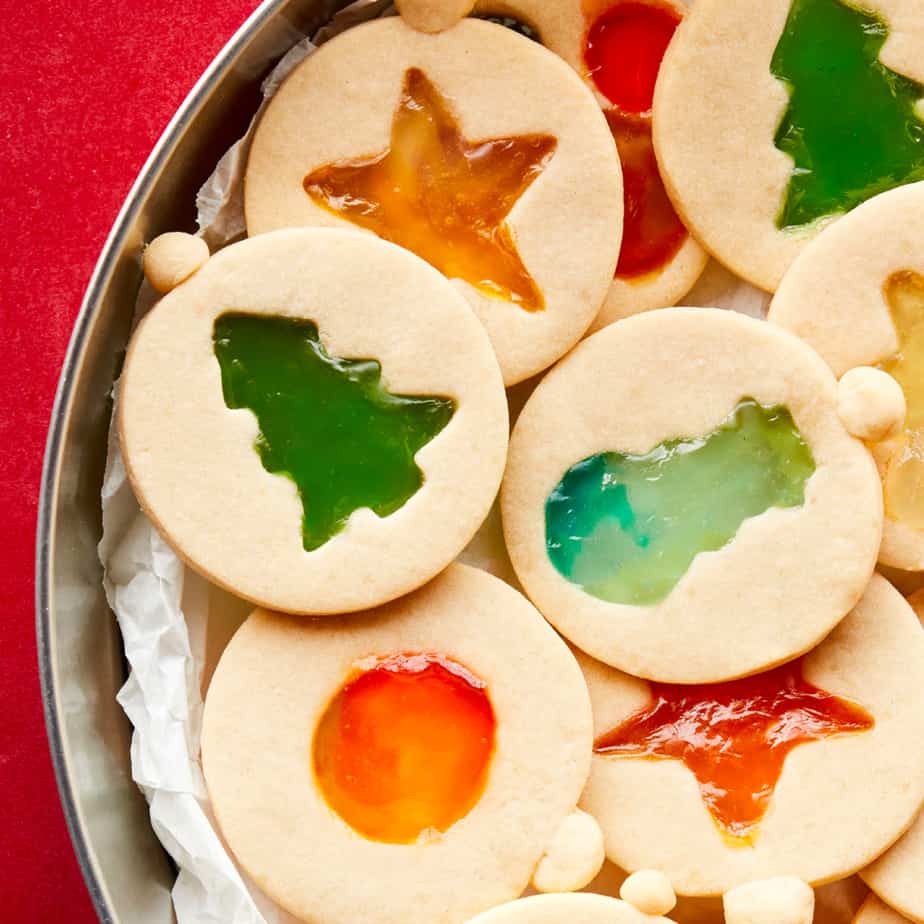
How To Make Easy Stained Glass Cookies
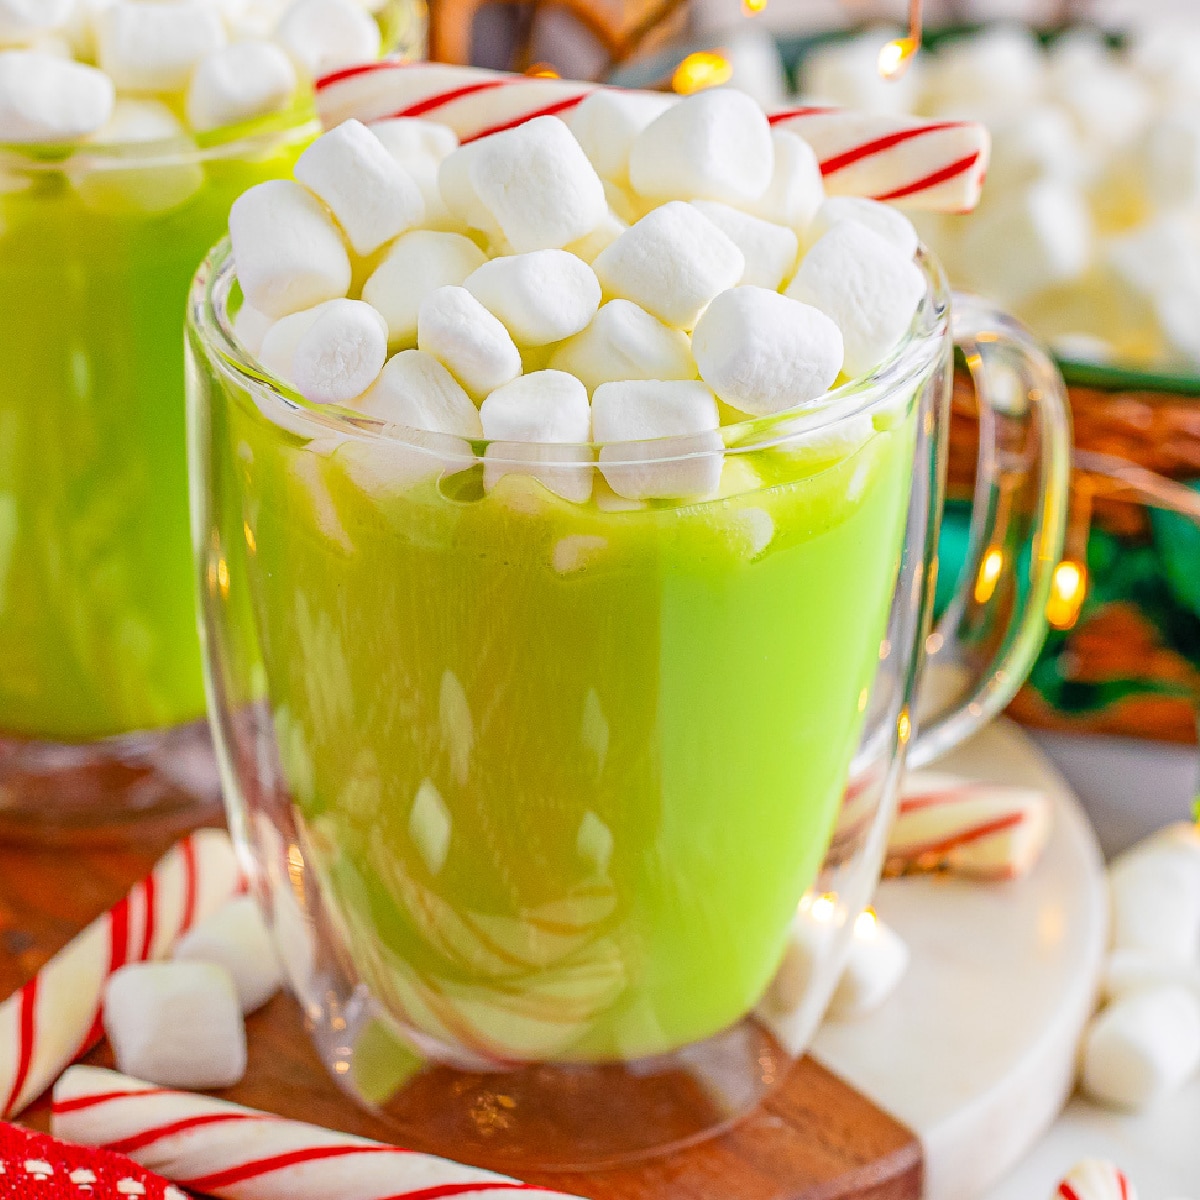
Grinch Hot Chocolate (Fun Holiday Drink)
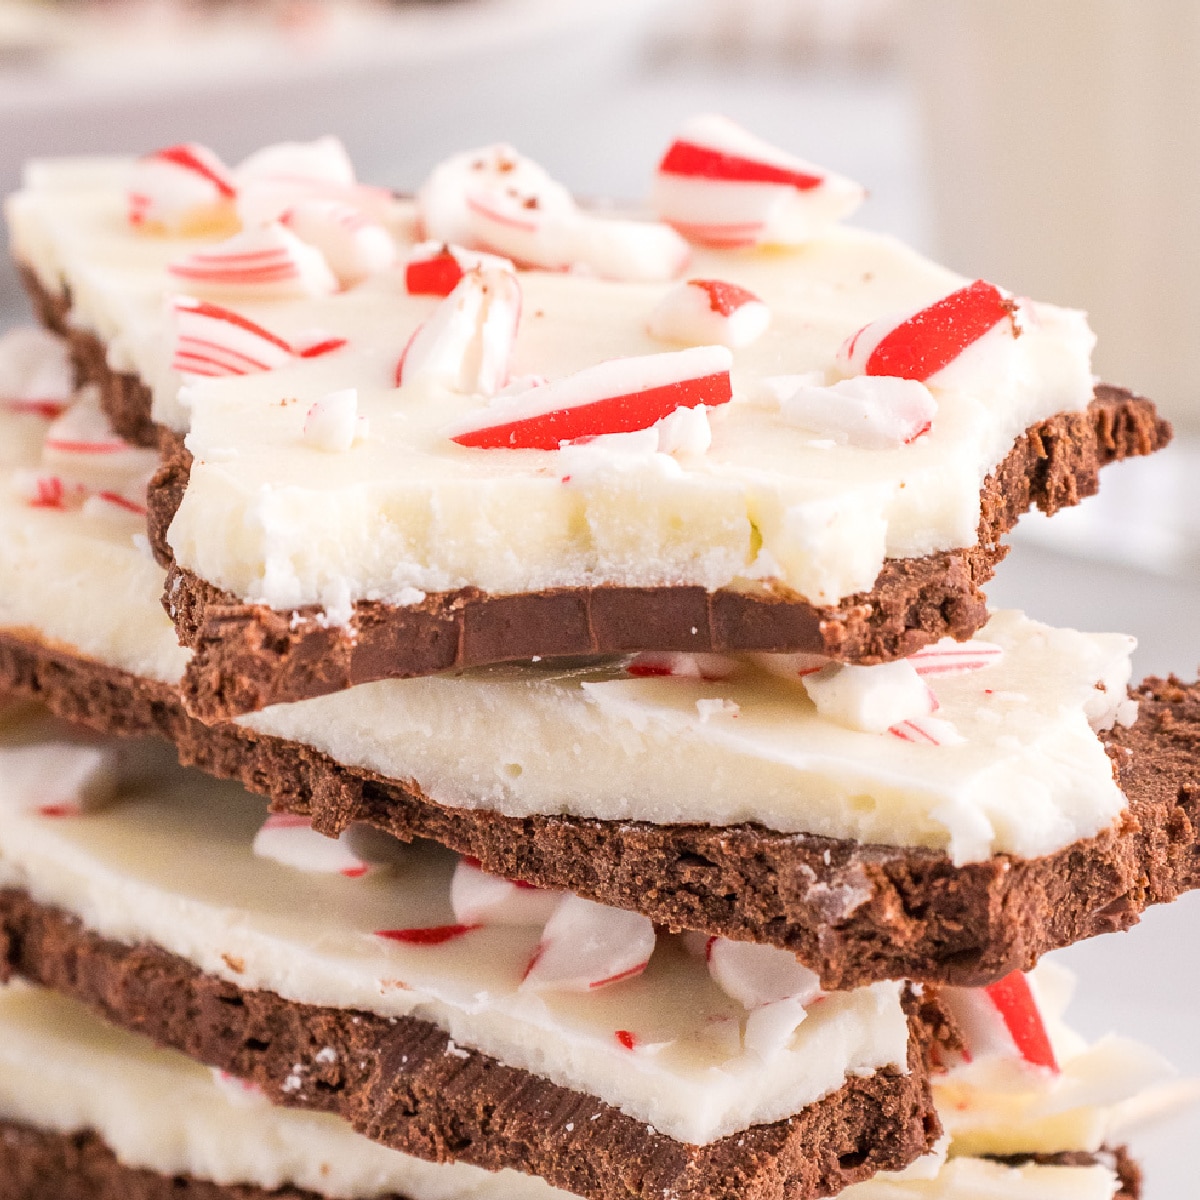
Super Easy White Chocolate Peppermint Bark
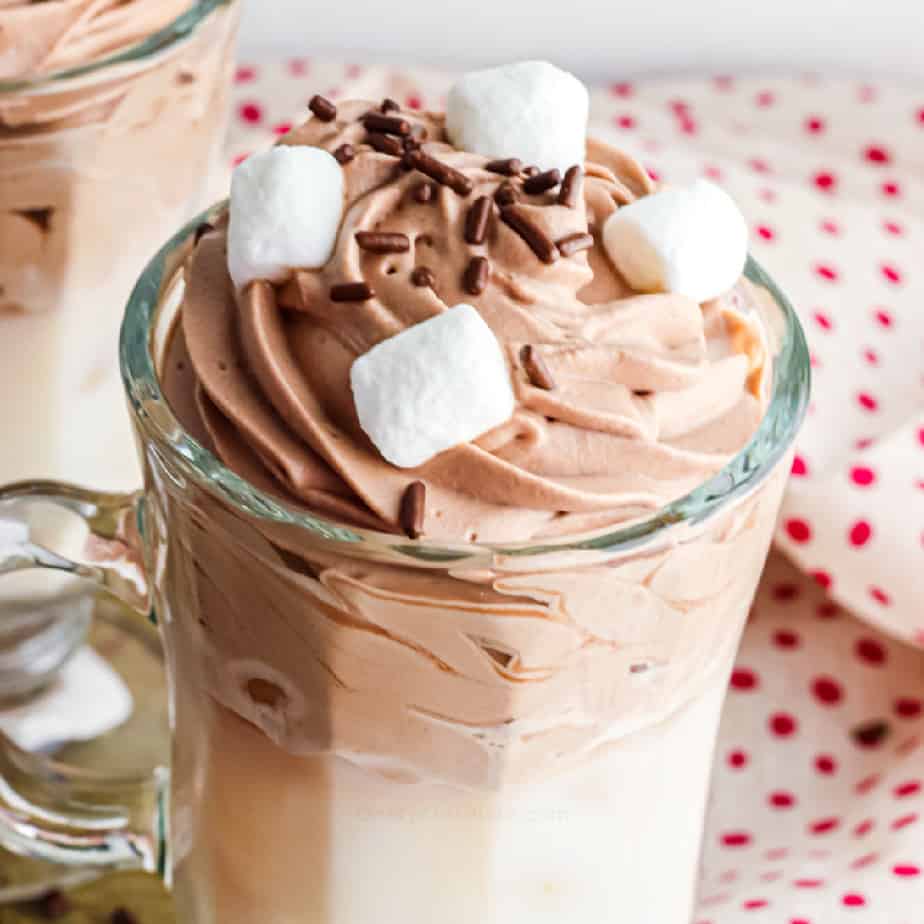
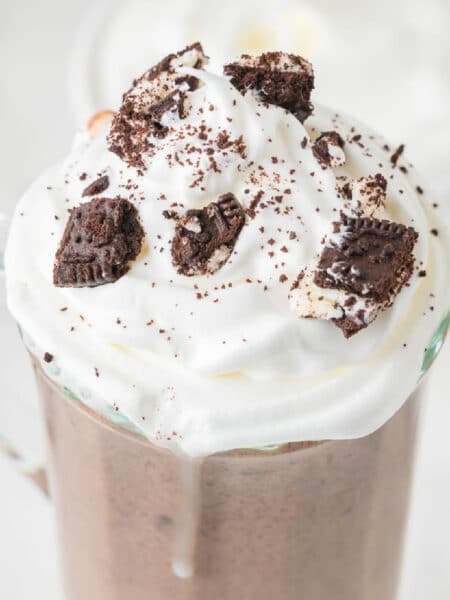
Oreo Hot Chocolate
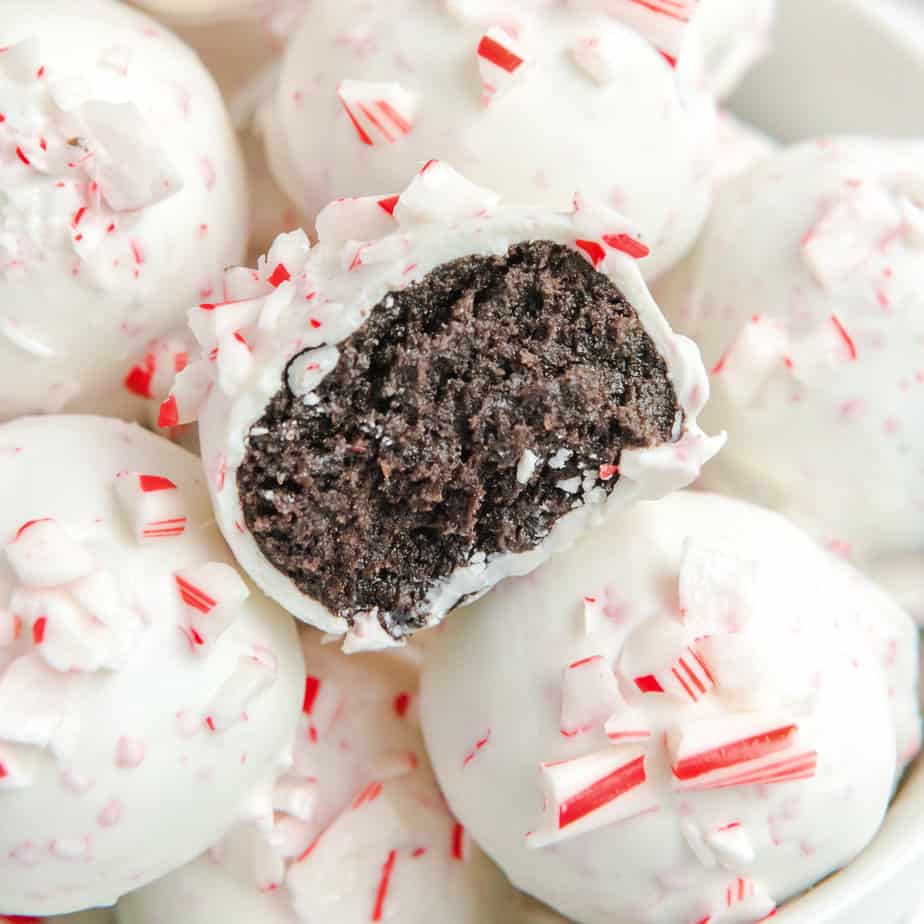
Peppermint Oreo Cookie Balls
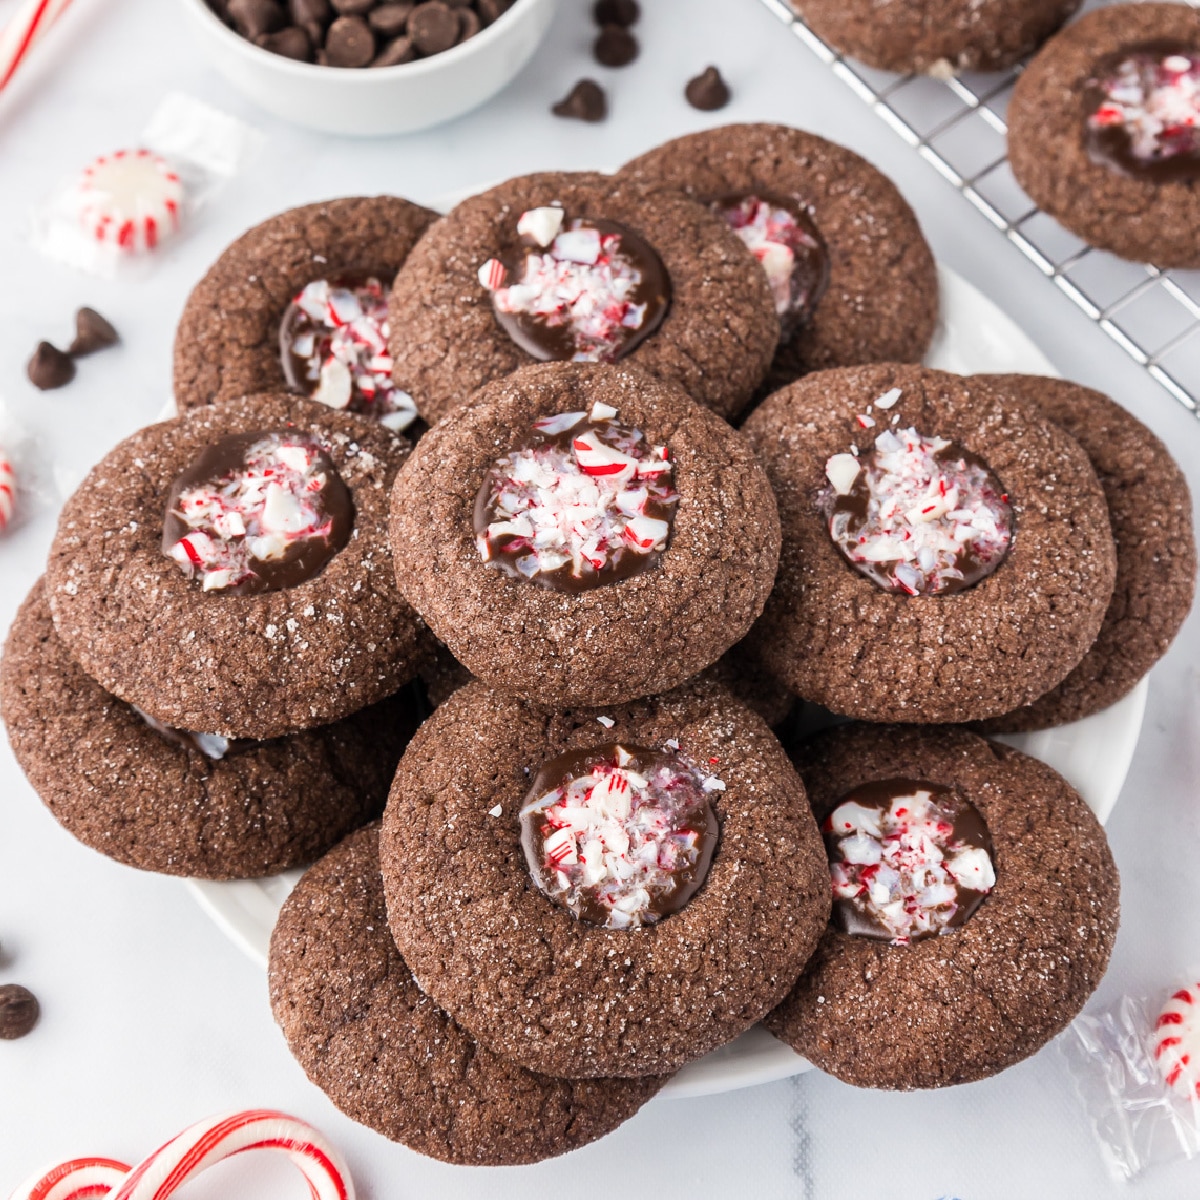
Chewy Double Chocolate Peppermint Cookies

Hot Chocolate Bombs
Equipment
Ingredients
- 12- ounce package semi-sweet chocolate chips
- 1 packet instant cocoa mix
- 1 cup mini marshmallows
- ¼ cup red melting chocolate optional
- ¼ cup green melting chocolate opitional
- ¼ cup Christmas sprinkles optional
- 6 cups hot milk to make the bombs
Instructions
- Place the semi-sweet chocolate chips in a microwave safe bowl and microwave in 30 second intervals at half power. Stirring between each interval, until the chocolate chips are fully melted. Be careful not to get any liquid into the chocolate, or the chocolate will seize and become grainy.
- Put a spoonful of melted chocolate inside one cup on the silicone mold. Use the back of the spoon (or an icicing spatula) to spread the chocolate up the sides of the mold. Coat the inside of all of the molds, tipping the mold to even out the chocolate as needed. Be generous with the chocolate, and make sure to fill in any holes that you can.
- Any remaining chocolate you'll want to set to the side. This will be used for sealing and decorating the bombs.
- Allow the chocolate to set completely, placing the molds in the refrigerator. This will take about 2-3 hours. If you live somewhere that is very warm or humid it may take a little longer.
- Make sure your chocolate is set by peeling a little of the mold away and making sure it's firm. Remove each of the chocolate pieces from the mold by carefully popping them out of the silicone mold without breakng them. Add a few small spoonfulls of instant hot cocoa mix to half the pieces of chocolate. Top the bottom halves with marshmallows.
- Reheat the chocolate in 15 second intervals until melted. Pick up an empty chocolate piece and dip the edges into the melted chocolate. Carefully place it on top of a filled piece and lightly press it into place. Use your finger to smooth melted chocolate around the seam. Continue until all the chocolate bombs are sealed.
- Melt the red and green chocolate according to the package instructions, similarilyto how we melted the chocolate. Place the melted chocolate into zip loc bags or icing pipping bags. Snip a small piece of the corner of the bag. Drizzle the colored chocolate over the top of the bombs to decorate and add sprinkles if desired.
- Allow the chocolate decorations to set in the fridge for about 1 hour. Chocolate bombs can then be exploded by pouring warm milk over the cocoa balls in a large mug. Enjoy!
- To make the hot chocolate bombs, place the bomb in the bottom of a mug. Pour one cup of hot milk over the top of the bomb to melt the chocolate. When the chocolate is completely melted, stir to combine.
Video
Notes
When the cookie sheet is warm, pull it out of the oven and put a piece of parchment paper over it. Touch the edge of the hot chocolate bomb to the hot pan on the paper for a few seconds to melt the edge, then seal the chocolate bomb shut. If your pan starts to become too cool, slide the parchment paper off the pan and place it back in the oven to heat up again. Using the parchment paper makes it much easier to clean up the chocolate, but we don’t’ want to scorch it in the oven. If you have any small accidental holes in the chocolate spheres you, can fill the hole with a little melted chocolate before decorating. Or a well-placed drizzle of decorative chocolate can also fill a tiny hole. Filling the holes is important so the hot cocoa bombs don’t lose any of the hot chocolate powder.
Nutrition
Did You Make This?
I would love to see it! Share your thoughts with me in the comments below!
Did you make these hot cocoa bombs too? Tell us about how you made yours in the comments!




HINTS THAT WORKED for me! I tried another recipe before finding this article….taking some good tips from this one too. Using another recipe, my first two attempts failed (cracked) ….and found helpful tips on line elsewhere. My error was not putting a ‘second coat halfway up and to the top’ after the first coat hardened (no matter how much choc. I added on the first coat). But the 2nd coat could not be “as hot” or would melt existing choc. and needed to be thick at the very top. My 2.5″ silicon molds were perfect size. I also found cutting out all 6 molds as individual worked better which someone recommended. The best way to remove harden bomb was to turn mold upside down, put finger on top of bomb’s dome and peel silicon up at one corner. To seal the two halves together, I used a slightly heated skillet, placed half choc. bomb on it for 5 sec. I did this for both pcs. but you must fill your first half with cocoa/mallows before heating your 2nd half. I wore food prep gloves too when heating to seal these. Perfect bombs now everytime.
Thanks for the extra tips Sharon! I’ll have to try the tip of adding a second coat. That’s an interesting idea of cutting out the mold into little individual molds, the silicone does get a little floppy and I can see how that might make things a little easier. Great tips! -Kristy
I tried this and loved it so much I’ve linked this article on my site! Included it in my 7 Creative Ideas For (Free) Toddler Activities In Autumn list 🙂