Homemade Garlic Knots
*This post may contain affiliate links. See our affiliate policy here.
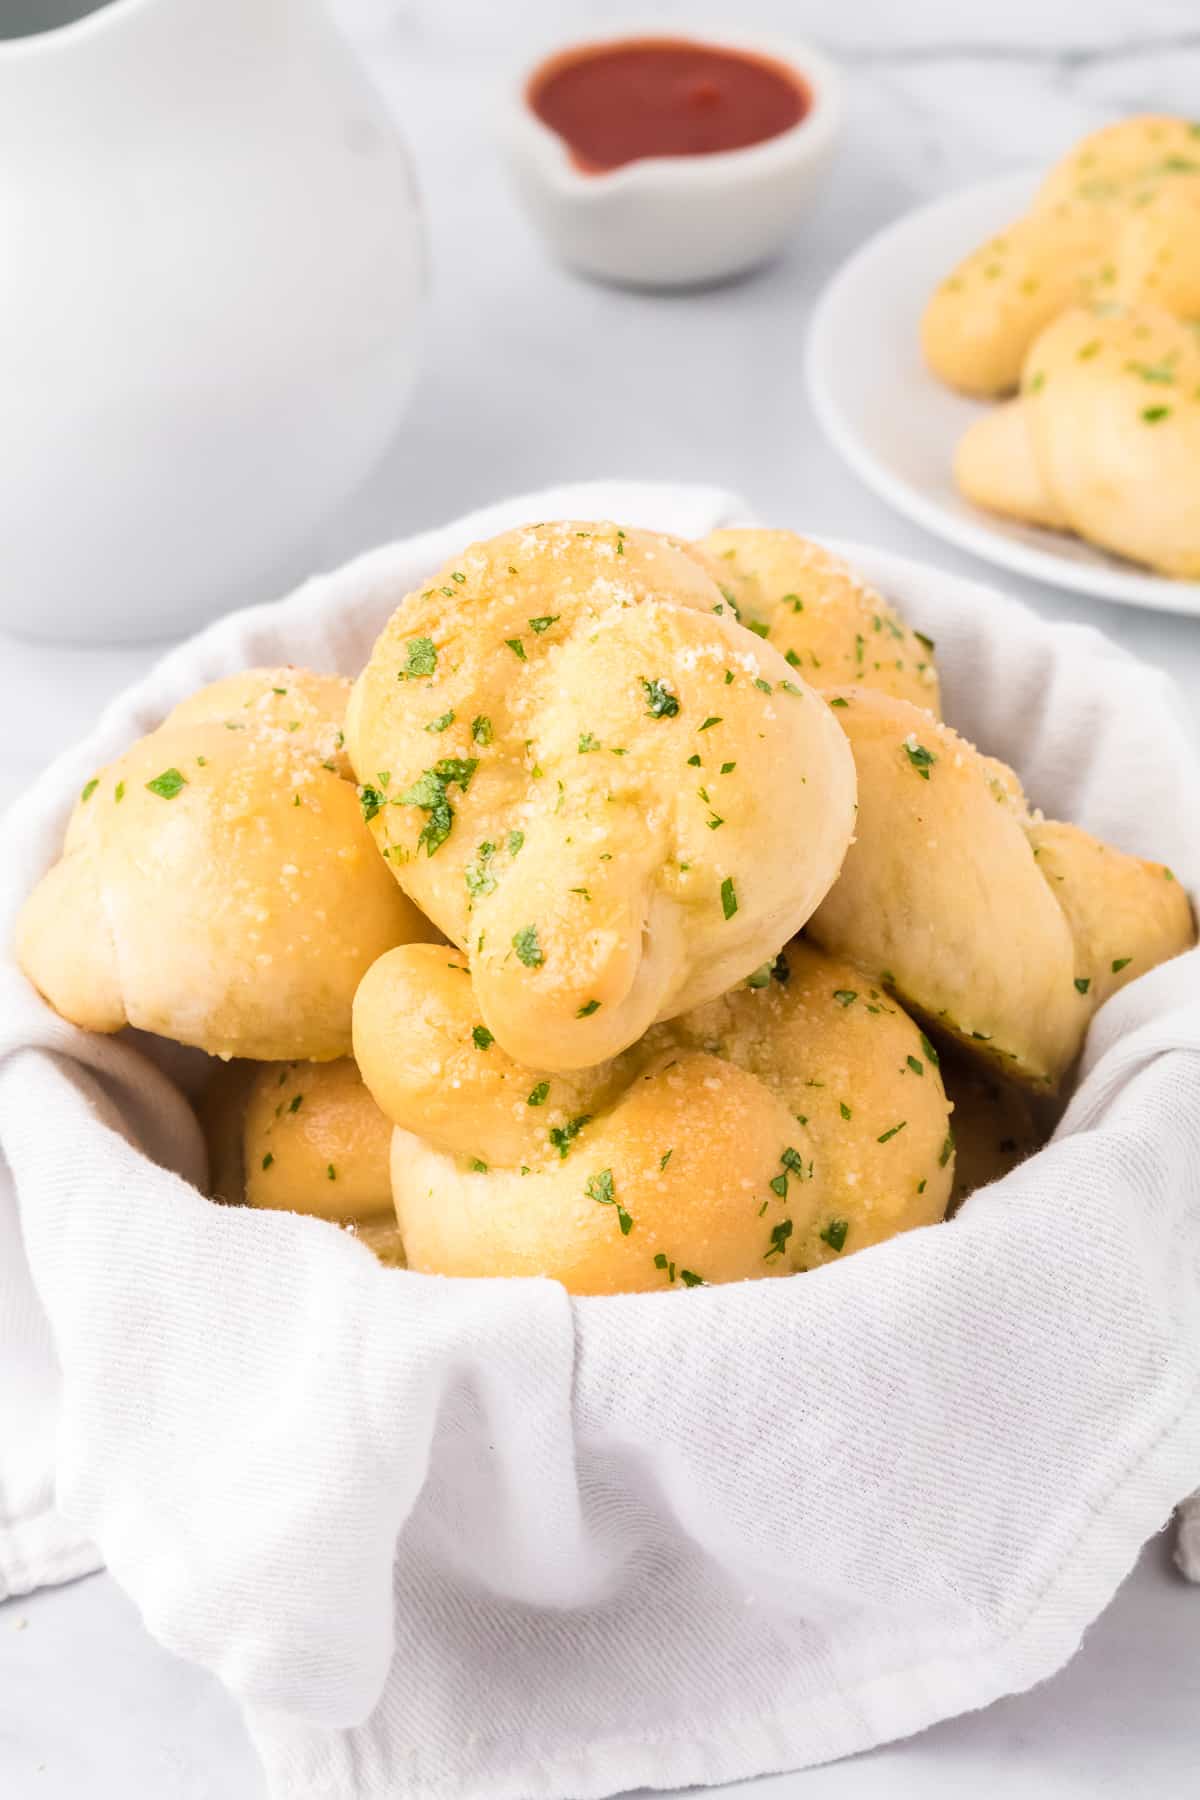
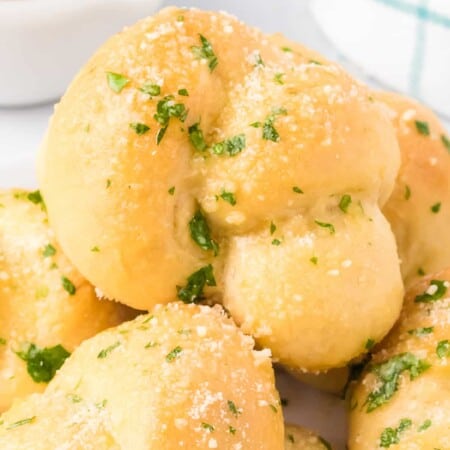
Buttery garlic knots are made with a homemade dough that make your house smell absolutely amazing! Soft dough tied into little knots topped with garlic, butter and parmesan. You’ll love this as rolls with your dinner or as an appetizer with a little tomato sauce.
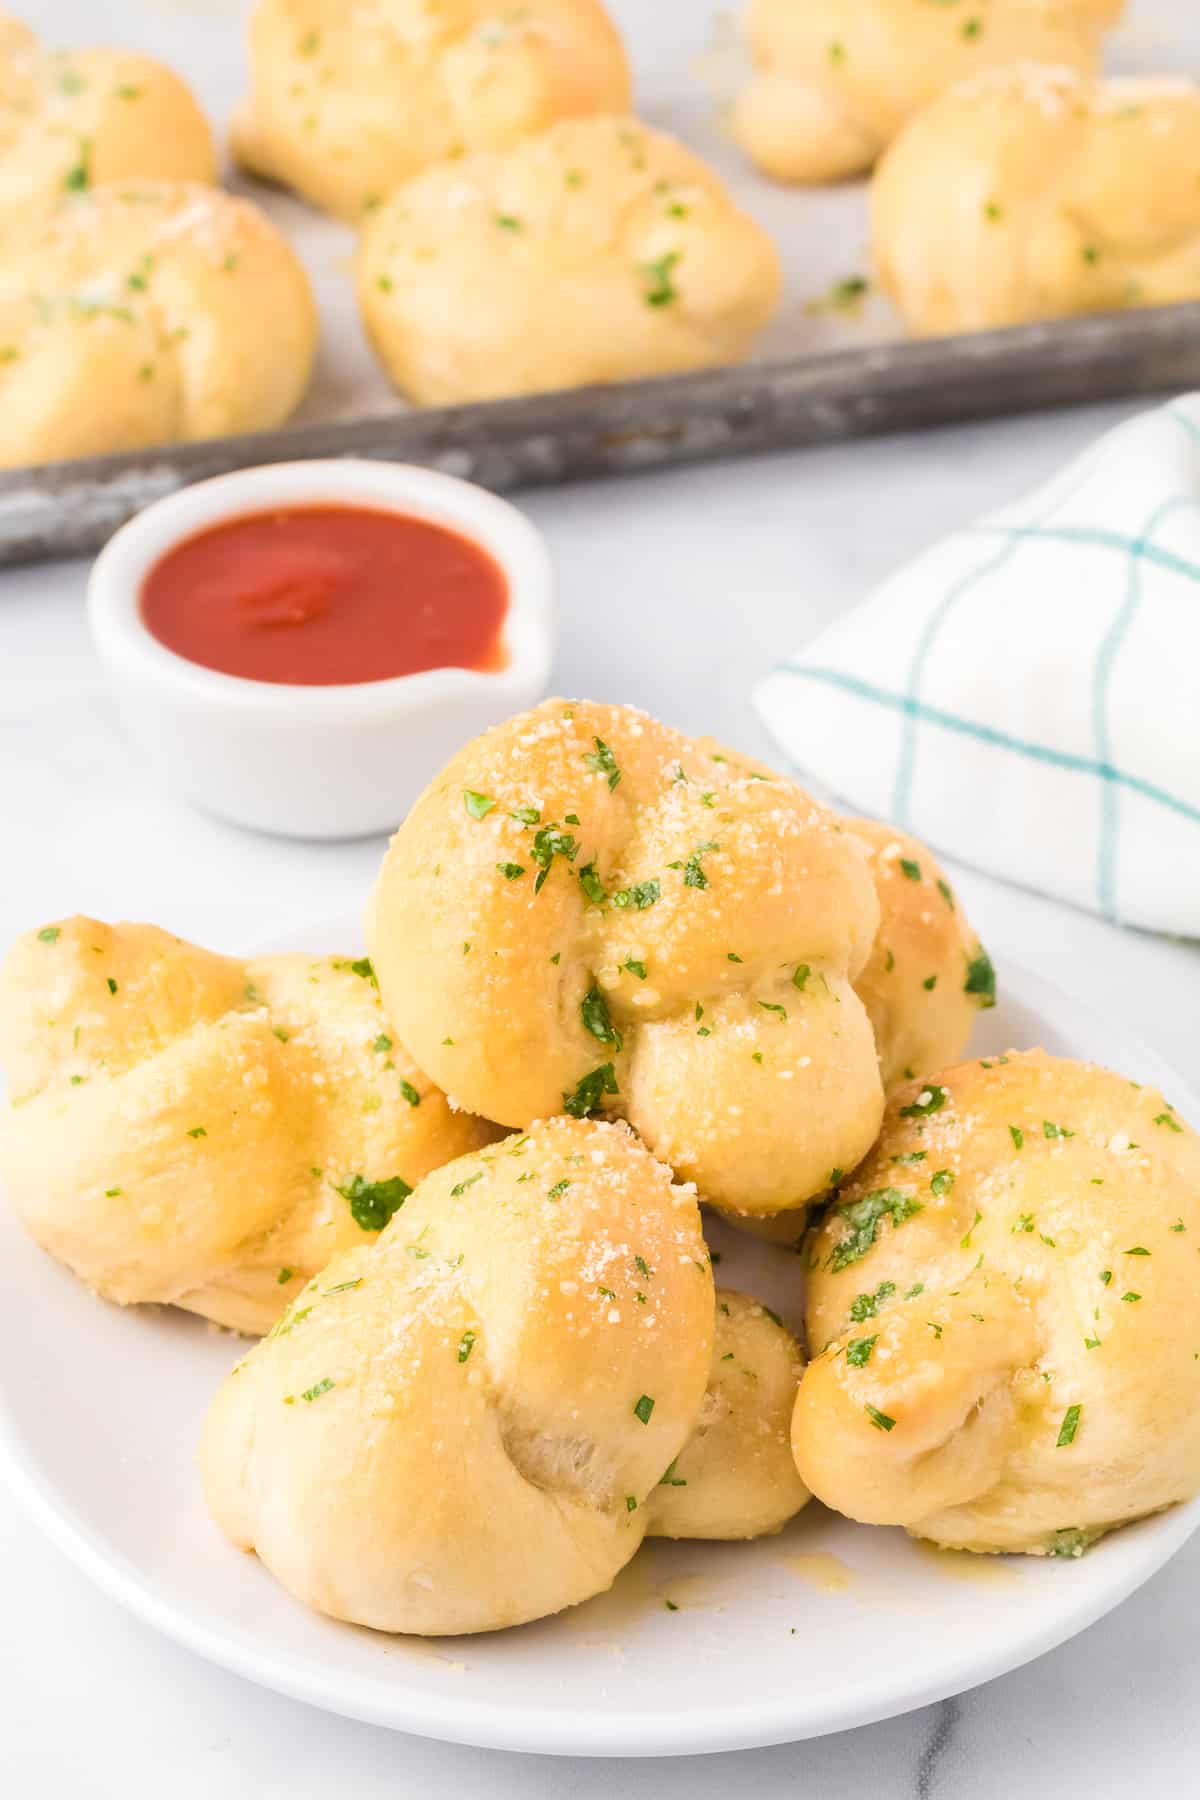
Why We Love Garlic Knots
- Great Side Dish– These delicious garlic knots are perfect with so many dinners, but are a big hit at our house with homemade beef meatballs, meatloaf, pizza night or spaghetti.
- Gooey Fresh From The Oven– Homemade bread of any kind tastes delicious, and this garlic knot recipe is just like garlic bread but feels extra fun to dip. (Your house will smell amazing too!)
- Easy to Double Or Tripple– Making one or three dozen garlic knots is just as easy, and then you’ll have even more fresh knots to go around. This is a great recipe to double, they disappear fast!
Ingredients For Garlic Knots
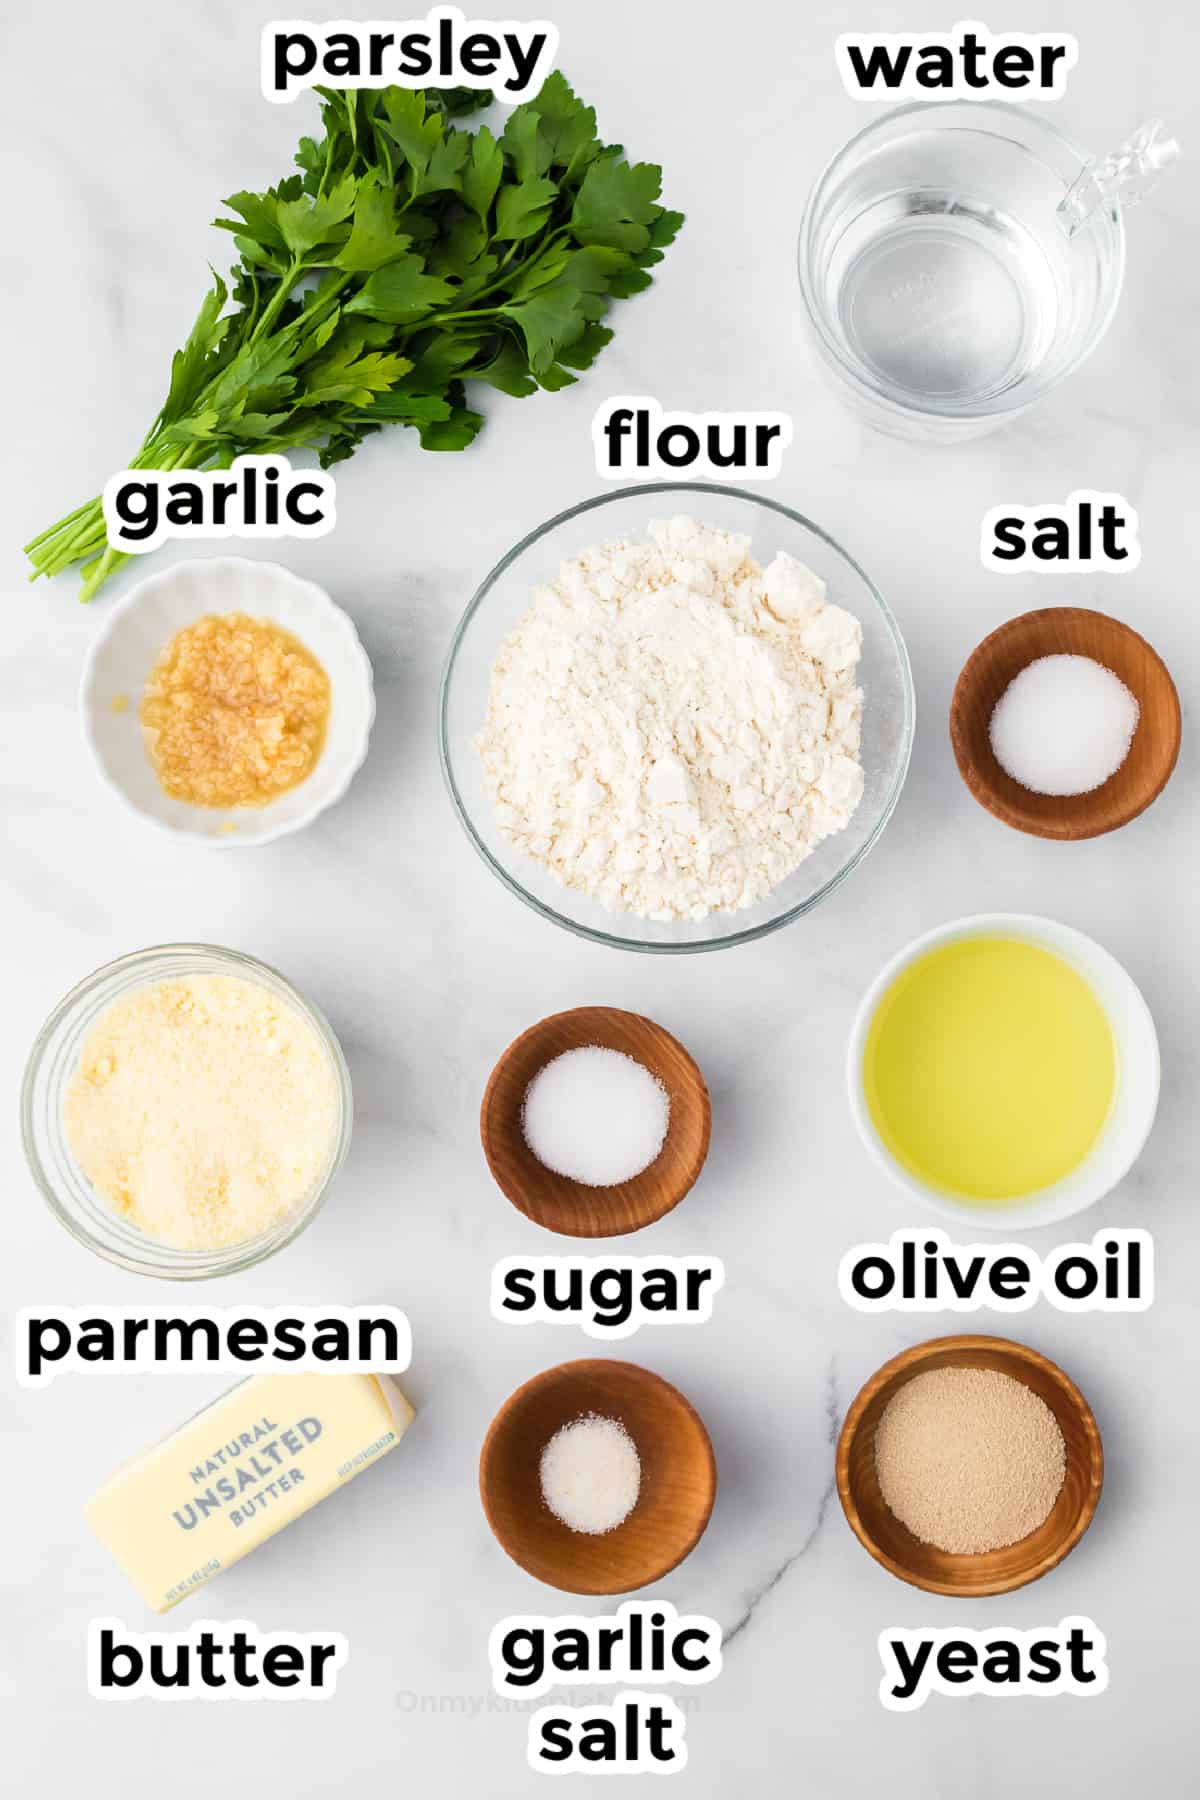
Find the full printable recipe with specific measurements and directions below in the recipe card.
Ingredients For The Dough
- sugar – white granulated
- warm water – should be warm to the touch but not hot
- active dry yeast one packet
- flour – all purpose flour
- salt
- olive oil
Ingredients For The Garlic Topping
- butter unsalted, melted
- minced garlic– or use three cloves of fresh garlic minced well for more garlic flavor
- fresh Italian parsley chopped
- garlic salt
- parmesan cheese – grated
Sometimes I’ll also add 1/2 teaspoon of Italian seasoning in the butter mixture, but it’s totally optional.
I’ve used a variation on my homemade pizza dough recipe with a little extra olive oil in the dough to help give the dough a little more softness. You could make these with store-bought pizza dough to make them a little faster for pizza night.
How To Make Garlic Knots
Proofing The Yeast
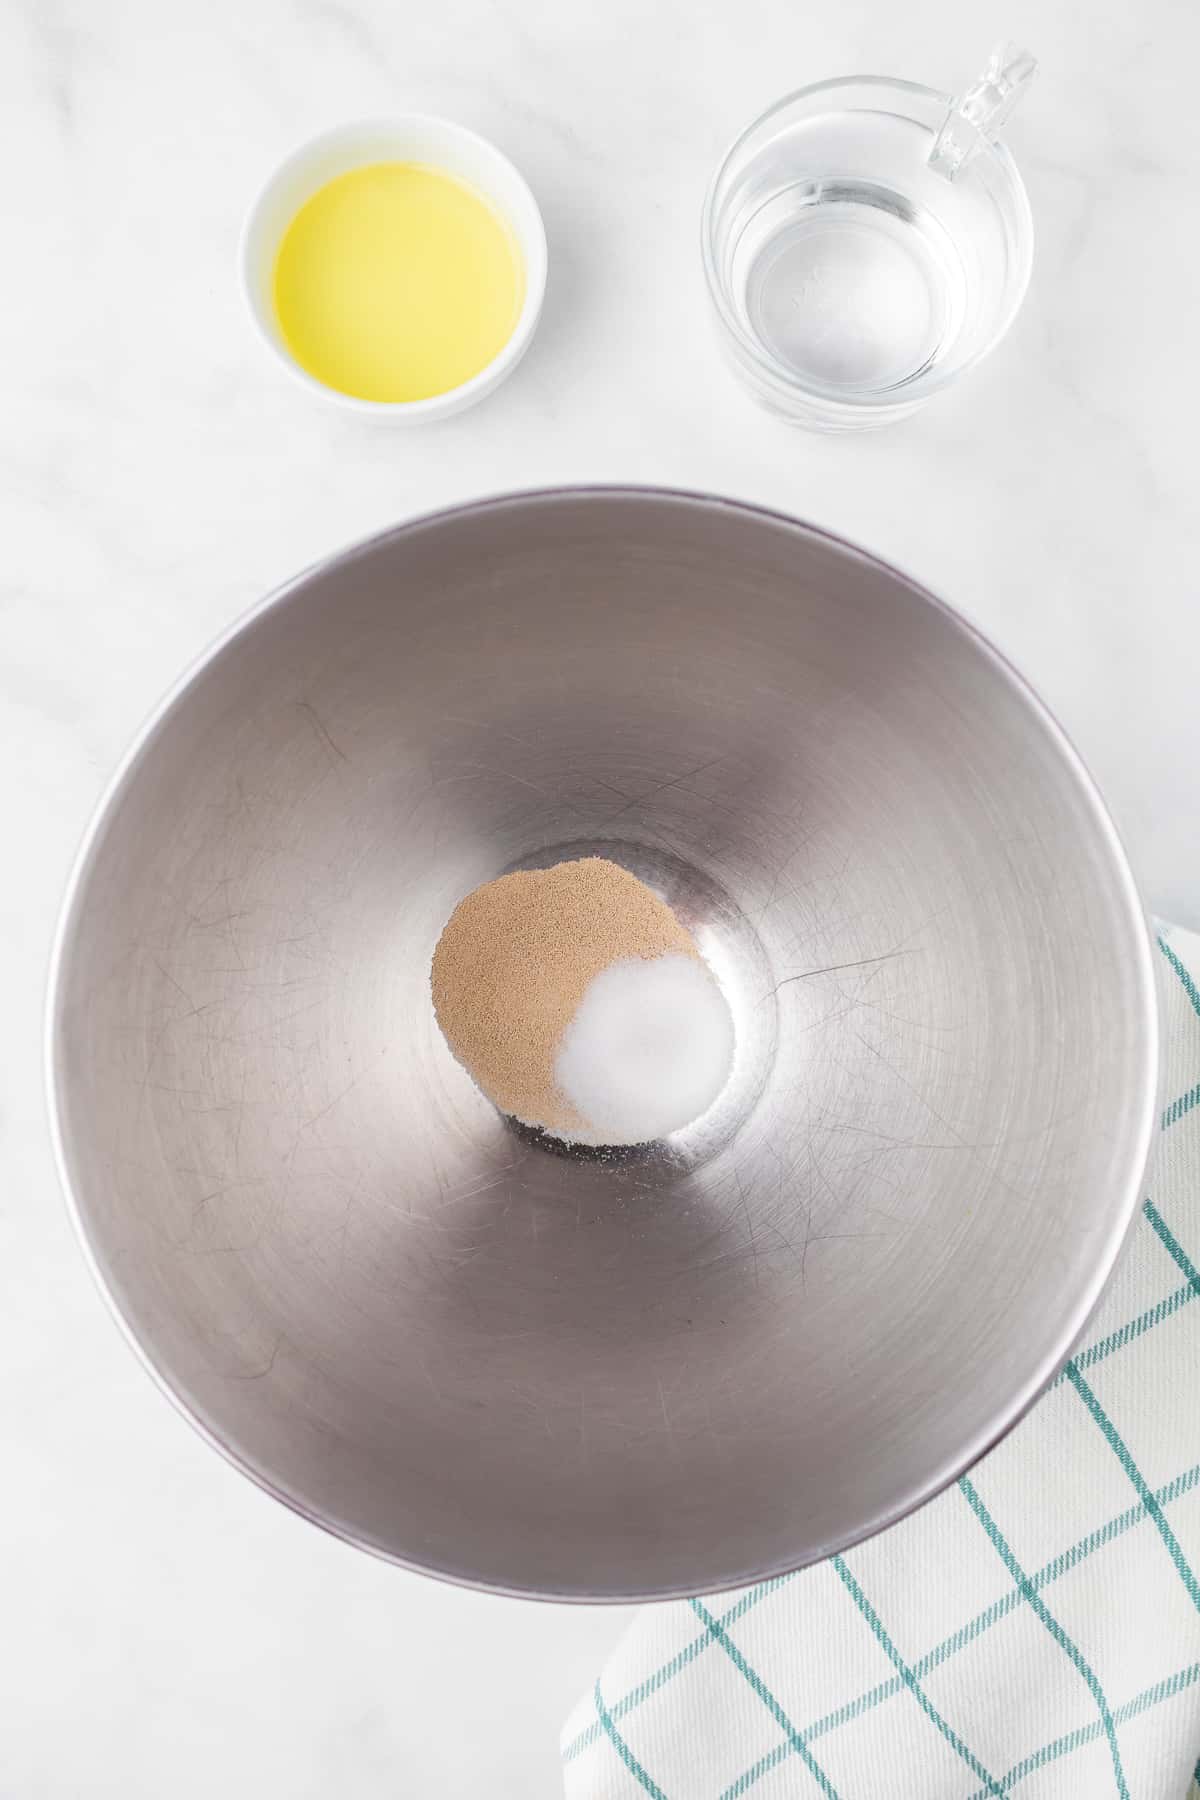
- In a bowl add the sugar, warm water and the active dry yeast (measured or one packet) and stir. This can be done right in the base of a stand mixer or in a separate bowl. The water you use should be warm to the touch, but not super hot or you may kill the yeast.
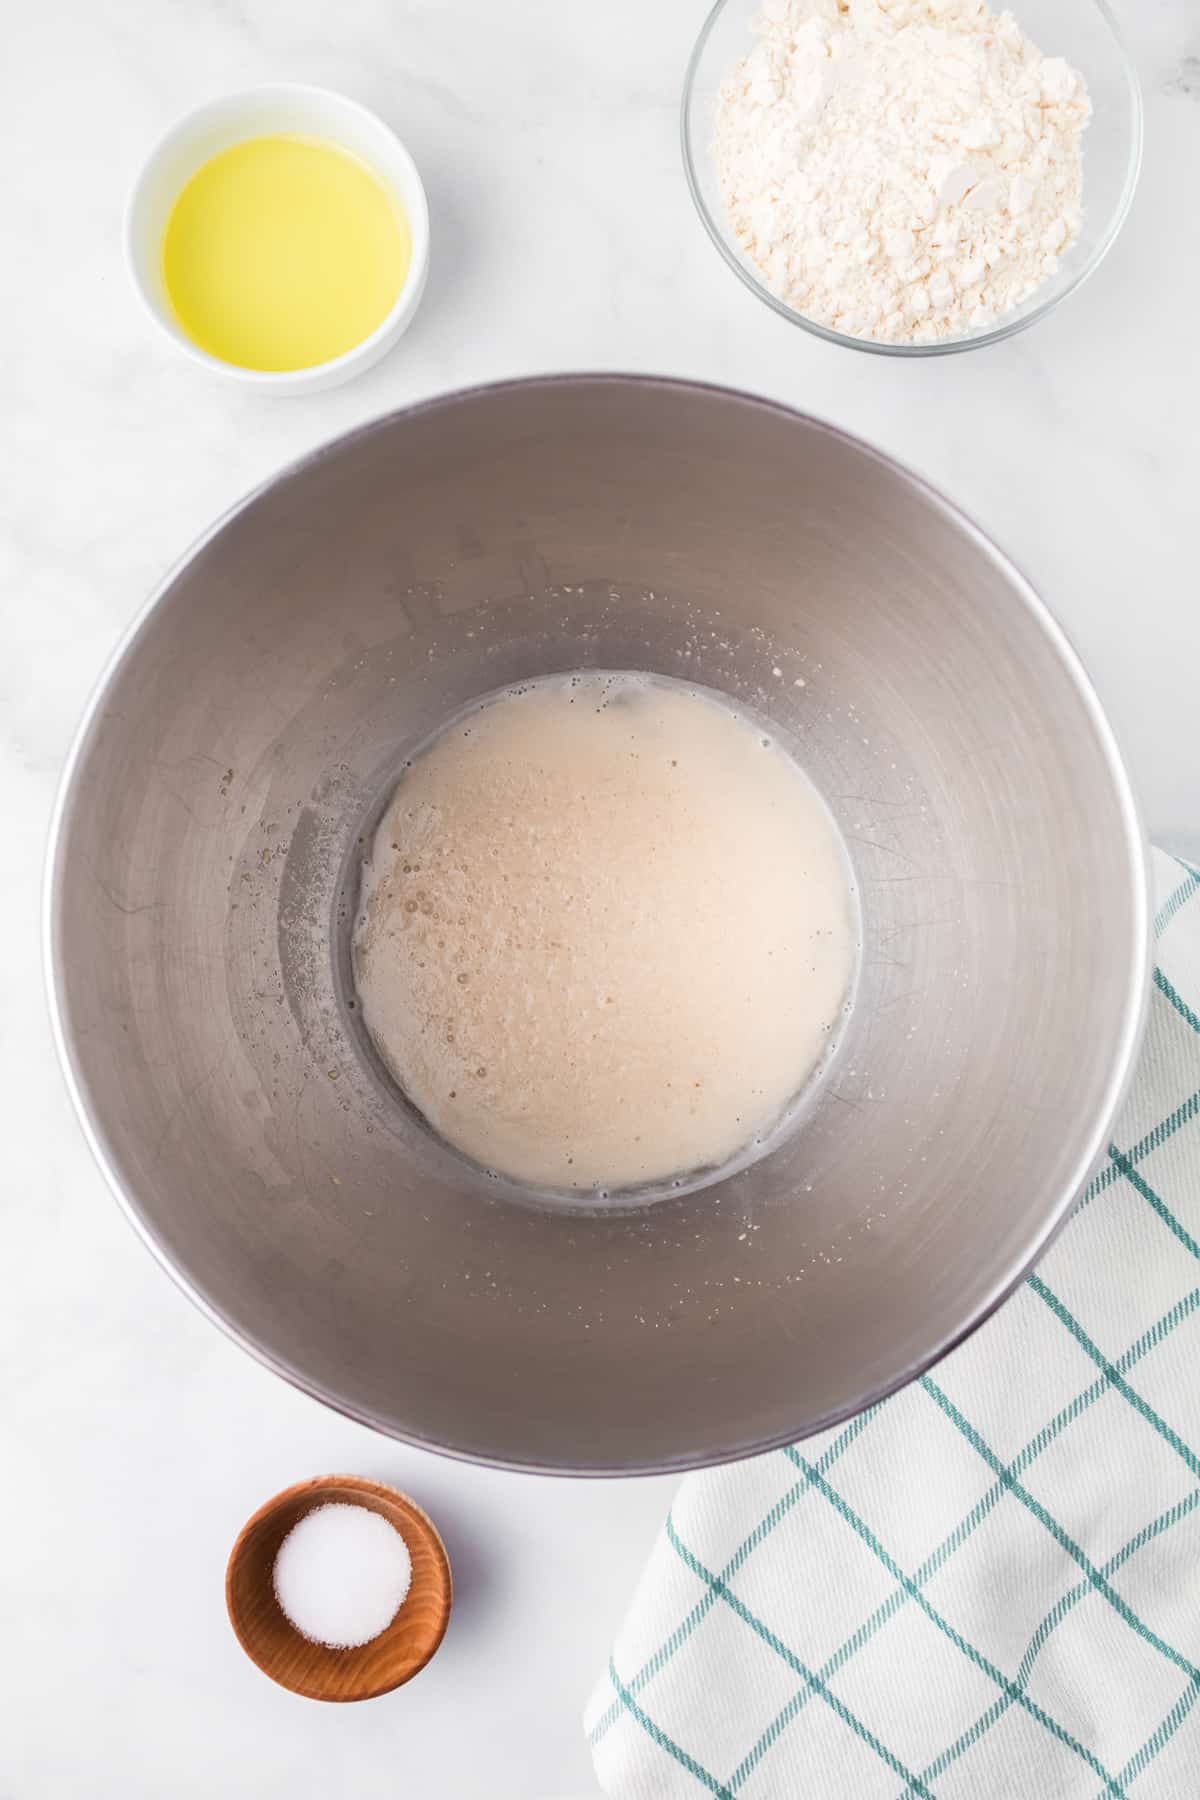
- Allow the yeast to set for 5-10 minutes. This is called proofing, and allows the yeast to begin to grow and expand. Your mixture should turn frothy looking on top, and should smell a bit earthy. If the yeast doesn’t have frothy bubbles on the top after 10 minutes, you may need to try again with new yeast.
Mixing The Garlic Knots Dough
- Mix together the flour and salt. Add the flour mixture and olive oil to the yeast mixture.
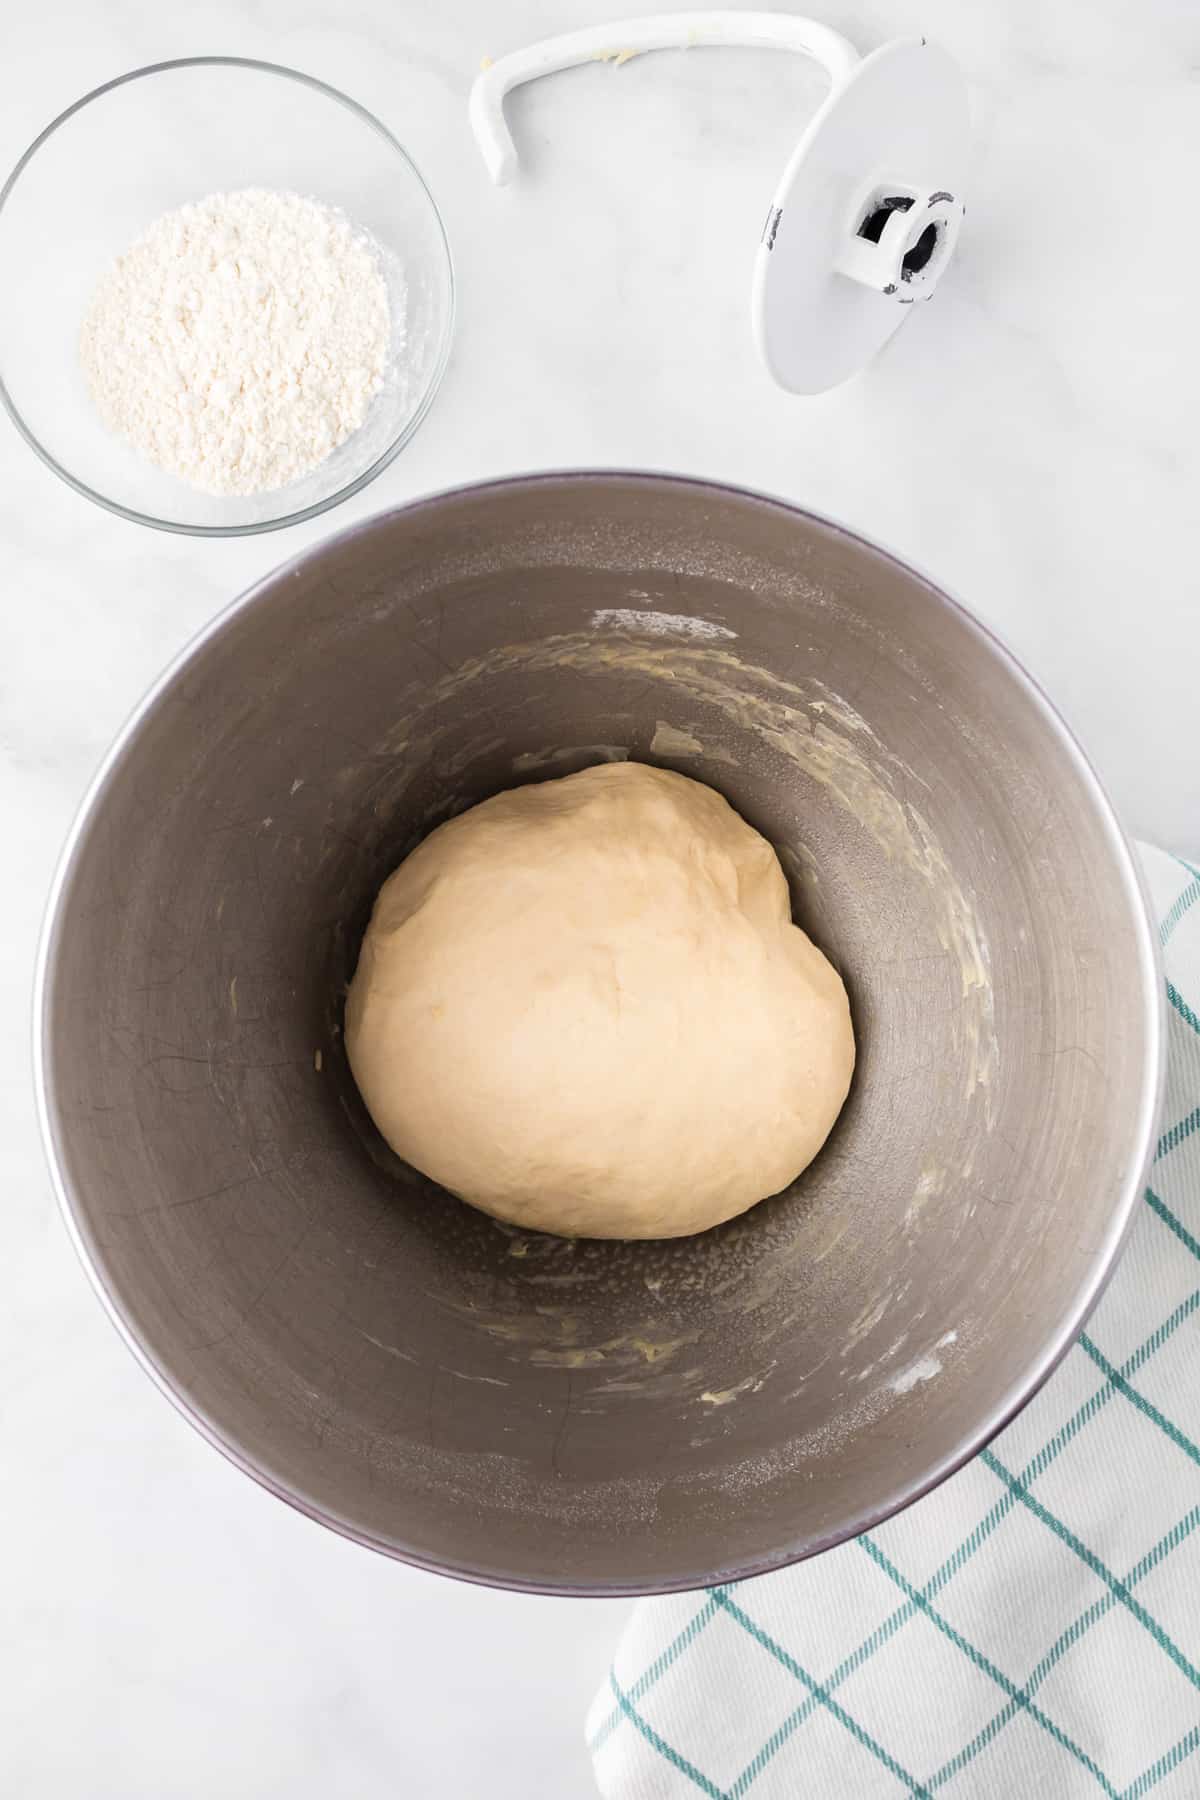
- Using a dough attachment mix until the flour combines, about a minute. Turn the speed up on the mixer to medium and mix for 3-5 minutes. The dough should pull away from the bowl, be stretchy when you pull the dough hook out of the bowl and be smooth.
Letting The Dough Rise
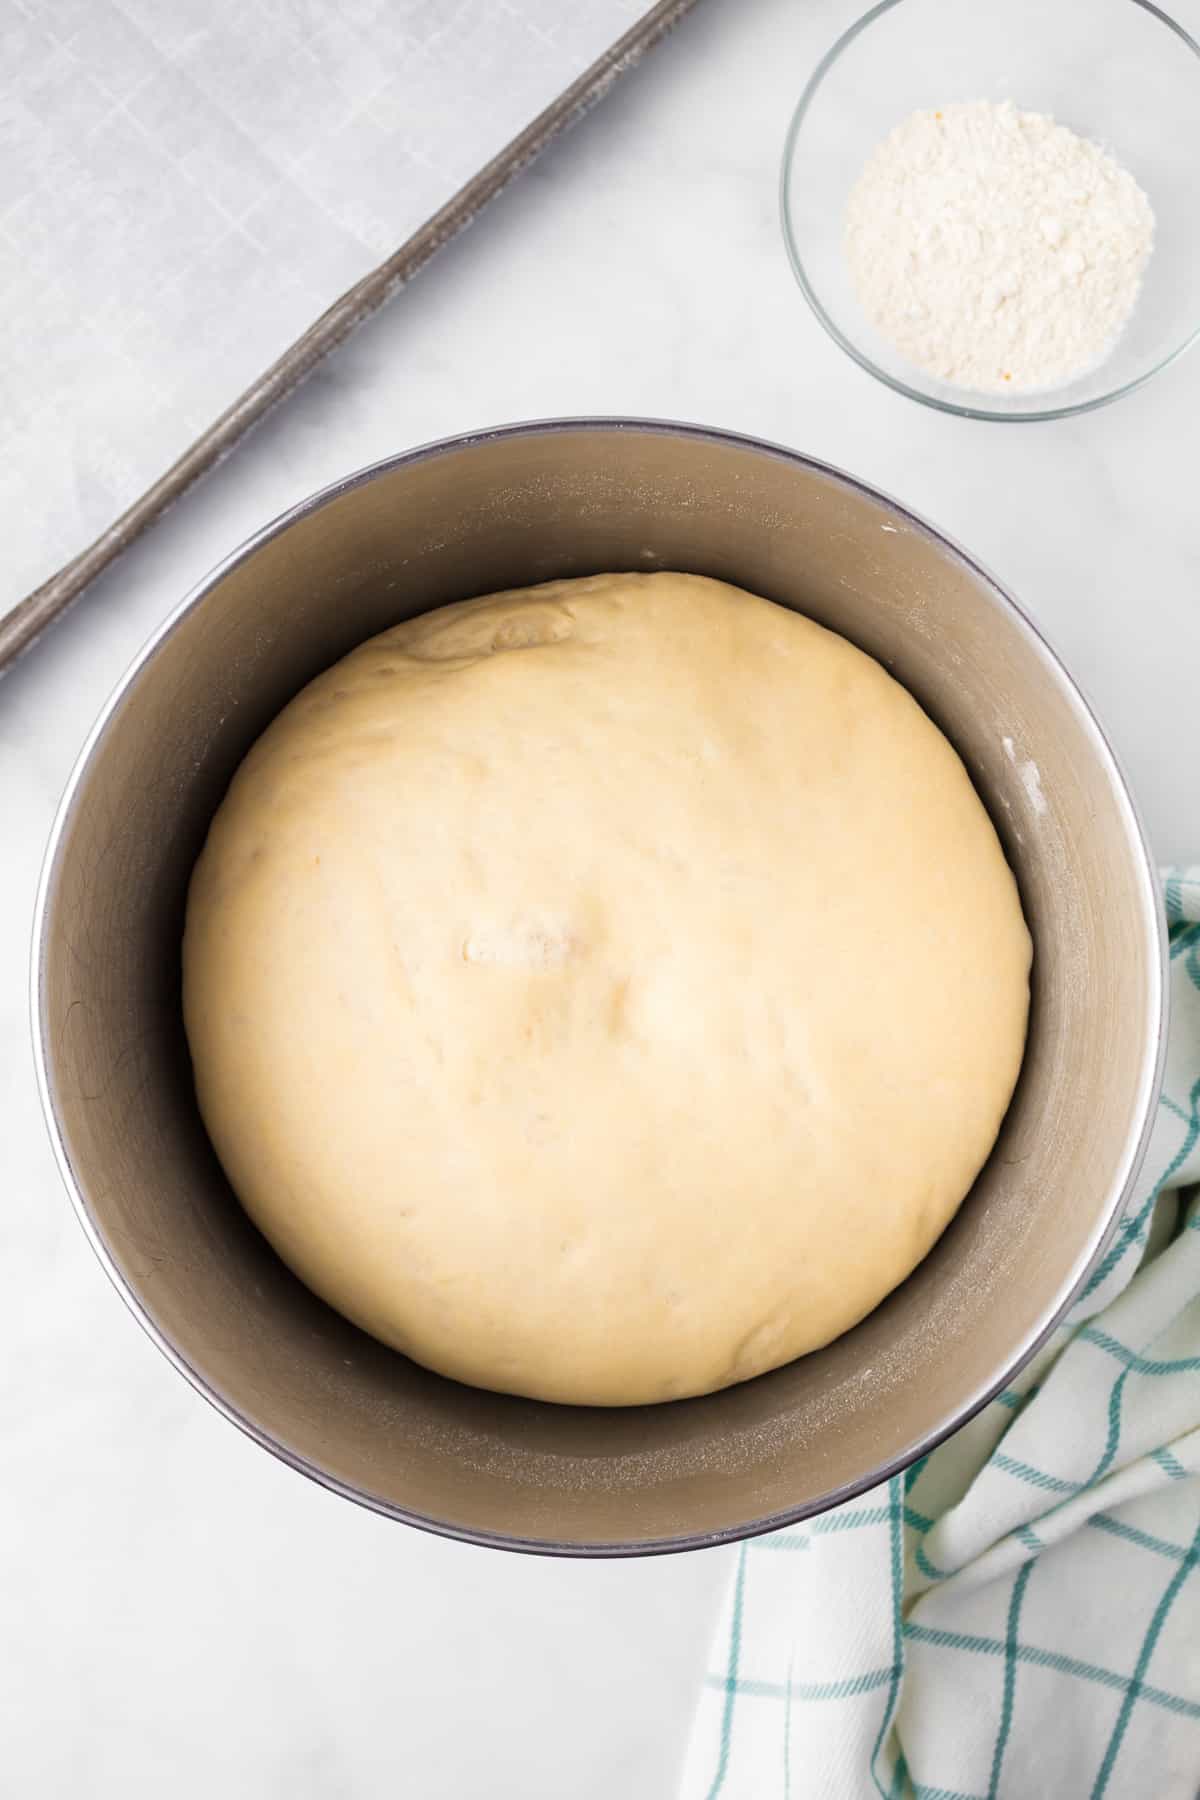
- Oil a large bowl generously. Transfer the dough to the bowl and cover with a clean kitchen towel. Place the dough in a warm place to allow it to rise for 50 minutes or until doubled.
Shaping The Dough
- Prepare a baking sheet using parchment paper or a light spray of oil.
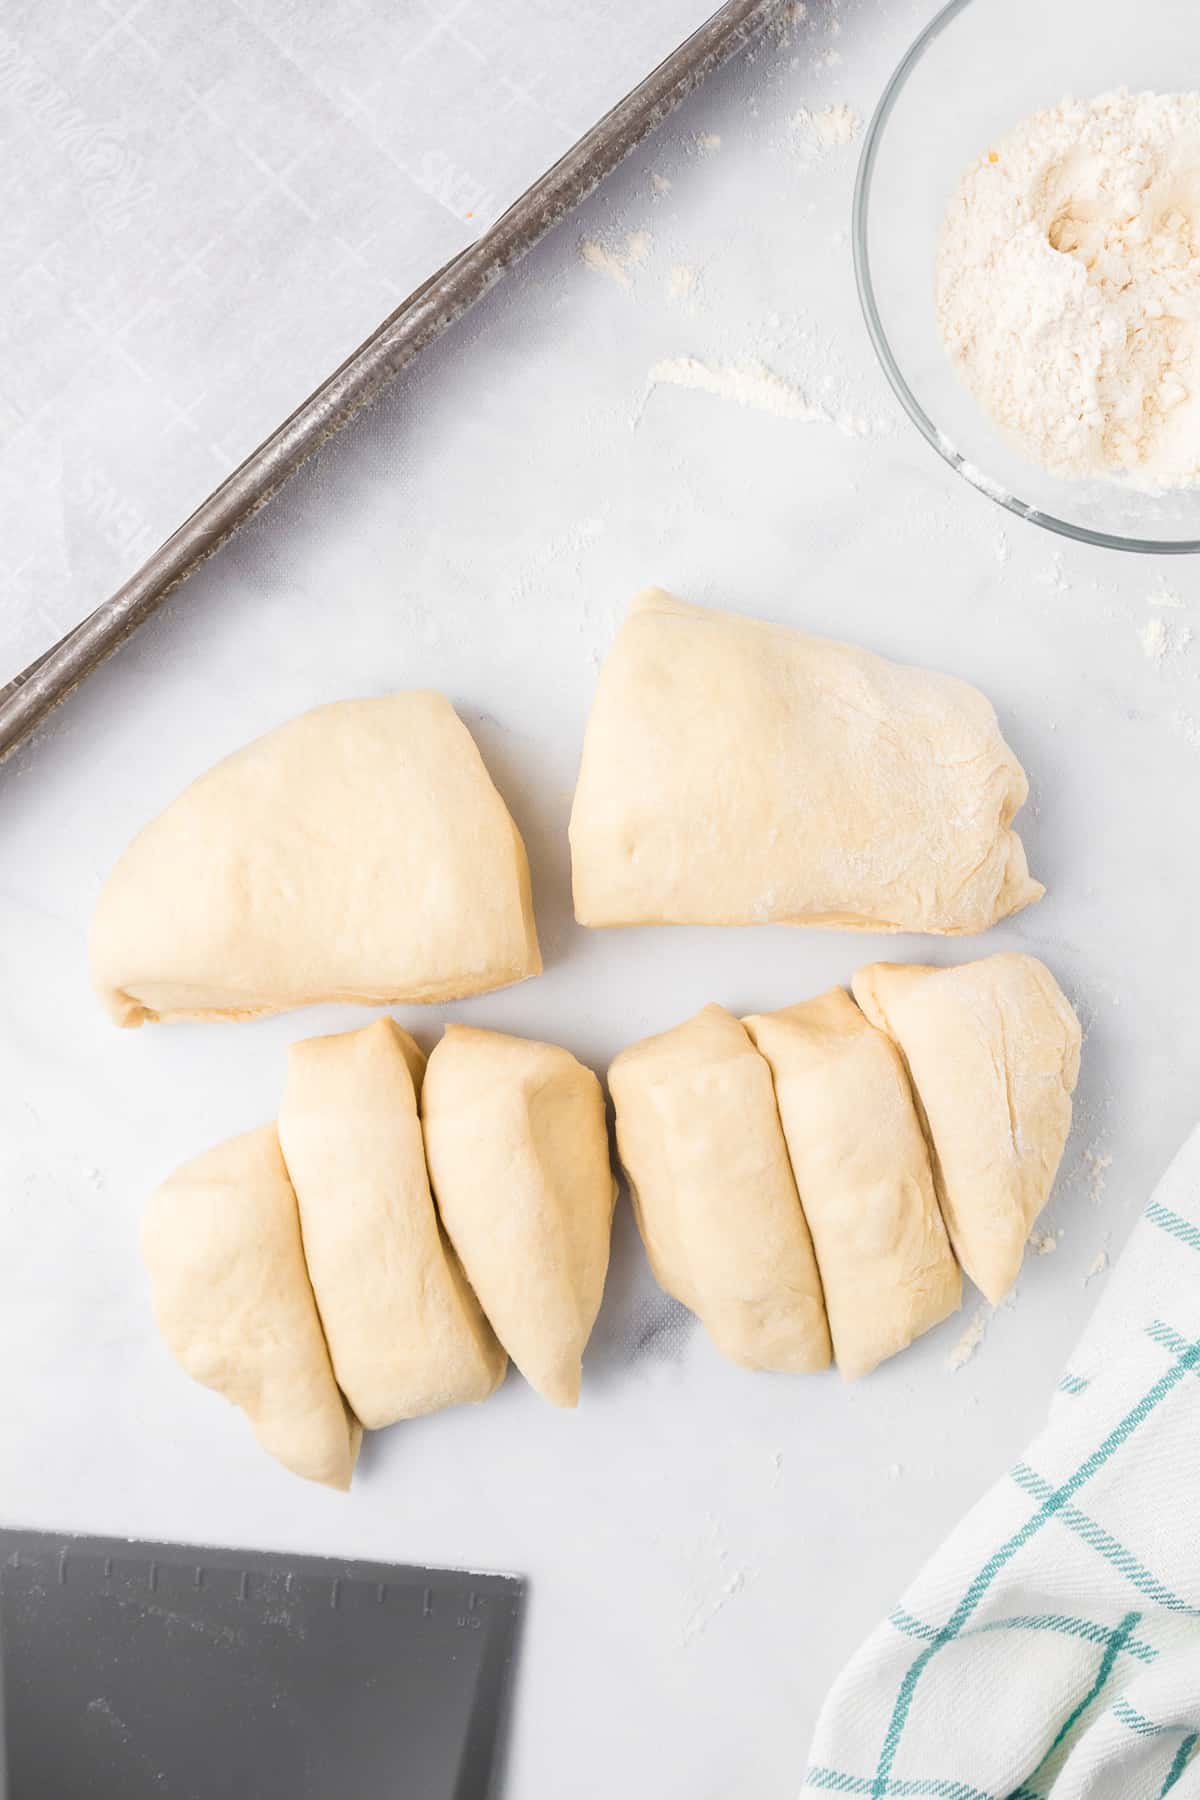
- Add a light sprinkle of flour to a clean surface and to the dough and knead 3-4 times. Divide the dough into 12 equal pieces on the lightly floured surface with a sharp knife or pizza cutter.
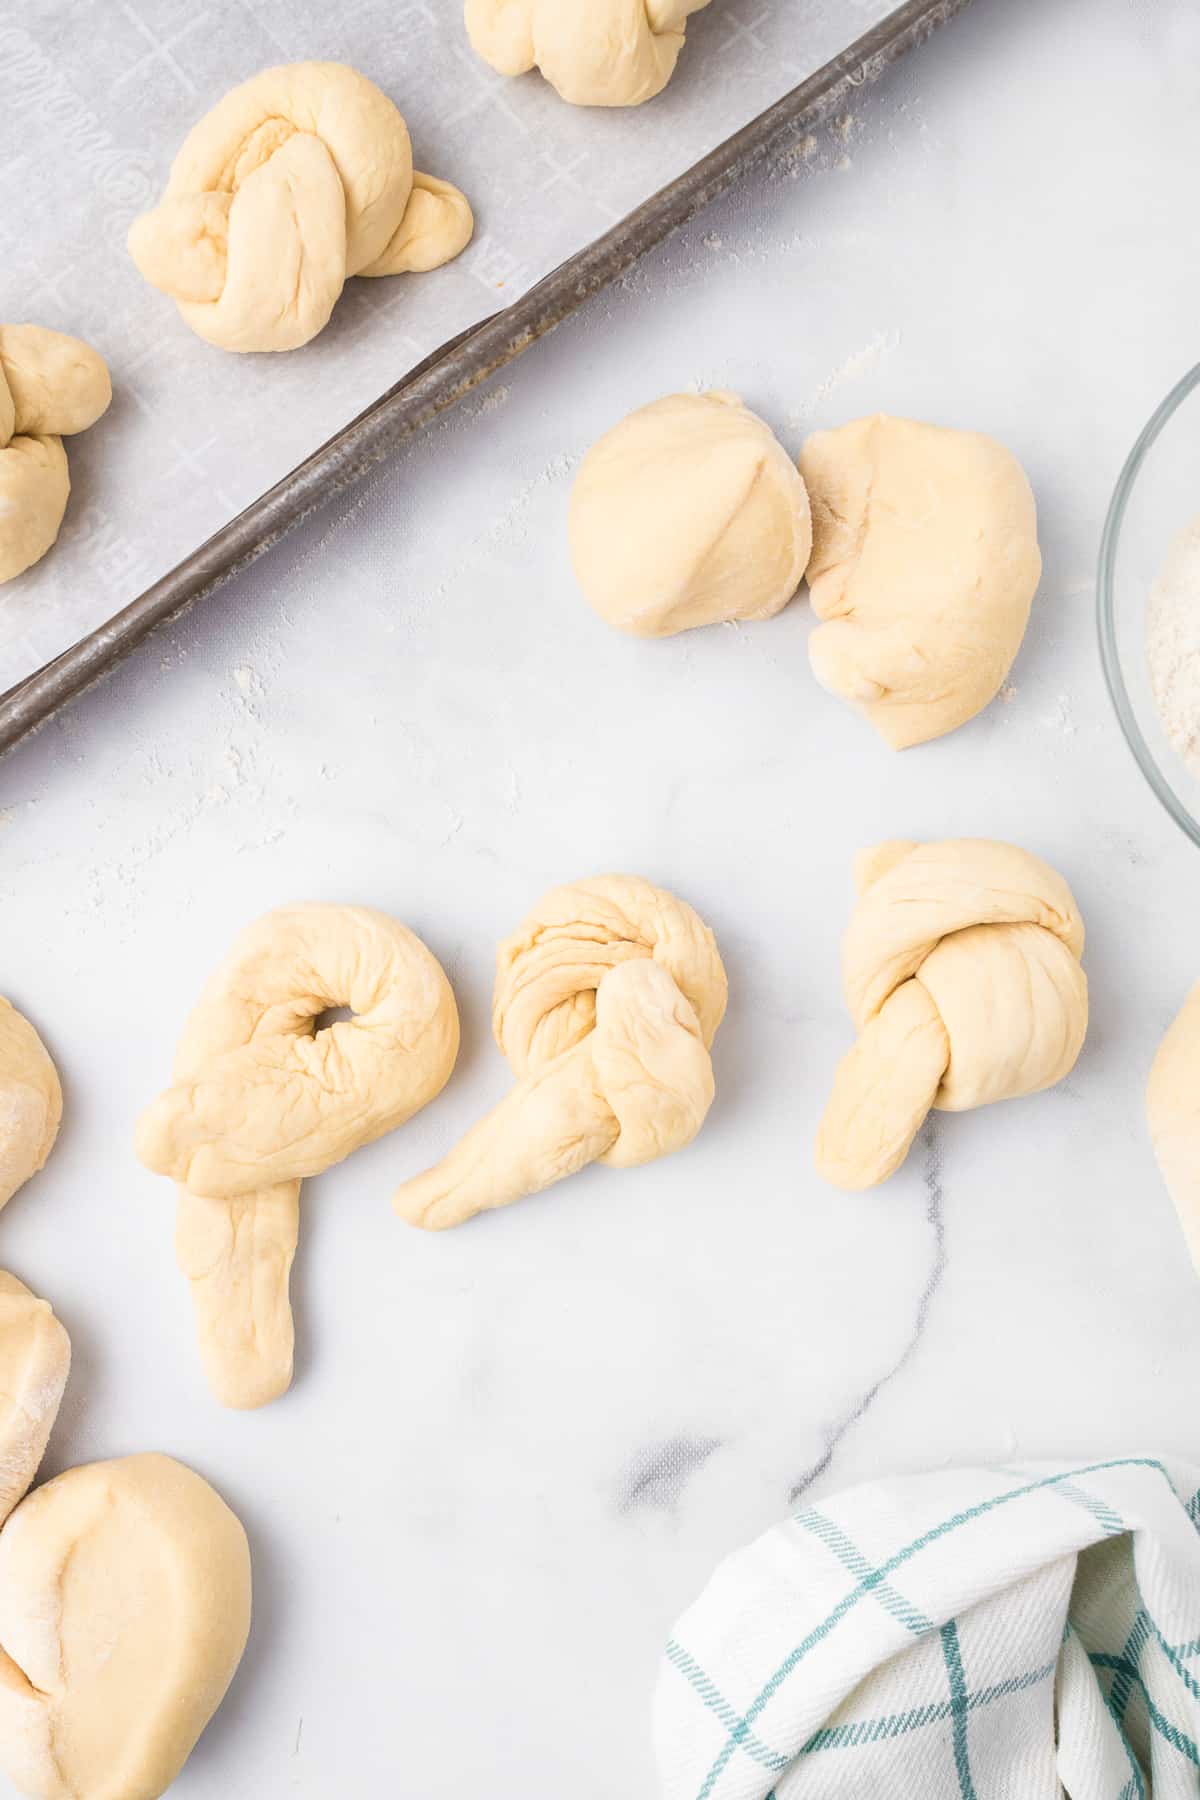
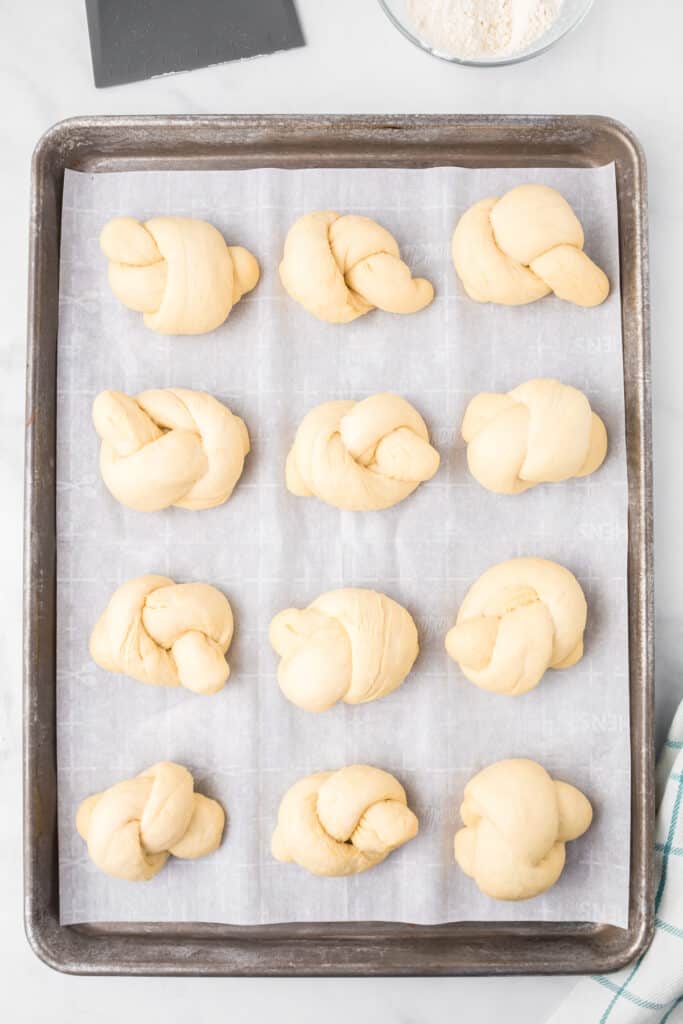
- Roll each ball into an 8-inch rope. Tie each long rope into a knot and place on a parchment-lined baking sheet.
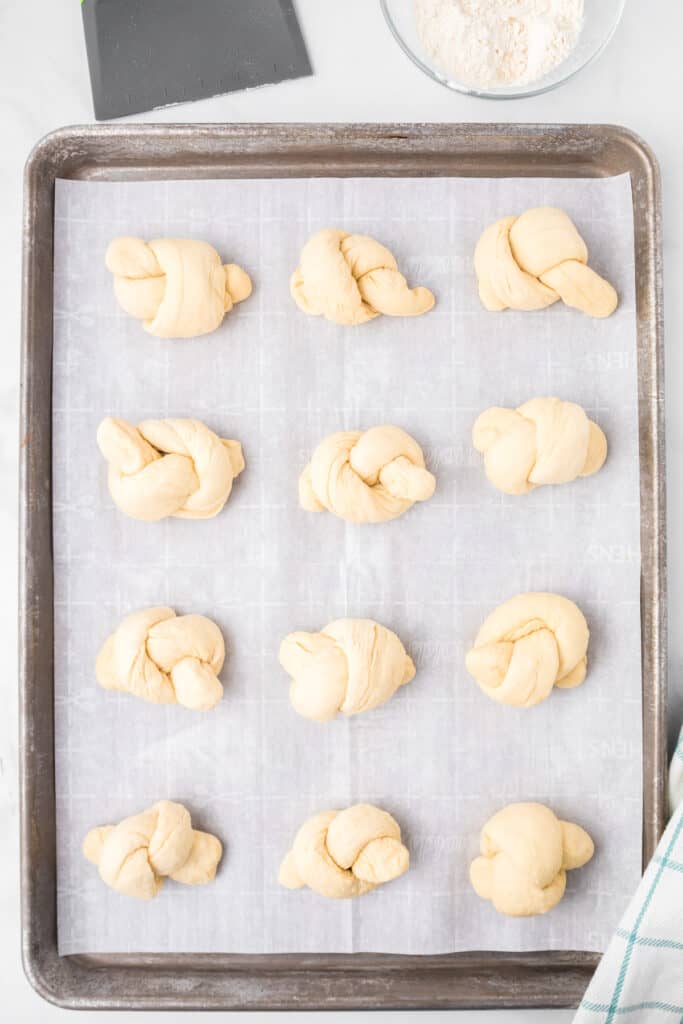
- Preheat the oven to 400 degrees. Cover with plastic wrap and let rise for 30 minutes.
Baking The Garlic Knots
- Bake the garlic knots at 400 for 20-25 minutes or until lightly browned.
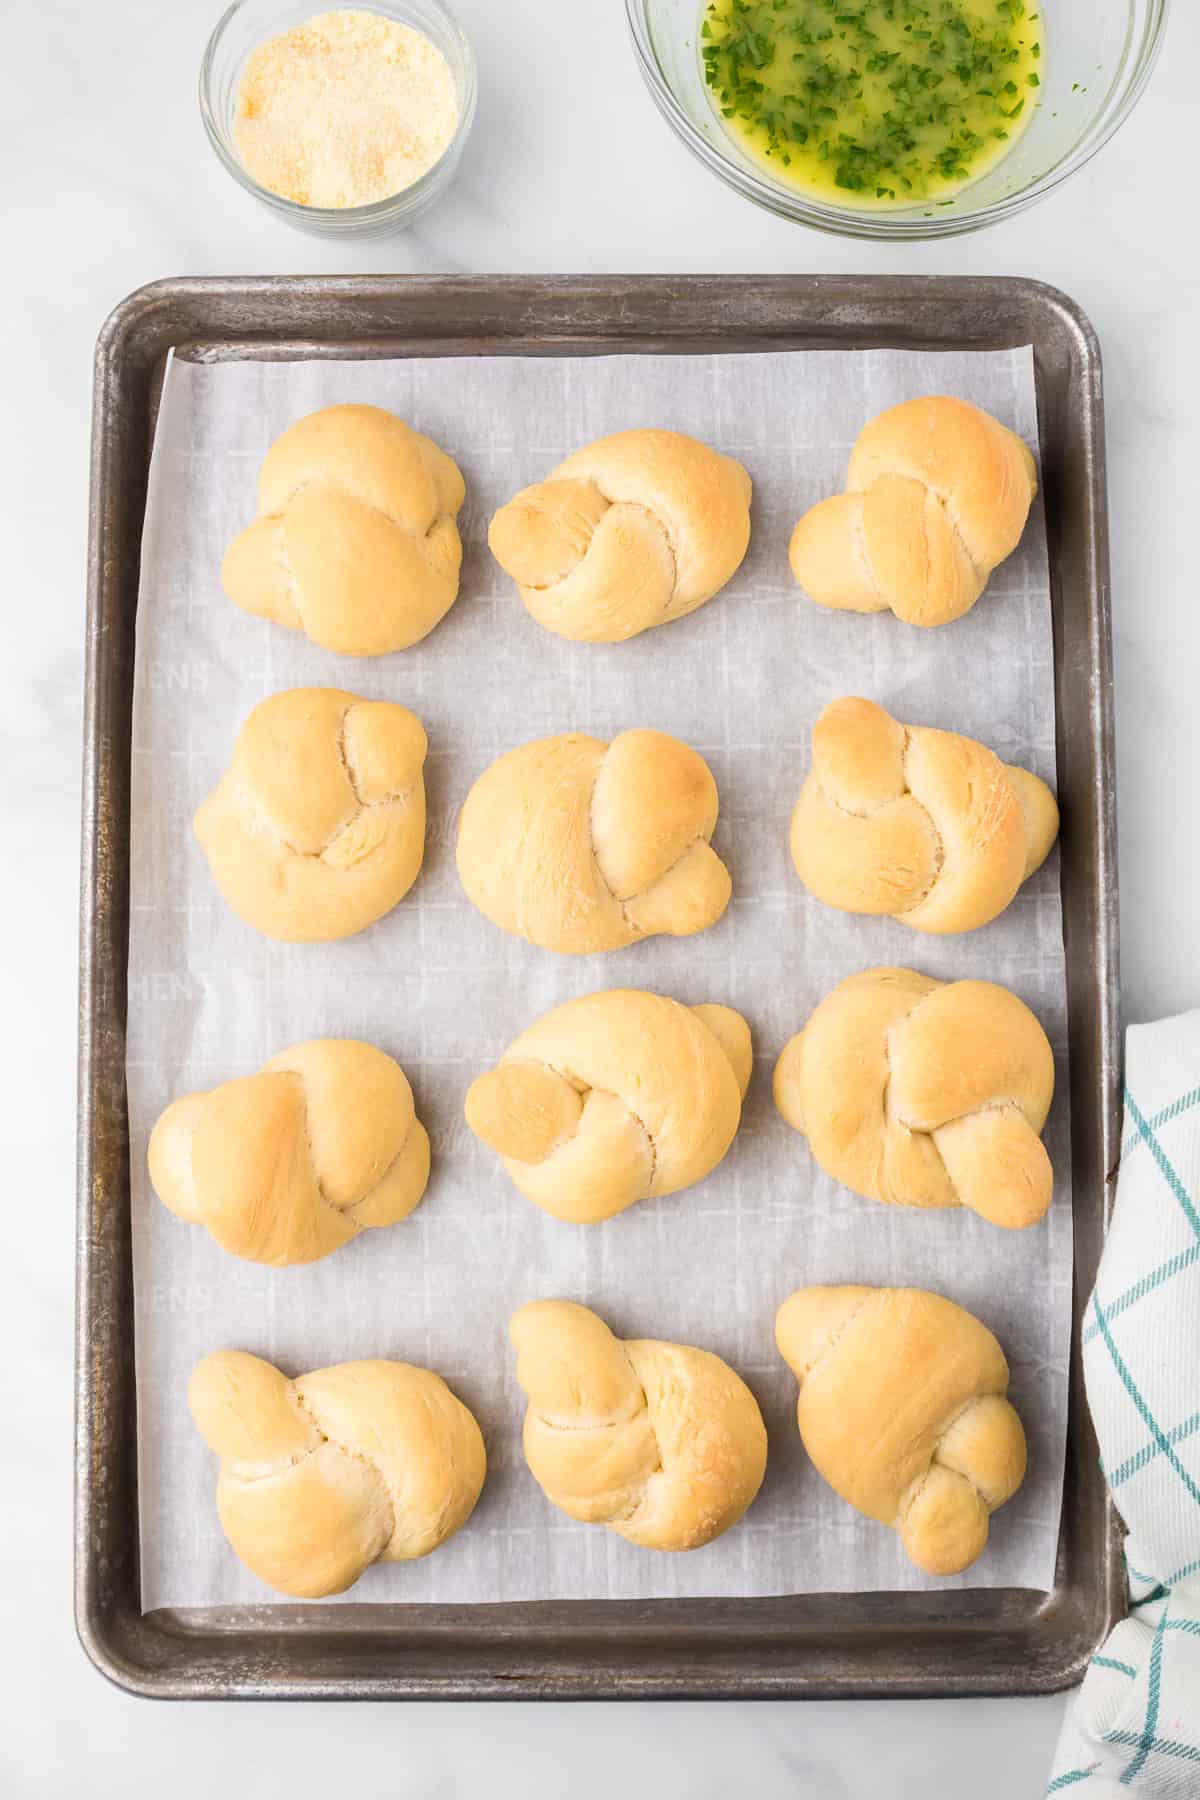
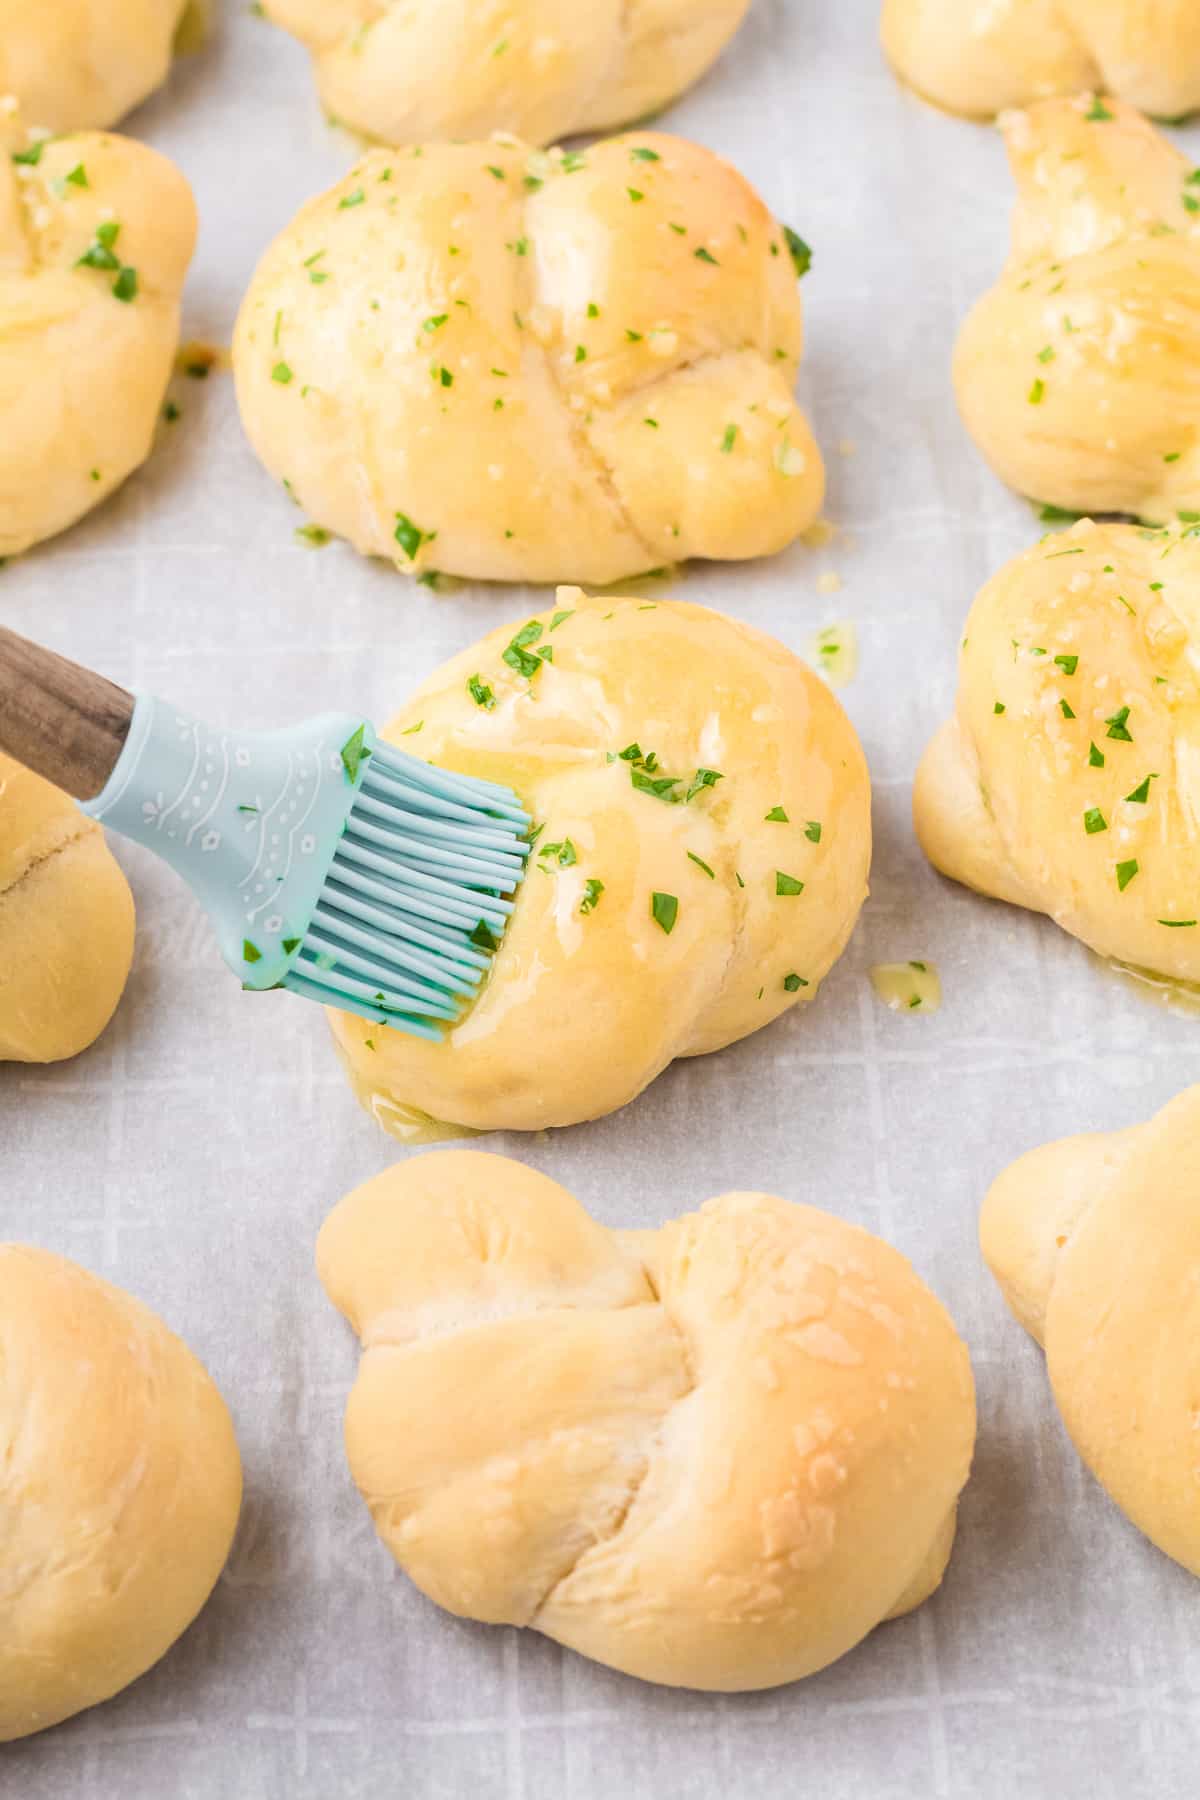
- While the garlic knots bake, mix together melted butter, garlic, and parsley. Brush butter mixture on freshly baked knots when they are warm from the oven. Sprinkle with grated parmesan. Enjoy!
Can I Skip The Sugar?
You can not remove the sugar from this recipe. The sugar in this recipe isn’t for taste, it’s to feed the yeast to make sure the dough rises properly.
Sometimes people who are new to baking think they can leave the sugar out of a recipe like this. If you remove the sugar, the yeast will have nothing to feed on and the rolls likely won’t rise.
How Do I Knead The Dough?
Knead the dough just a few times by gently stretching the ball of dough. Folding it in half and then dig the heels of your hand into the dough, then repeat. This kneading process is important to make the garlic knots fluffy.
How Do I Know If The Dough Has Been Kneaded Enough?
These are a couple things that can help you determine if your pizza dough has been kneaded enough.
- The dough will be smooth– When the dough is stretchy enough the top of the dough will look smooth but also will still be slightly tacky to the touch.
- Poke it! – Another way to check your dough is to poke it gently! If the dough bounces back it is usually ready if it is also a smooth dough.
How Long Does this Dough Last In The Fridge?
This dough will typically last for about three days in the fridge but can sometimes last as long as a five day shelf life when refrigerated. The dough is the best quality if you use it within 48 hours.
Store dough tightly wrapped in saran wrap or in an airtight container to keep it fresh and from drying out.
Signs Your Dough Went Bad
These are obvious signs of bacterial growth and the dough should be thrown away.
- You can tell if homemade dough has gone bad if it feels dry or if the texture seems really off and is not stretchy.
- If the dough itself has started to turn a grey color instead of a beige-brown it may bad.
- Or if the dough has whiteish spots that are not flour.
Your Homemade Dough May Go Bad If… What To Avoid!
It’s a sad day to let any homemade dough go bad, but here are a few reasons to avoid of why your homemade dough may have gone bad.
- Your yeast is bad or expired so it won’t rise
- You killed the yeast by making the water too hot or used cold water and it couldn’t rise. The water should be warm to the touch but not hot.
- You left the dough in the fridge for more than three days or it developed whitish spots that are not flour.
- You didn’t cover the dough tightly and it dried out
Commercial premade dough have other additives and preservatives that can make it last longer. This is why the manufacturing date is sometimes longer than fresh dough.
Can I Freeze The Dough?
Yes you can place this pizza dough recipe in a freezer bag to avoid freezer burn (or visible freezer crystals) for up to three months. Beyond three months you risk killing the yeast and the dough may not rise. Allow the pizza dough to fully defrost and come to room temperature before attempting to stretch it.
Once the dough has been frozen and defrosted you can not refreeze it a second time, the dough will not cook properly as this can destroy the fermentation process (which is what causes the dough to rise and be stretchy.)
Can I Substitute Rapid Yeast Or Instant Yeast For Active Dry Yeast?
Yes, you can substitute with instant yeast in this recipe interchangeably. Not all baking recipes can you substitute one for one, but you can sub substitute for this pizza dough. Find out more about the differences between different kinds of yeast here.
How Long Will Garlic Knots Last?
Expect the garlic knots to last 3-4 days when stored in an airtight container in the refrigerator. Warm before eating for the best flavor. Garlic knots will taste their freshest if eaten in the first 24-48 hours.
Other Delicious Recipes You’ll Love
Homemade Pepperoni Pizza (With Fresh Dough!)
Easy Italian Wedding Soup
Easy Classic Italian Pasta Salad

Garlic Knots
Ingredients
For The Dough
- 1 teaspoon sugar granulated
- 1 cup warm water should be warm to the touch but not hot
- 2 1/4 teaspoons active dry yeast one packet
- 2 ½ cups flour
- 1 teaspoon salt
- 2 tablespoons olive oil
For The Garlic Topping
- 6 tablespoons butter unsalted, melted
- 1 tablespoon garlic minced, or 3 garlic cloves minced
- 1 tablespoon Italian parsley chopped, fresh
- ¼ teaspoon garlic salt
- ¼ cup parmesan cheese grated
Instructions
Proofing The Yeast
- In a bowl add the sugar, warm water and the active dry yeast (measured or one packet) and stir. This can be done right in the base of a stand mixer or in a separate bowl. The water you use should be warm to the touch, but not super hot or you may kill the yeast.
- Allow the yeast to set for 5-10 minutes. This is called proofing, and allows the yeast to begin to grow and expand. Your mixture should turn frothy looking on top, and should smell a bit earthy. If the yeast doesn’t have frothy bubbles on the top after 10 minutes, you may need to try again with new yeast.
Mixing The Garlic Knots Dough
- Mix together the flour and salt. Add the flour mixture and olive oil to the yeast mixture.
- Using a dough attachment mix until the flour combines, about a minute. Turn the speed up on the mixer to medium and mix for 3-5 minutes. The dough should pull away from the bowl, be stretchy when you pull the dough hook out of the bowl and be smooth.
Letting The Dough Rise
- Oil a bowl generously. Transfer the dough to the bowl and cover with a clean kitchen towel. Place the dough in a warm place to allow it to rise for 50 minutes or until doubled.
Shaping The Dough
- Prepare a baking sheet using parchment paper or a light spray of oil.
- Add a light sprinkle of flour to a clean surface and to the dough and knead 3-4 times. Divide the dough into twelve equal pieces on the lightly floured surface with a sharp knife or pizza cutter.
- Roll each ball into an eight inch rope. Tie each long rope into a knot and place on a parchment lined baking sheet.
- Preheat the oven to 400 degrees. Cover with plastic wrap and let rise for 30 minutes.
Baking The Garlic Knots
- Bake the garlic knots at 400 for 20-25 minutes or until lightly browned.
- While the garlic knots bake, mix together melted butter, garlic, and parsley. Brush the butter mixture on freshly baked knots when they are warm from the oven. Sprinkle with grated parmesan. Enjoy!
Notes
- If you are unsure about the temperature of your water, think of the water being about the same temperature as a warm bath when you touch it. If you’re checking your water with a thermometer, it should be about 110 degrees.
- If you don’t have a stand mixer or food processor with a dough attachment, you can mix the dough by hand but it takes longer. Expect when mixing in the flour mixture into the dough to knead the dough for at least five to seven minutes. This ensures that the flour is fully combined and the dough becomes stretchy and elastic. If the dough feels too sticky after kneading for several minutes you can add a little more flour, usually between a teaspoon and a tablespoon at a time.
- When you’re letting the dough rise, if you are mixing in a stand mixer you can let the dough rise right in the bowl. Remove the dough from the stand mixer after mixing, oil the bowl with olive oil, then add the dough back to the bowl. Cover with a kitchen towel and let the dough rise in a warm place for 30 minutes.
- After the first 30 minute rise, you can cover with plastic wrap or put it in a zip top bag to store in the fridge if you are prepping ahead..
- Sometimes I’ll also add 1/2 teaspoon of Italian seasoning in the butter mixture, but it’s totally optional.
- Easily double or triple this recipe by hitting the 2x or 3x button, and the ingredient amounts will double or triple for you.
Nutrition
Did You Make This?
I would love to see it! Share your thoughts with me in the comments below!

