Vanilla Chocolate Chip Ice Cream (No Churn!)
*This post may contain affiliate links. See our affiliate policy here.
You only need four ingredients to make this creamy vanilla chocolate chip ice cream. No churning or ice-cream maker needed to make your own ice cream! Mix together all the flavors for delicious vanilla ice cream full of delicious vanilla flavor and packed full of chocolate chips in every bite.
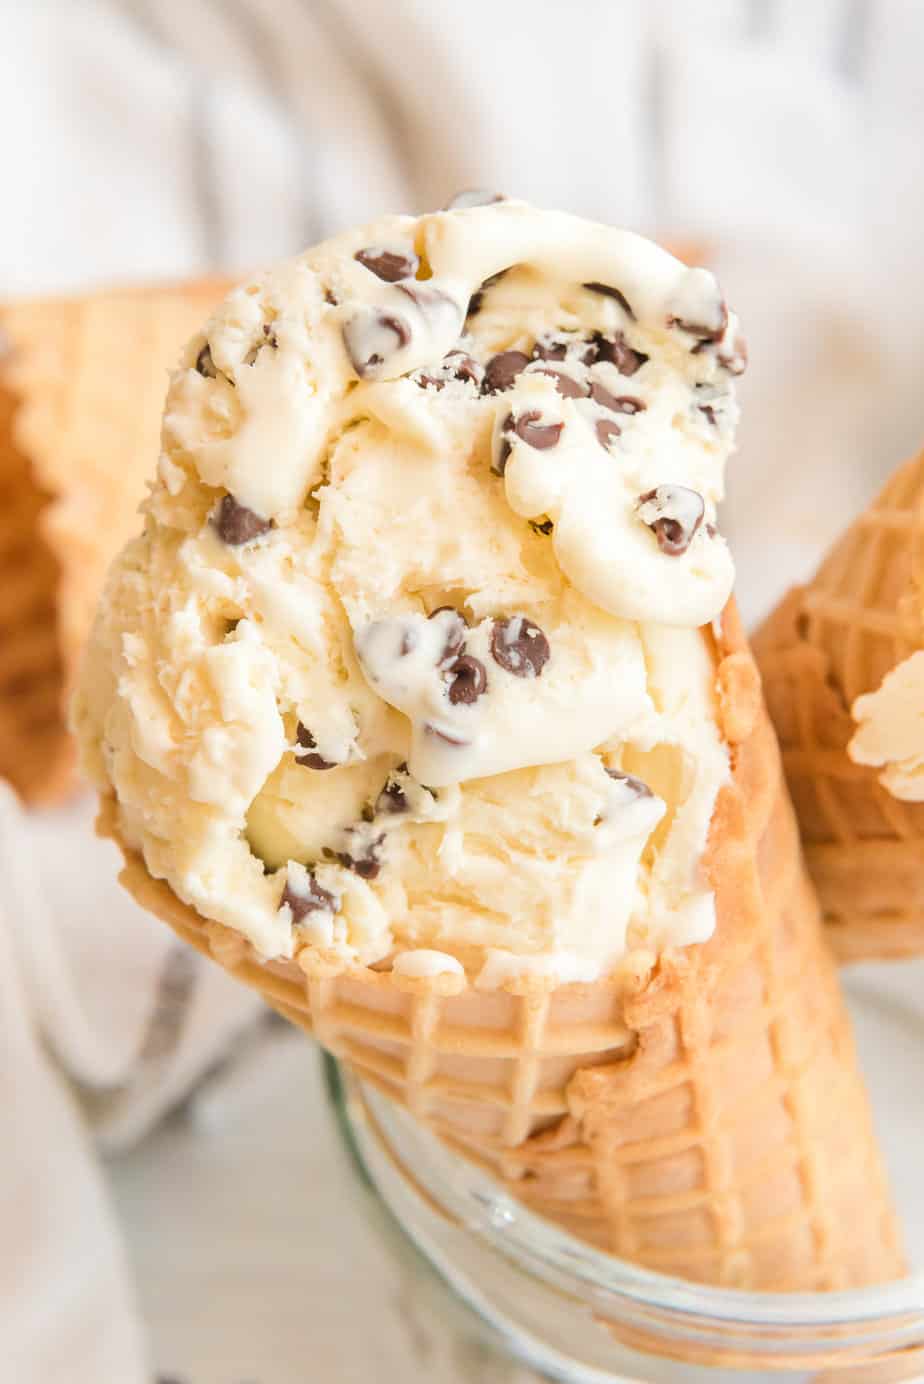
Why We Love Chocolate Chip Ice Cream
- Only Four Ingredients– This recipe is quick to make and only needs a few simple ingredients. No ice cream machine needed for this easy recipe.
- Let The Kids Help!– Making homemade ice cream is a super fun project to let the kids stir, mix and help make!
- Perfect On a Hot Day– Chocolate chip ice cream is the perfect treat on any hot summer day, and you can make it ahead of time!
I grew up in Ohio and creamy ice cream is pretty easy to find on almost every corner. I’ve tried a lot of ice cream in my time, and this quick and easy no-churn ice cream recipe holds its own for flavor and texture. You only need a few main ingredients to make this chocolate chip ice cream recipe. In fact we liked it so much I made a strawberry swirl ice cream and a copycat Samoa cookie ice cream too.
Ingredients For Chocolate Chip Ice Cream
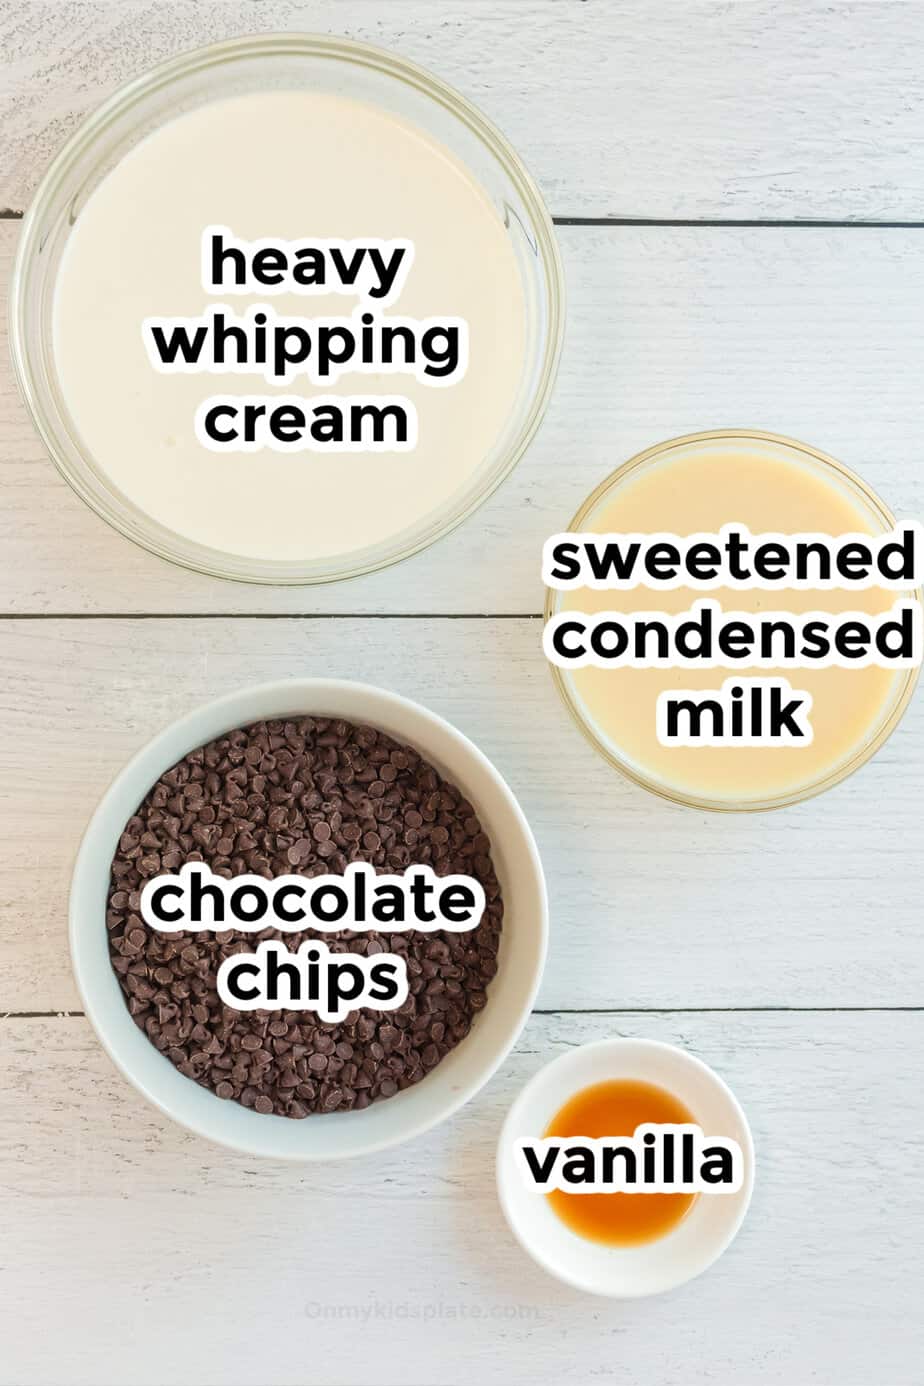
Find the full printable recipe with specific measurements and directions below in the recipe card.
- heavy whipping cream– must be cold!
- sweetened condensed milk
- vanilla extract
- mini semi-sweet chocolate chips – you can use any chopped chocolate but lighter, smaller pieces work better then large heavy chocolate chunks that may sink to the bottom of the pan. I like miniature chocolate chips in this recipe but you can chop up a chocolate bar too!
Freezing the bowl you are whipping the cream in for at least 15 minutes will help the whipped cream whip up faster and more fluffy.
How To Make Chocolate Chip Ice Cream
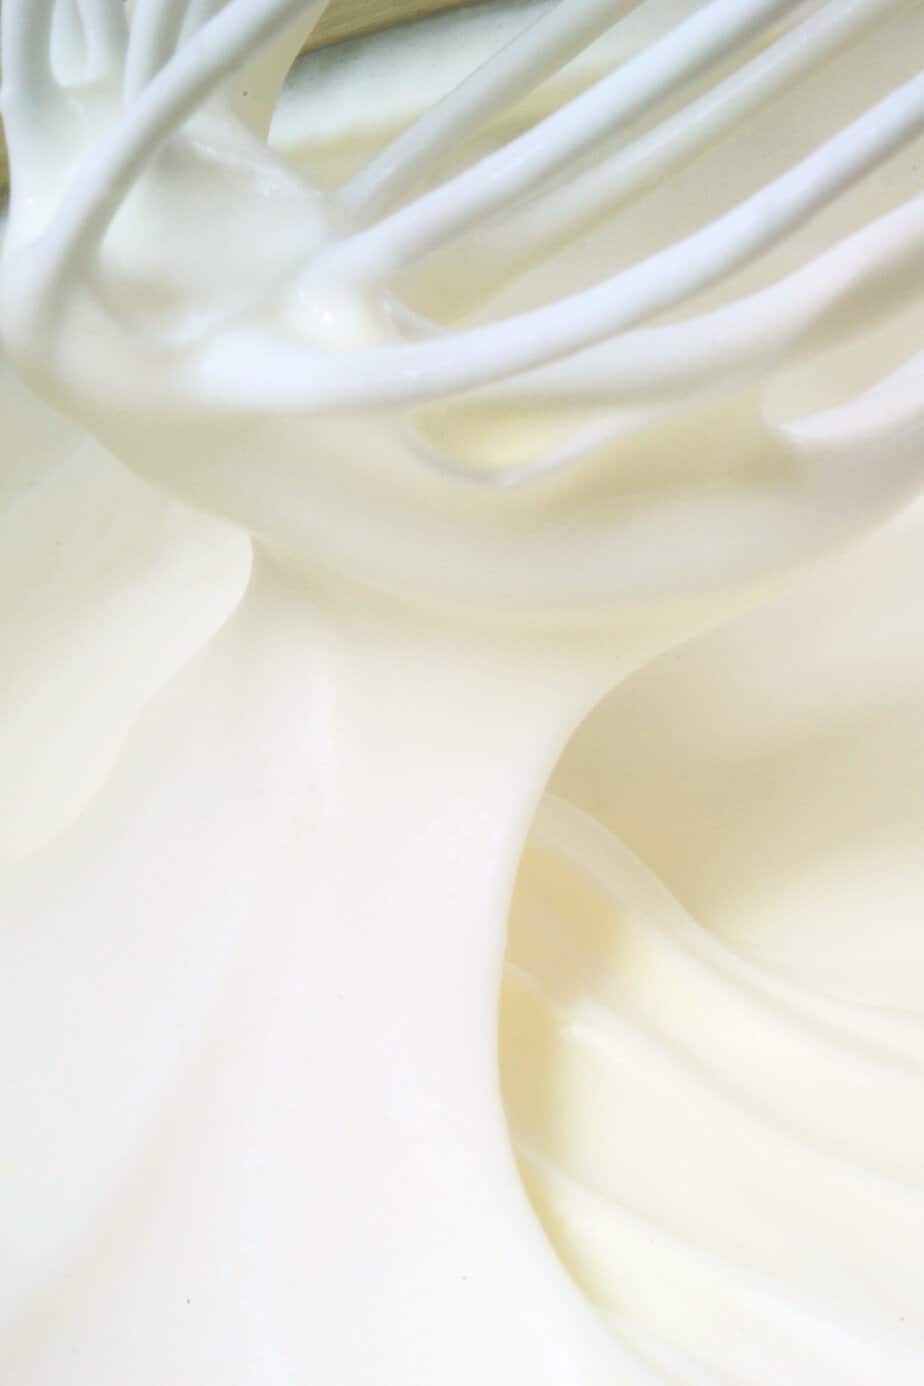
- In a large chilled mixing bowl whip the heavy cream with an electric mixer until stiff peaks form in the cream. (You can also use a food processor to whip the cream!) This process should take 4-5 minutes, see notes about mixing by hand at the bottom of the page.
- The liquid cream changes into a more solid form that keeps its shape when you pull the beaters out of it or run the back of a spoon through it. You’ll start to see more texture in the mixture just like in the photo below to get the desired consistency and make the heavy whipping cream into essentially whipped cream.
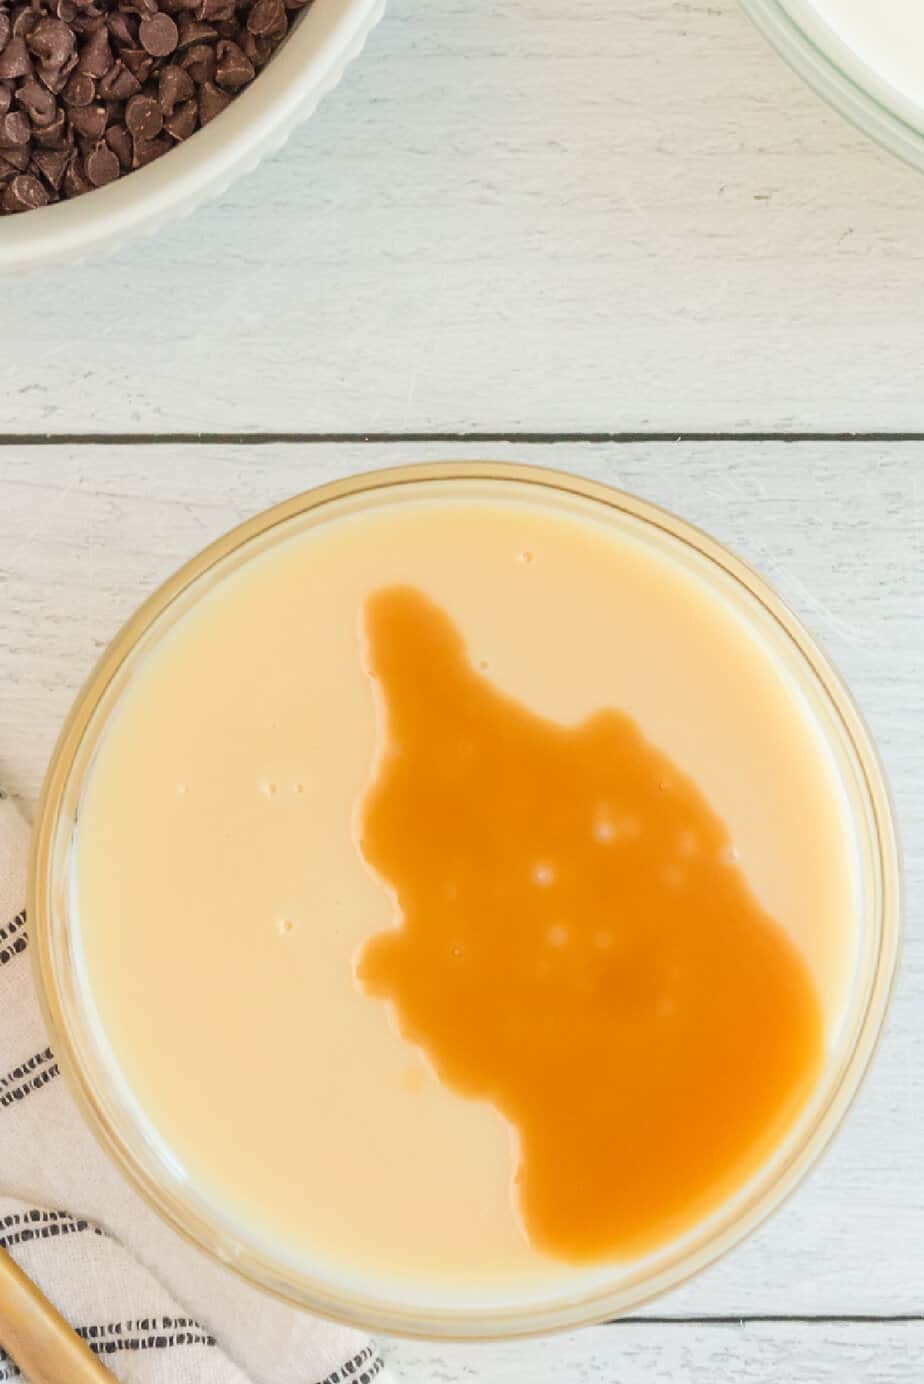
- In a small mixing bowl add the vanilla extract with the condensed milk. Stir the mixture well until combined.
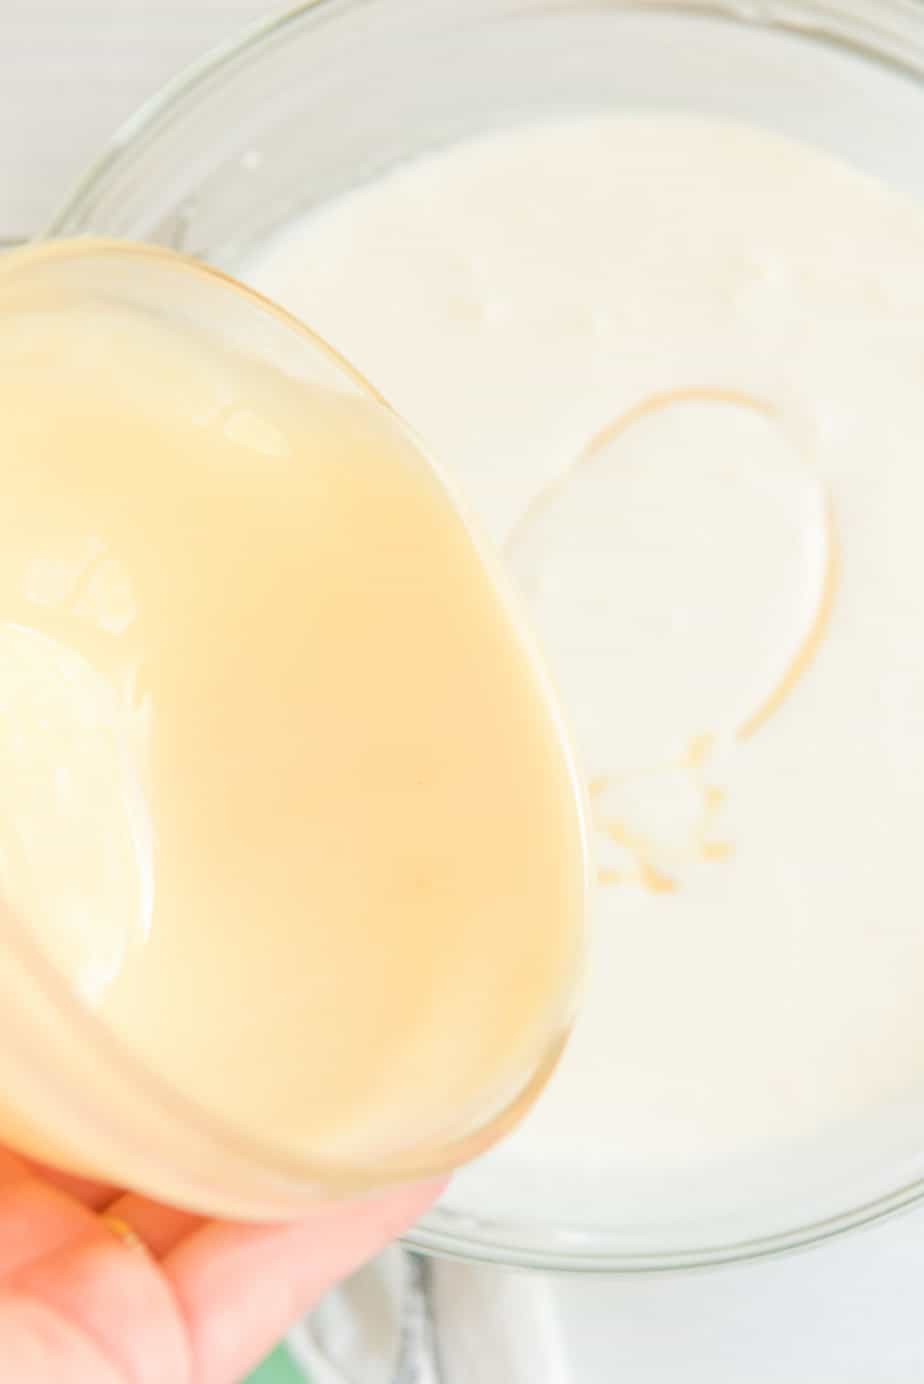
- Gently fold the condensed milk mixture into the whipped cream mixture and stir gently a little bit until mixed to form the ice cream base in the large bowl.
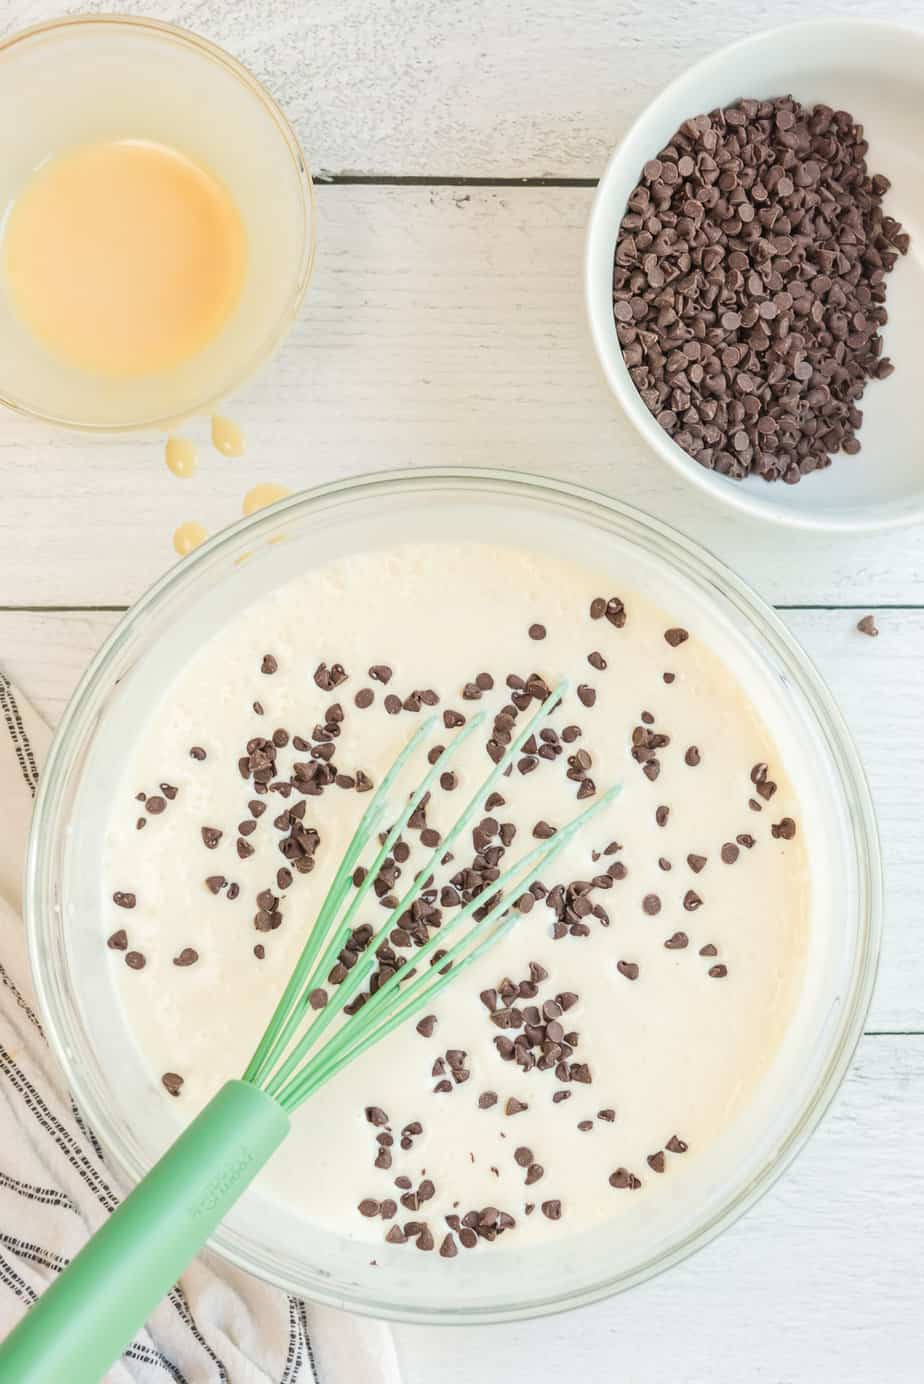
- Add the mini chocolate chips and fold in until combined.
- Pour ice cream into a 9×5” loaf pan. Sprinkle extra mini chocolate chips over the top of the ice cream if desired. Lining the loaf pan with parchment paper will allow you to easily remove the frozen ice cream, but is not necessary if you plan to use a scoop.
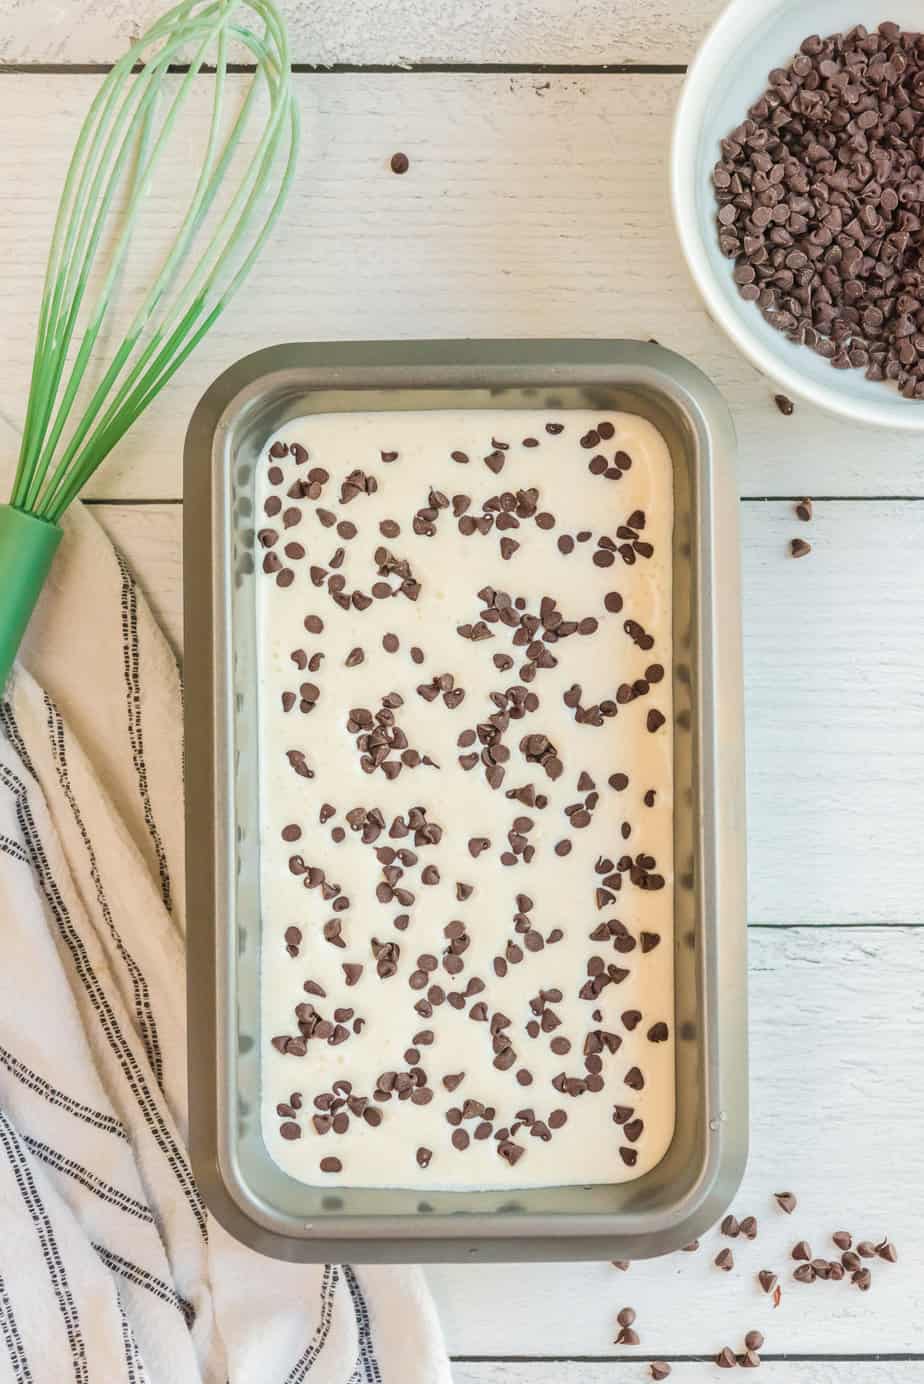
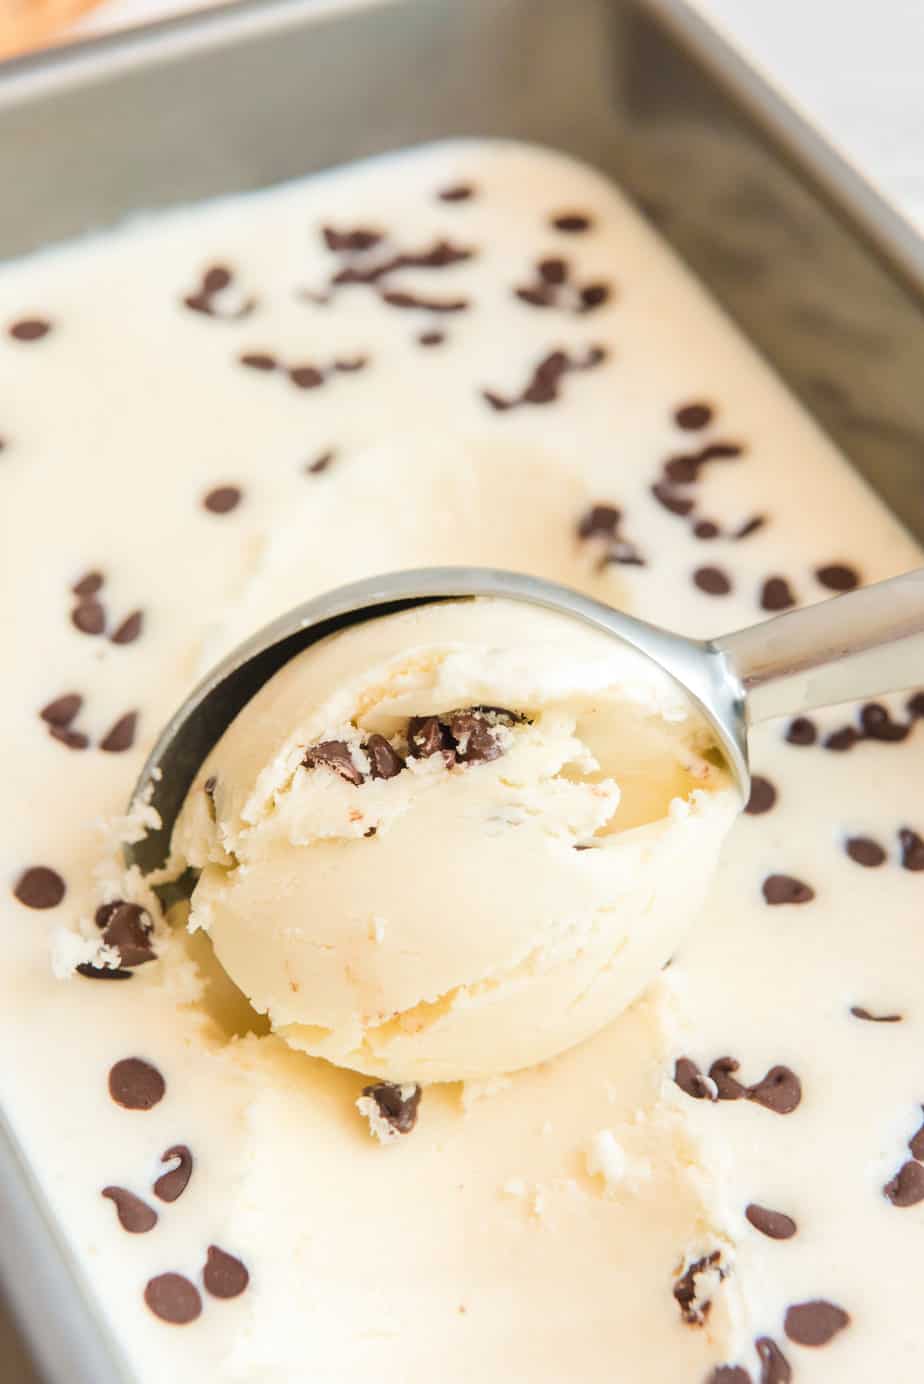
- Place the ice cream pan in the freezer for at least 6 hours. Can also be frozen overnight. Once frozen solid, scoop with an ice cream scoop and enjoy your delicious dessert!
Flavor Variation Ideas
You can make all kinds of different popular ice cream flavors, and even flavors you can’t find at the grocery store!
Add A Swirl of Jam– Raspberry jam, blackberry jam, strawberry jam or any mixed berry jam can add a lot of flavor to this ice cream. I made a strawberry swirl ice cream version of this recipe too and it is SO delicious!
Switch Out The Chocolate– It’s important to use lighter pieces of chocolate so they don’t sink to the bottom, but you can swap out white chocolate, dark chocolate or milk chocolate pieces. Or try playing with chocolate candy pieces like in this Butterfinger Ice Cream.
Add Sprinkles– Sprinkles will give this ice cream a really colorful fun look, and can be customized to your favorite colors!
Try Nuts– Nuts can be added, but I found it’s better to use chopped pieces so they don’t fall to the bottom of the pan. Try peanuts, pecans, walnuts or your favorite nuts!
Play with extract flavors– While I’ve used vanilla in the base, extracts come in all kinds of delicious flavors to try. Mint or peppermint extract can be a little trickier to get right as it is strong, so I recommend using the ratio in my friend Stacie’s mint chocolate chip ice cream recipe if you are craving delicious mint ice cream! It’s a great recipe!
What To Serve Chocolate Chip Ice Cream With
Chocolate Chip Cookie Bars– These delicious chocolate chip cookie bars are packed full of chocolate chips and colorful MMs, but go up a notch topped with a scoop of ice cream. Who doesn’t love ice cream and chocolate chip cookies together!
Peanut Butter Swirl Brownies– Brownies a la mode, yes please! Try these fudgy brownies served warm with a scoop of ice cream on top!
Make This Chocolate Chip Ice Cream Recipe Into A Sundae
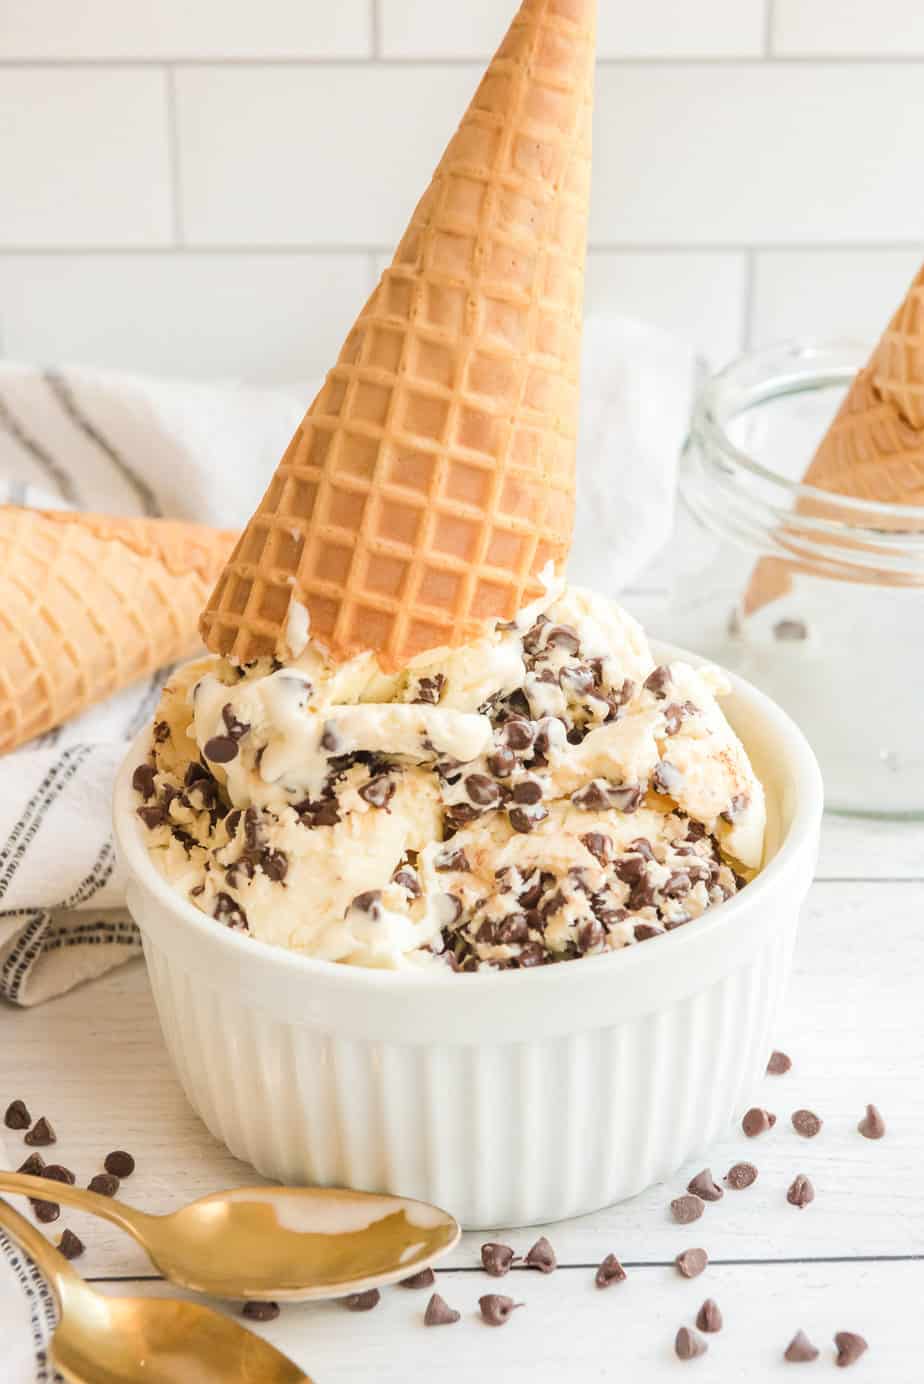
You can always add toppings after scooping the ice cream into your bowl to make it a sundae! Here are some of my favorite sundae toppings.
- Chocolate syrup
- Hot fudge
- Caramel syrup
- Strawberry syrup
- Peanut butter (warm for a few seconds in the microwave)
- Whipped cream
- Maraschino cherry
- Peanuts
- Chopped pecans
- Mini marshmallows
- Mini peanut butter cups
- Sprinkles
- Fresh strawberry pieces
- Ice cream cones- waffle or cake cones!
Can I Subsitute Whole Milk Or Half and Half For Whipping Cream?
Don’t substitute whole milk or half and half here, whipping cream produces the best results. Whole milk won’t whip. Half and half won’t hold it’s shape as well once whipped. Since we aren’t churning this ice cream or using an ice cream machine, using heavy whipping cream is an important piece of having a delicious and creamy result.
How Long Does This Ice Cream Last?
You can leave and store this ice cream in the pan, though I do recommend covering it with plastic wrap before adding a lid if you are storing it for more than a day or two. The plastic wrap will help keep ice crystals from forming on the top of the ice cream which simply doesn’t taste as delicious to have icy ice cream.
You can also move the ice cream into a freezer airtight container. The ice cream will easily taste fresh for 2-3 months if stored properly in a freezer-safe container.
It’s also best to store ice cream deeper in the freezer instead of the door so it stays consistently frozen. In the door the temperature can vary causing the ice cream to melt and refreeze, which will make the ice cream not taste as fresh.
More Recipes You’ll Love


Chocolate Chip Ice Cream (No Churn!)
Ingredients
- 2 cups heavy whipping cream must be cold!
- 14 oz sweetened condensed milk equals 1 3/4 cups
- 1 teaspoon vanilla extract
- ½ cup mini semi-sweet chocolate chips plus extra for the top
Instructions
- In a large chilled mixing bowl whip the heavy cream with an electric mixer until stiff peaks form in the cream. This process should take 4-5 minutes, see notes.
- In a small mixing bowl add the vanilla extract with the condensed milk. Stir the mixture well until combined.
- Gently fold the condensed milk mixture into the whipped cream mixture and stir gently until mixed.
- Add the mini chocolate chips and fold in until combined.
- Pour ice cream into a 9×5” loaf pan. Sprinkle extra mini chocolate chips over the top of the ice cream if desired.
- Place the ice cream pan in the freezer for at least 6 hours. Can also be frozen overnight. Once frozen solid, scoop with an ice cream scoop and enjoy!
Notes
- Placing the bowl for the whipped cream in the freezer for at least 15 minutes can help the cream to whip up easier and more quickly. If you have a metal bowl it can also help the cream to whip easier, though other bowls can be used also.
- Keep the heavy whipping cream cold when not in use, both before and after whipping. This will help your ice cream to have more structure to it since we aren’t churning it.
- Whipped cream can be whipped by hand, but you might tire out your arm! I strongly recommend using a hand mixer or a stand mixer to whip the cream.
- Don’t walk away from the cream when it’s whipping. Whip the cream too long and you’ll find yourself with butter instead of whipped cream.
- Lining the loaf pan with parchment paper before adding the ice cream mixture will help you to easily remove it. While this isn’t necessary if you plan to use an ice cream scoop, it can be handy for making homemade ice cream sandwiches.
- If you notice all of the chocolate chips keep sinking to the bottom when you are mixing them in, this may mean your ice cream isn’t cold enough or is warming up too fast. Place the mixture into the freezer for about 30 minutes, then try mixing again.
Nutrition
Did You Make This?
I would love to see it! Share your thoughts with me in the comments below!

