Lemon Bars (With Shortbread Crust!)
*This post may contain affiliate links. See our affiliate policy here.
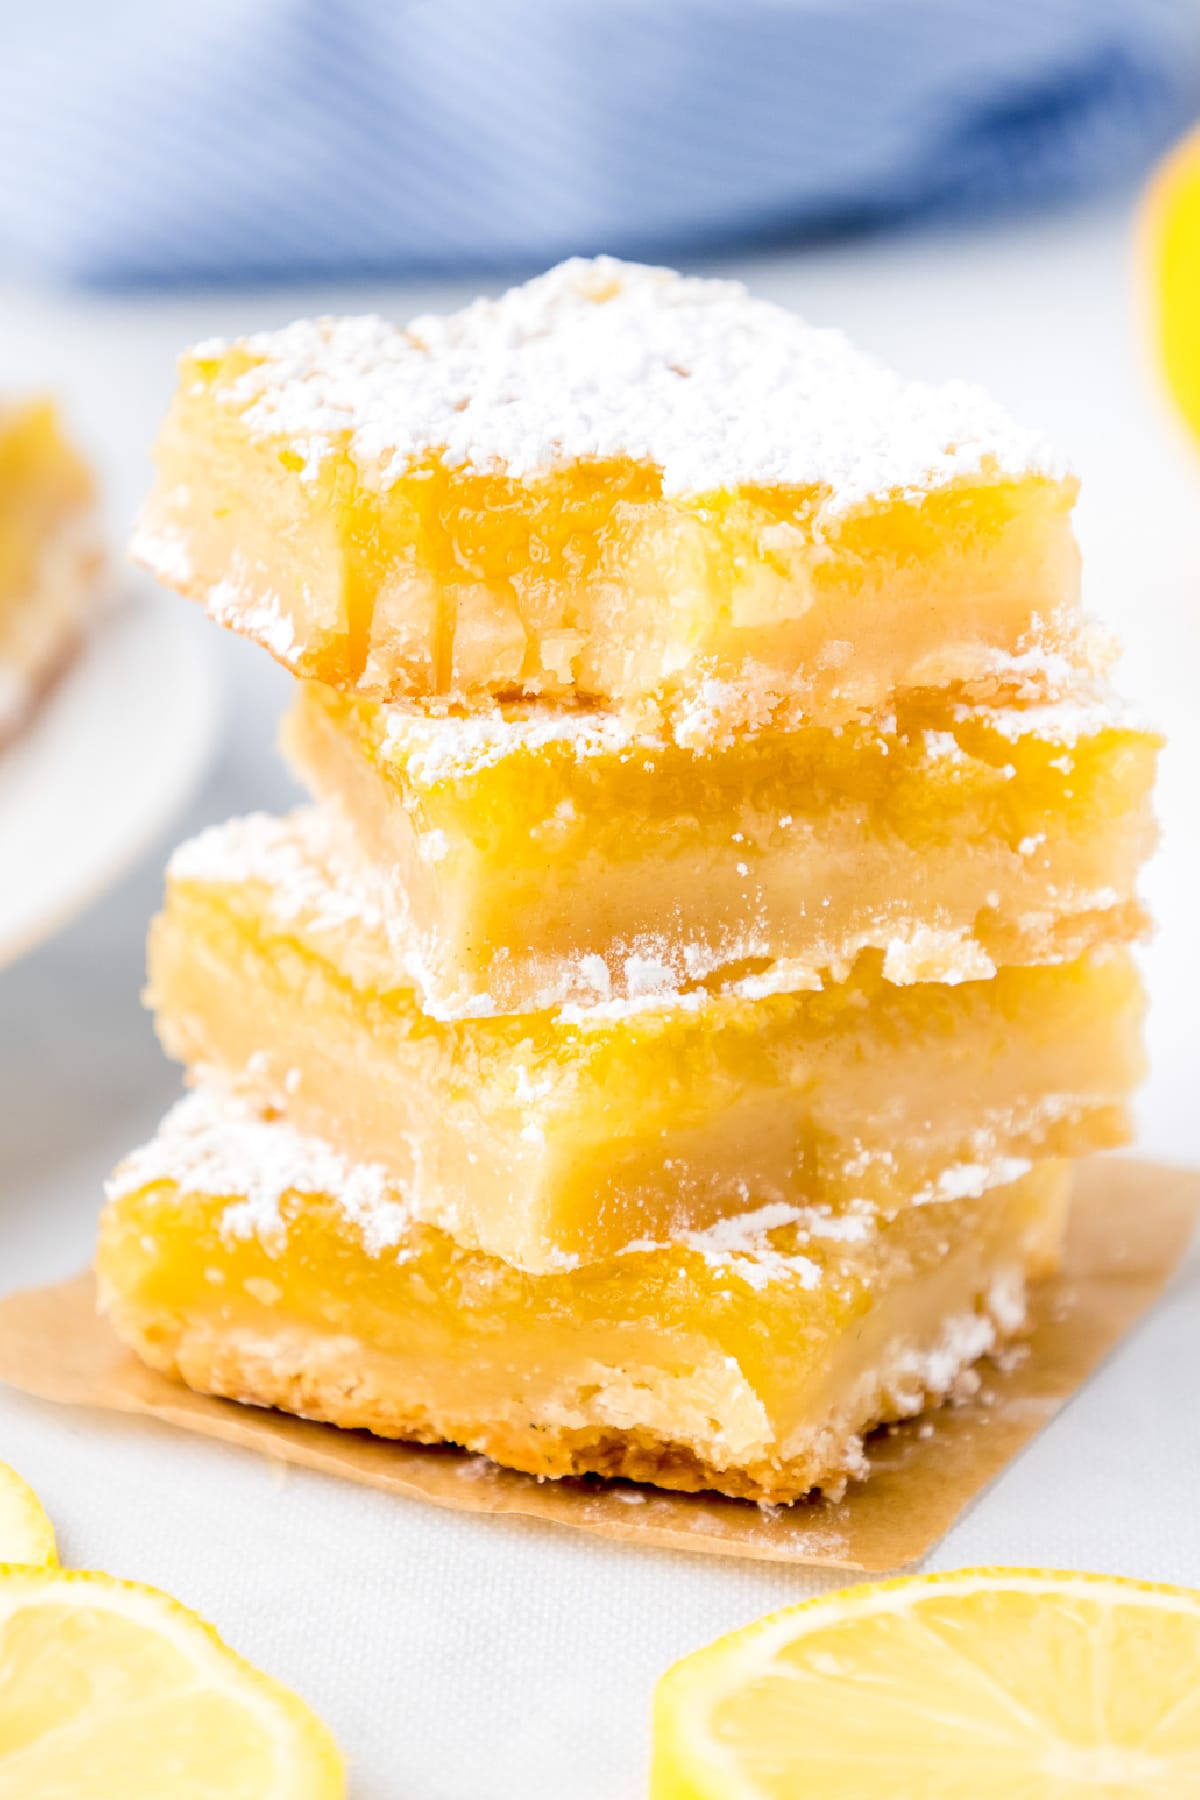
Sweet, and creamy, these lemon bars with a shortbread crust are buttery on the bottom and gooey on top! These classic style lemon squares made with fresh lemons have a rich layer of lemon curd, and are made with simple ingredients for a dessert the whole family will love.
Why We Love Lemon Bars
- Perfect Sweet Lemony Taste– I spent a lot of time testing these easy lemon bars to get the perfect balance of sweet and tart using fresh lemon juice. That balance makes these classic lemon bars extra refreshing, and a really delicious dessert full of lemon flavor.
- A Hit For Parties And Potlucks – I shared these with many family and friends, and they were a big hit with everyone. One friend’s husband even asked if he could be part of the lemon bar of the month club, ha!
- Buttery Crust– The crust on these lemon bars is more like a shortbread cookie rather than a pastry. This shortbread crust gives the bars a nice gooey top with a firm, buttery bite without being gummy.
Ingredients For Lemon Bars
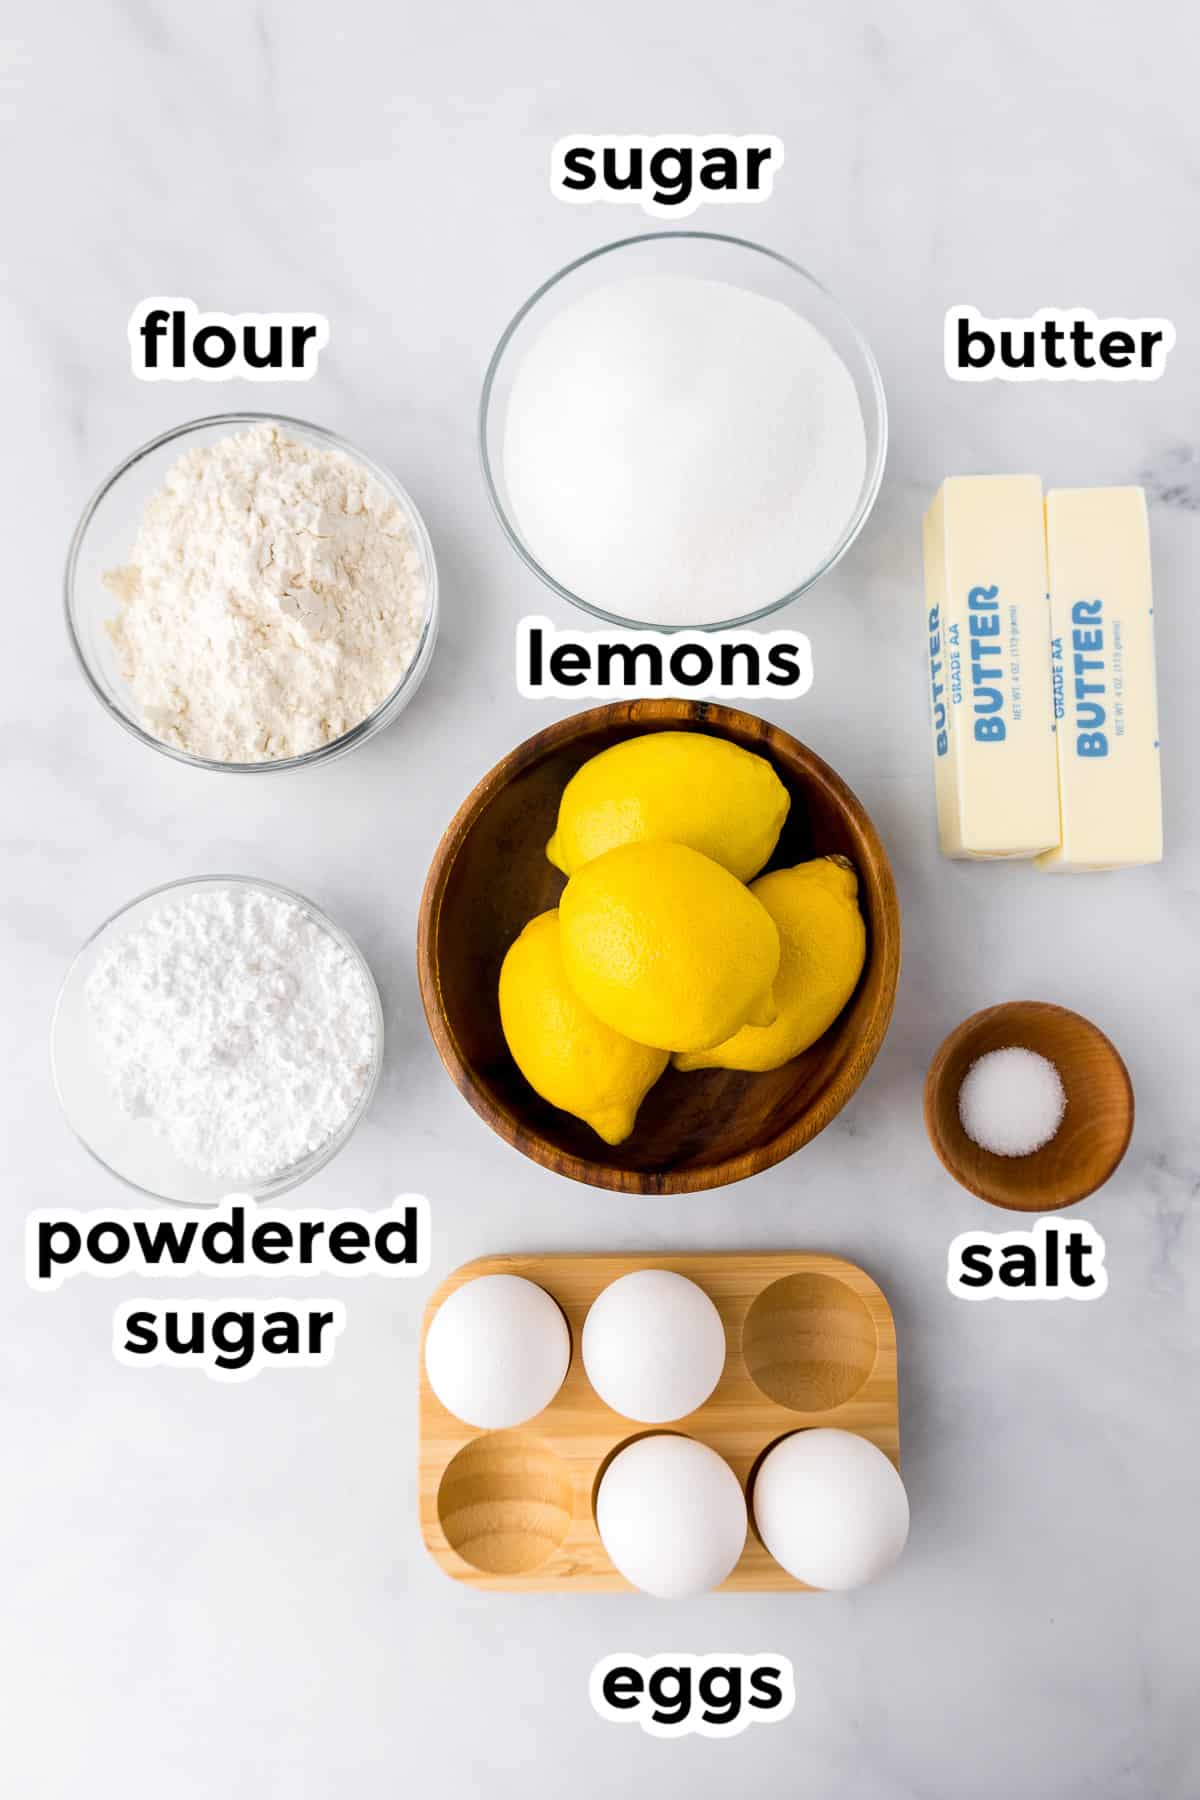
For The Crust
- 2 cups all-purpose flour
- 1 cup butter unsalted, softened
- 1/2 cup powdered sugar plus more to garnish, also known as confectioners’ sugar.
- ½ teaspoon salt
For The Filling
- 1 tablespoon lemon zest
- 2/3 cup lemon juice about 4-5 lemons total for juice, I used regular lemons not Meyer Lemons.
- 4 large eggs
- 2 cup sugar
Love lemon? Try this reader favorite lemon zucchini cake with sweet lemon glaze, my favorite soft lemon sugar cookies the lemon pudding poke cake or a cool frosted lemonade for more delicious treats worth sharing!
How To Make Lemon Bars
Making The Lemon Bar Crust
- Preheat the oven to 350℉ and fully line a 9 x 13 glass or ceramic dish with parchment paper.
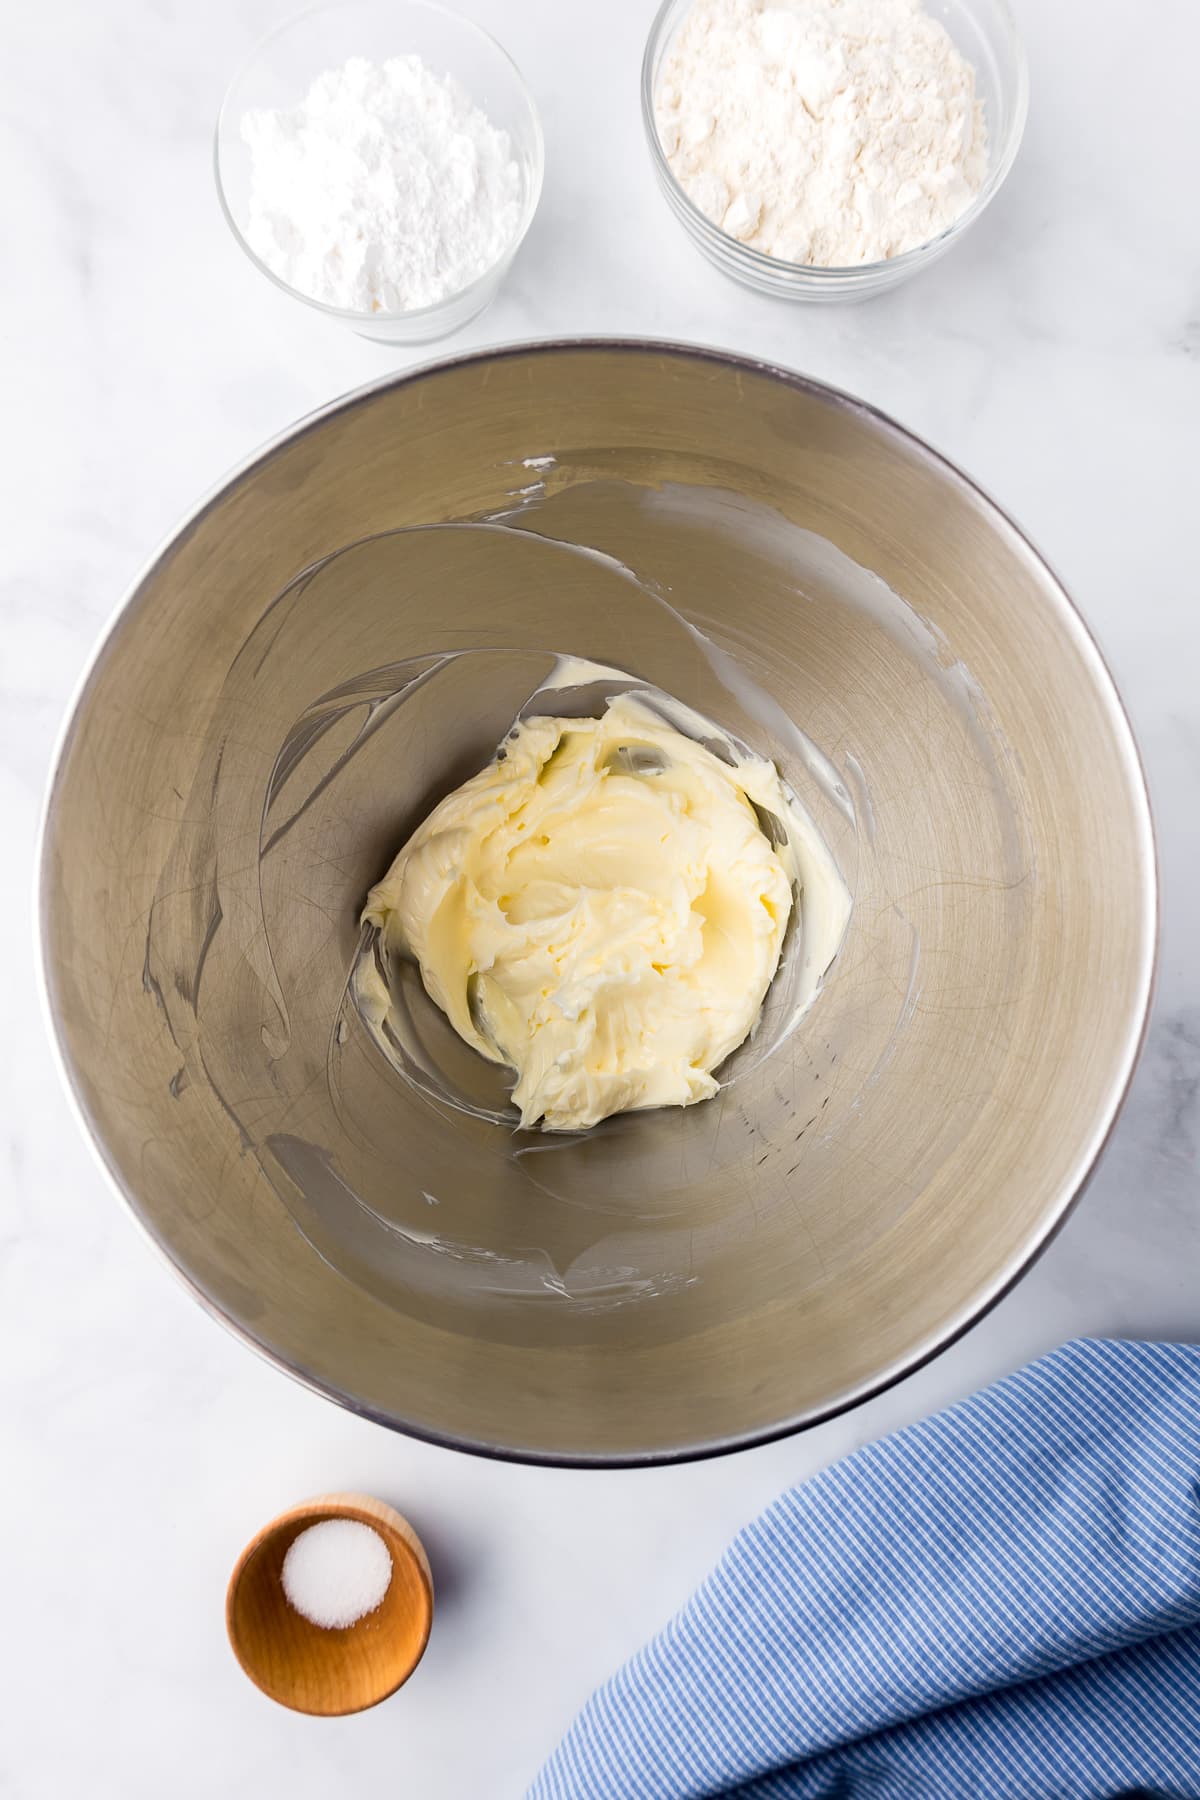
- Combine together flour, softened butter, ½ cup powdered sugar and salt with an electric mixer. Mix until a thick dough forms.
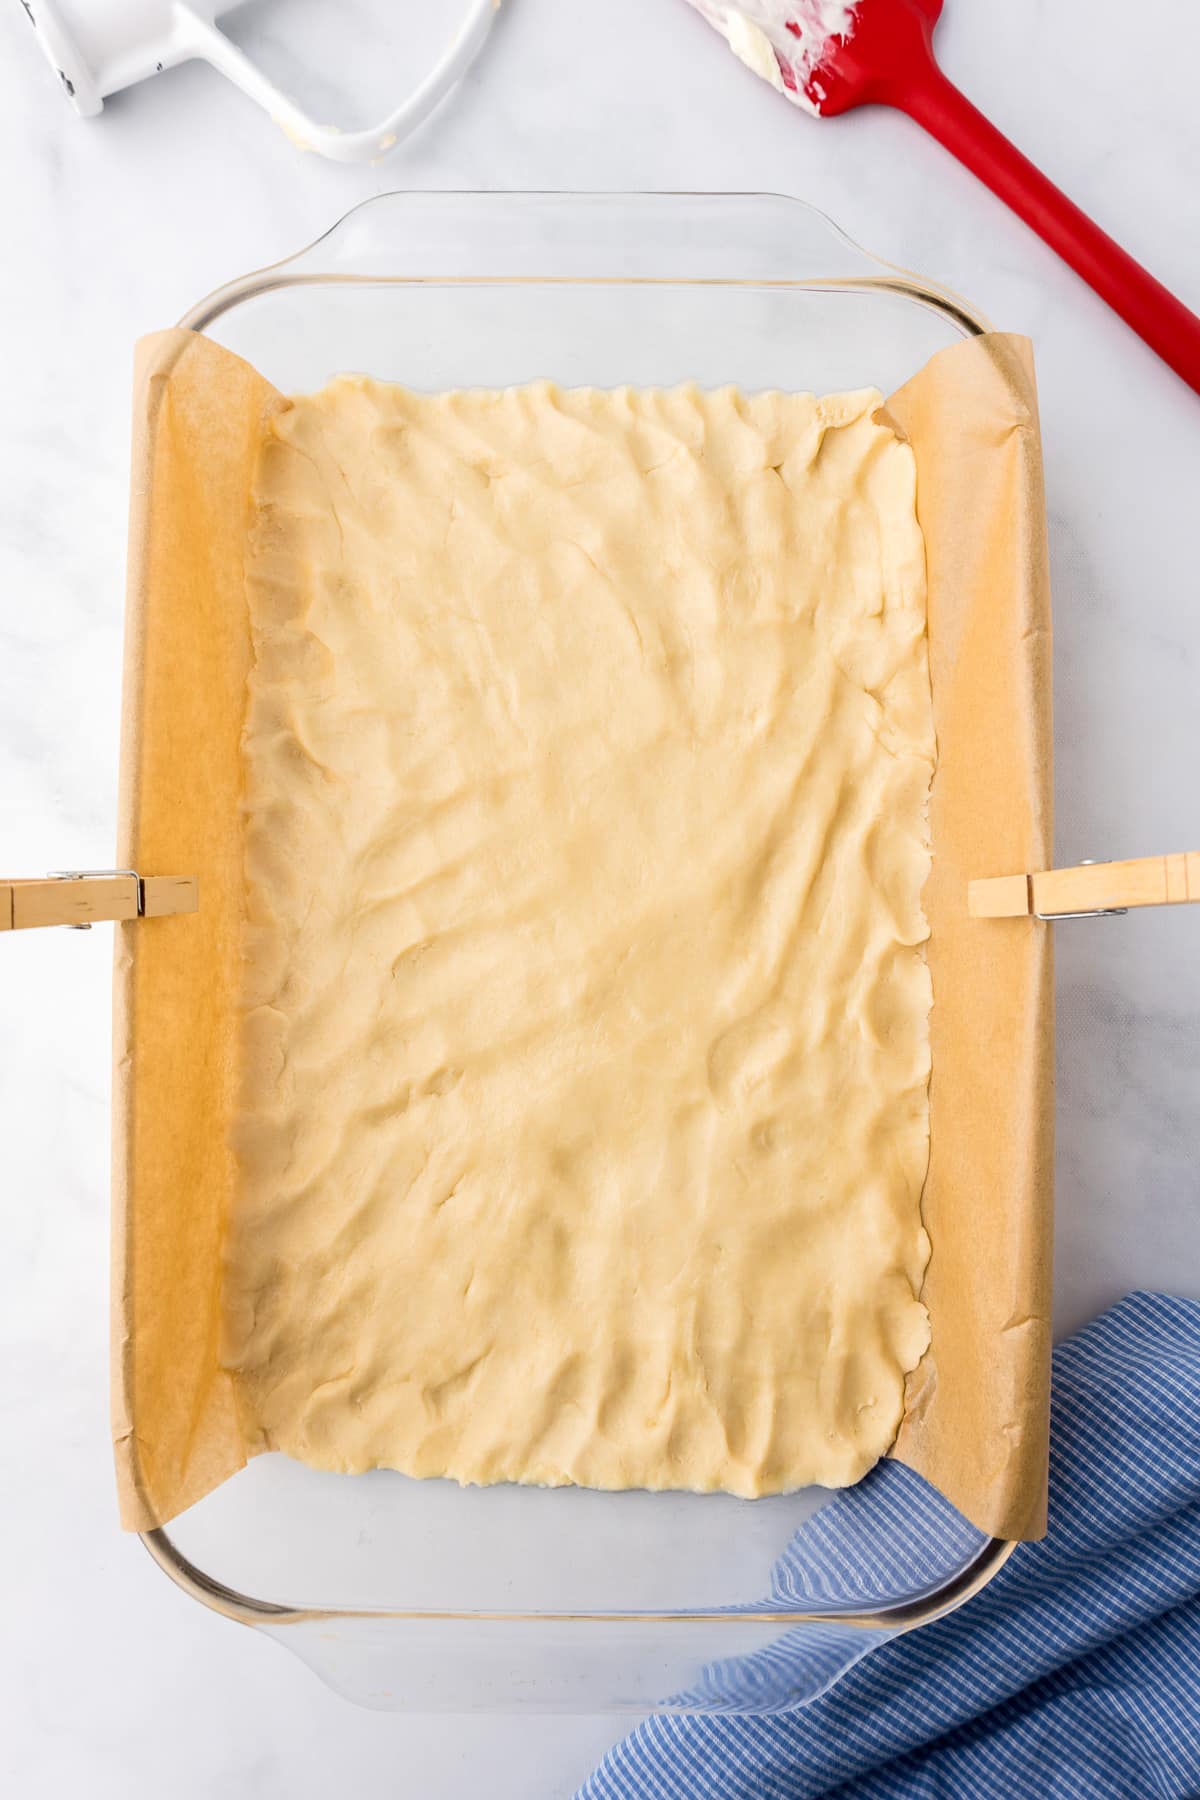
- Press the dough into the bottom of the 9×13 glass pan. At first it may seem like there isn’t enough dough. Trust the process and keep pressing and spreading the dough until the dough is spread evenly across the bottom of the pan.
- Zest and juice the lemons, removing any seeds from the juice. This can take 4-5 lemons depending on the lemons for the juice. I like to squeeze the lemons into a glass measuring cup to make sure it gets to about ⅔ of a cup, then I strain the seeds.
- Bake the dough for about 20-23 minutes. It is better for this crust to be a little crispier rather than underbaked. Make sure the center is cooked all the way and is not doughy in the center. While the dough is baking, make the filling.
Making The Lemon Bar Filling
- In a second bowl mix together, egg, sugar, lemon zest and lemon juice with an electric mixer until the sugar is fully dissolved to form the lemon layer. Right before pouring it over the crust layer, give the lemon mixture one last quick stir in case anything has settled to the bottom.
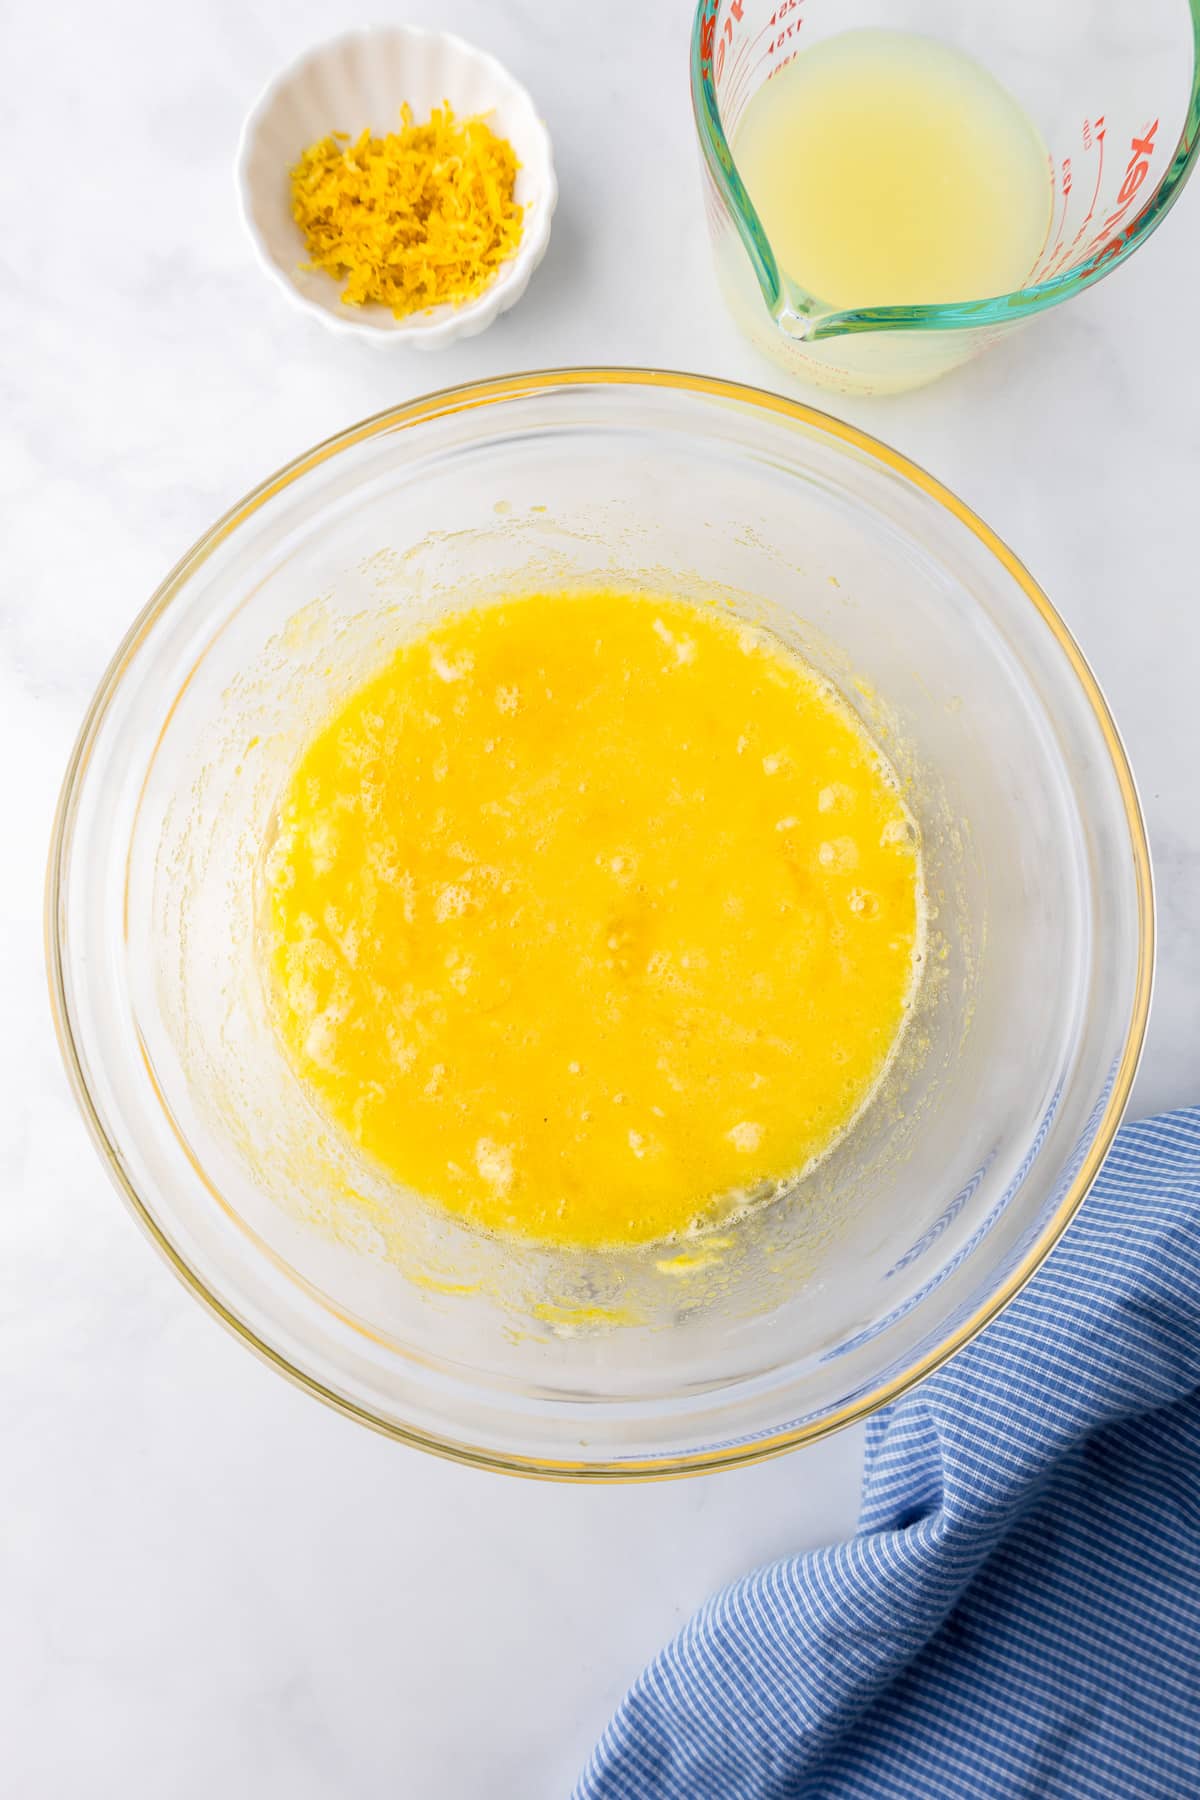
- Immediately when the crust comes out of the oven, pour the lemon curd over the hot crust. Return the pan to the oven and bake for 25-30 minutes until set.
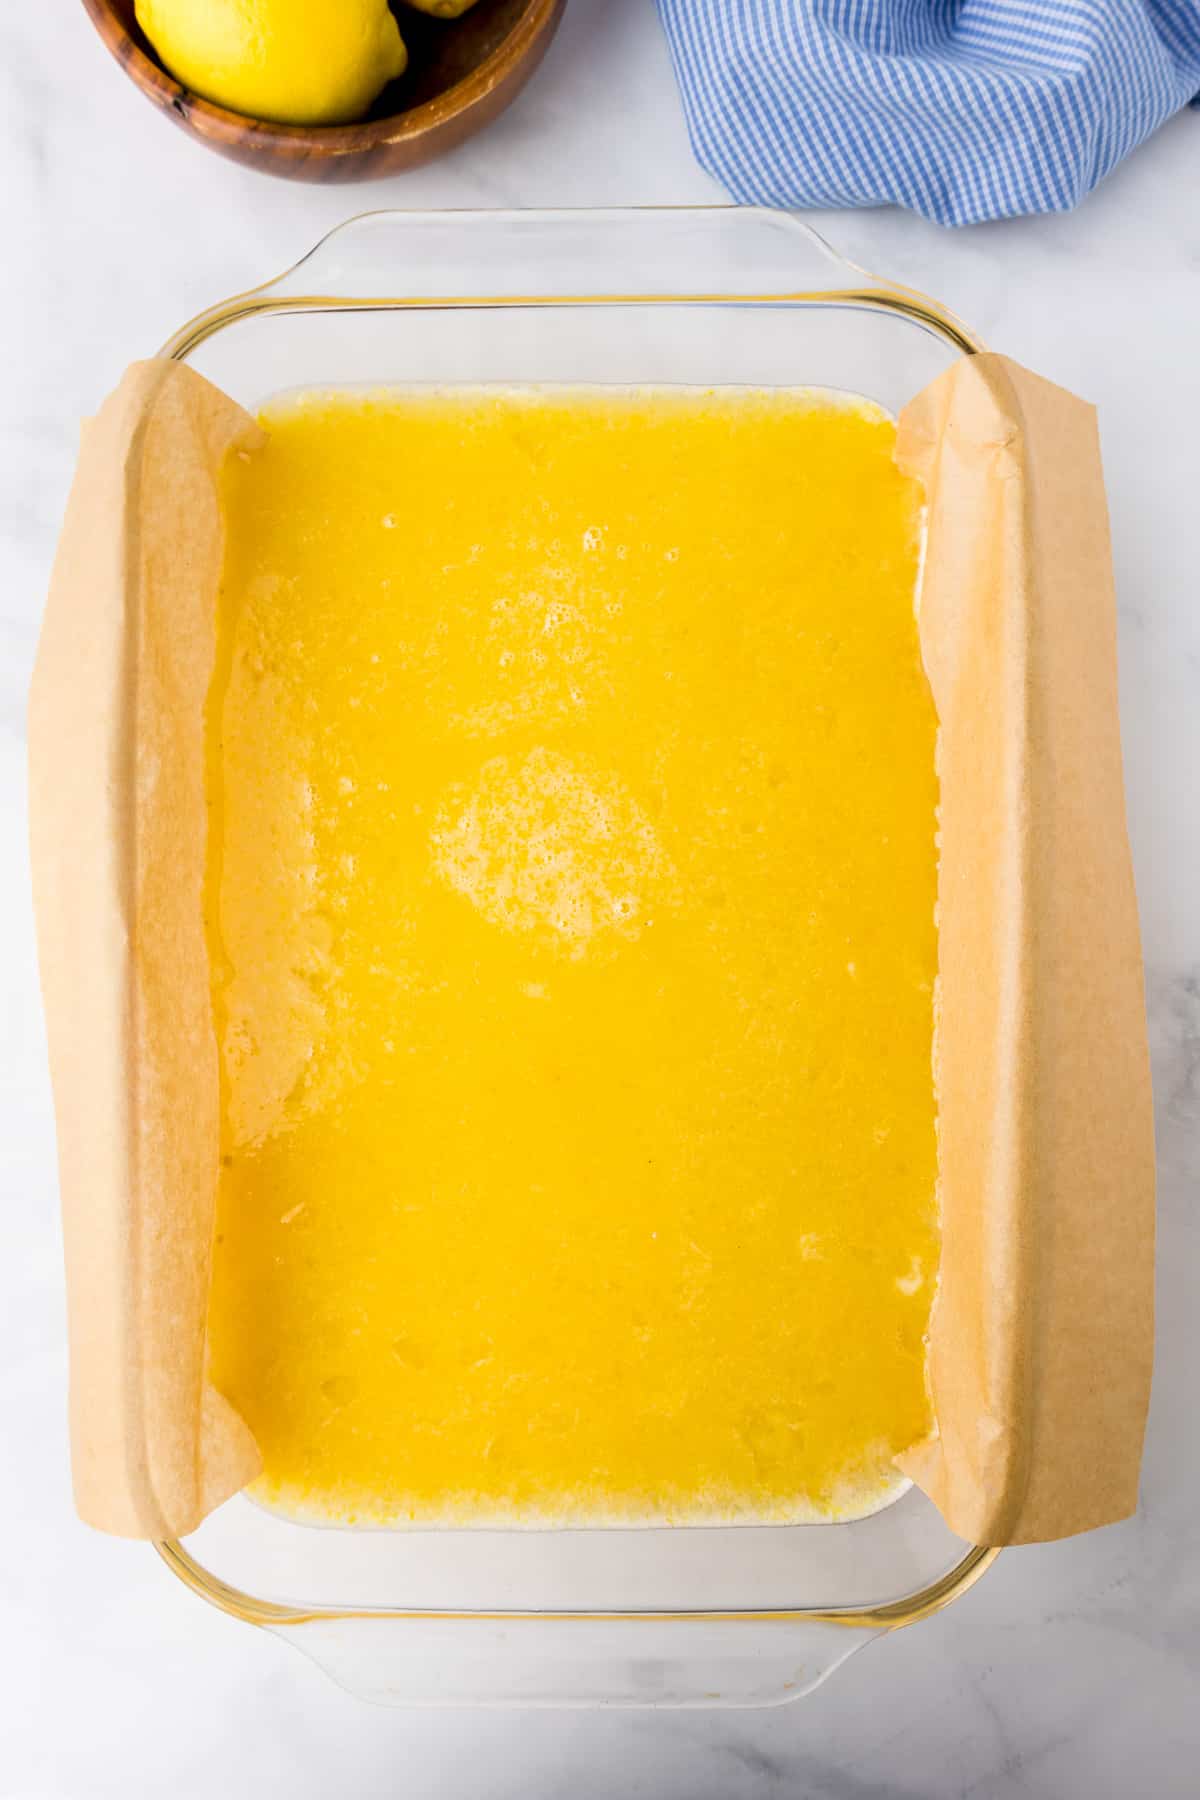
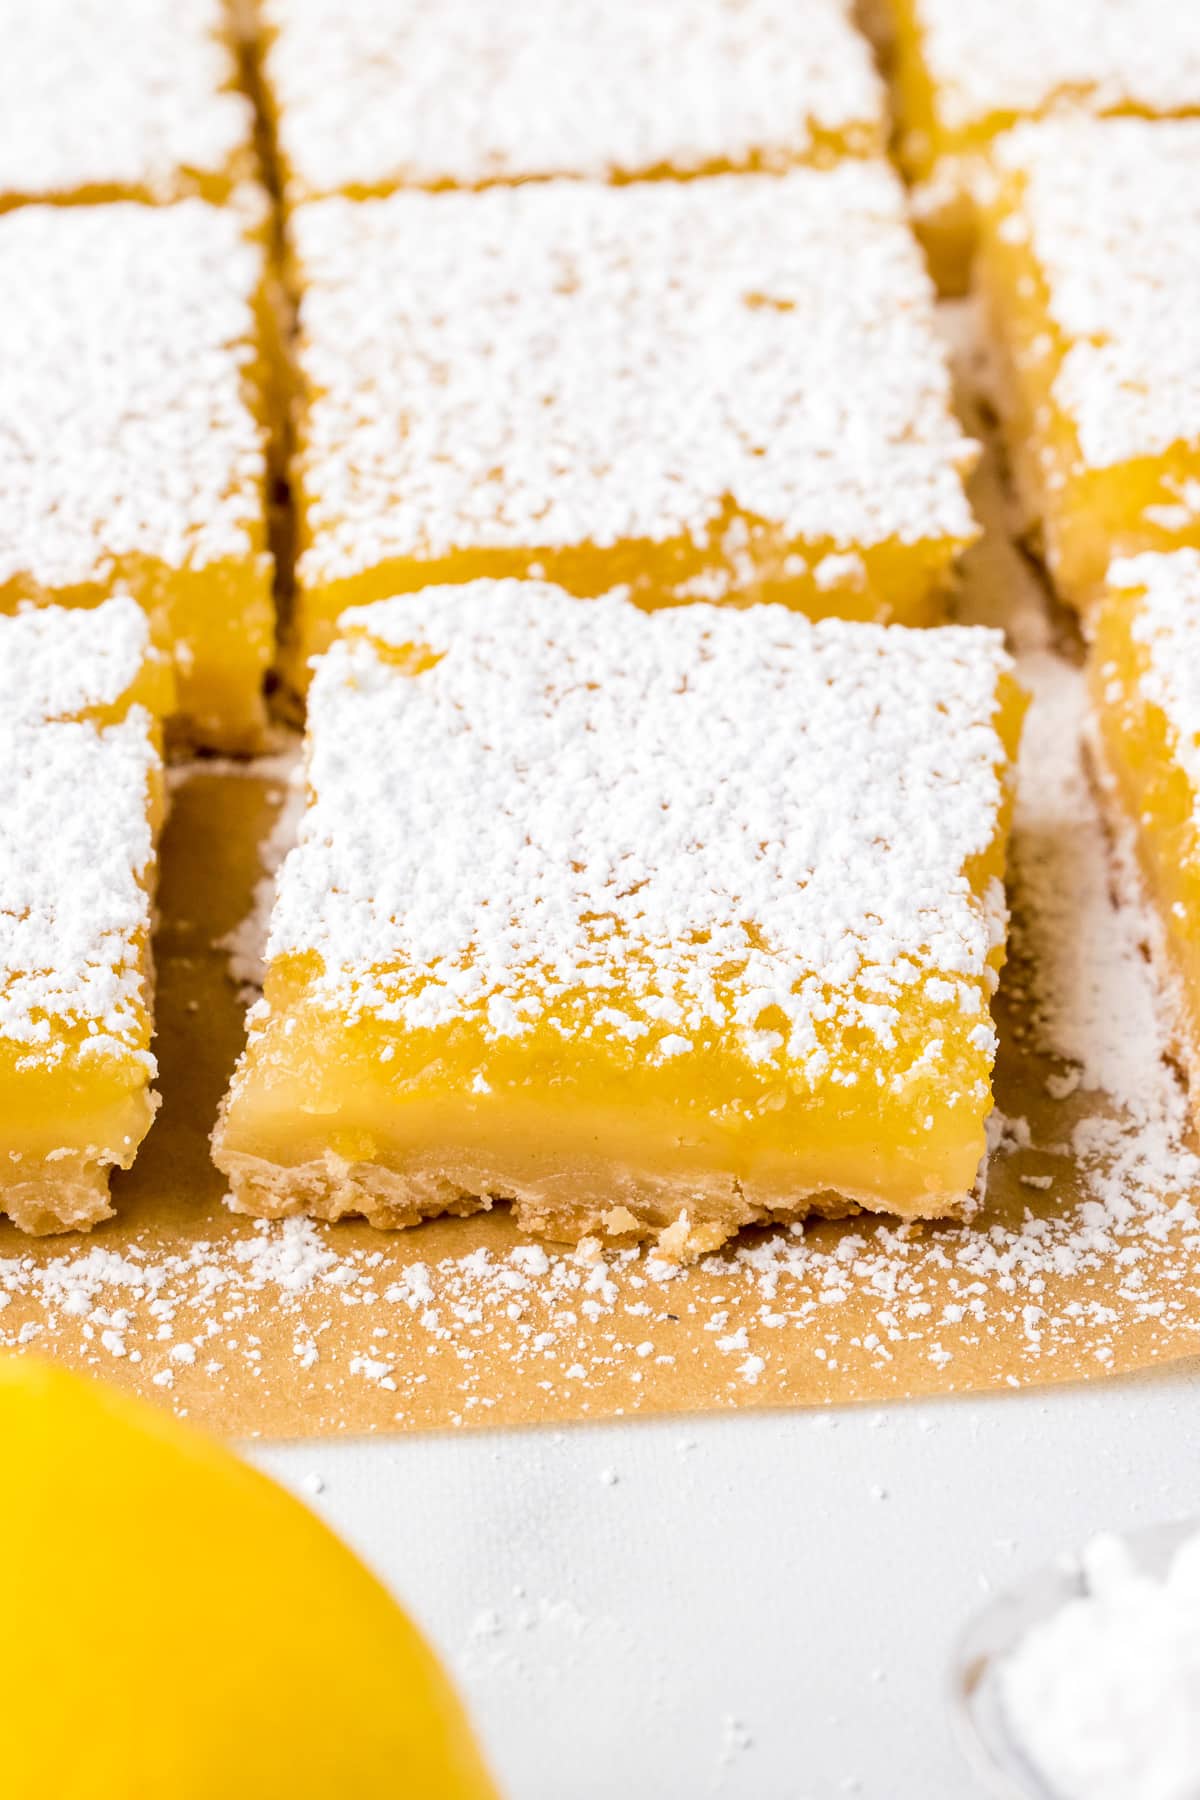
- You’ll know the center is set if you gently move the pan from side to side and the center doesn’t look liquidy anymore. The entire top of the lemon curd layer will also form a crust over the top and the edges of the bars will become a light caramel color, but the center will still have a creamy lemon filling.
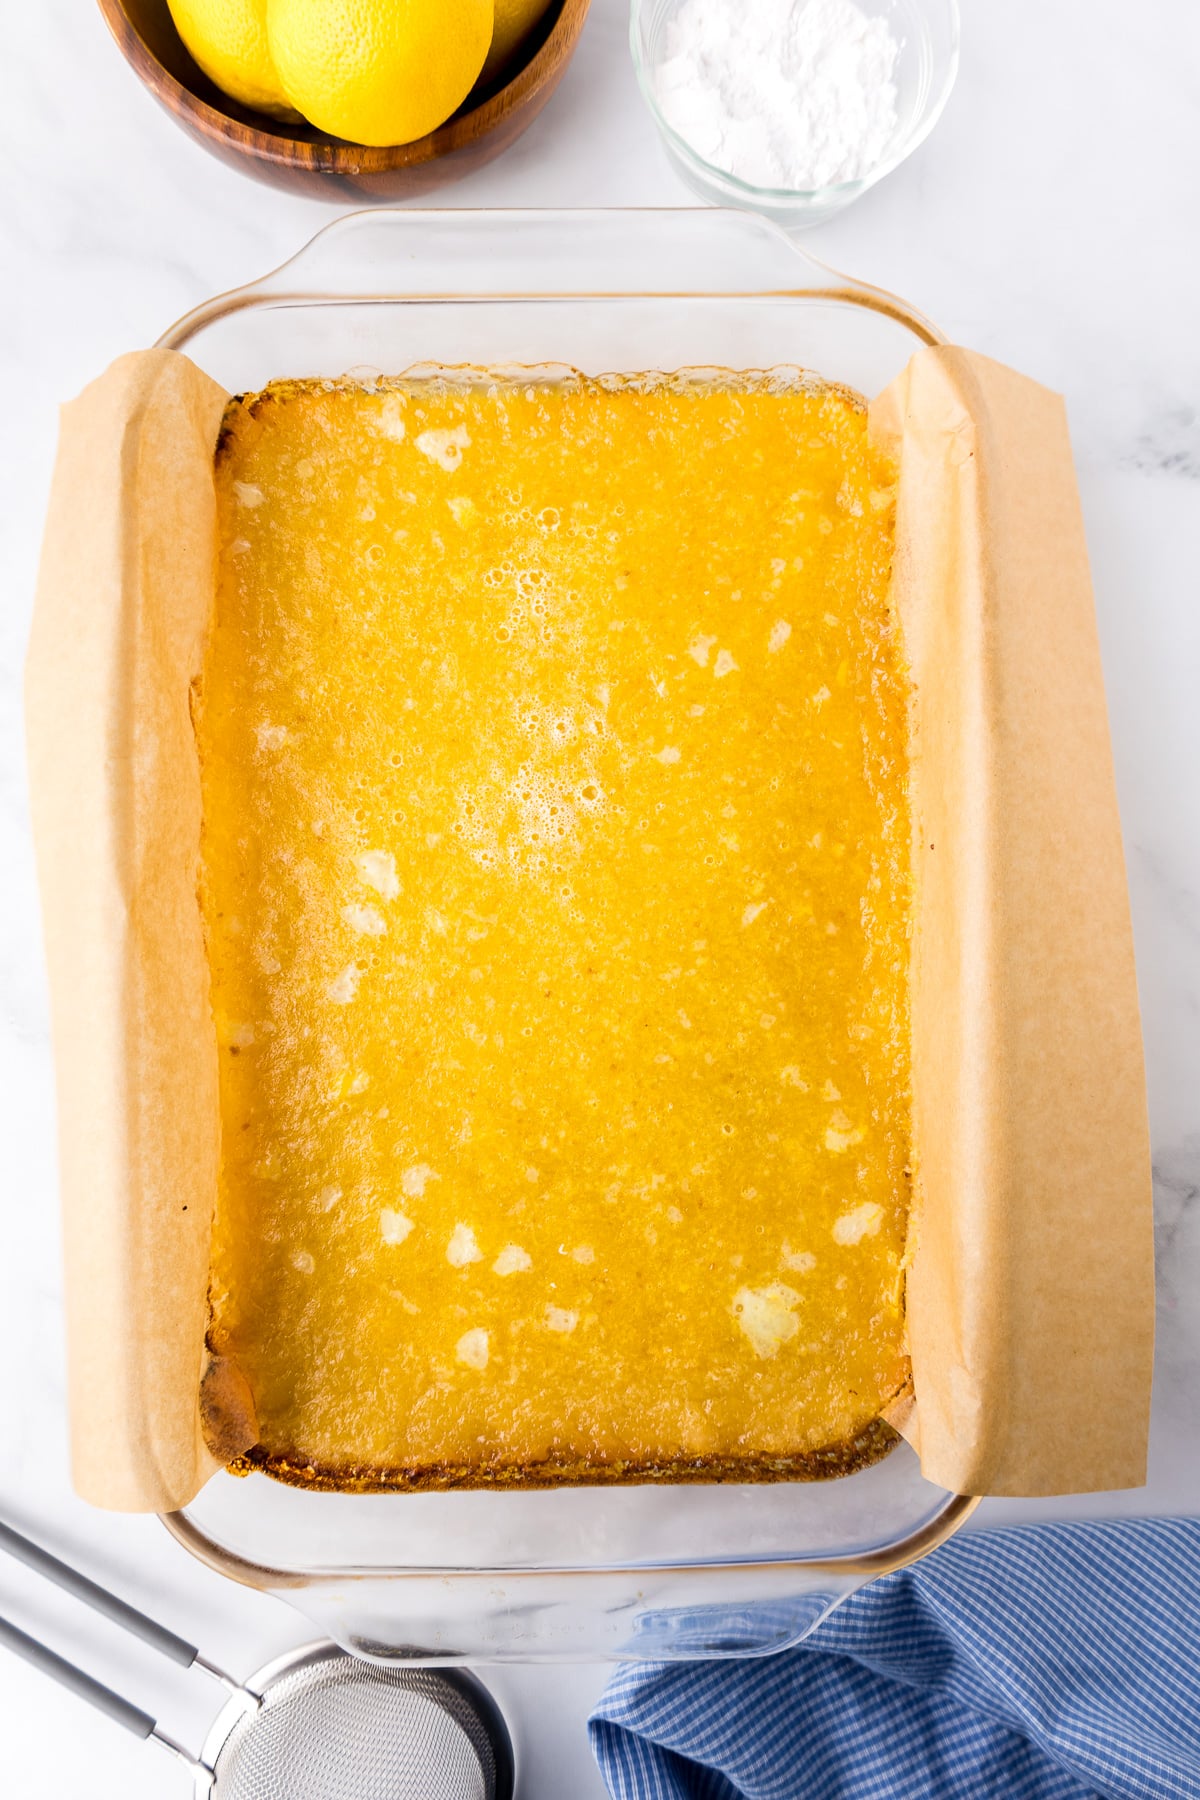
- Allow the bars to cool in the pan for at least an hour. Place bars in the fridge and allow them to cool for at least 2 hours for best results, or overnight.
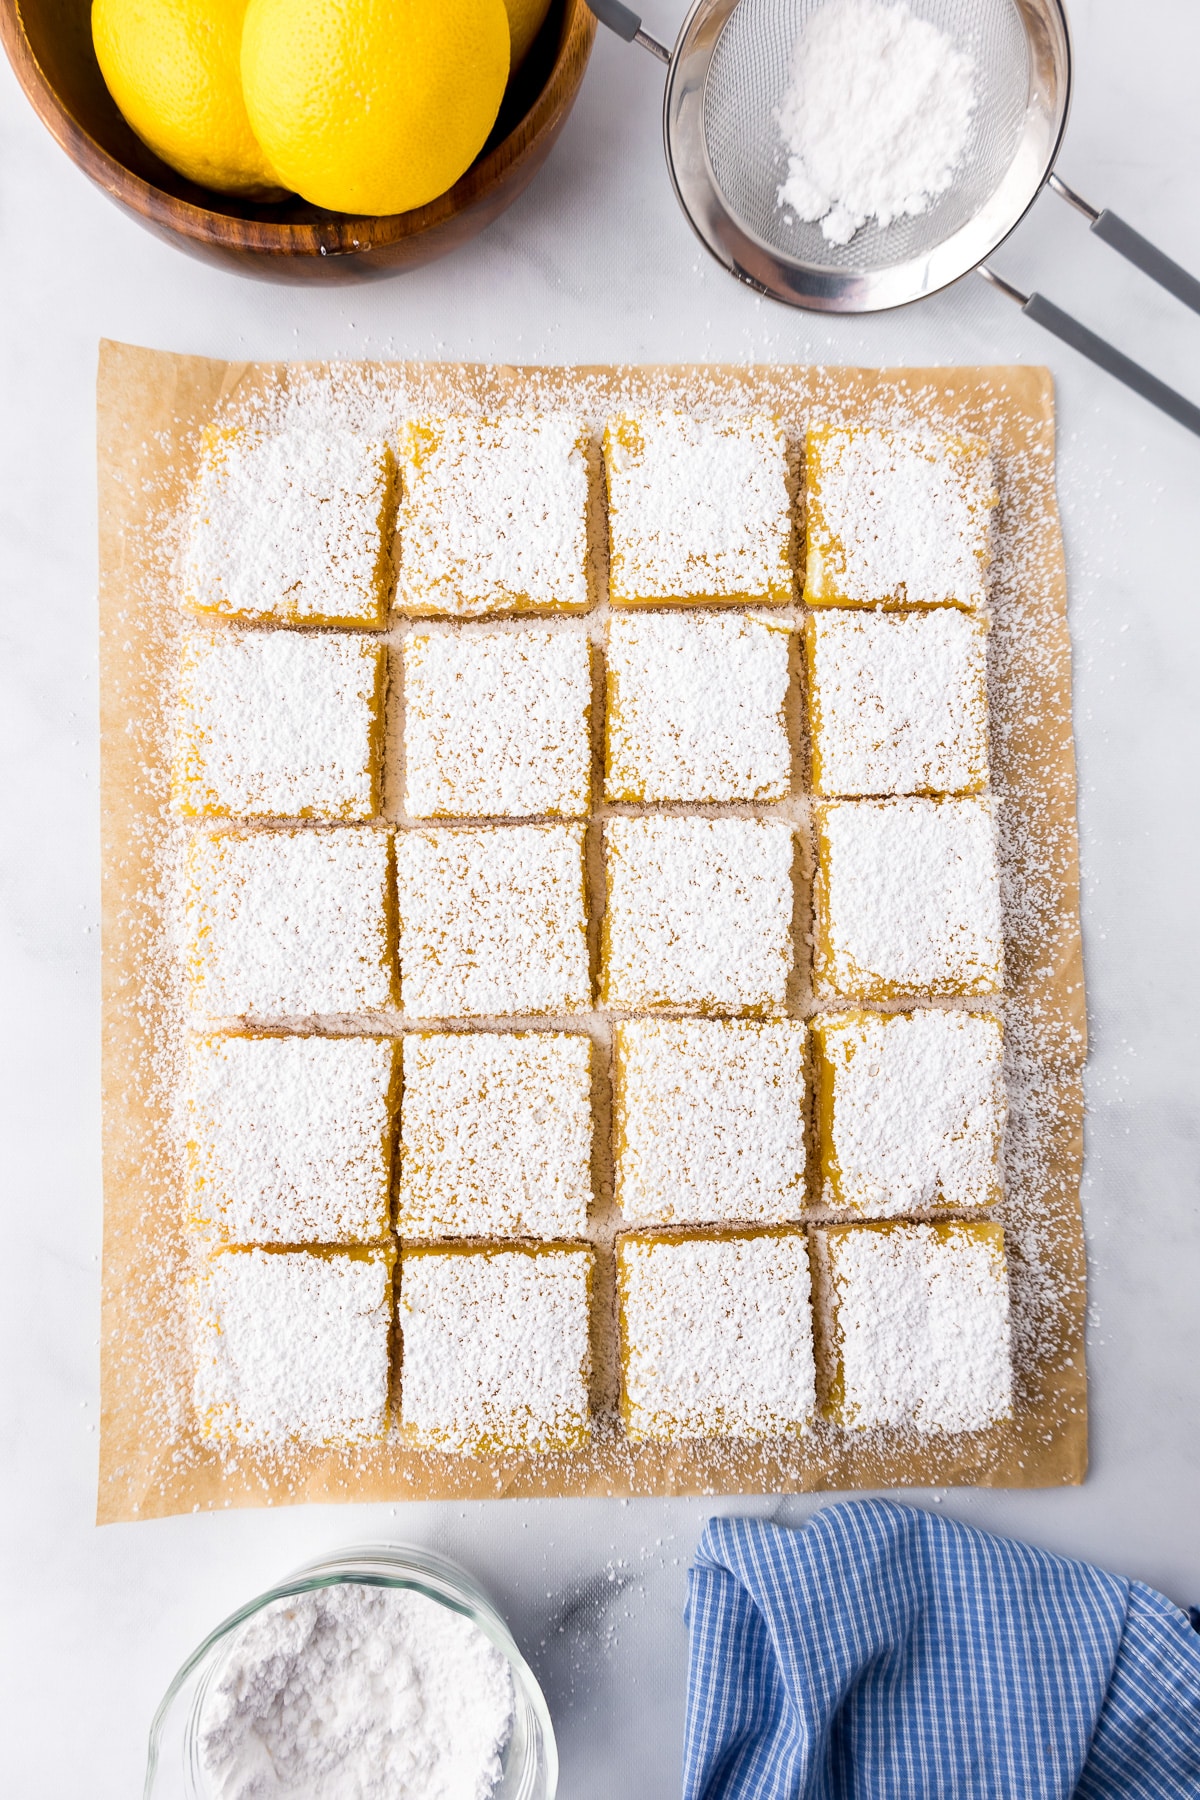
- Once chilled, pull the parchment paper from the bars and place on a large cutting board. With a large sharp knife, trim the edges of the bars off. (see my tips in the article of how to easily trim the bars.) Slice the bars evenly into squares, about 2 1/2 inches wide.
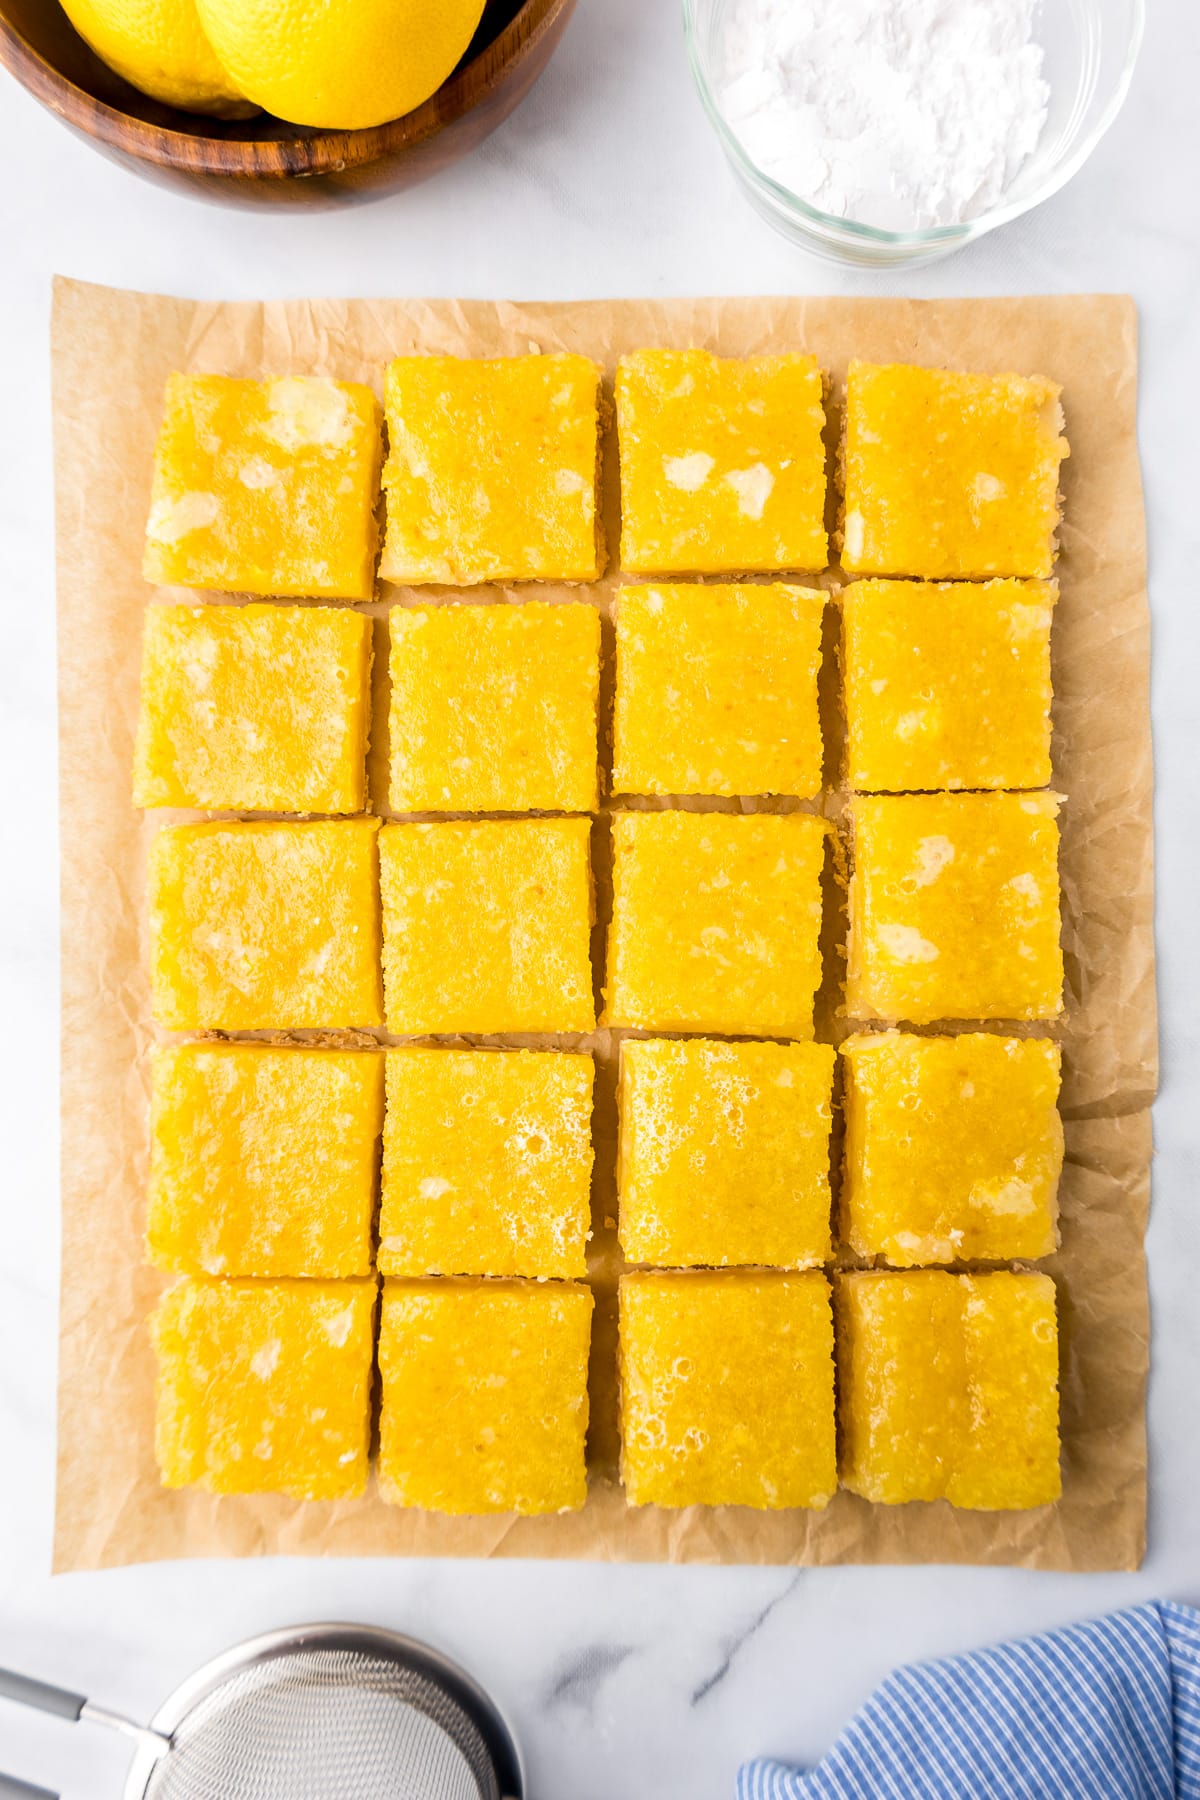
- Dust the lemon bars generously with powdered sugar. Place a few handfuls of powdered sugar through a fine metal mesh sieve or in a tea ball to sprinkle over the lemon bars to sprinkle evenly. I recommend you serve cold and enjoy the best lemon bars!
How Long Will These Lemon Bars Last?
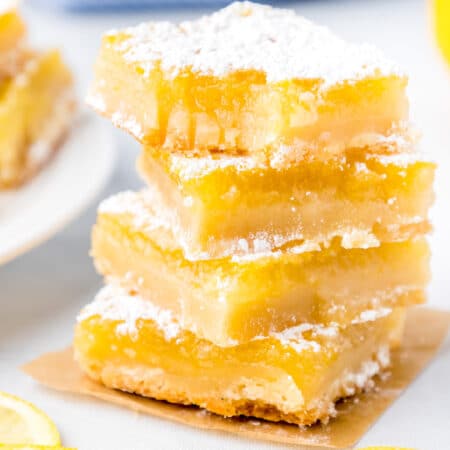
Expect lemon bars will last for about a week if stored in an airtight container. I find the bars sometimes need a quick refresh of powdered sugar before serving if you are serving a day or two after you make them, but they are still delicious.
Frequently Asked Questions For Lemon Bars
Lemon bars can be tricky to cut because they are a bit gooey. Use a large knife and run it under hot water before you begin. I find a large serrated bread knife works best. Have a towel or paper towel nearby to clean your knife in between cuts.
Make sure your lemon bars are well chilled, then carefully press the knife down into the bars, then lift the knife straight up. Don’t drag the knife through the bars forward or backward, instead make cuts by pressing straight down and then up before the next cut. Wipe the knife in between cuts.
I recommend trimming the edges of the lemon bars first before slicing the bars. The edges of the bars will often a golden brown. To get those beautiful clean, square shapes, you’ll need to trim the edge. I also use a large ruler when cutting to help ensure my cuts are straight.
Don’t stress too much though, these bars will be covered in powdered sugar, which can hide a lot of imperfections!
Lemon bars will freeze without any issue. I recommend making sure they are already well-chilled before wrapping them in plastic wrap or aluminum foil. I like to freeze them on a cookie sheet after they are cut before wrapping individually cut squares.
To defrost, place the lemon bars on the counter unwrapped about thirty minutes before you are ready to enjoy. I prefer serving lemon bars chilled.
It is normal for some batches of lemon bars to have some bubbles on top after baking. These bubbles are simply air bubbles that were trapped in the lemon curd when mixing it, and have now risen to the top of the bar during baking. Some batches will have more bubbles on top then others, it’s normal to have variation.
To decrease the bubbles, you can carefully tap the pan on the counter right after pouring the lemon curd to help the bubbles release. Be careful if your pan is made of glass, this trick tends to work best with a metal pan as glass can break easier but you can still gently tap a glass pan.
The amount of bubbles can vary a lot from batch to batch, and they are all covered in powdered sugar at the end. Don’t worry too much about bubbles on the top of the bars.
It is normal for lemon bars to have a little brown around the edges, and even sometimes a little brown on top. This is simply the sugar caramelizing a little around the edges and won’t negatively impact your finished bars.
More Sweet Dessert Recipes
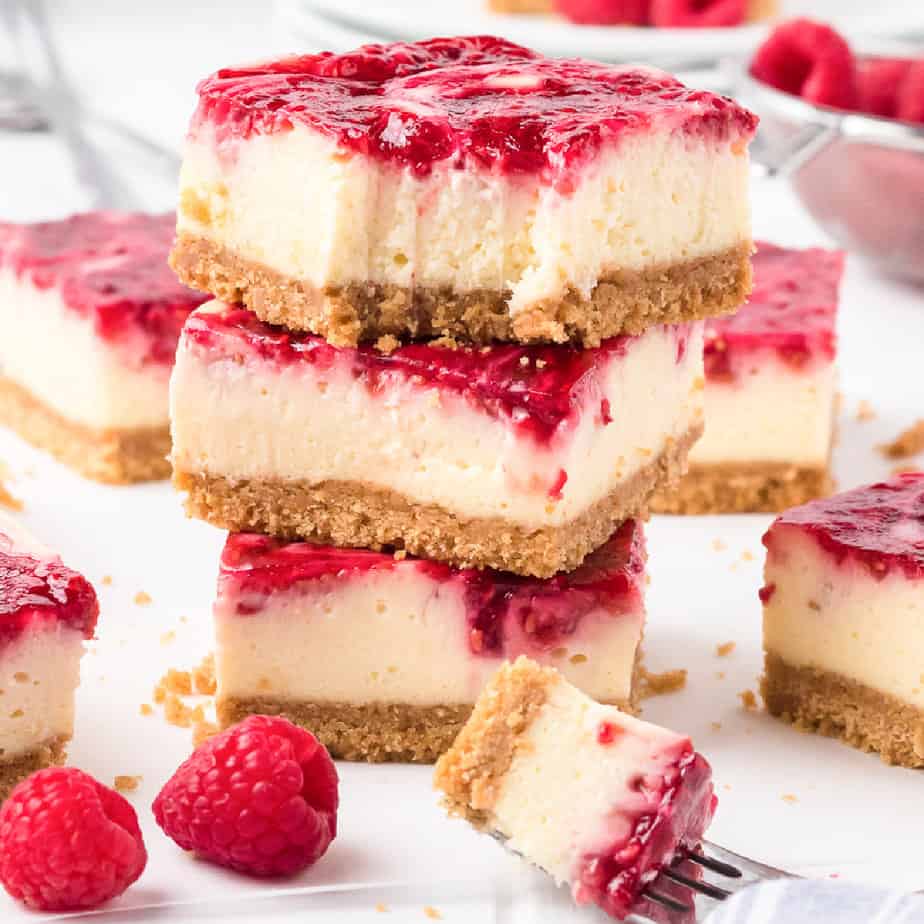
Raspberry Swirl Cheesecake Bars
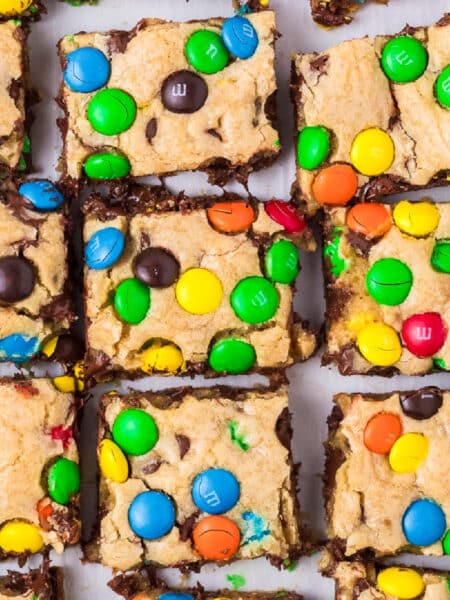
M&M Cookie Bars
Cheesecake Sugar Cookie Cups (Fruit Pizza!)

Lemon Bars (with Shortbread Crust!)
Ingredients
For The Crust
- 2 cups all-purpose flour
- 1 cup butter unsalted, softened
- 1/2 cup powdered sugar plus more to garnish
- ½ teaspoon salt
For The Filling
- 1 tablespoon lemon zest
- 2/3 cup lemon juice about 4-5 lemons total for juice
- 4 large eggs
- 2 cup sugar
Instructions
Making The Crust
- Preheat the oven to 350℉ and fully line a 9 x 13 glass or ceramic dish with parchment paper.
- Combine together flour, softened butter, ½ cup powdered sugar and salt with an electric mixer. Mix until a thick dough forms.
- Press the dough into the bottom of the glass 9×13 pan. At first it may seem like there isn’t enough dough. Trust the process and keep pressing and spreading the dough until the dough is spread evenly across the whole pan.
- Zest and juice the lemons, removing any seeds from the juice. This can take 4-5 lemons depending on the lemons for the juice. I like to squeeze the lemons into a glass measuring cup to make sure it gets to about ⅔ of a cup, then I strain the seeds.
- Bake the dough for about 20-23 minutes. It is better for this crust to be a little crispier rather than underbaked. Make sure the center is cooked all the way and is not doughy in the center. While the dough is baking make the filling. (See notes)
Making The Filling
- In a second bowl mix together, egg, sugar, lemon zest and lemon juice with an electric mixer until the sugar is fully dissolved to form the lemon layer. Right before pouring it over the crust layer, give the lemon mixture one last quick stir in case anything has settled to the bottom.
- Immediately when the crust comes out of the oven, pour the lemon curd over the hot crust. Return the pan to the oven and bake for 25-30 minutes until set.
- You’ll know the center is set if you gently move the pan from side to side and the center doesn’t look liquidy anymore. The entire top of the lemon curd layer will also form a crust over the top and the edges of the bars will become a light caramel color but the center will still have a creamy lemon filling.
- Allow the bars to cool in the pan for at least an hour. Place bars in the fridge and allow them to cool for at least 2 hours or overnight.
- Once chilled, pull the parchment paper from the bars and place on a large cutting board. With a large knife, trim the edges of the bars off. (see my tips in the article of how to easily trim the bars.) Slice the bars evenly into squares, about 2 1/2 inches wide.
- Dust the lemon bars generously with powdered sugar. Place a few handfuls of powdered sugar through a fine metal mesh sieve or in a tea ball to sprinkle over the lemon bars to sprinkle evenly. I recommend you serve cold, enjoy!
Notes
Nutrition
Did You Make This?
I would love to see it! Share your thoughts with me in the comments below!






I made this recipe for lemon bars and they came out delicious. Better than my previous recipe. They are addictive.
Glad you enjoyed the recipe Linda, that’s such a great compliment! Enjoy!